Learn how to set up your Tulip app to record rotor inspection measurements. This guide covers adding tables, defining variables, and creating logic for data validation and storage.
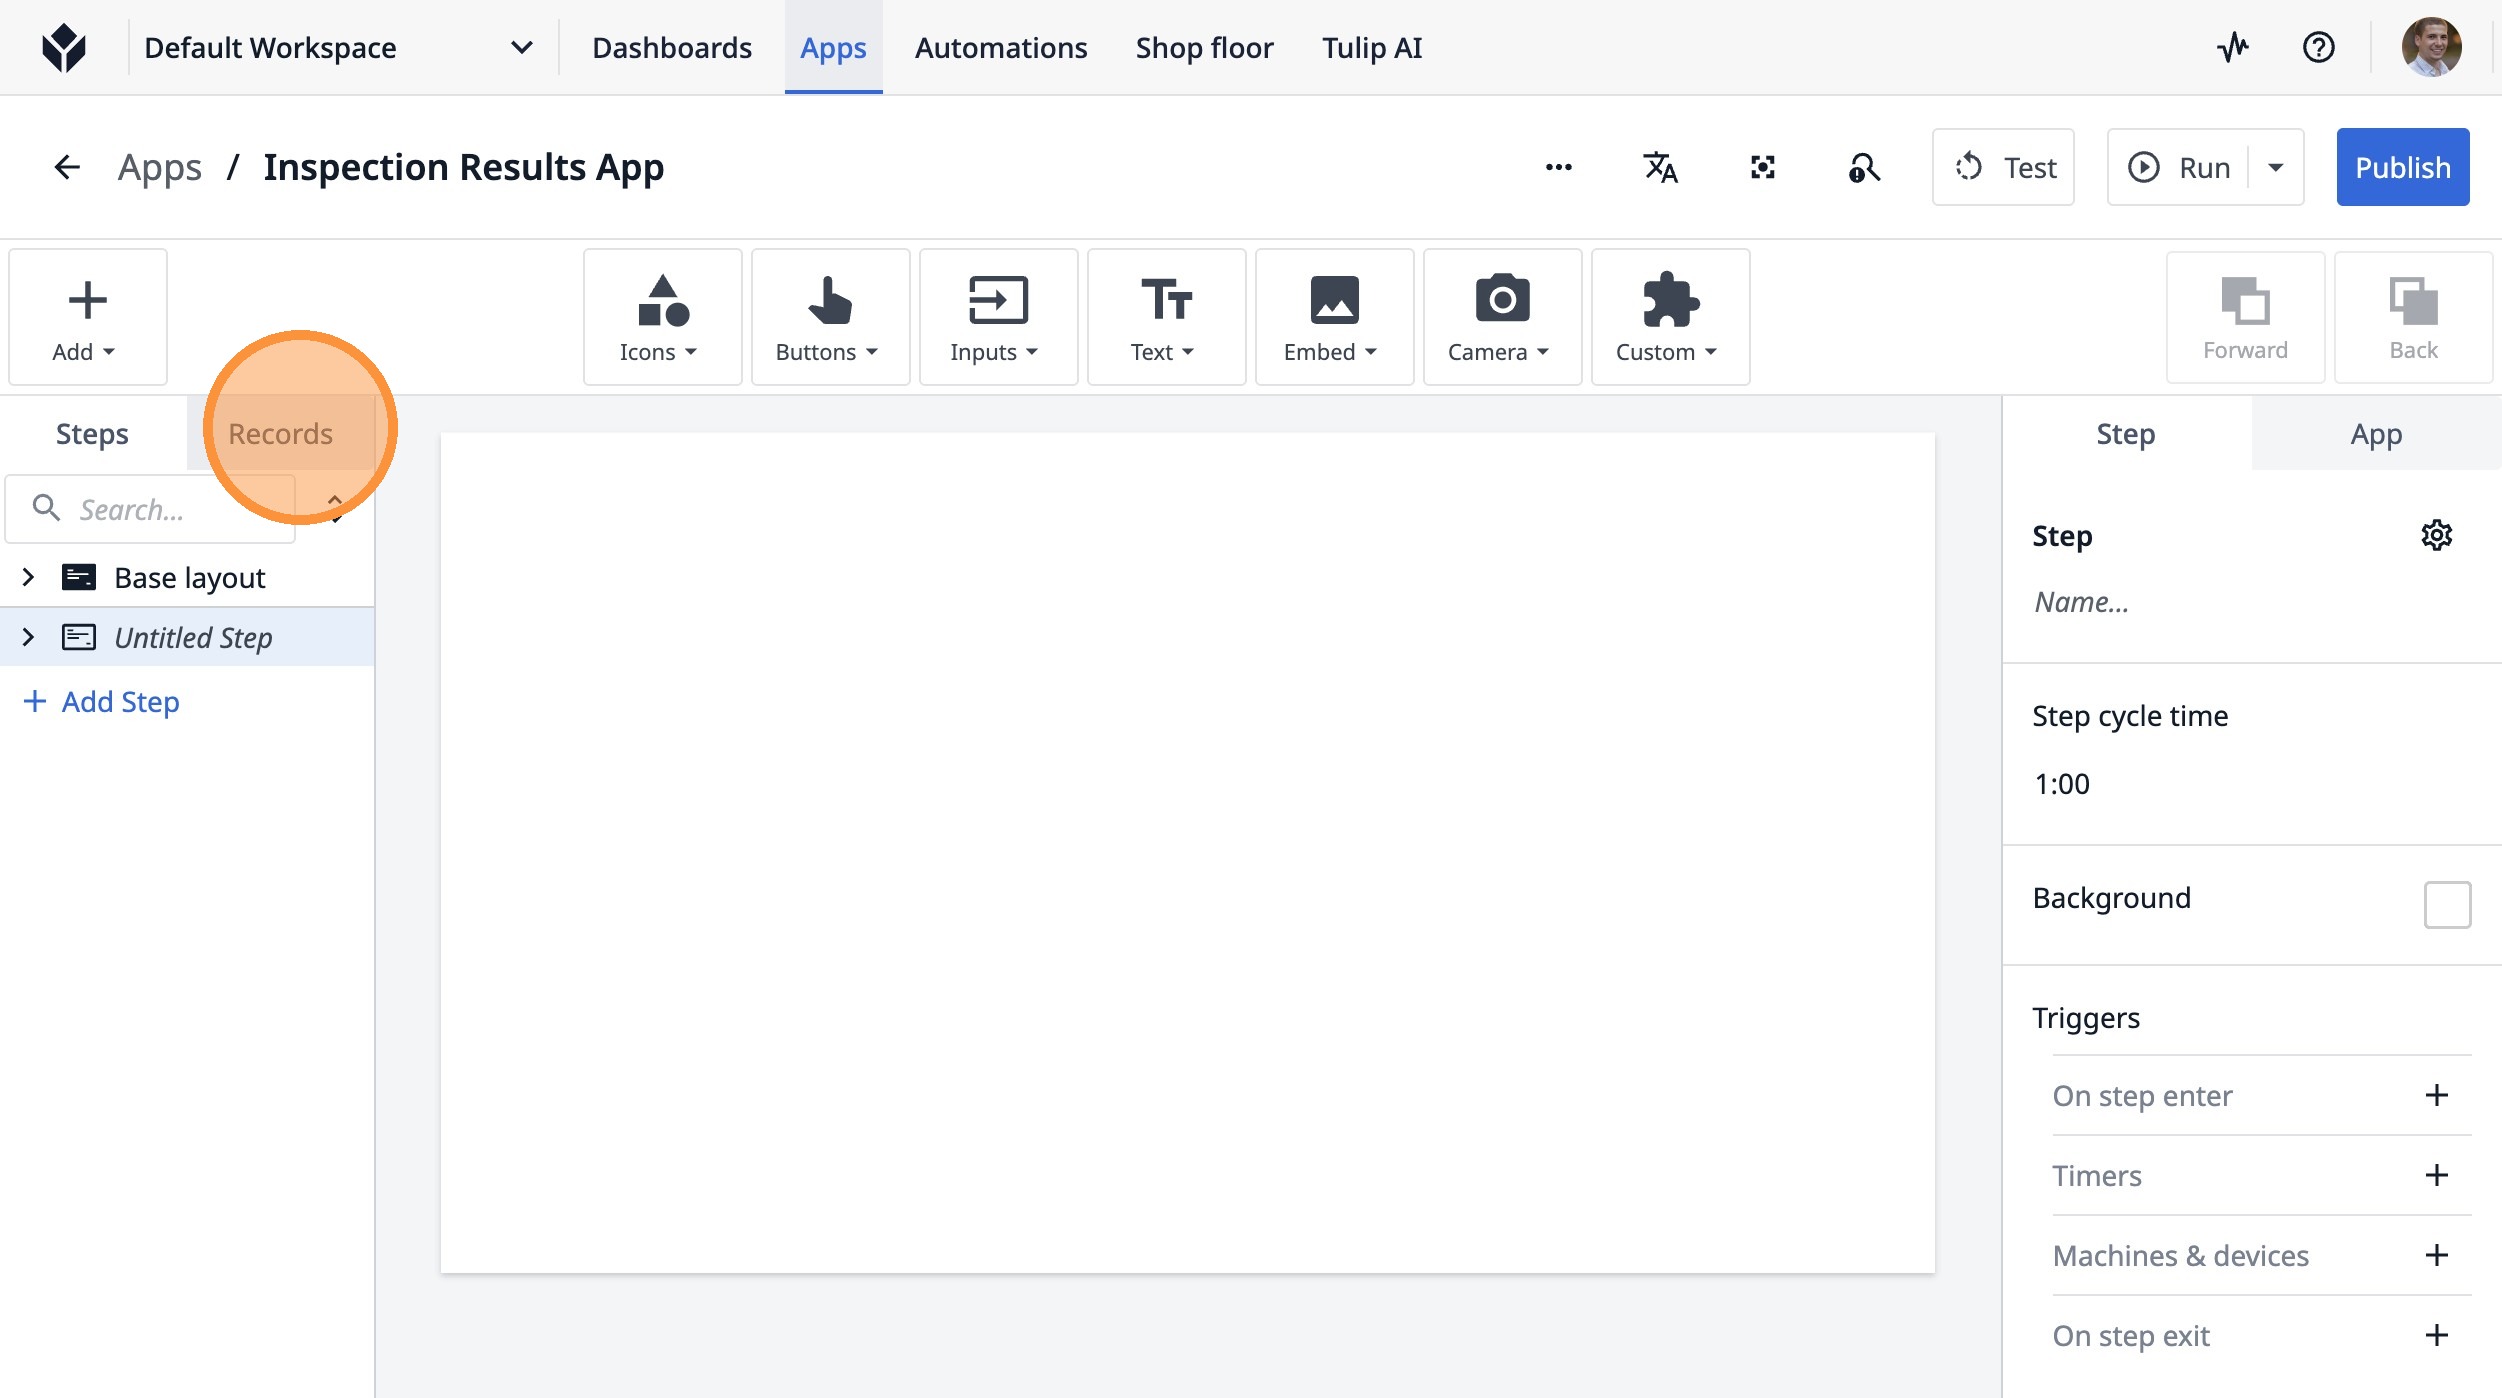
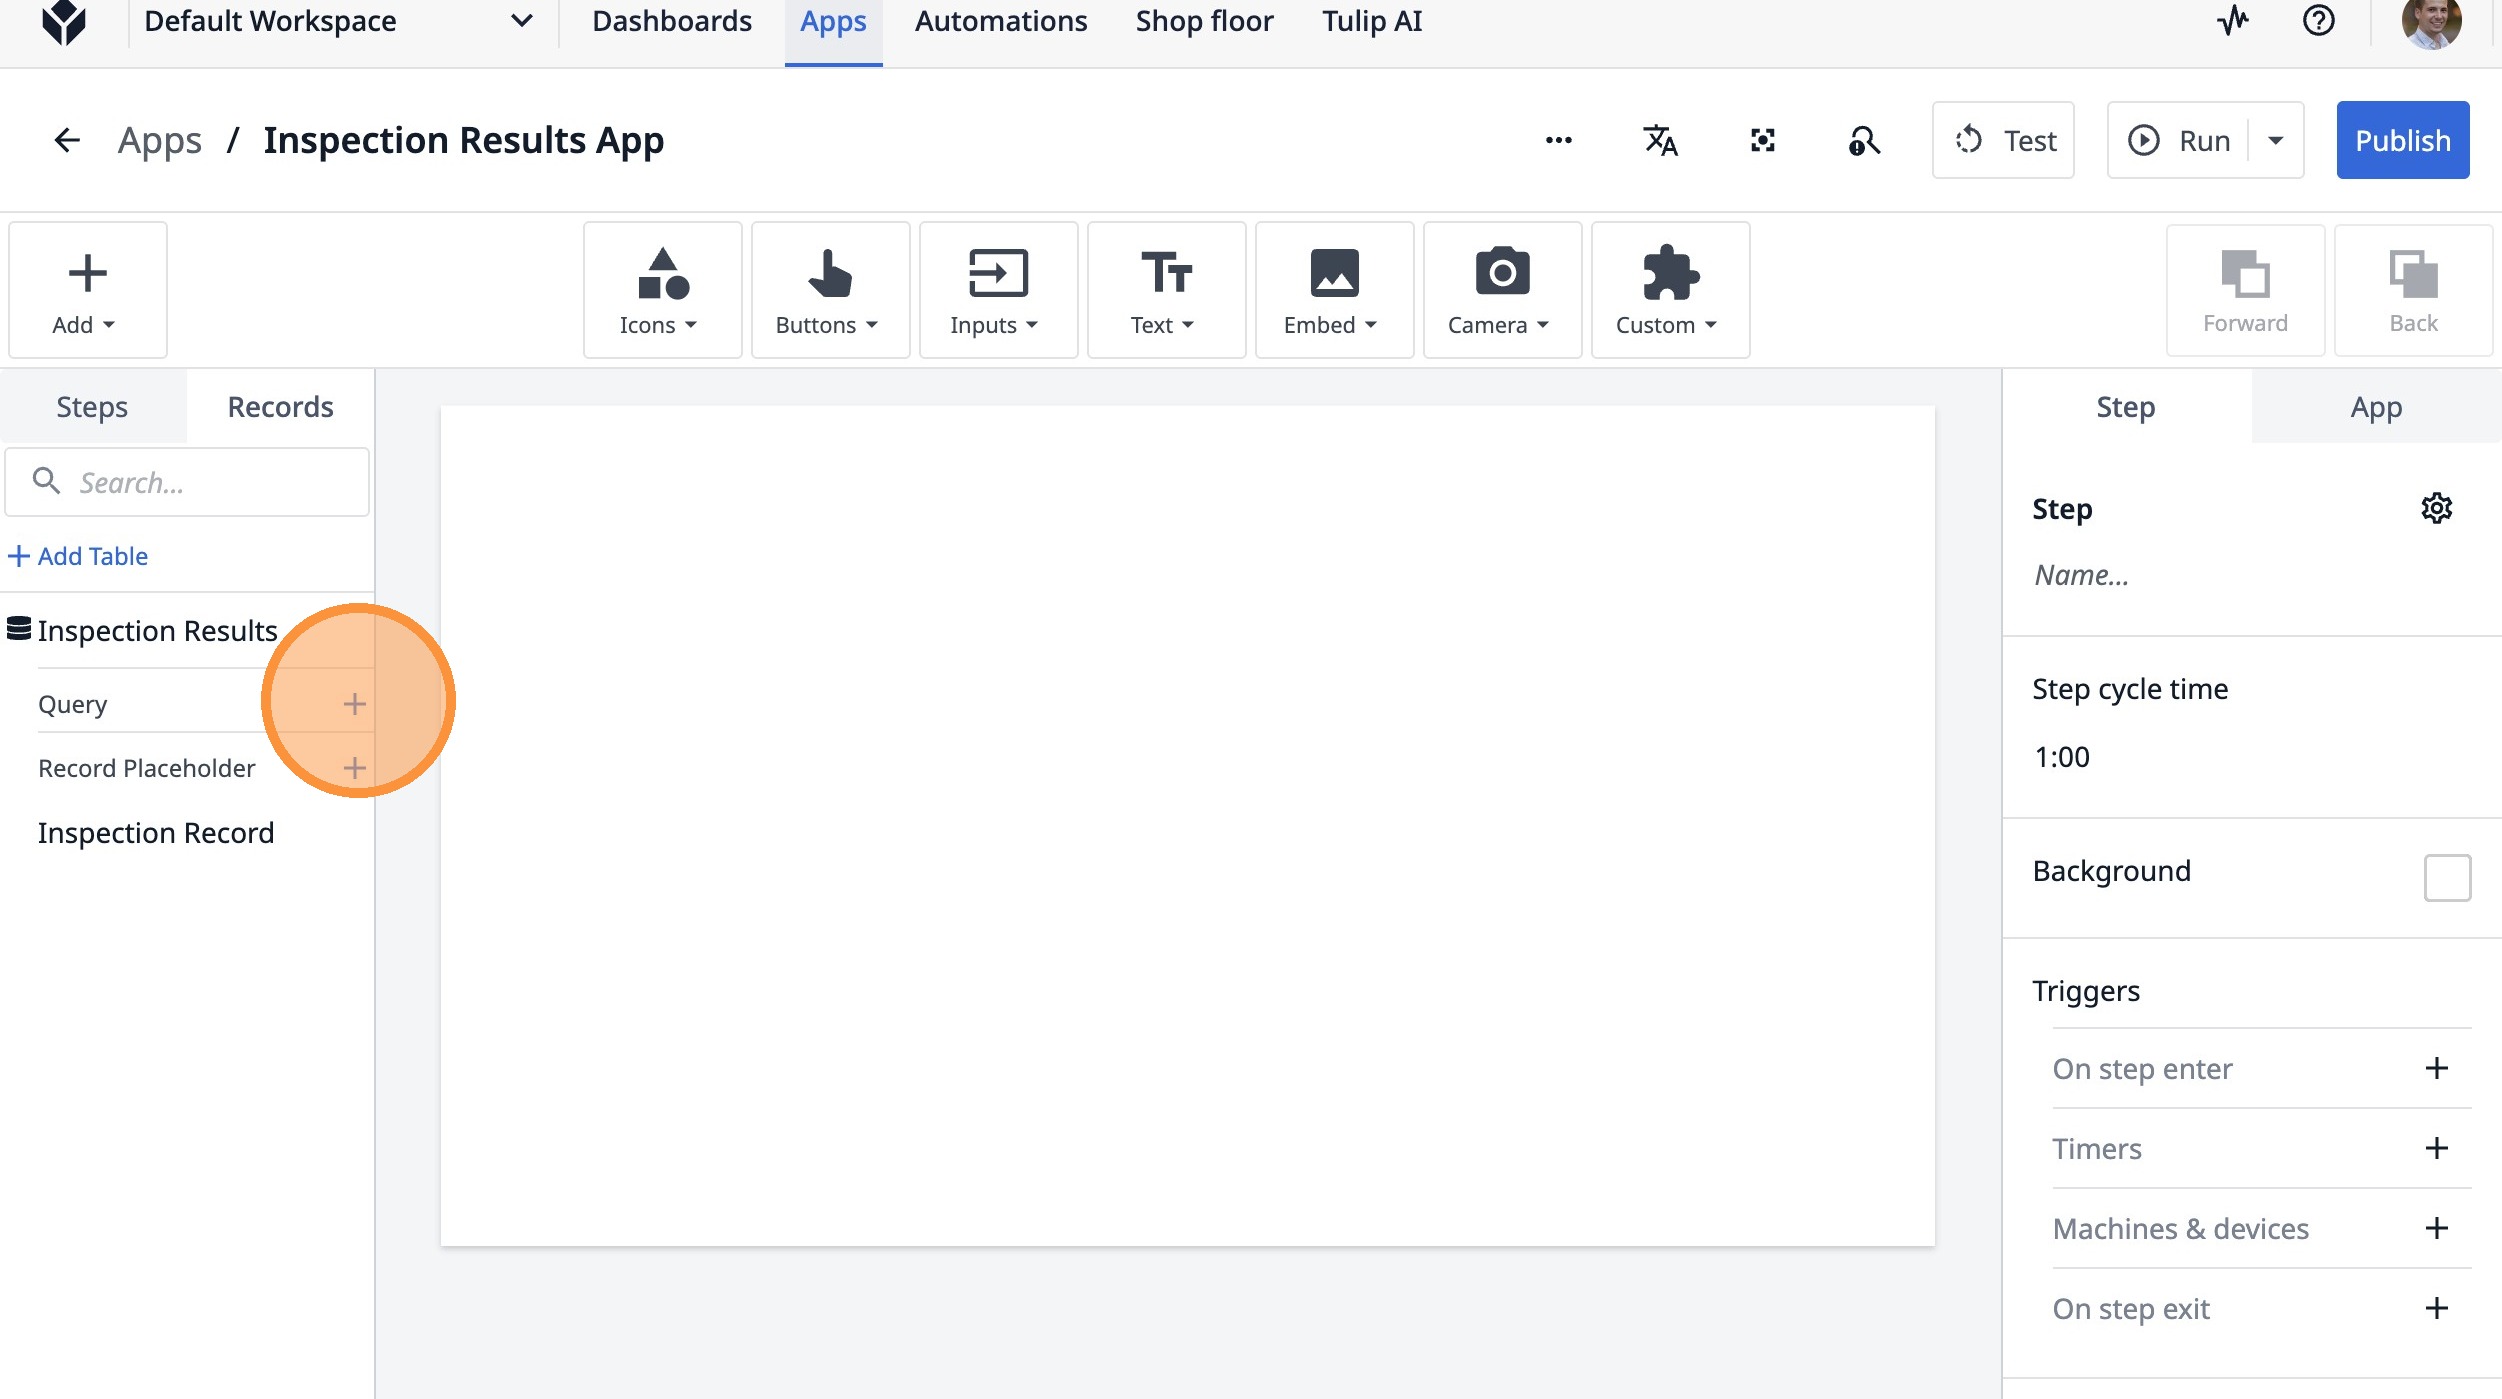
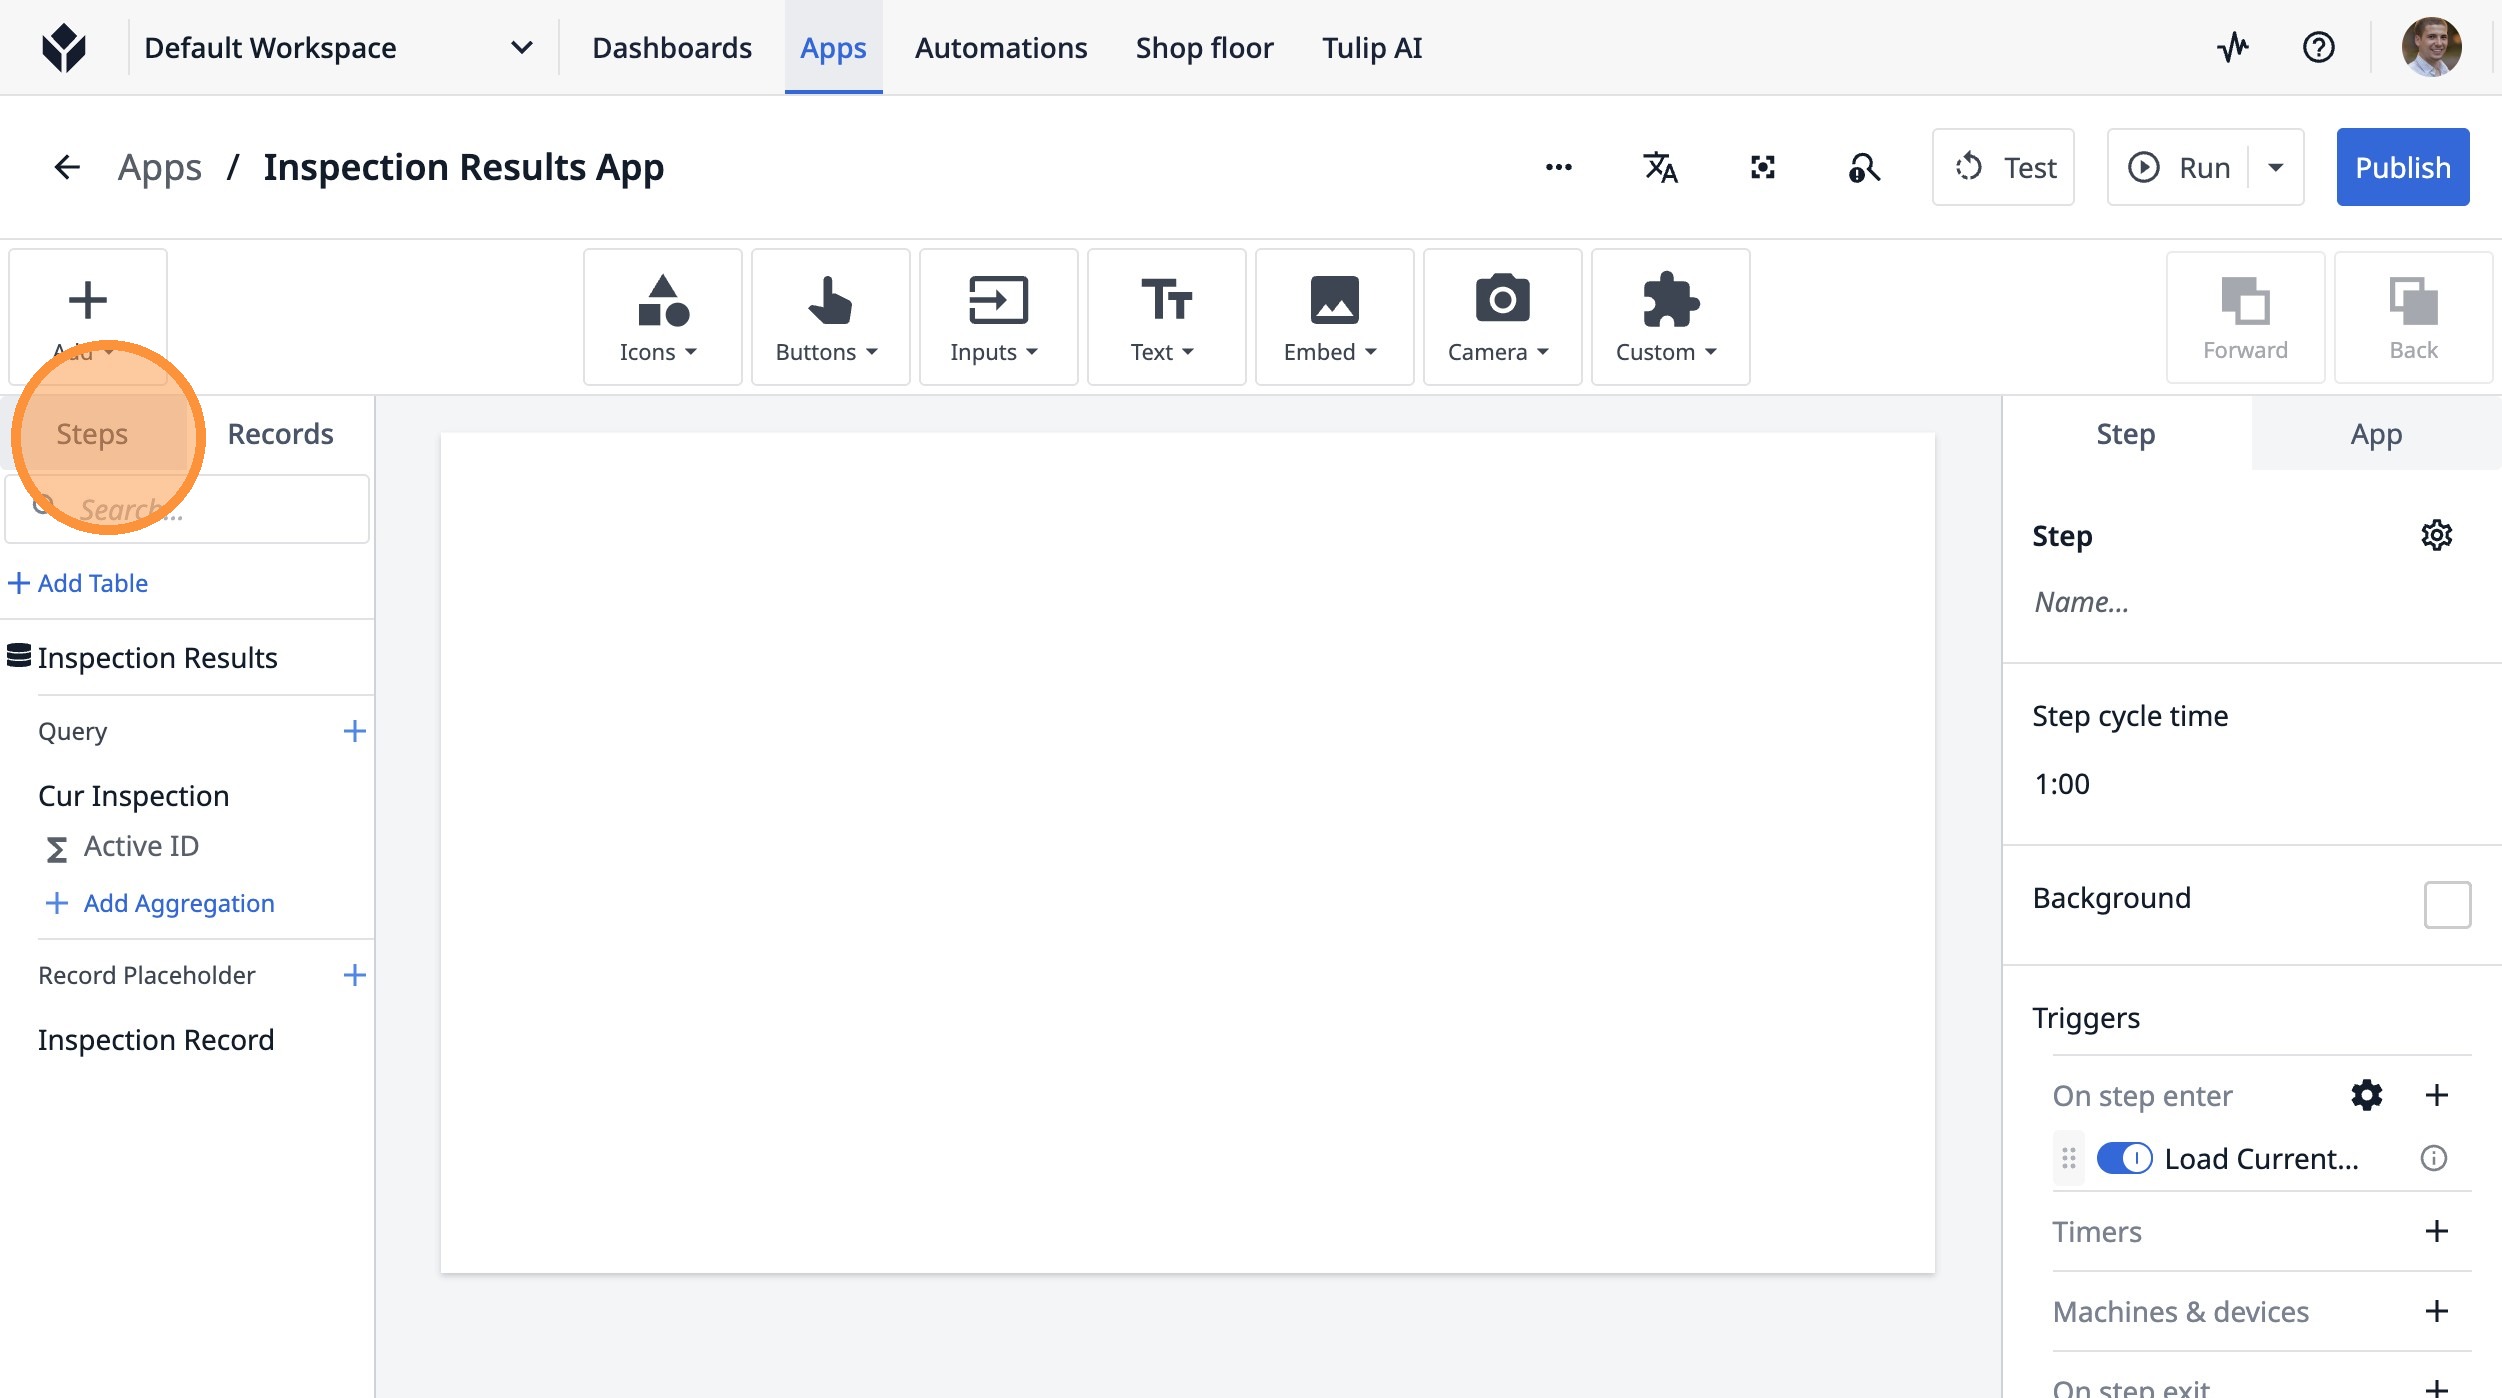
1. Click "Records"
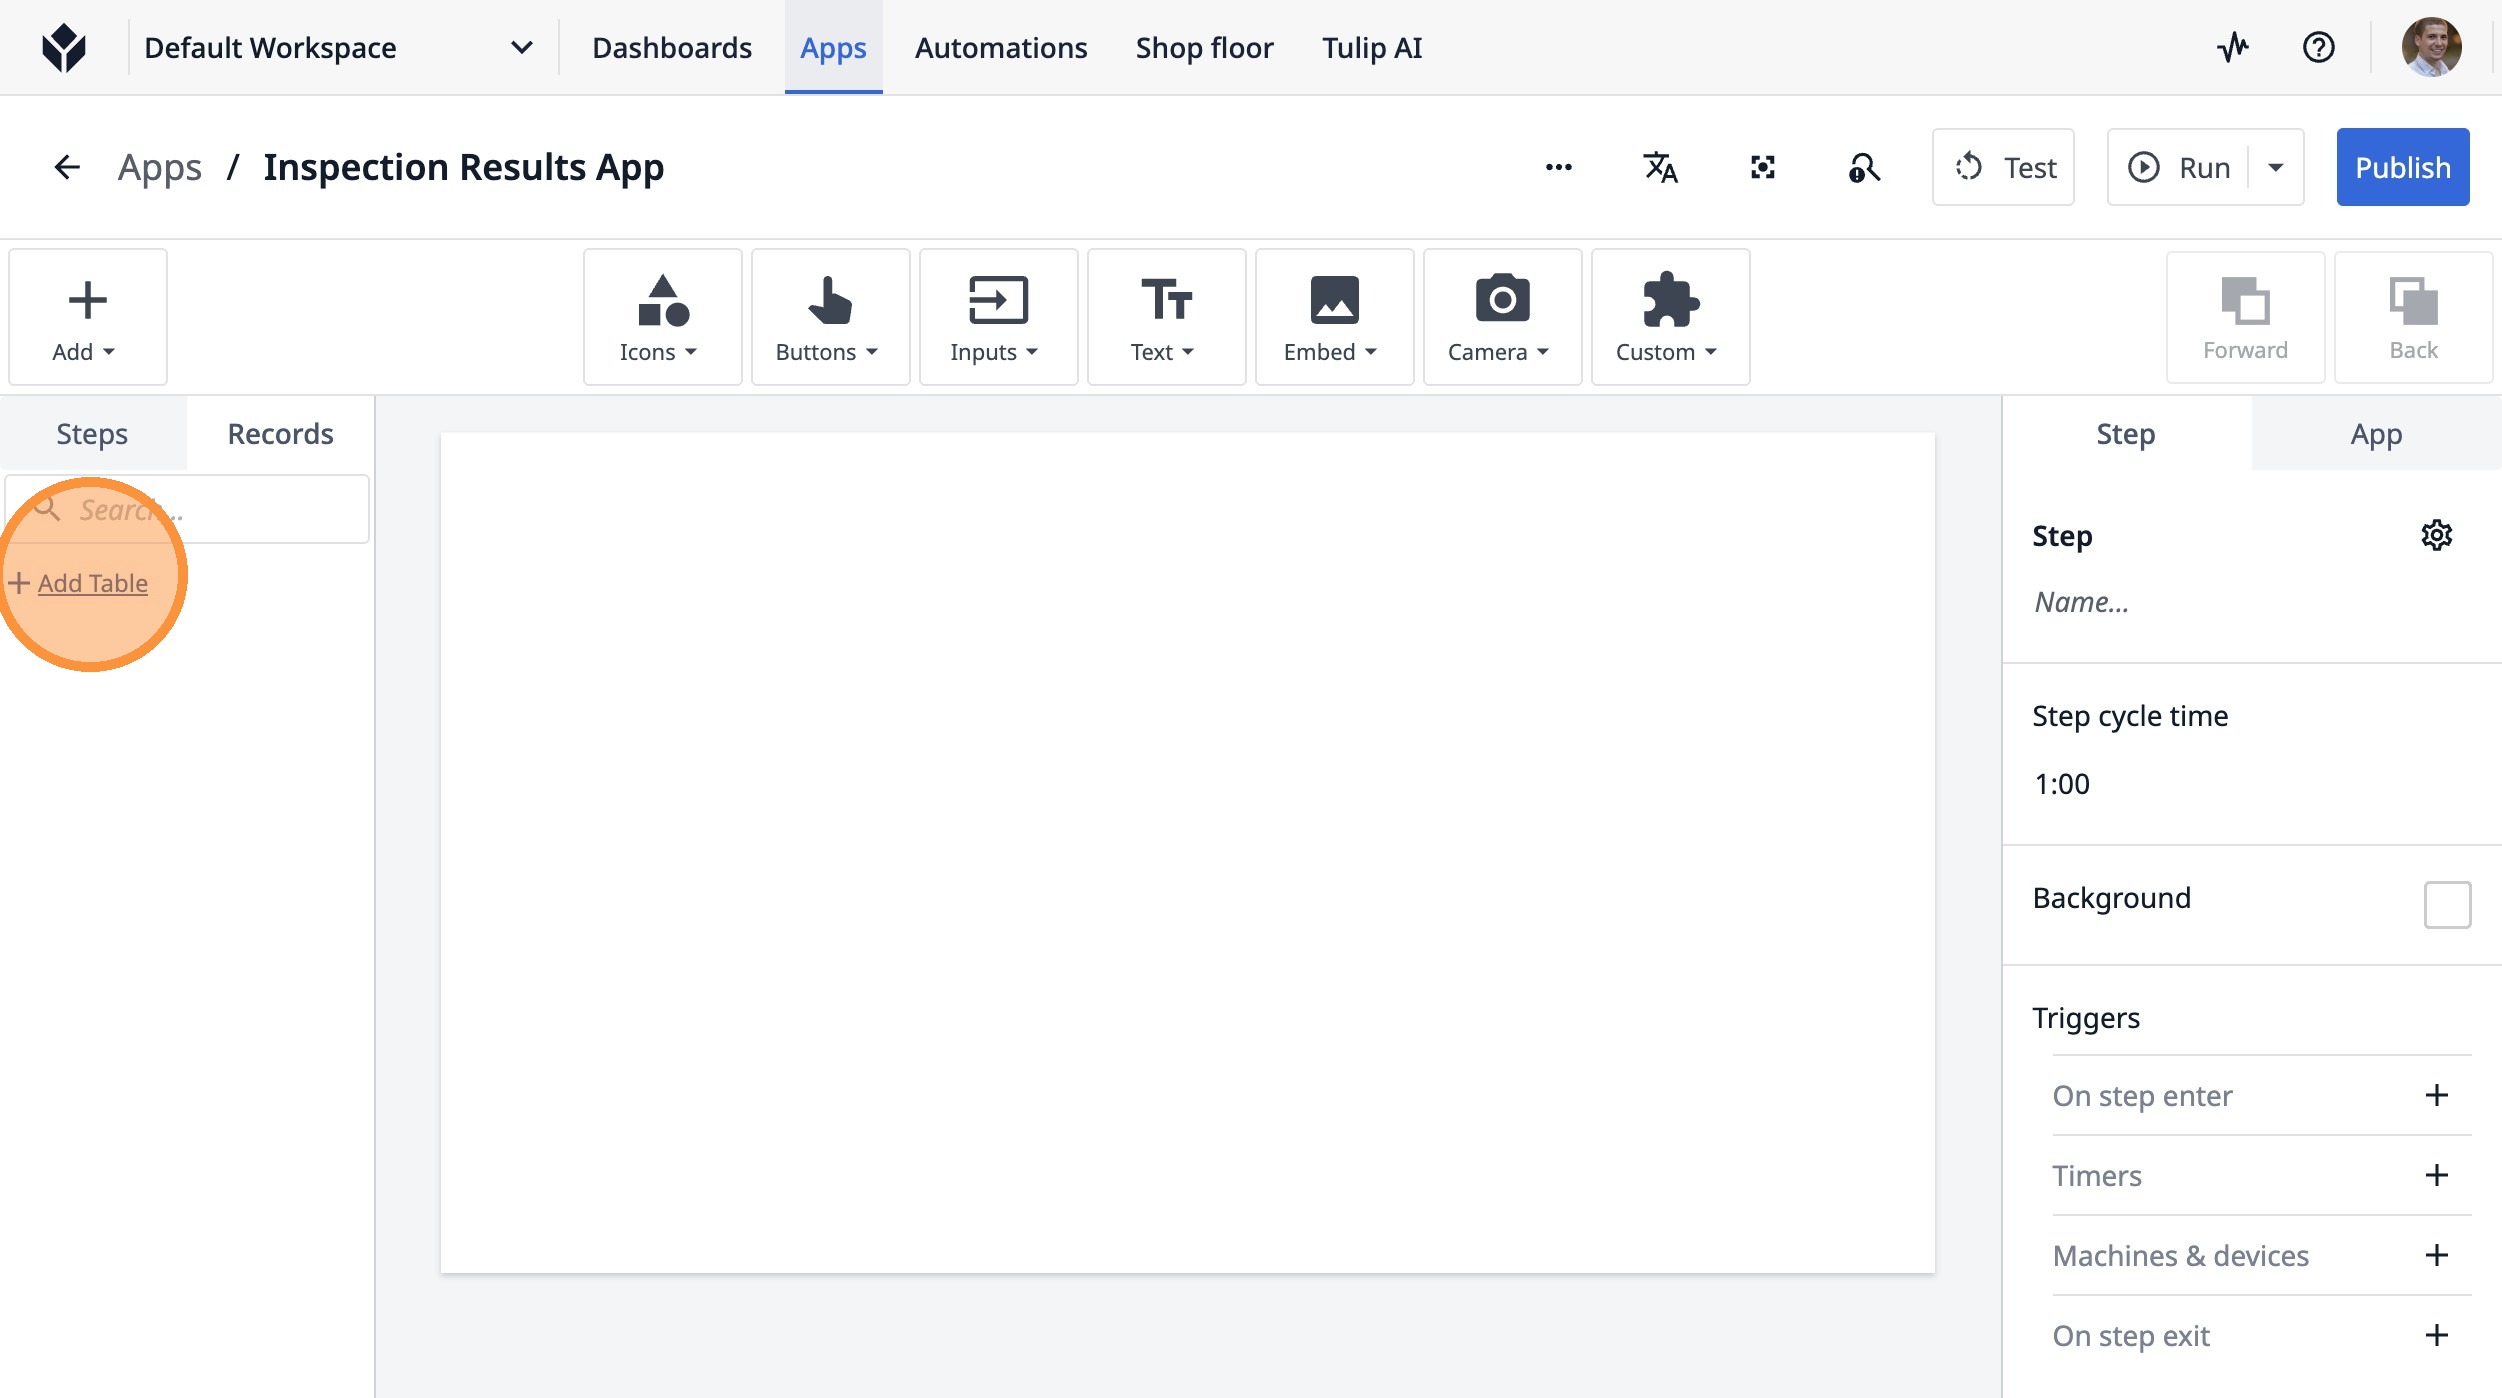
2. Click "Add Table"
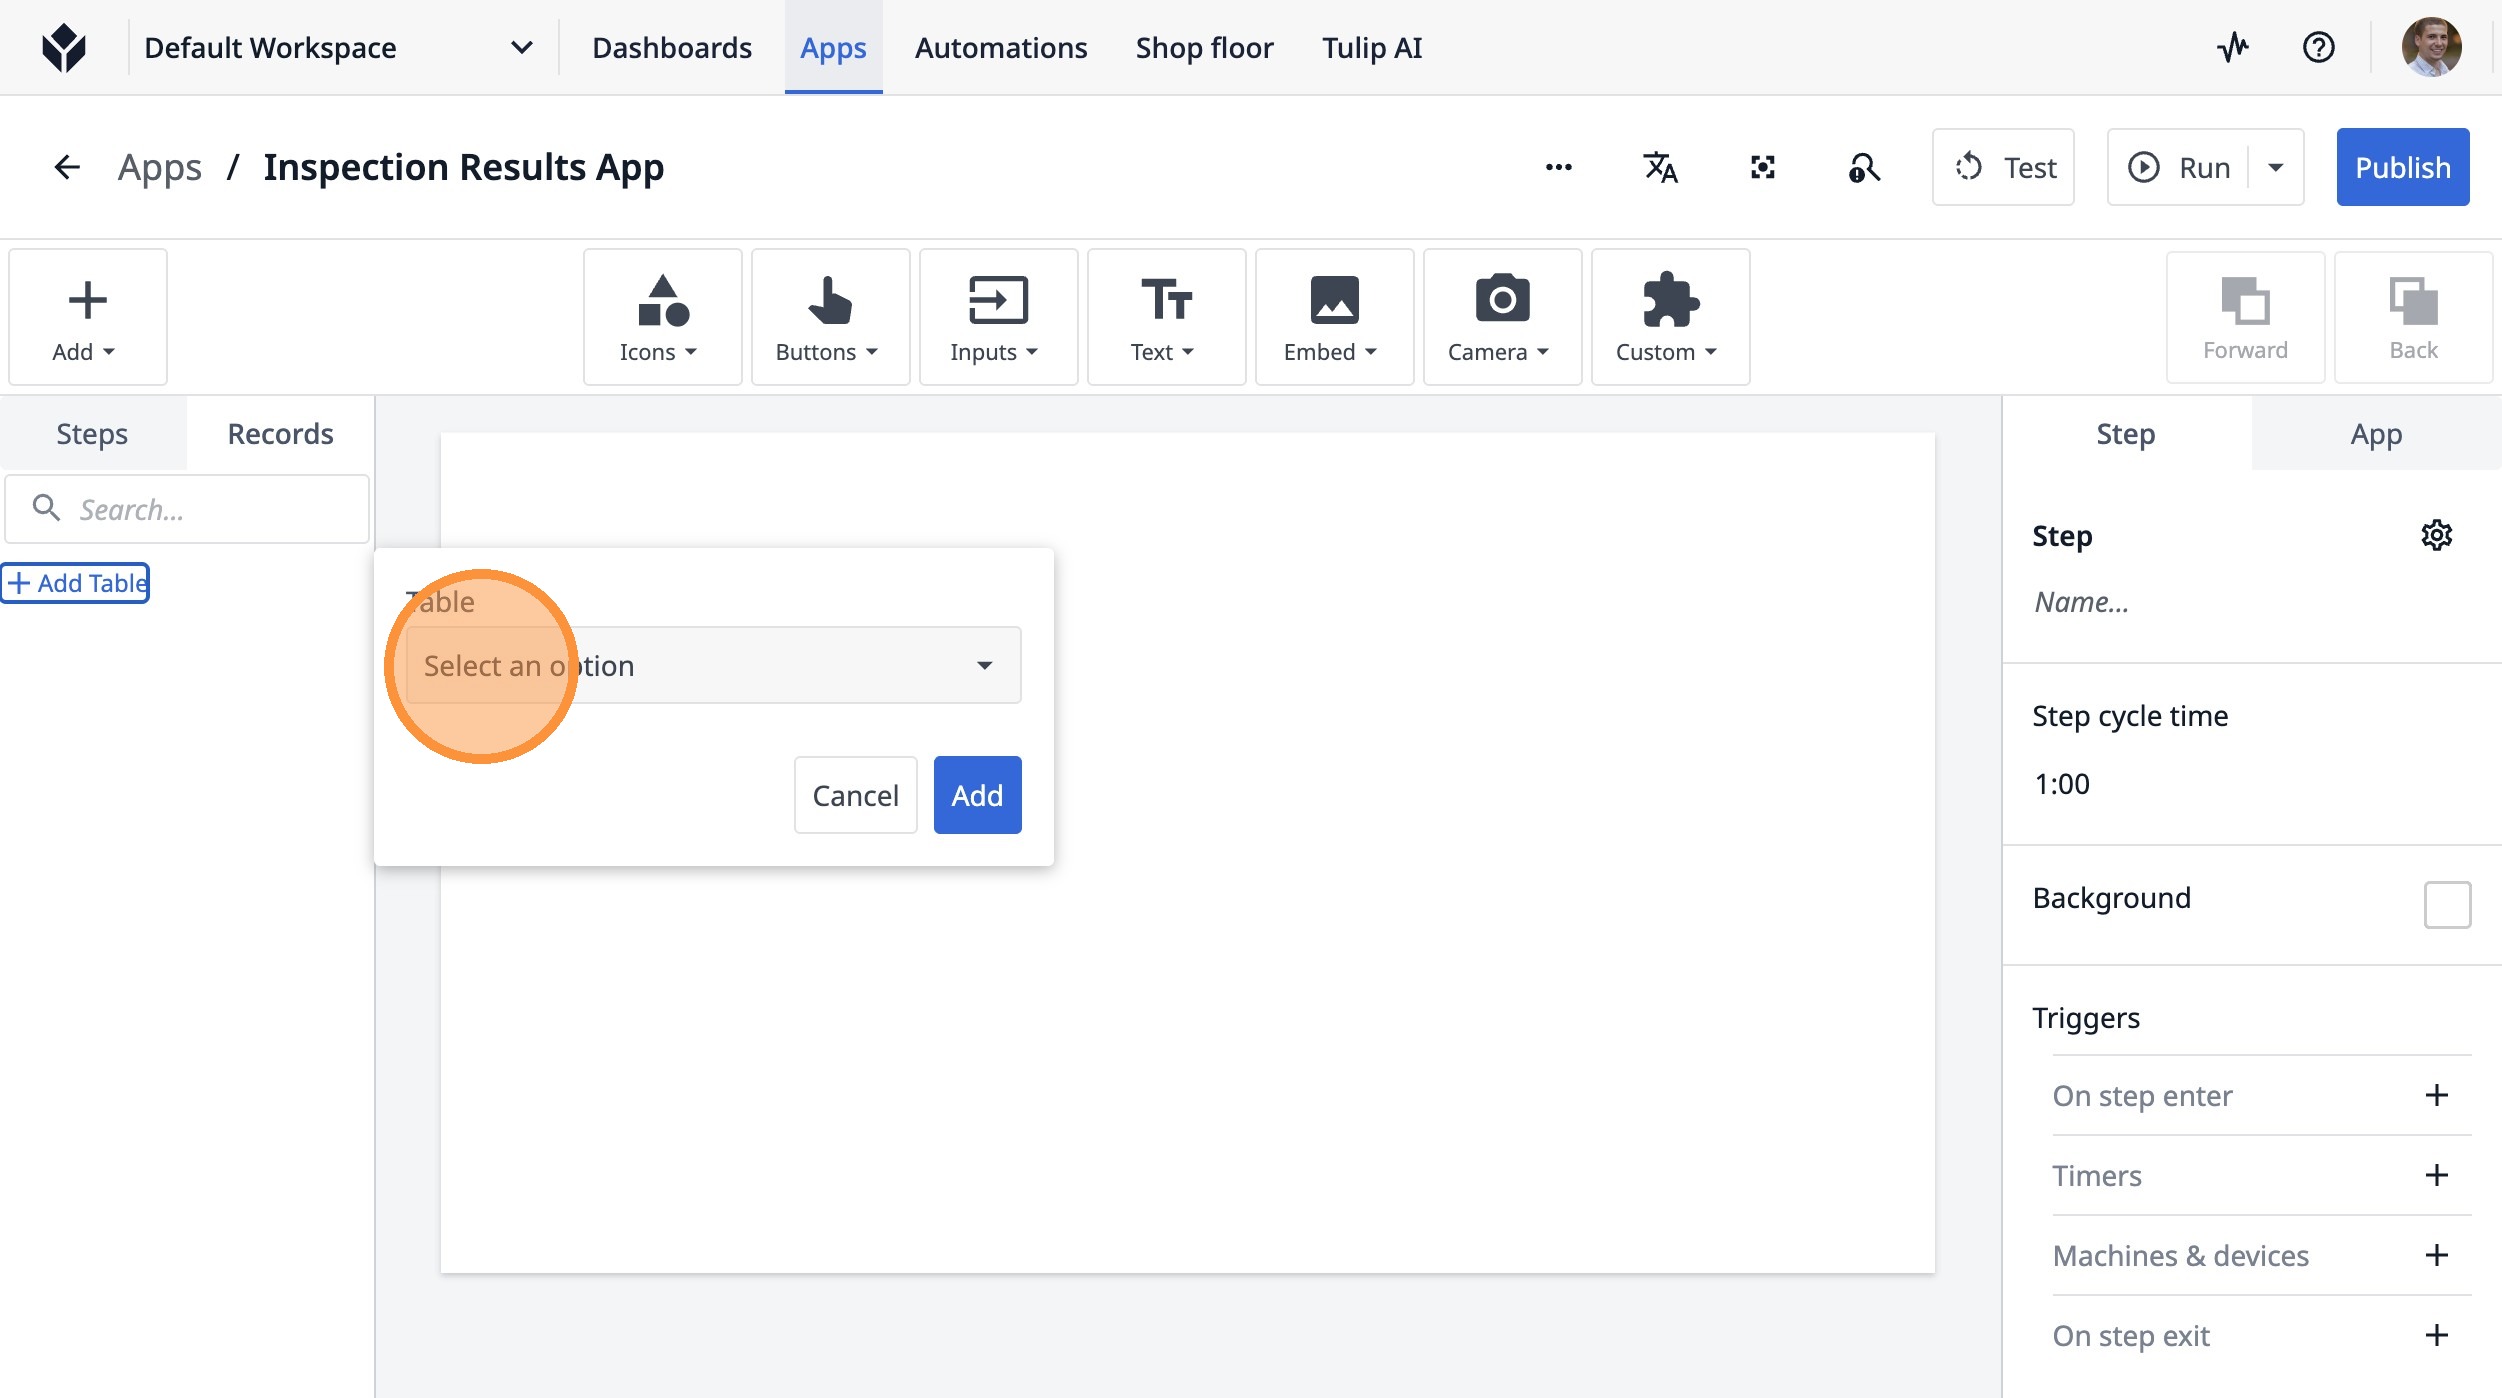
3. Click "Select an option"
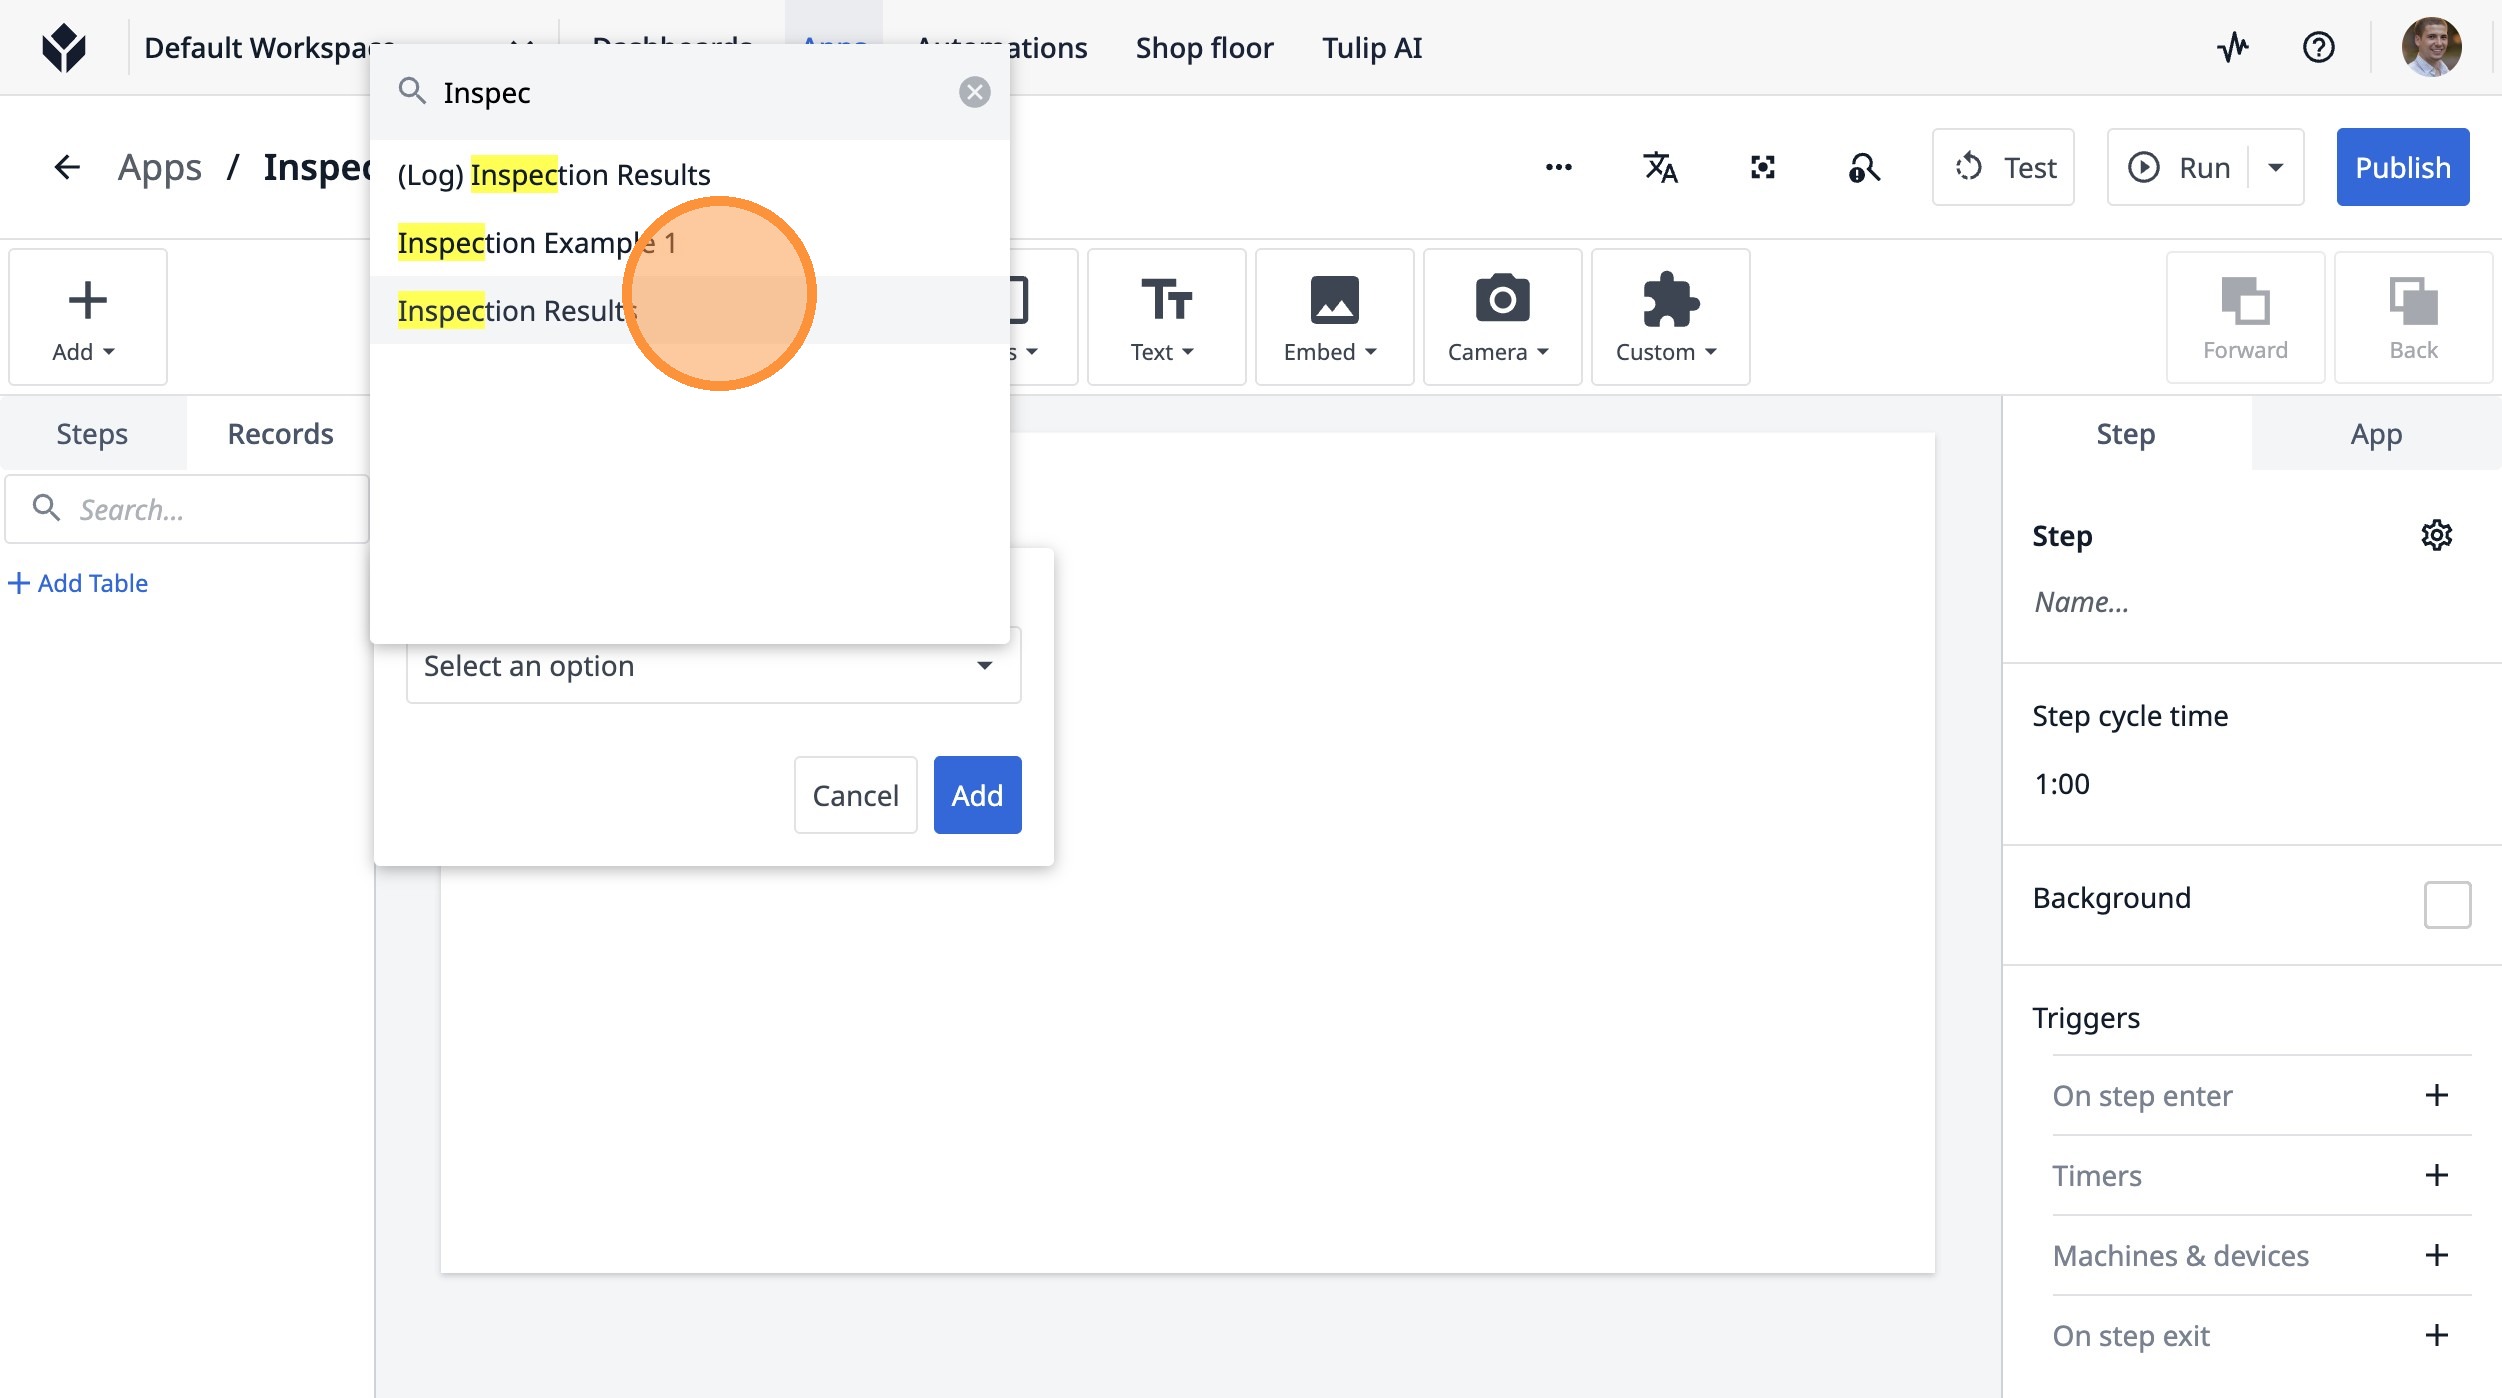
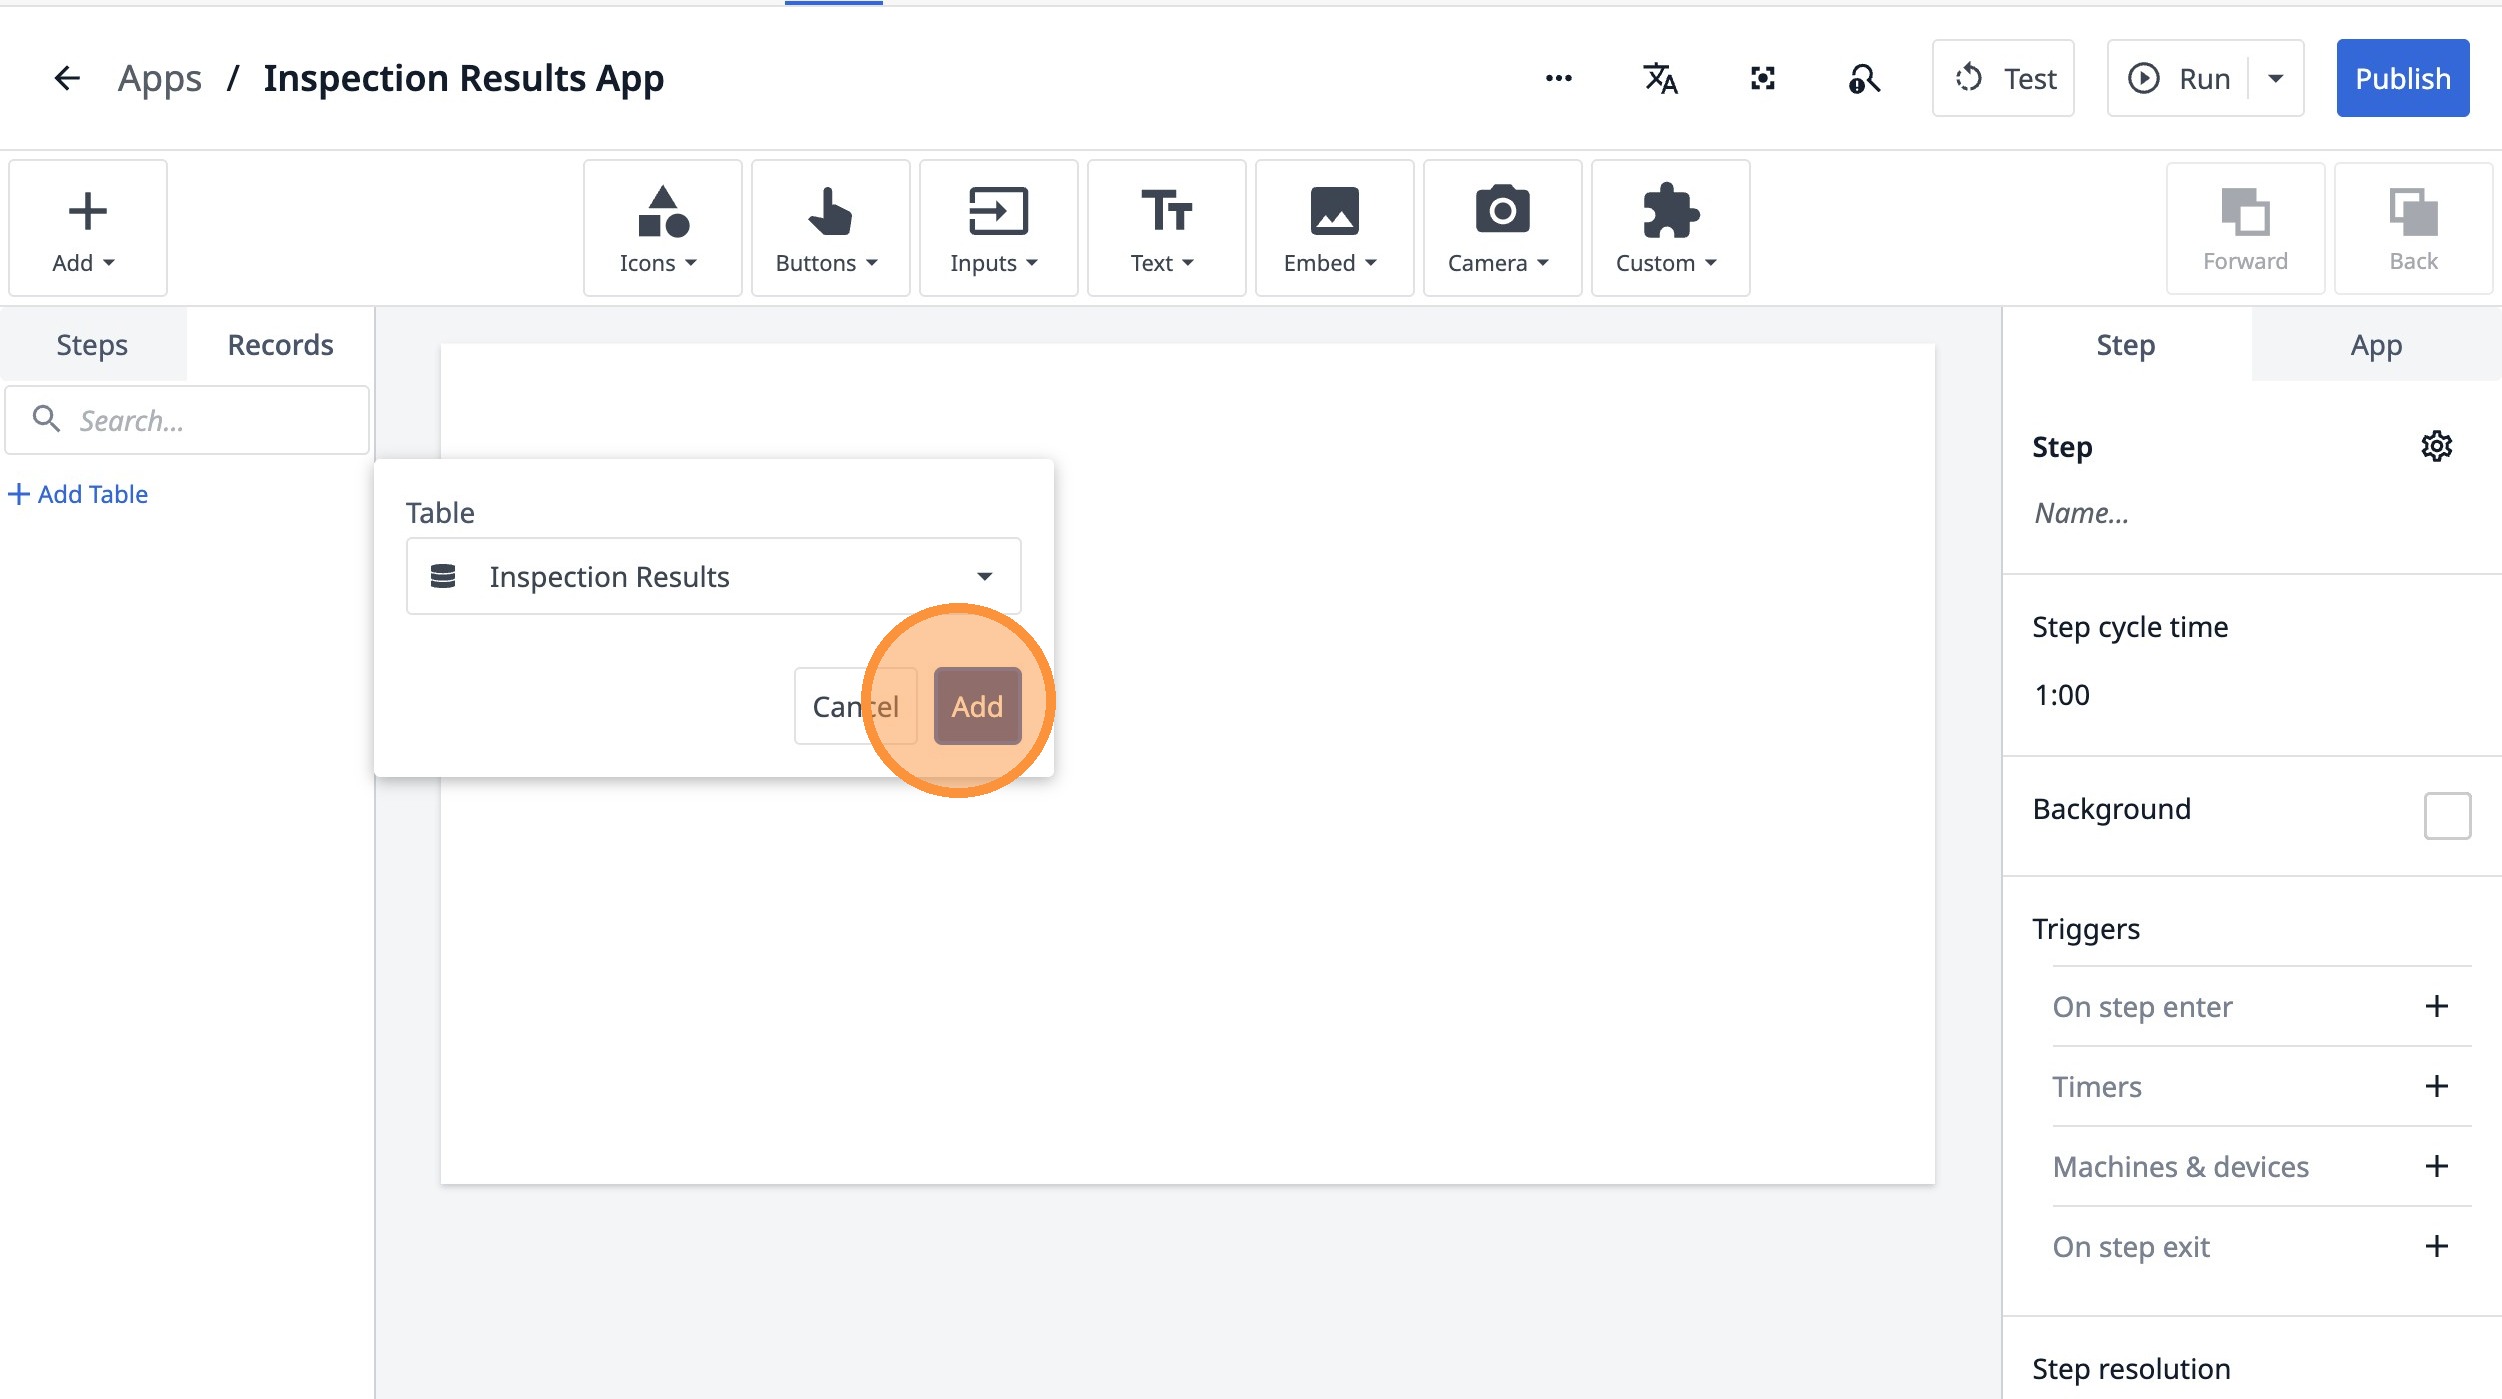
4. Click "Inspection Results"
5. Click "Add"
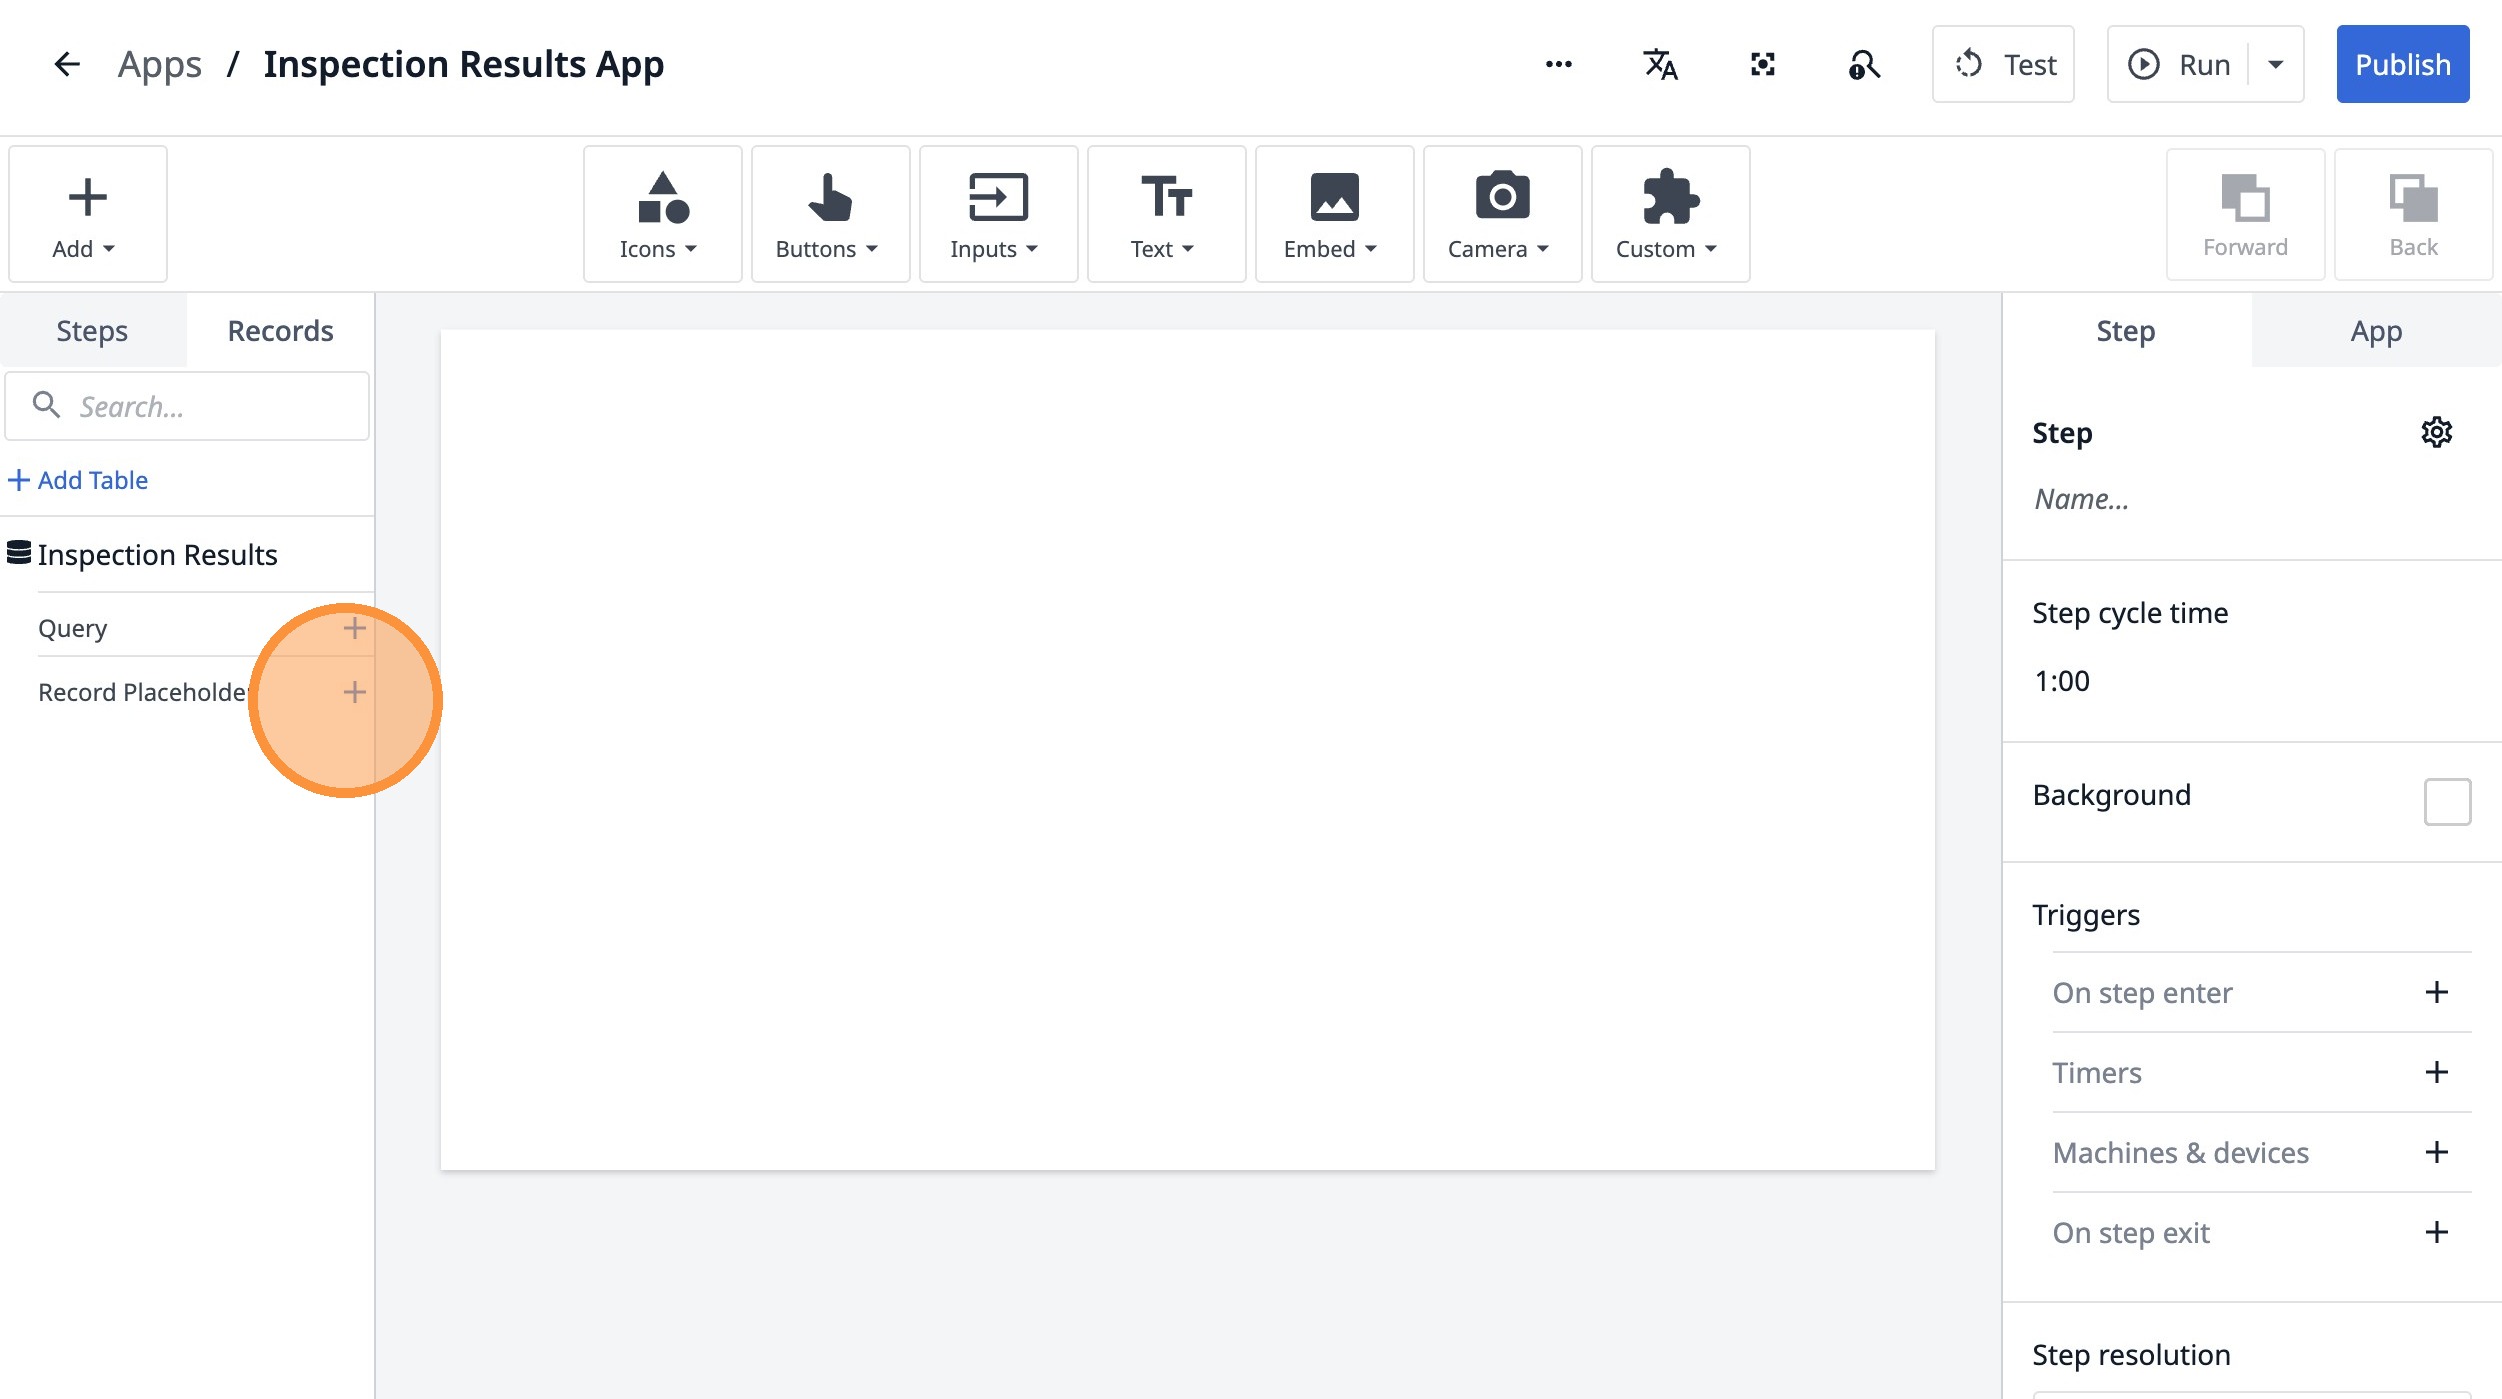
6. Click this icon.
7. Click the "Current Inspection Results" field.
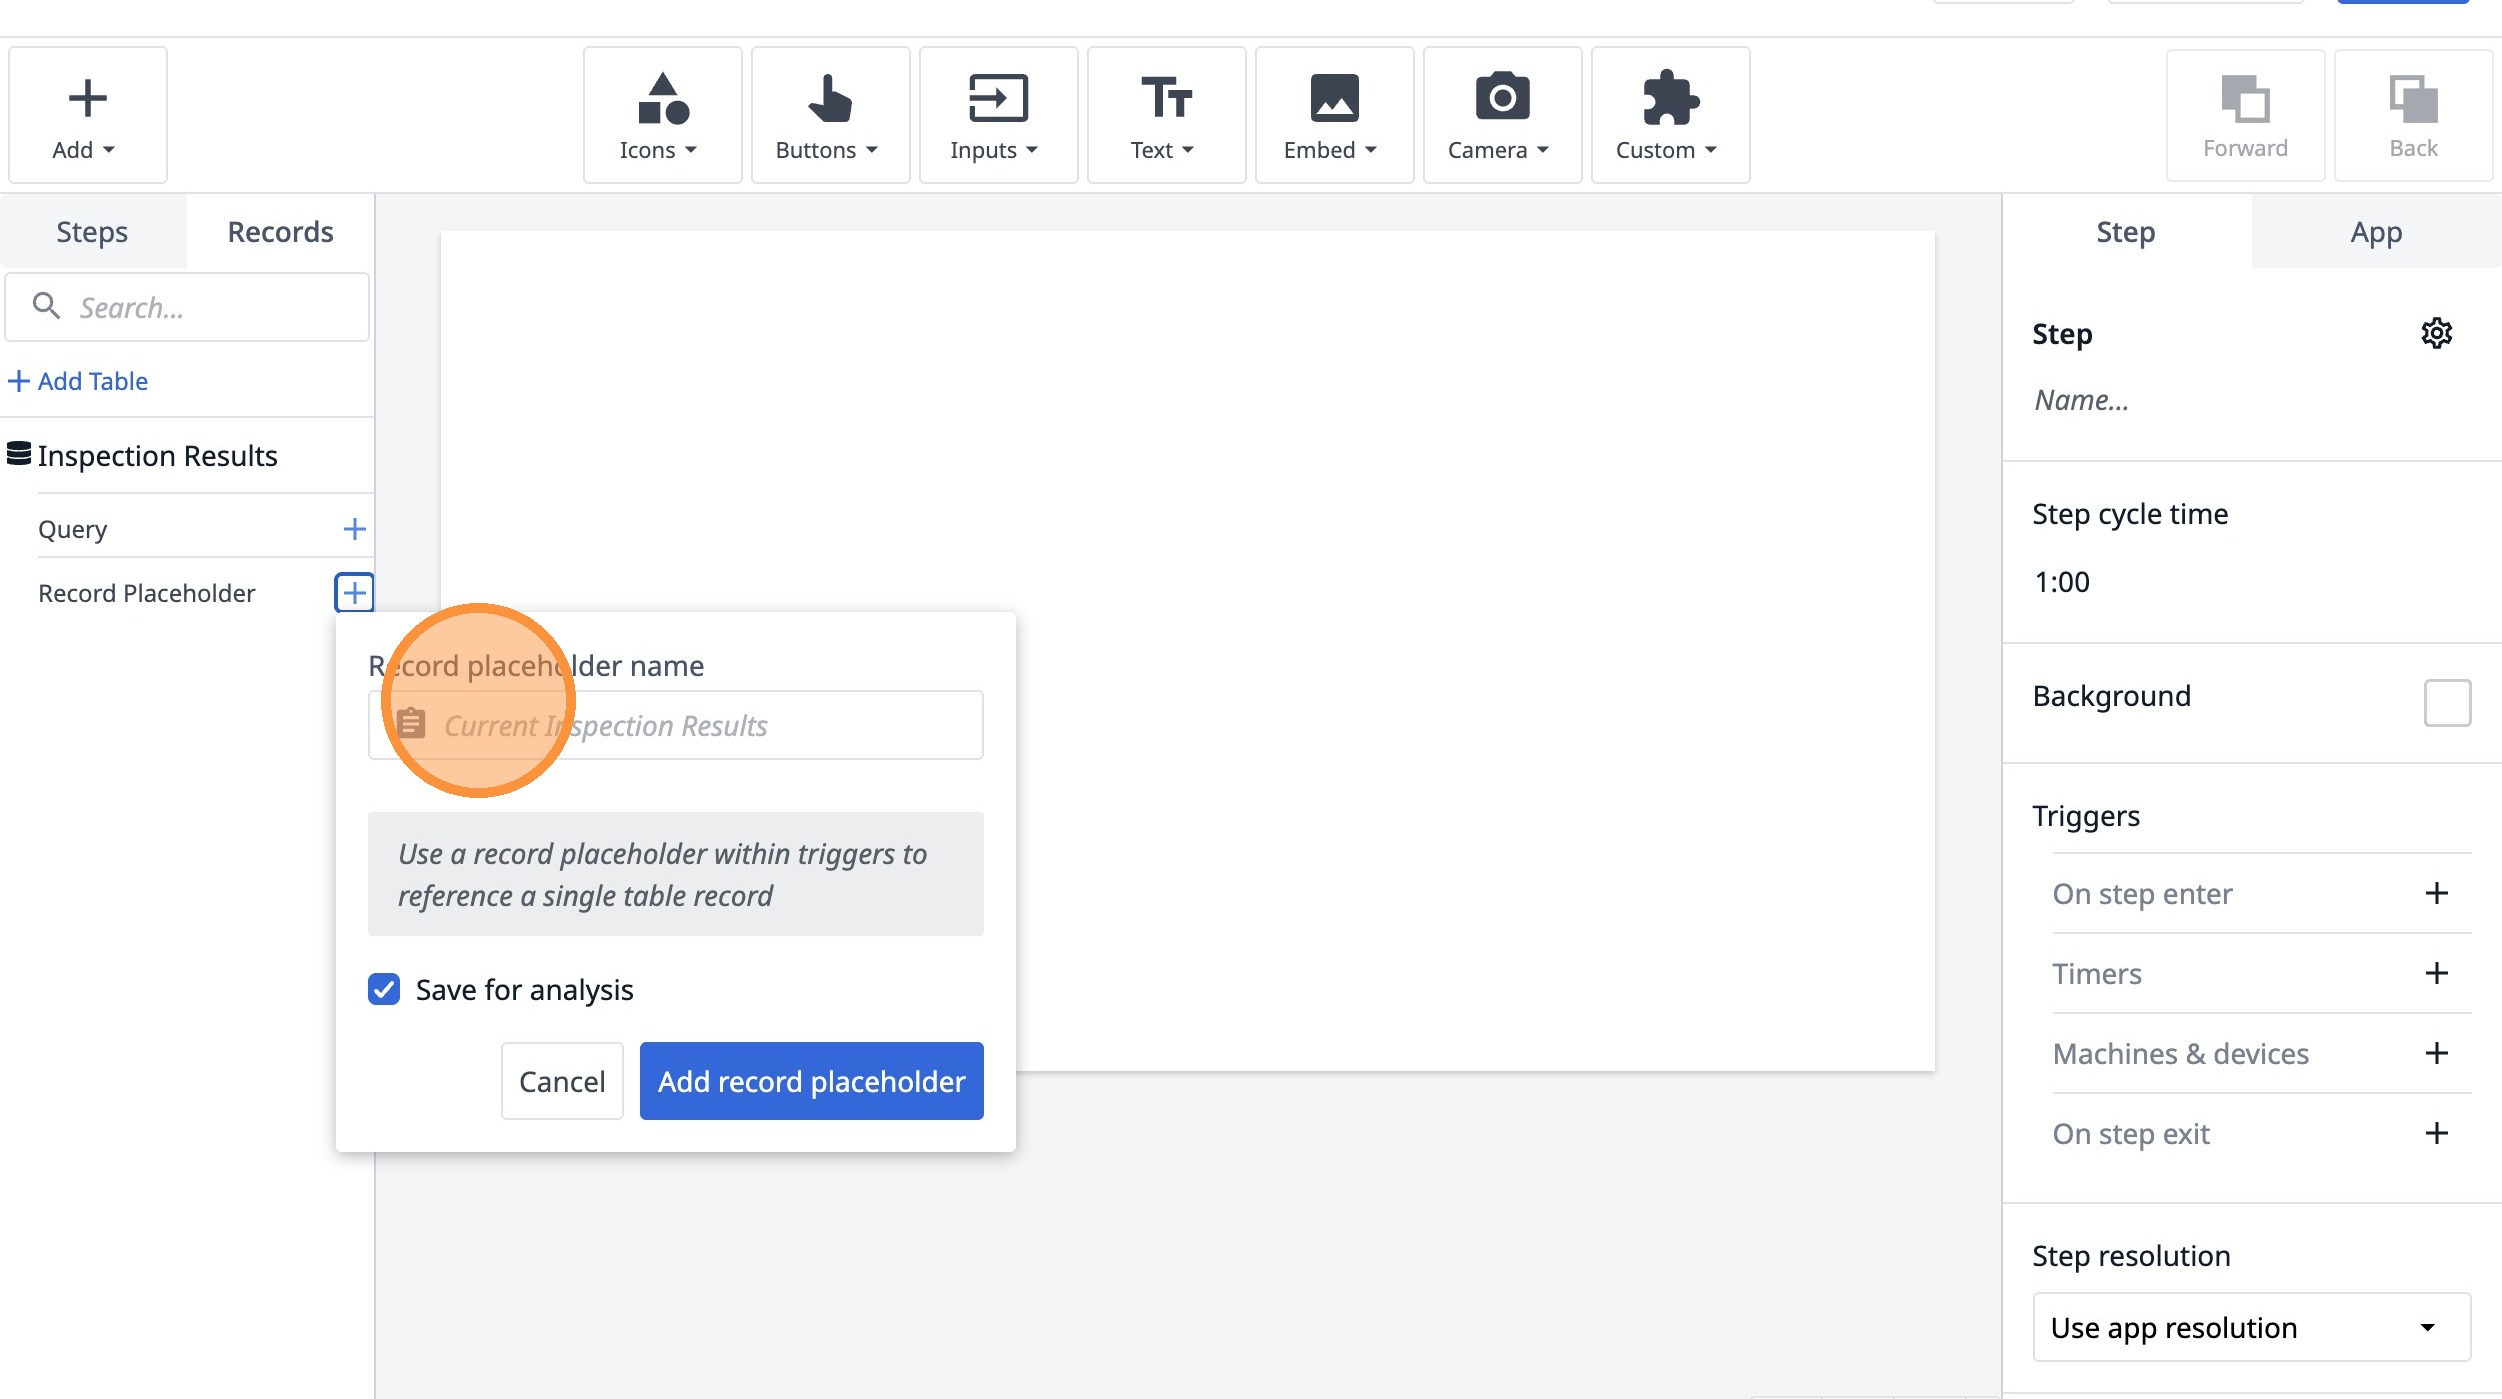
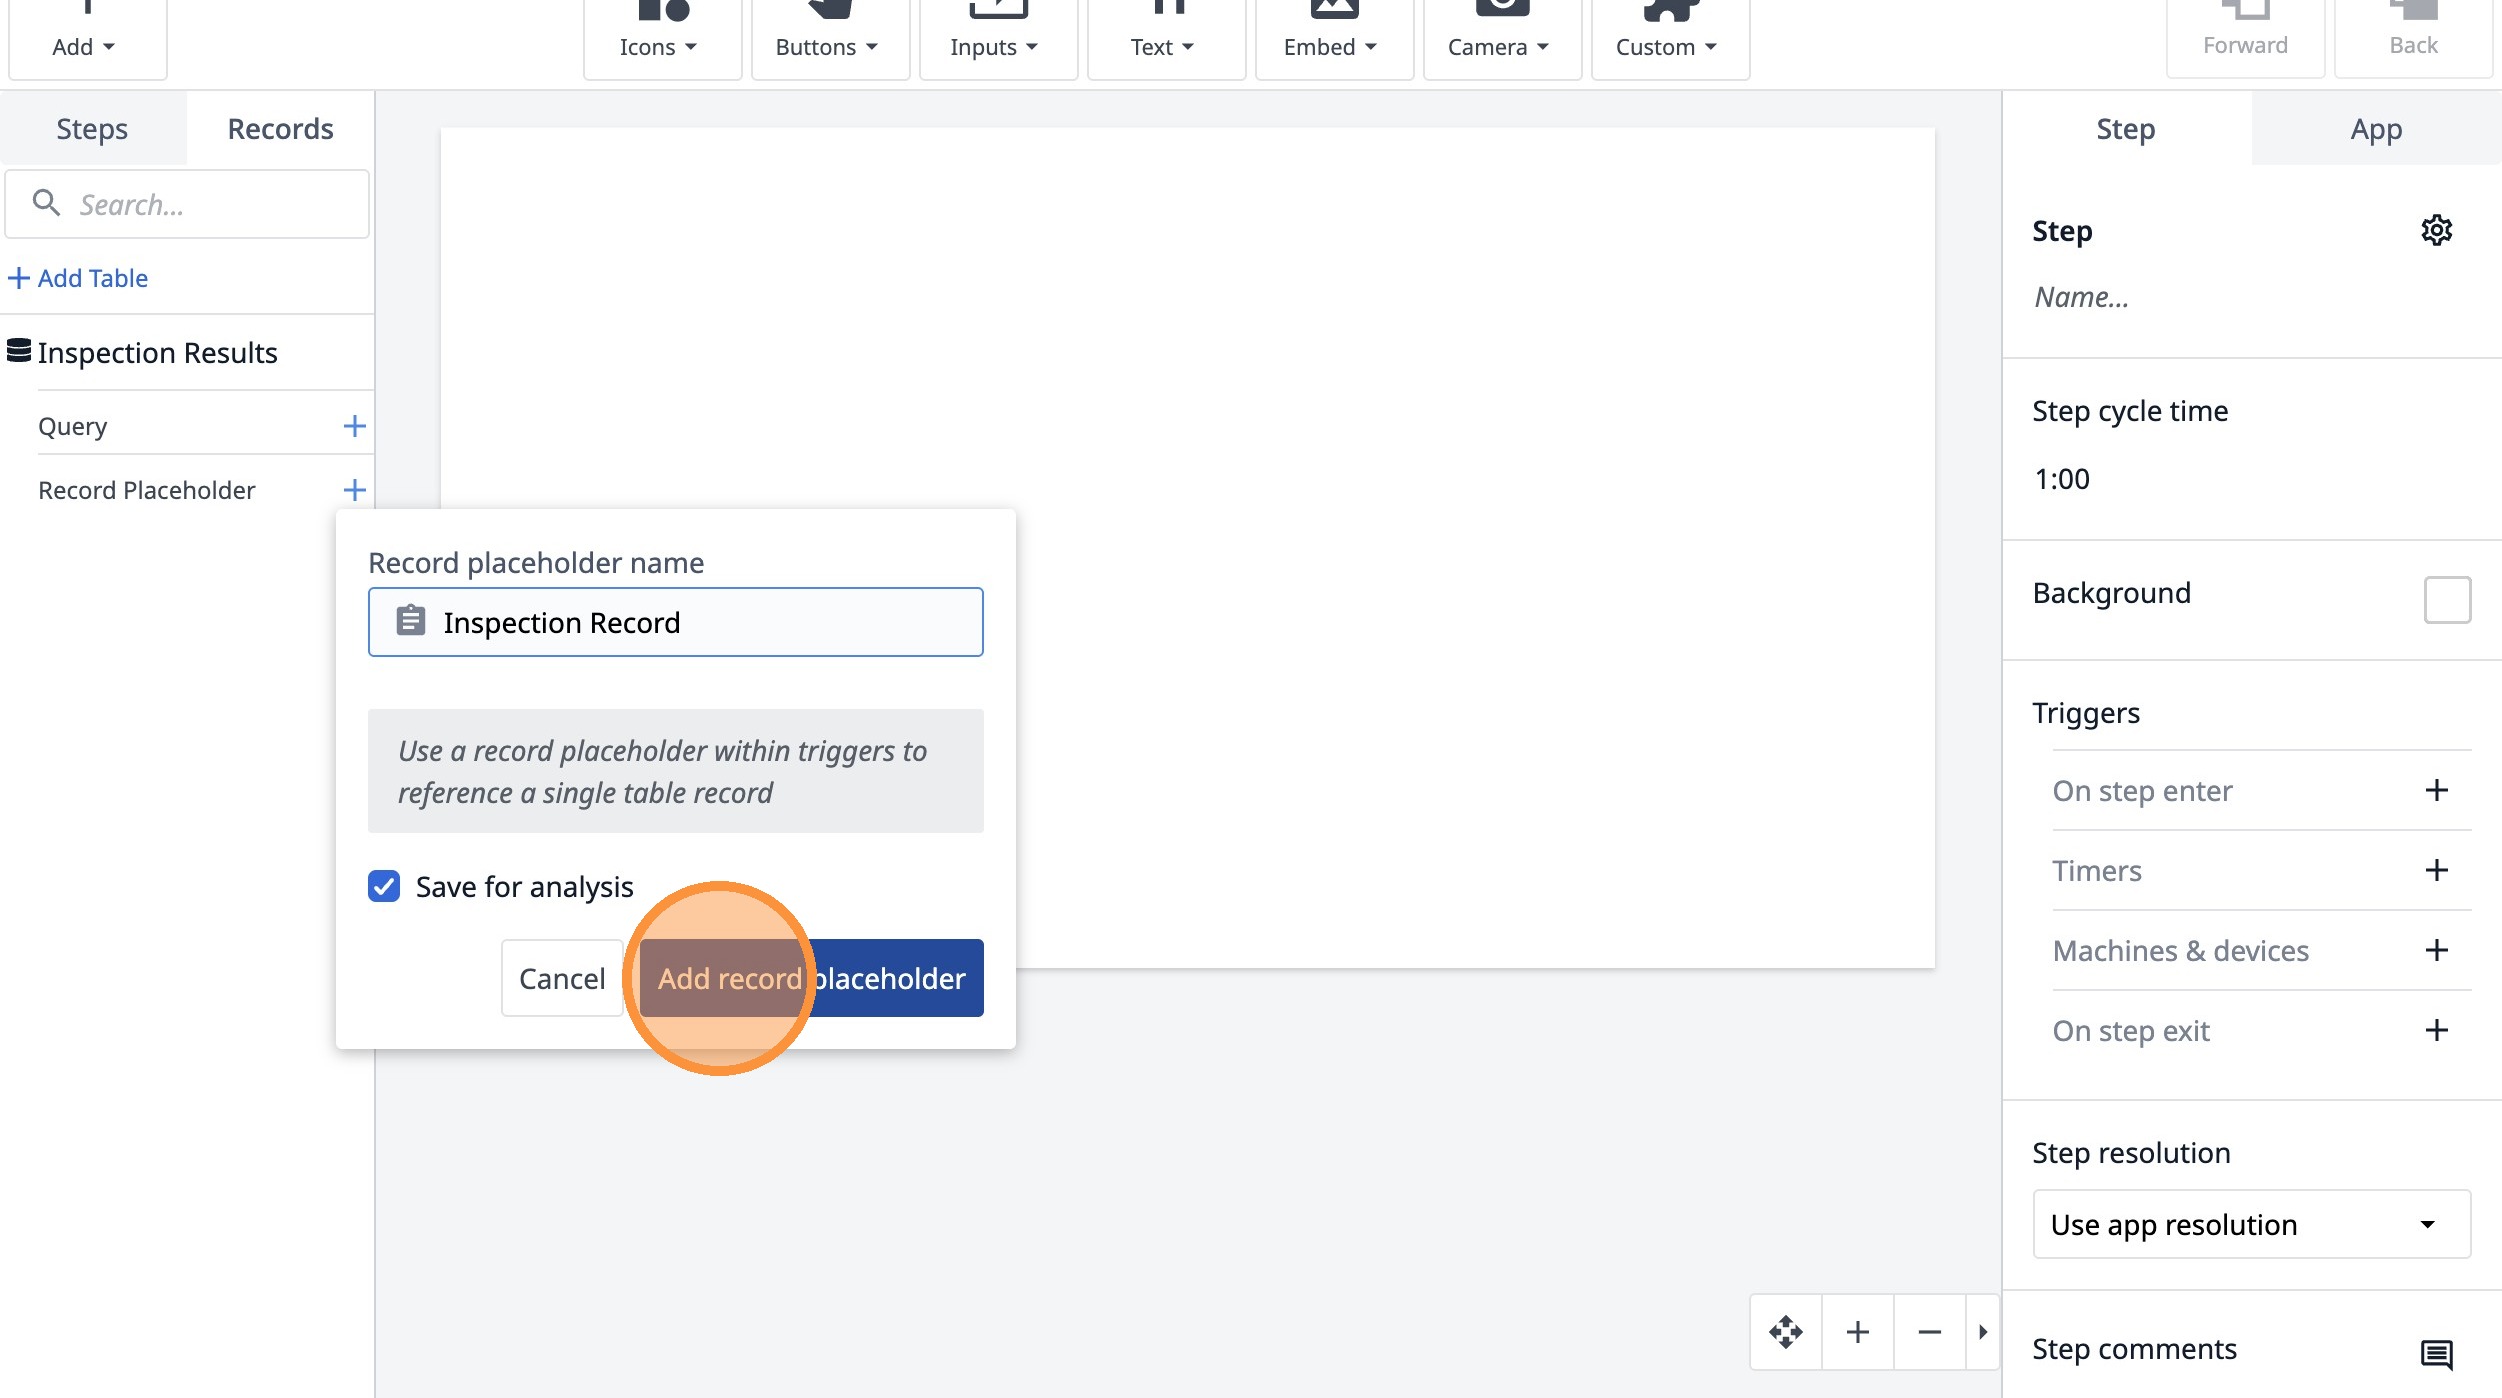
8. Type "Inspection Record"
9. Click "Add record placeholder"
10. Click this icon.
11. Click this text field.
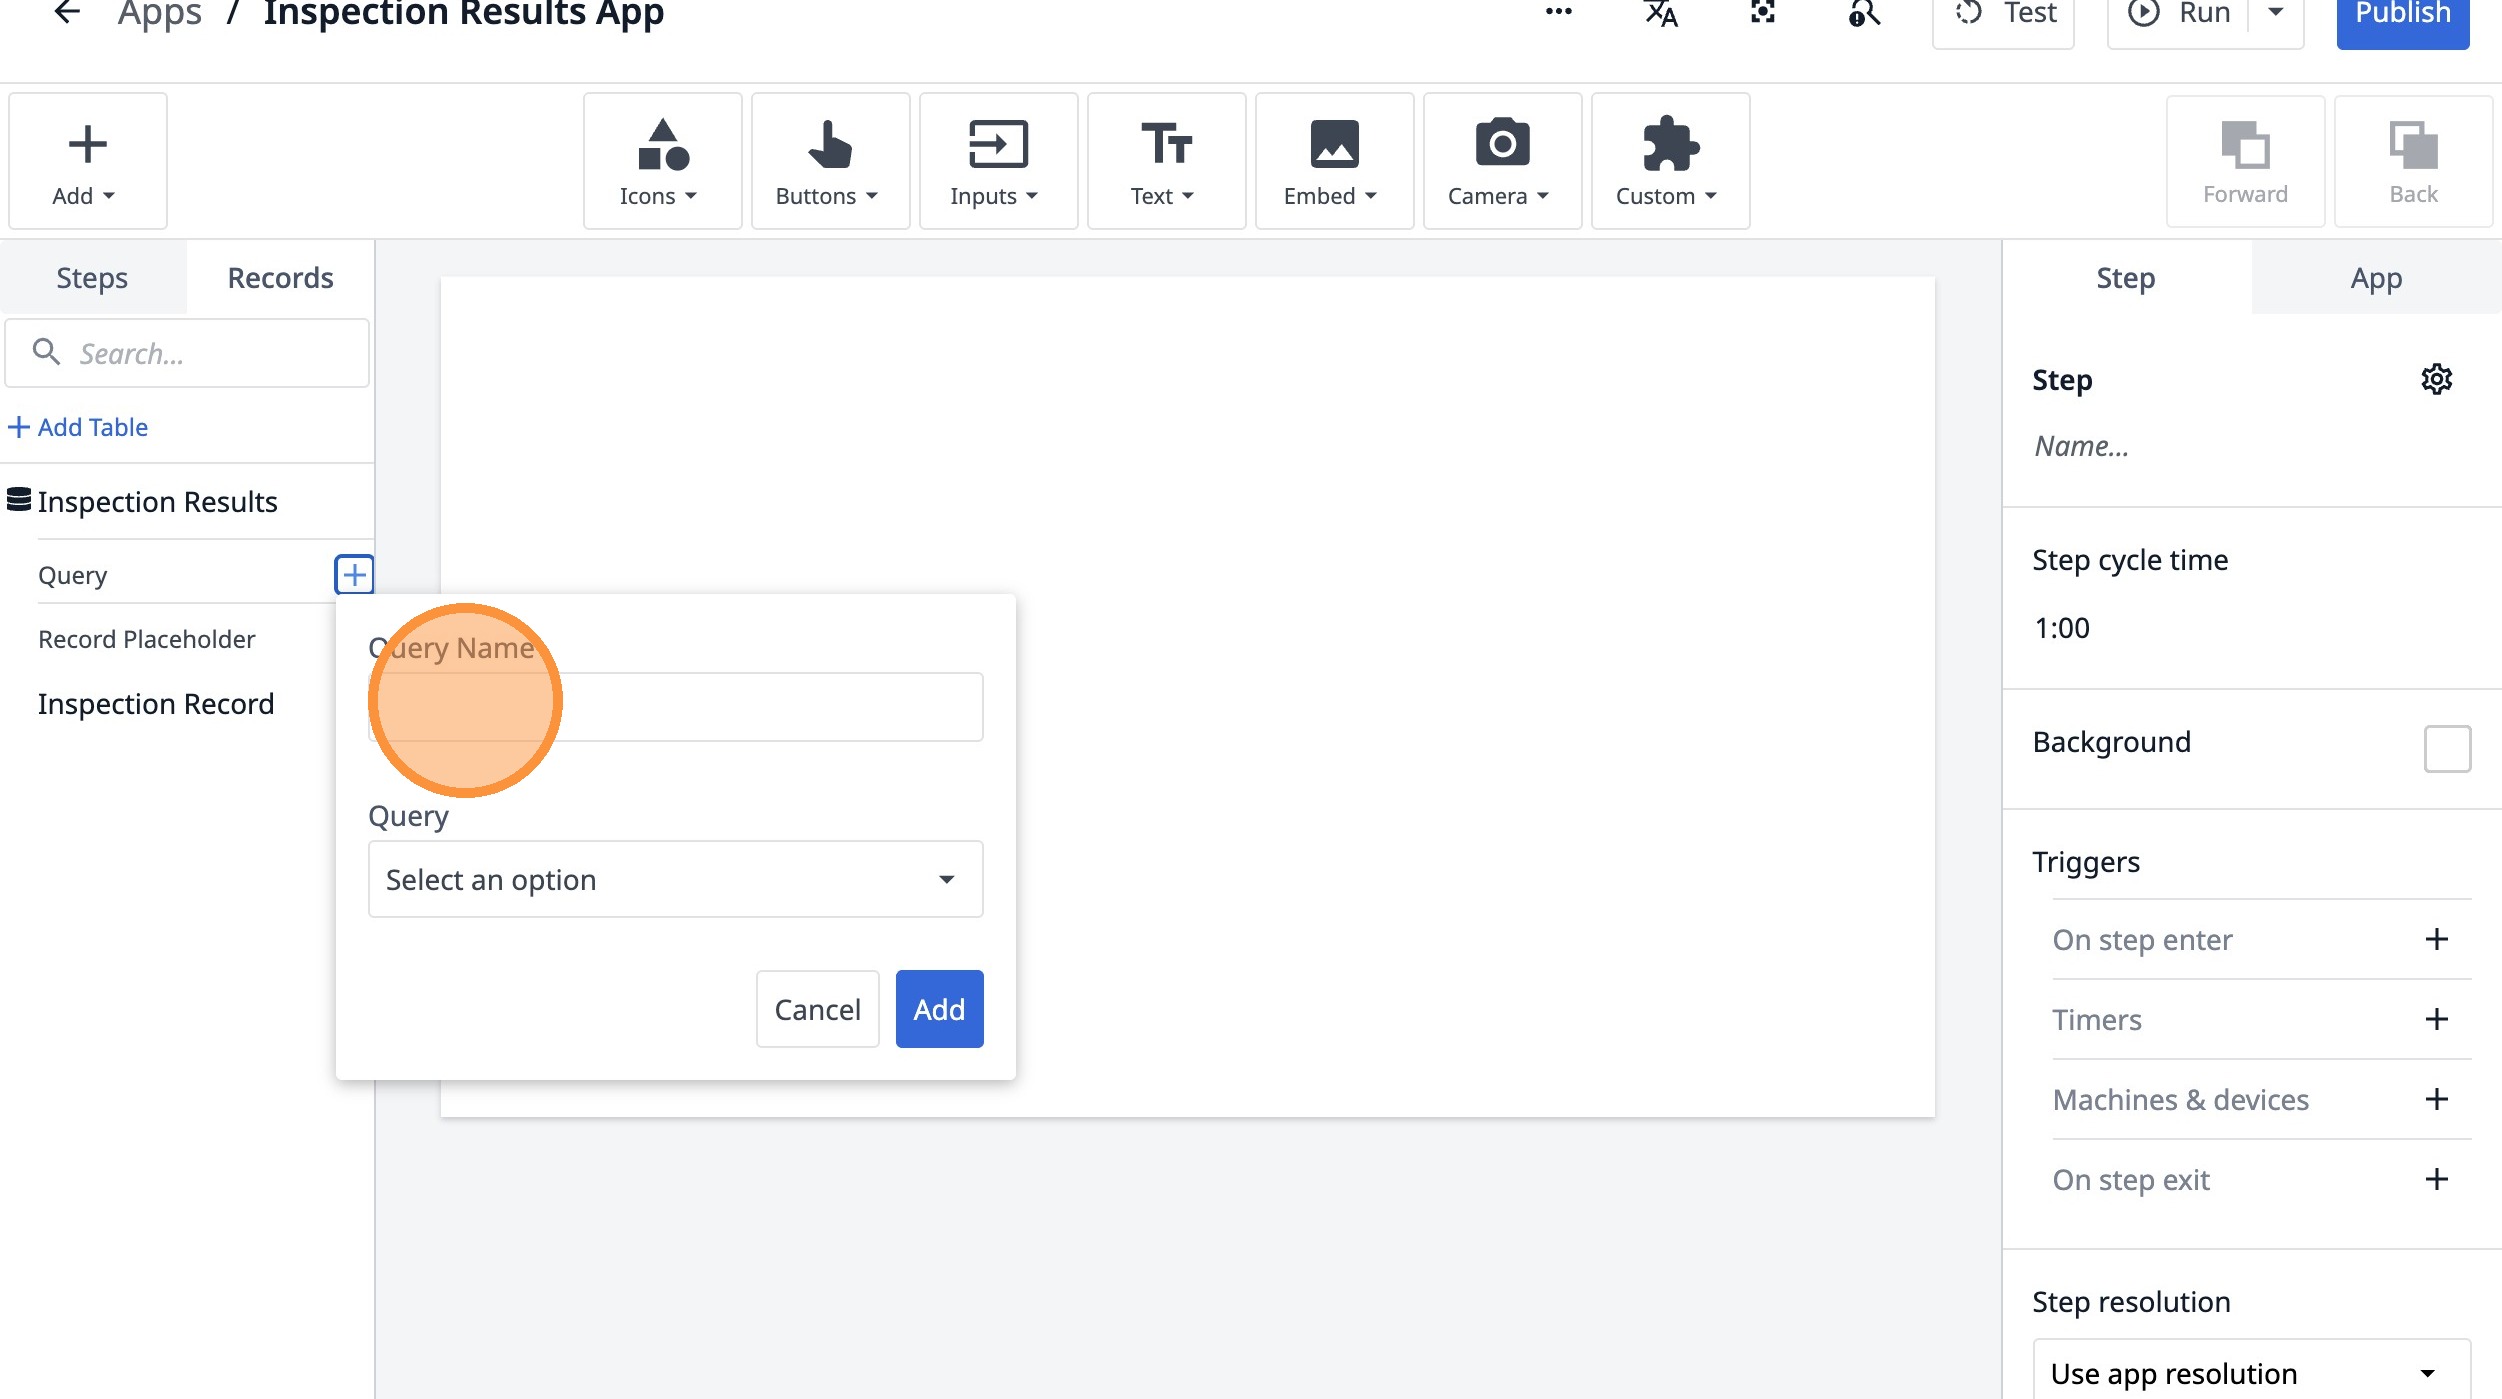
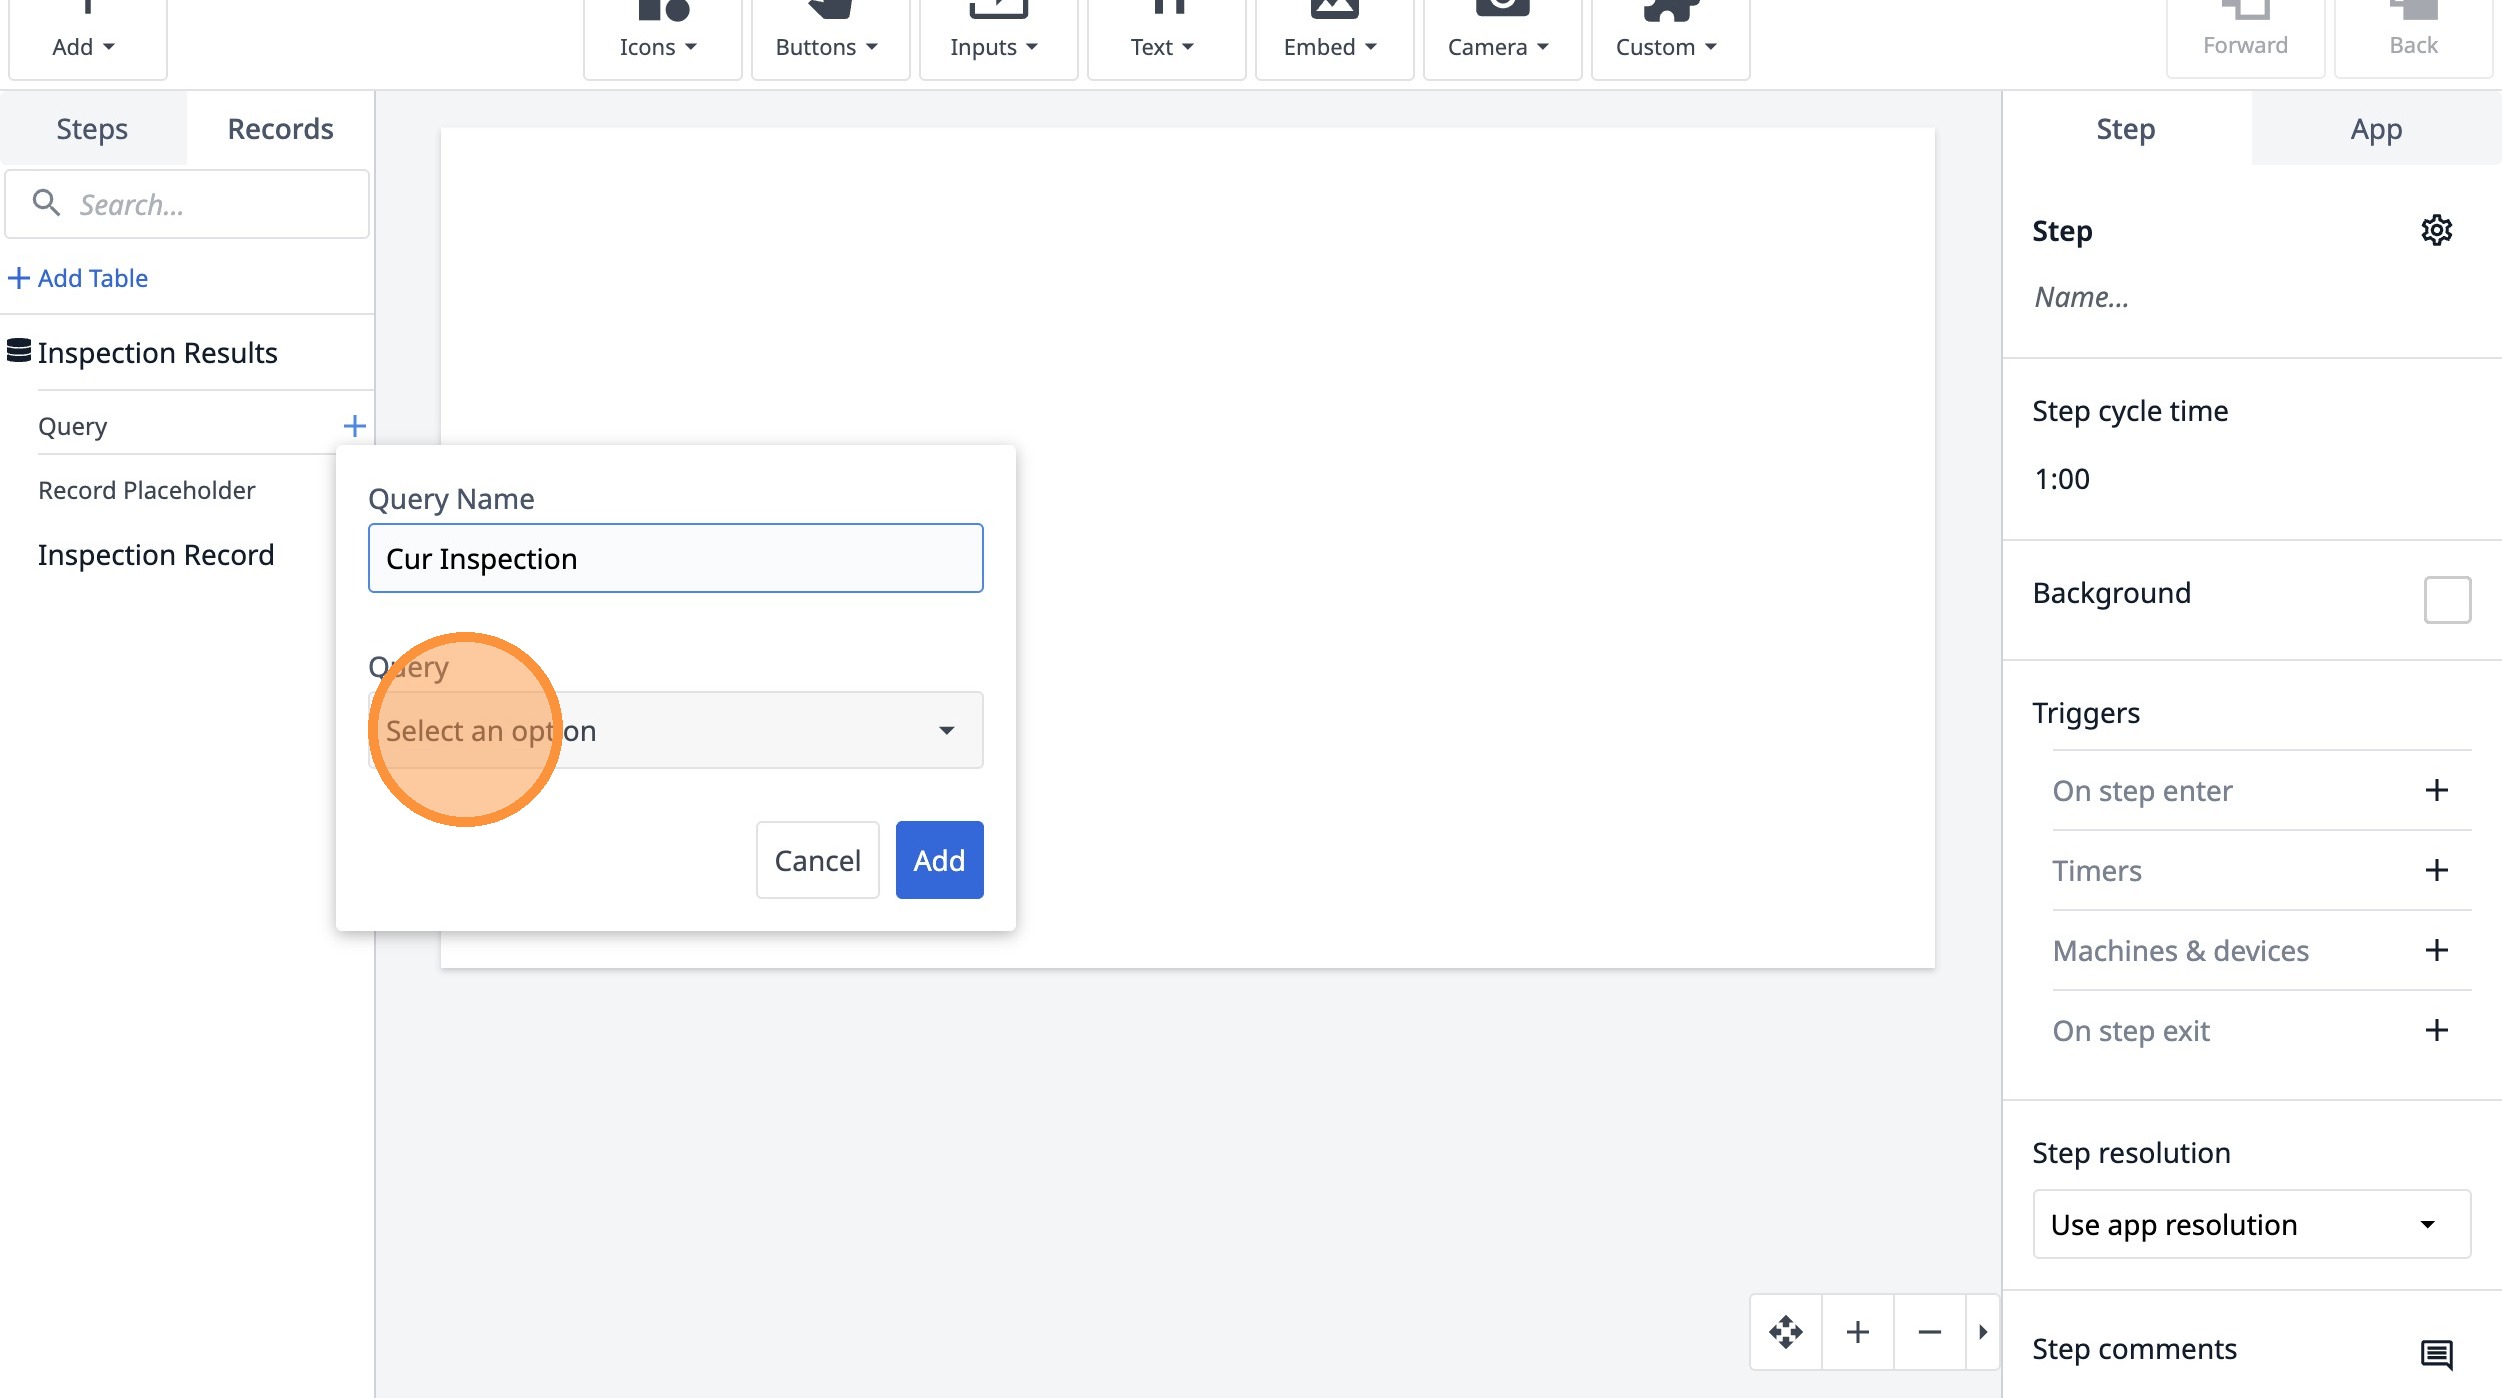
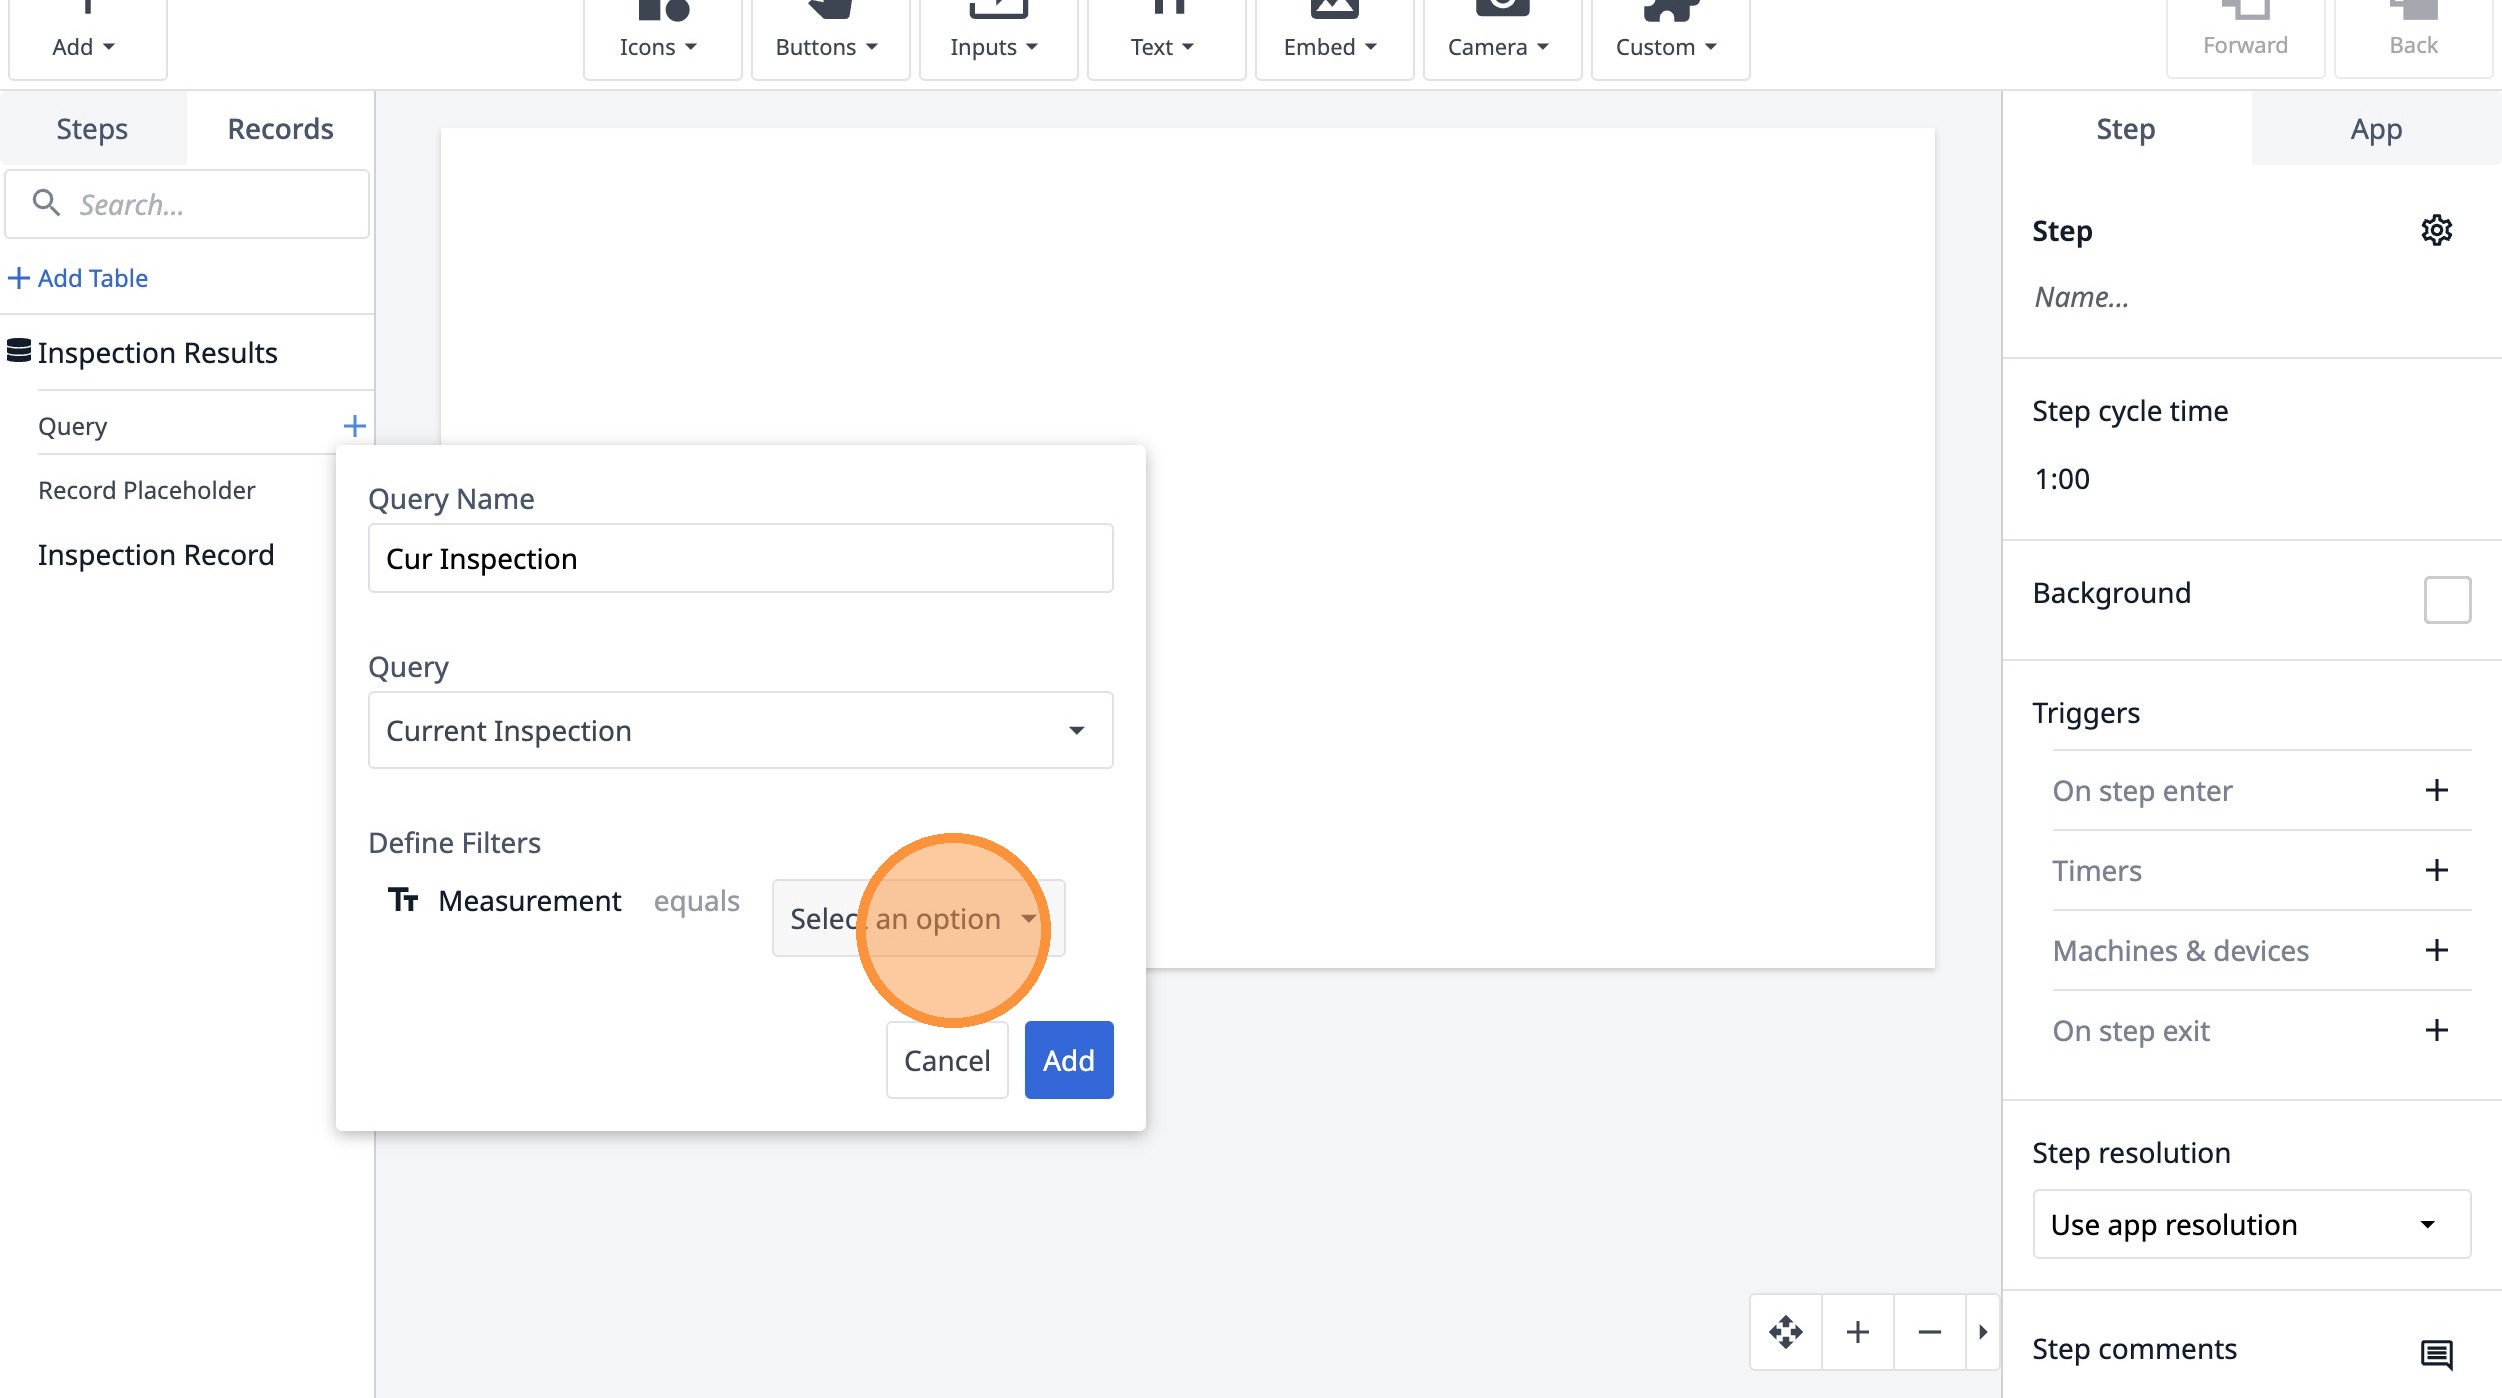
12. Type "Cur Inspection"
13. Click "Select an option"
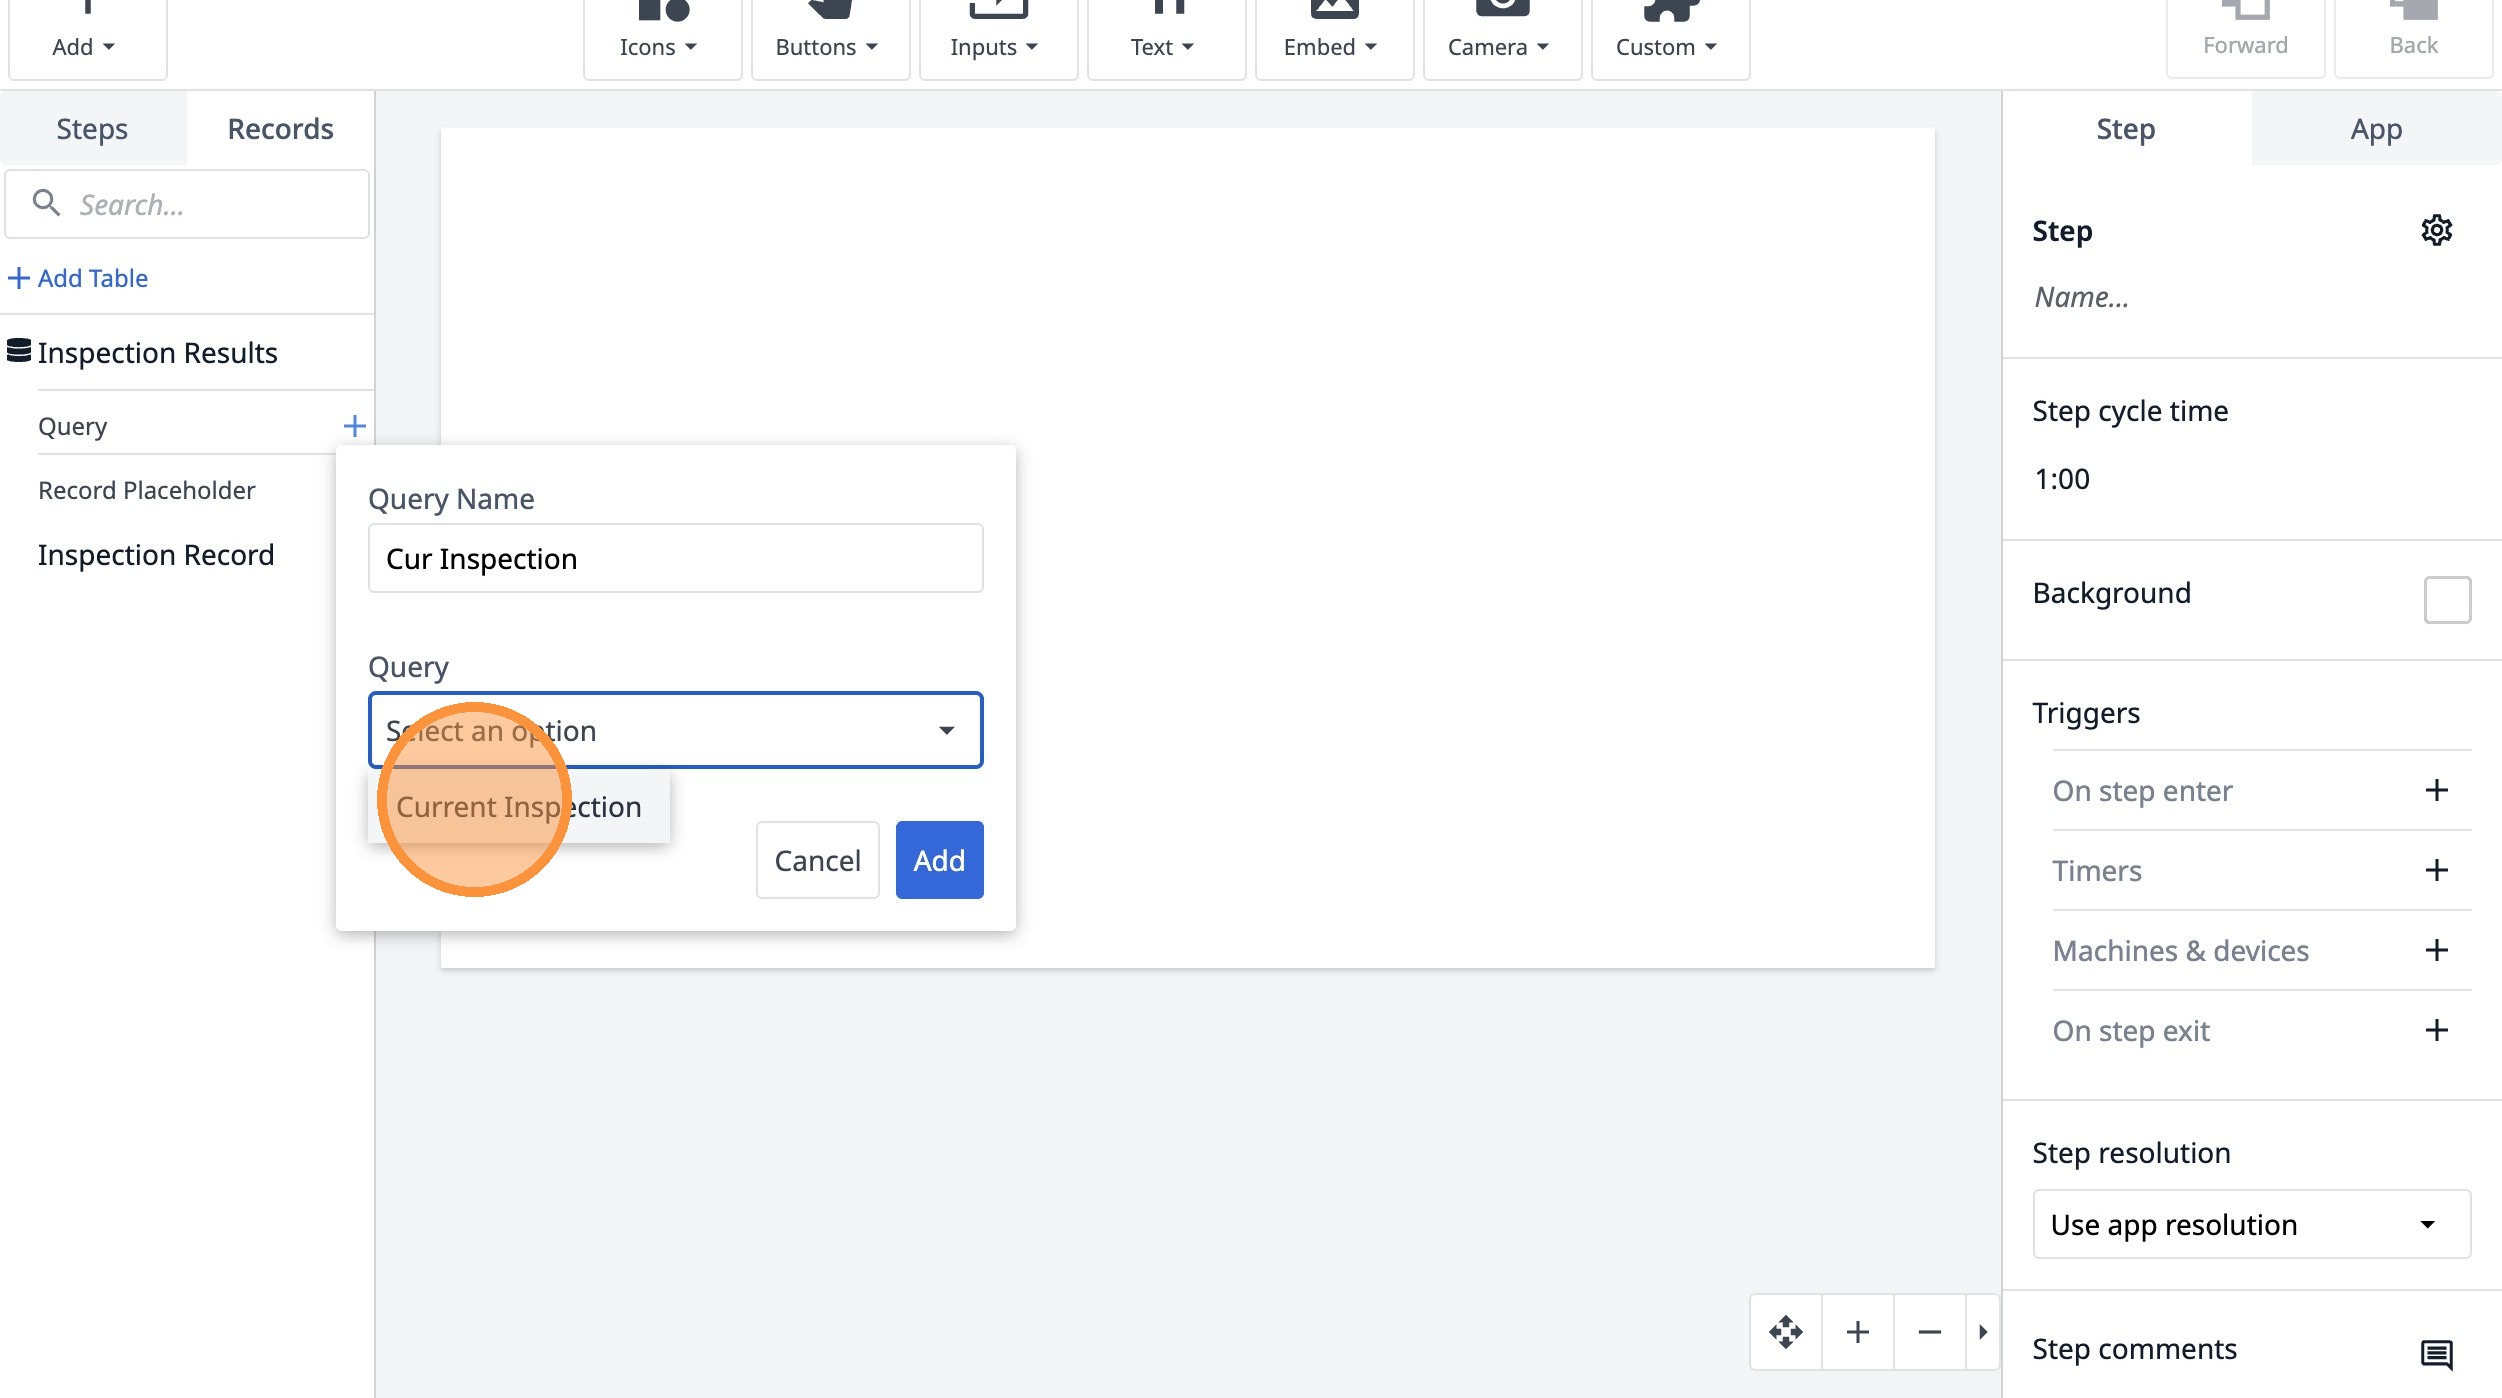
14. Click "Current Inspection"
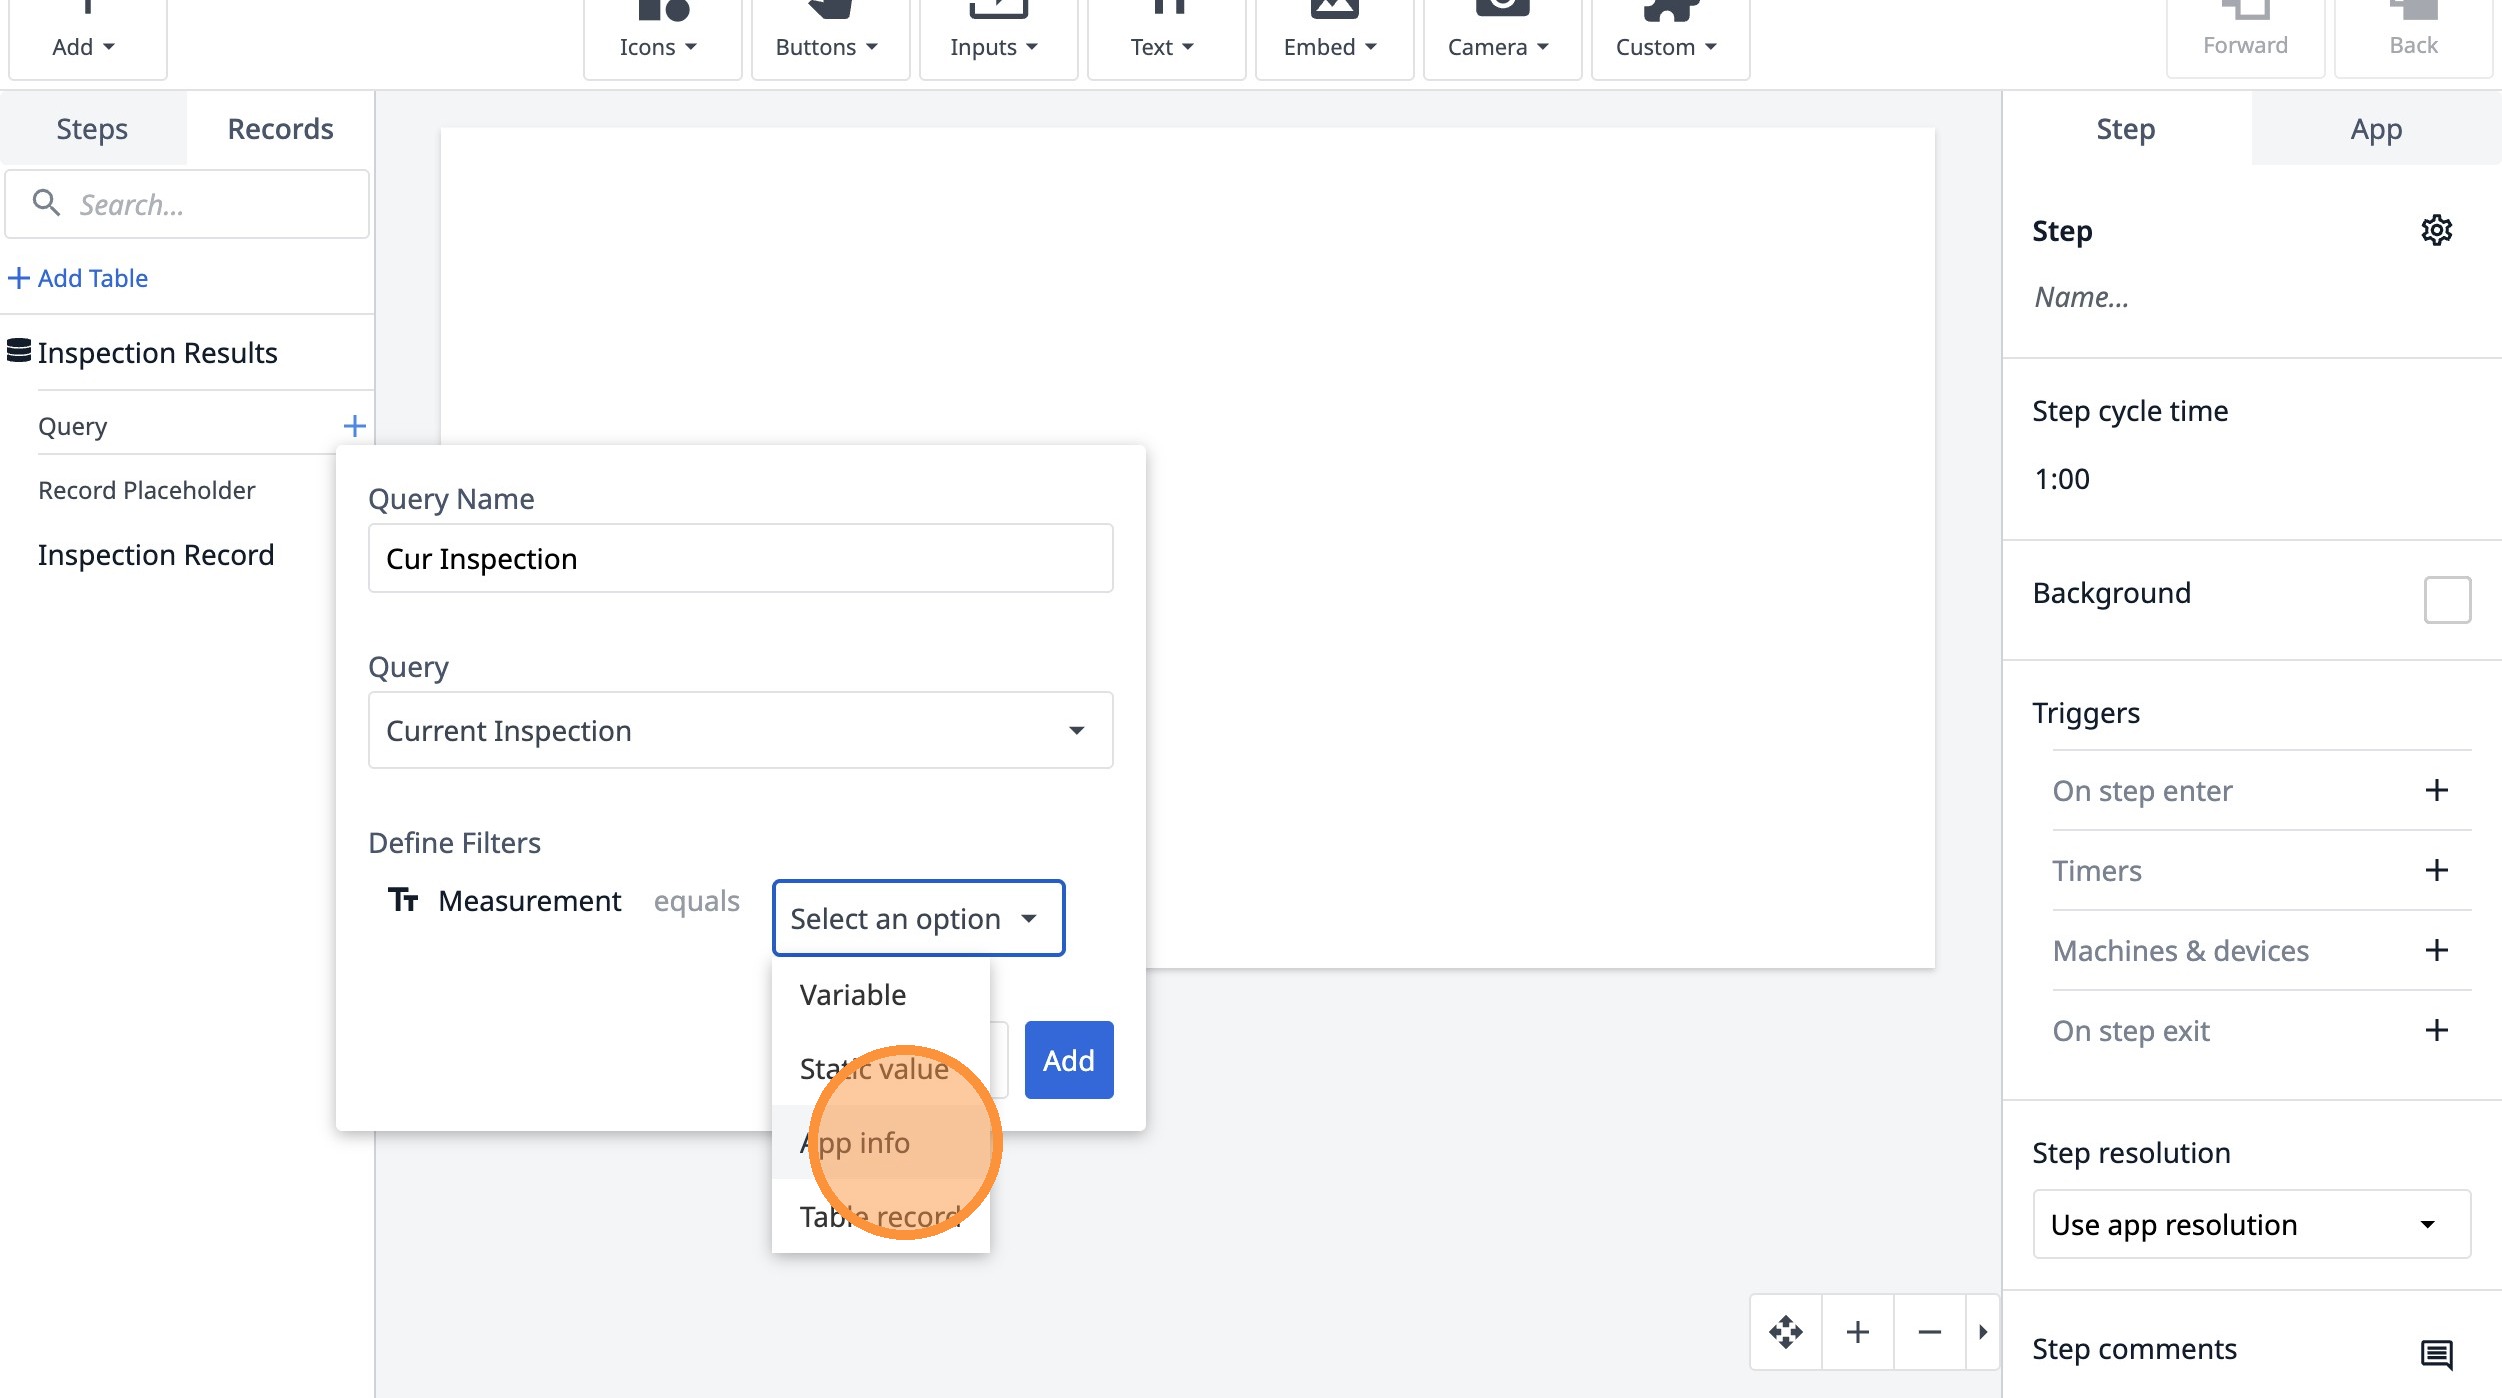
15. Click "Select an option"
16. Click "App info"
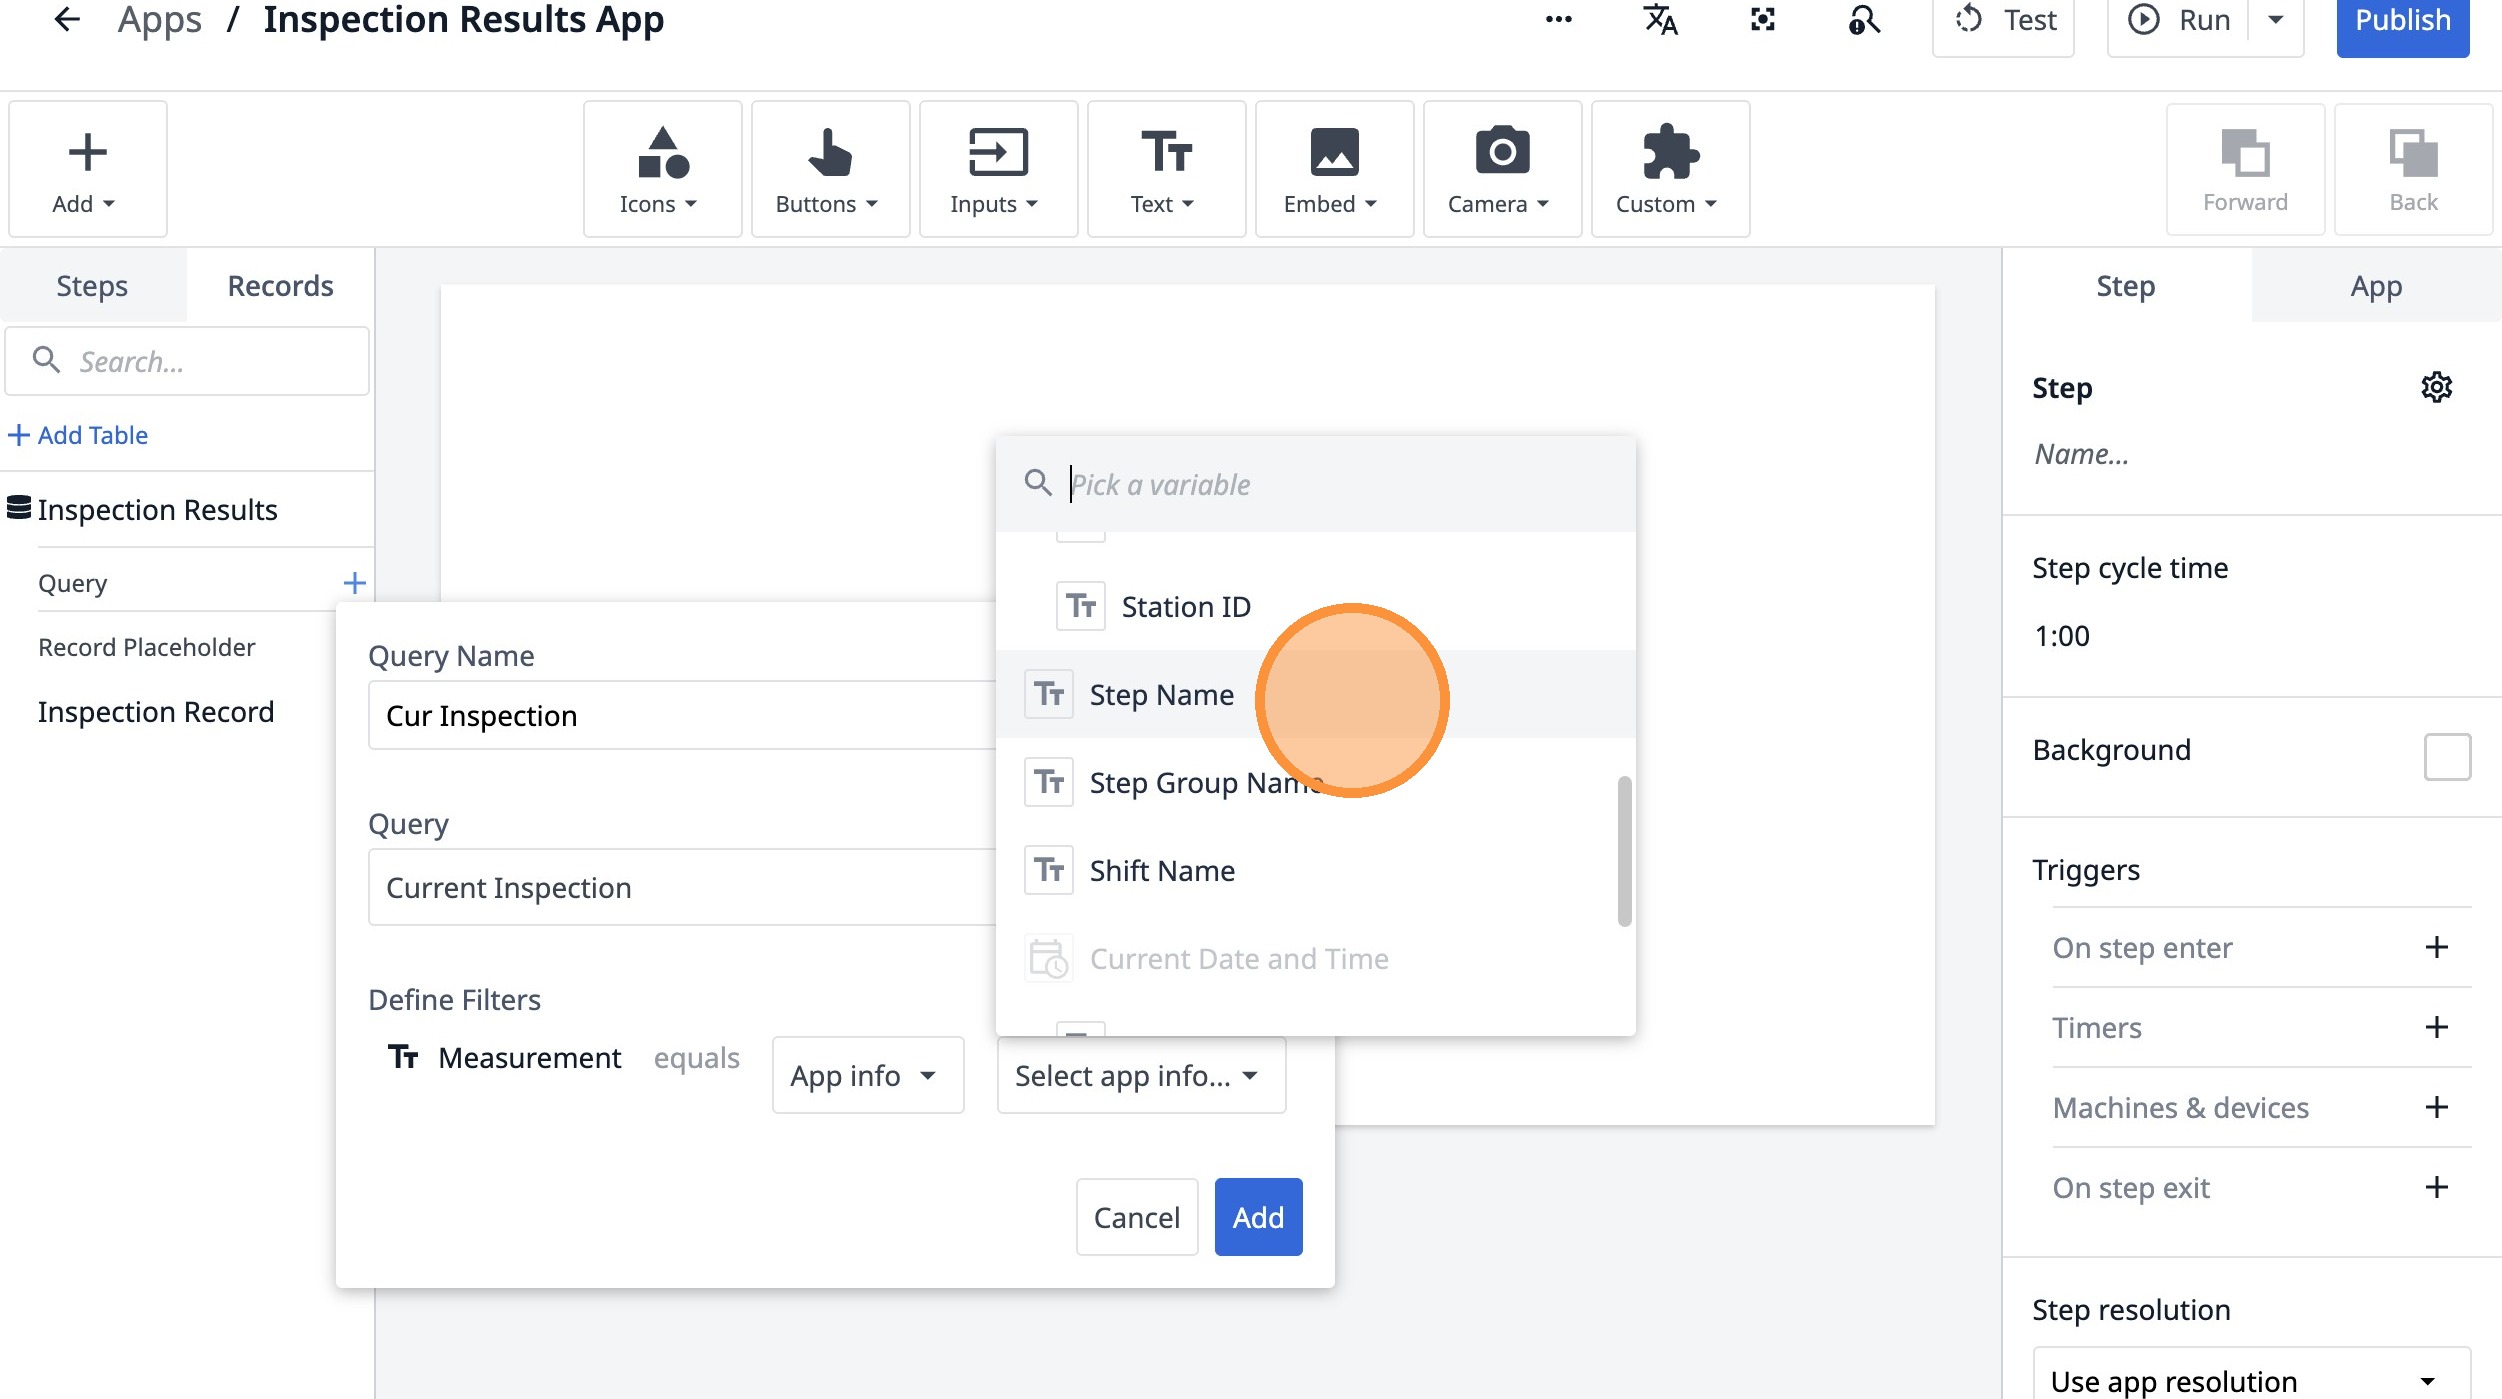
17. Click "Select app info..."

18. Click "Step Name"
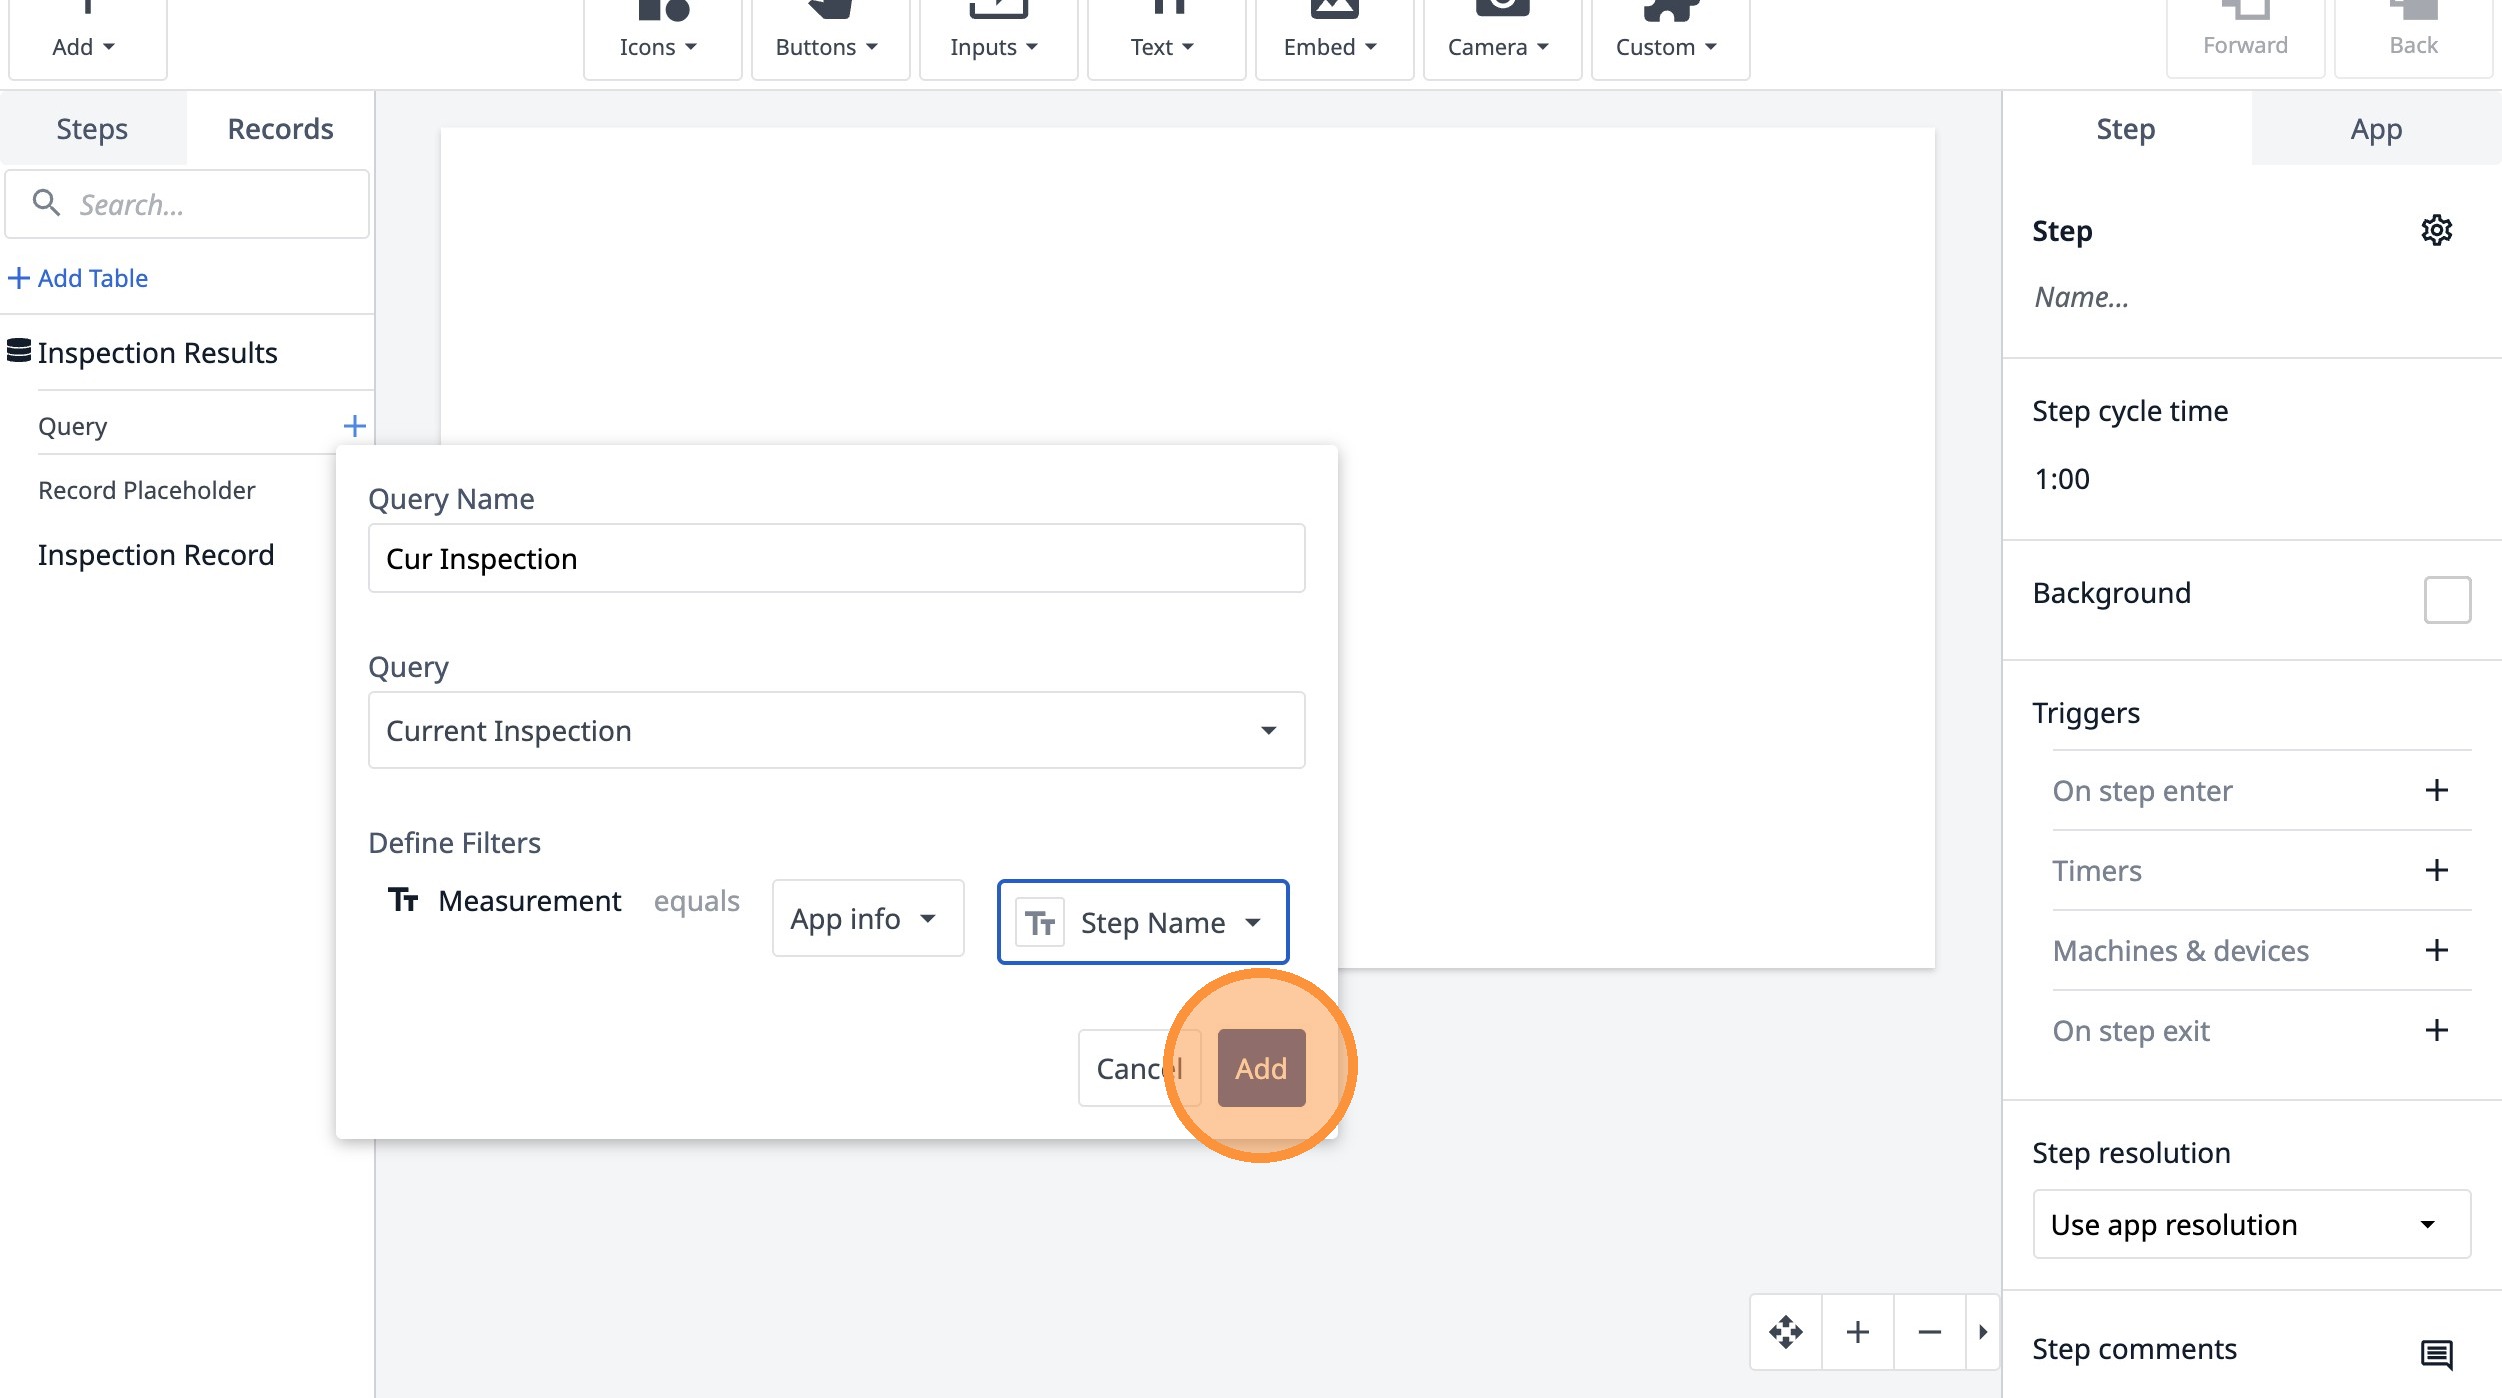
19. Click "Add"
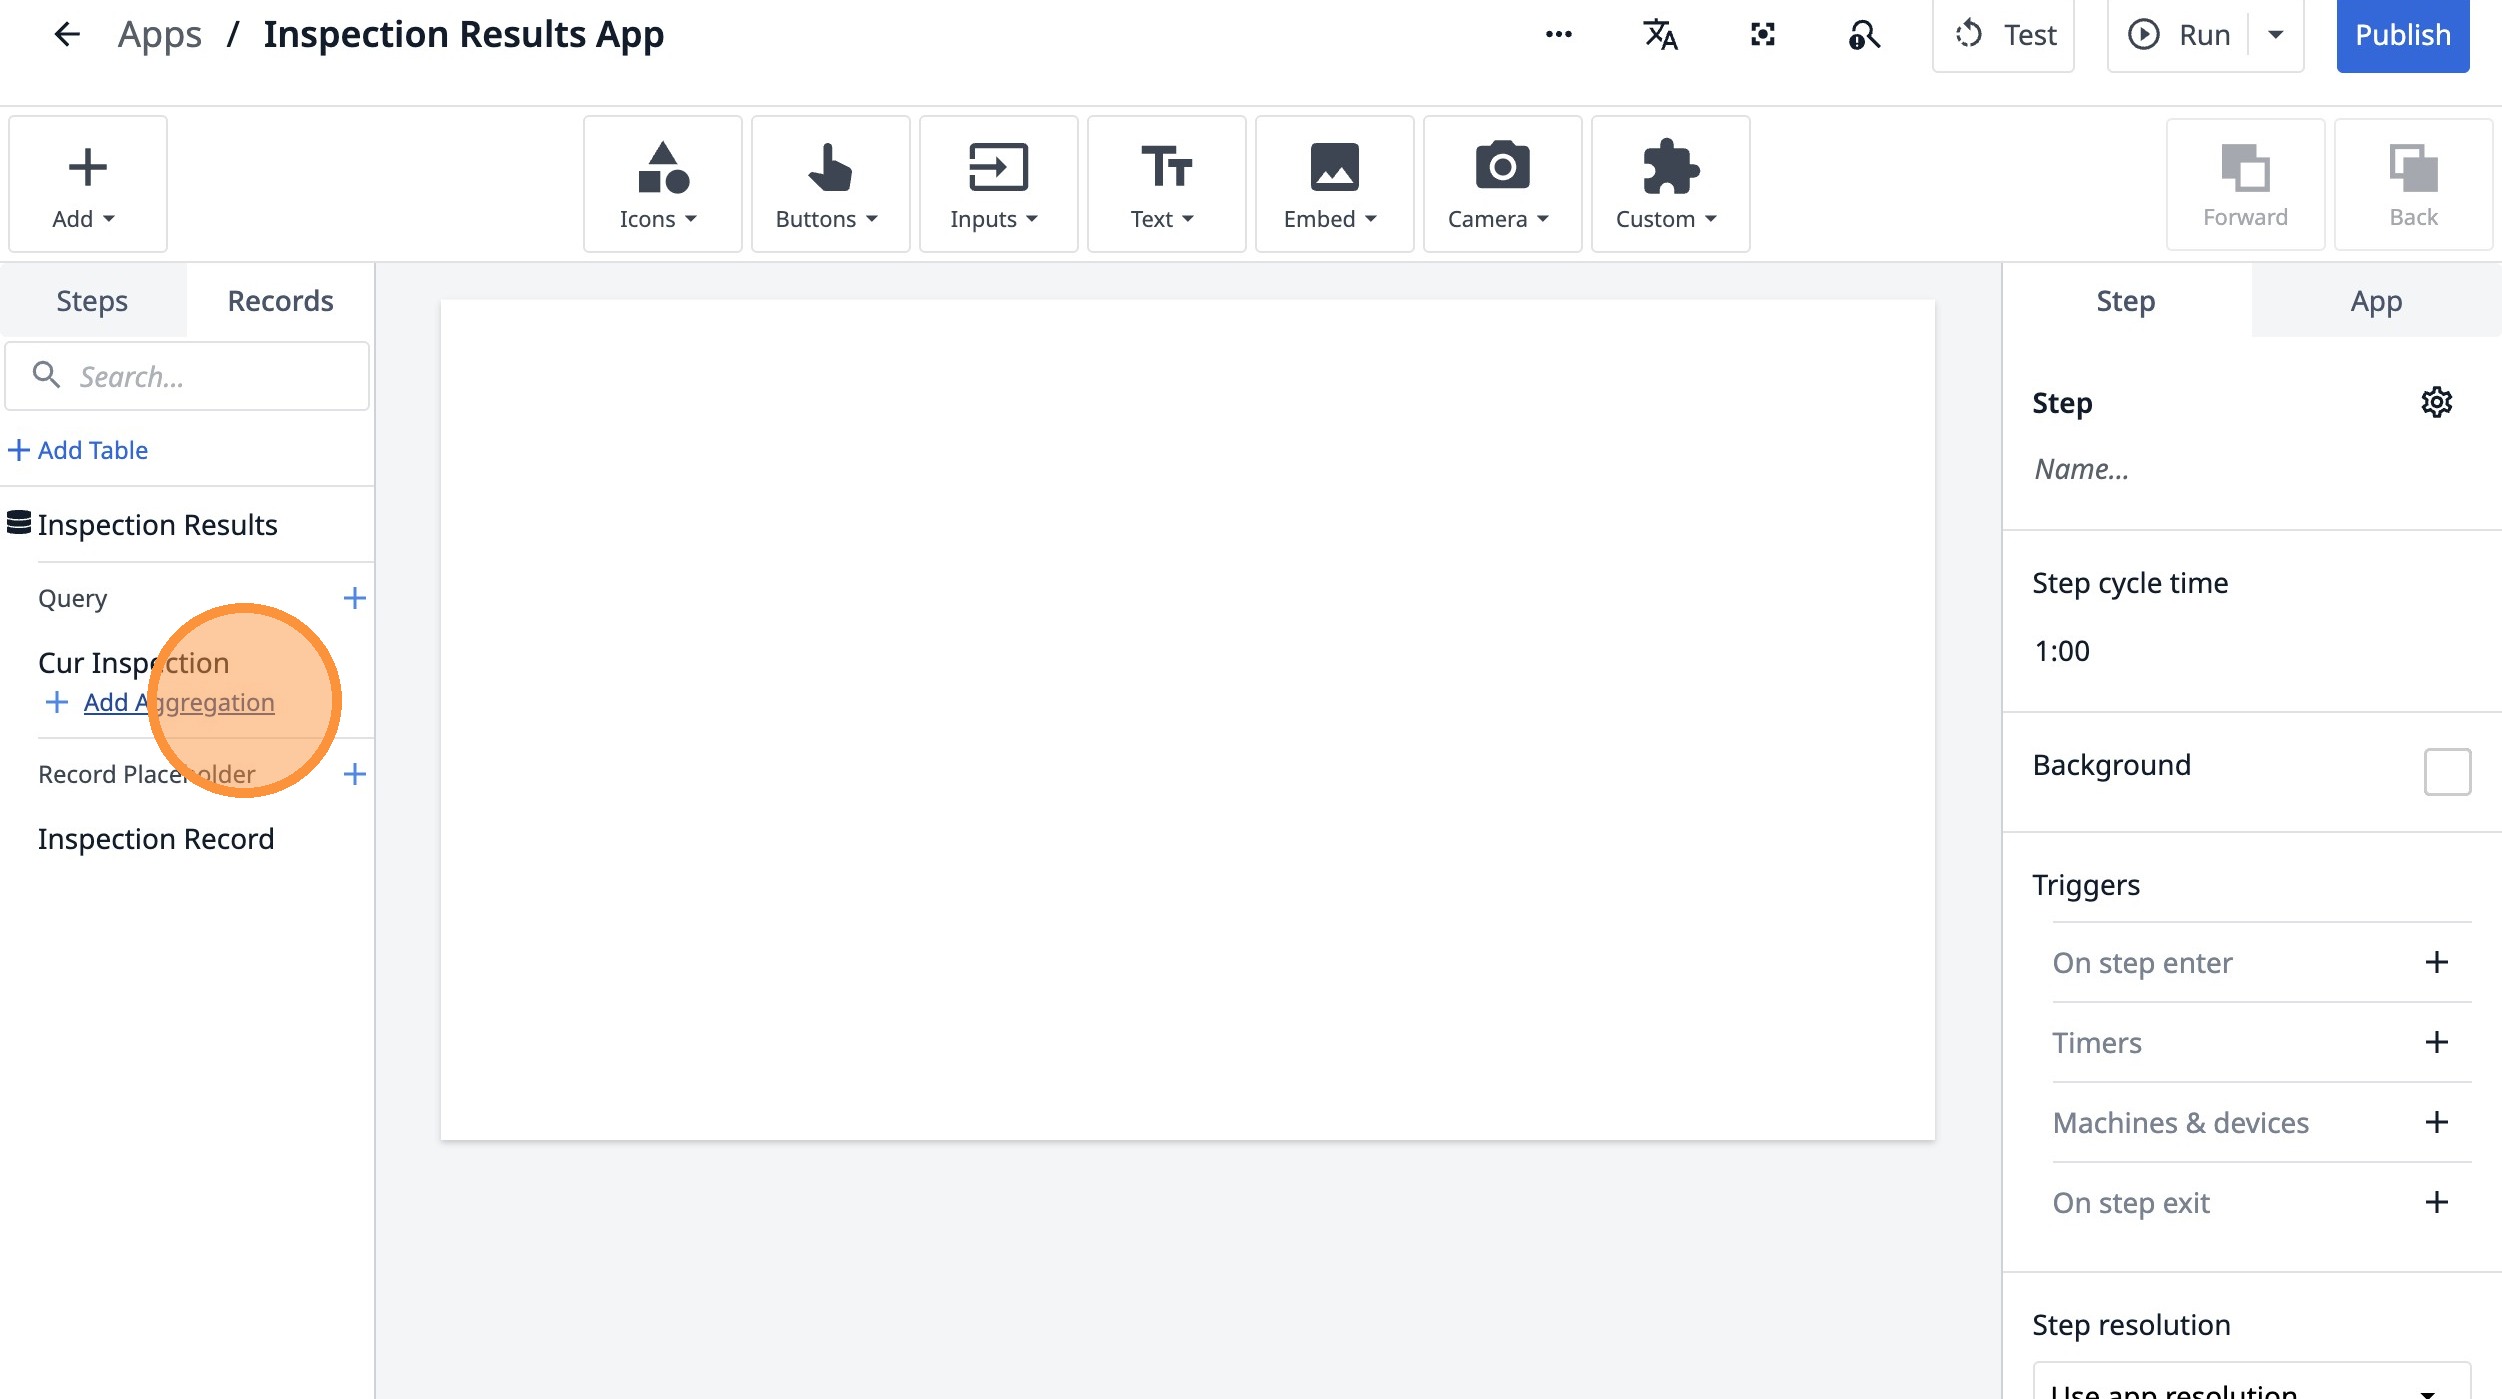
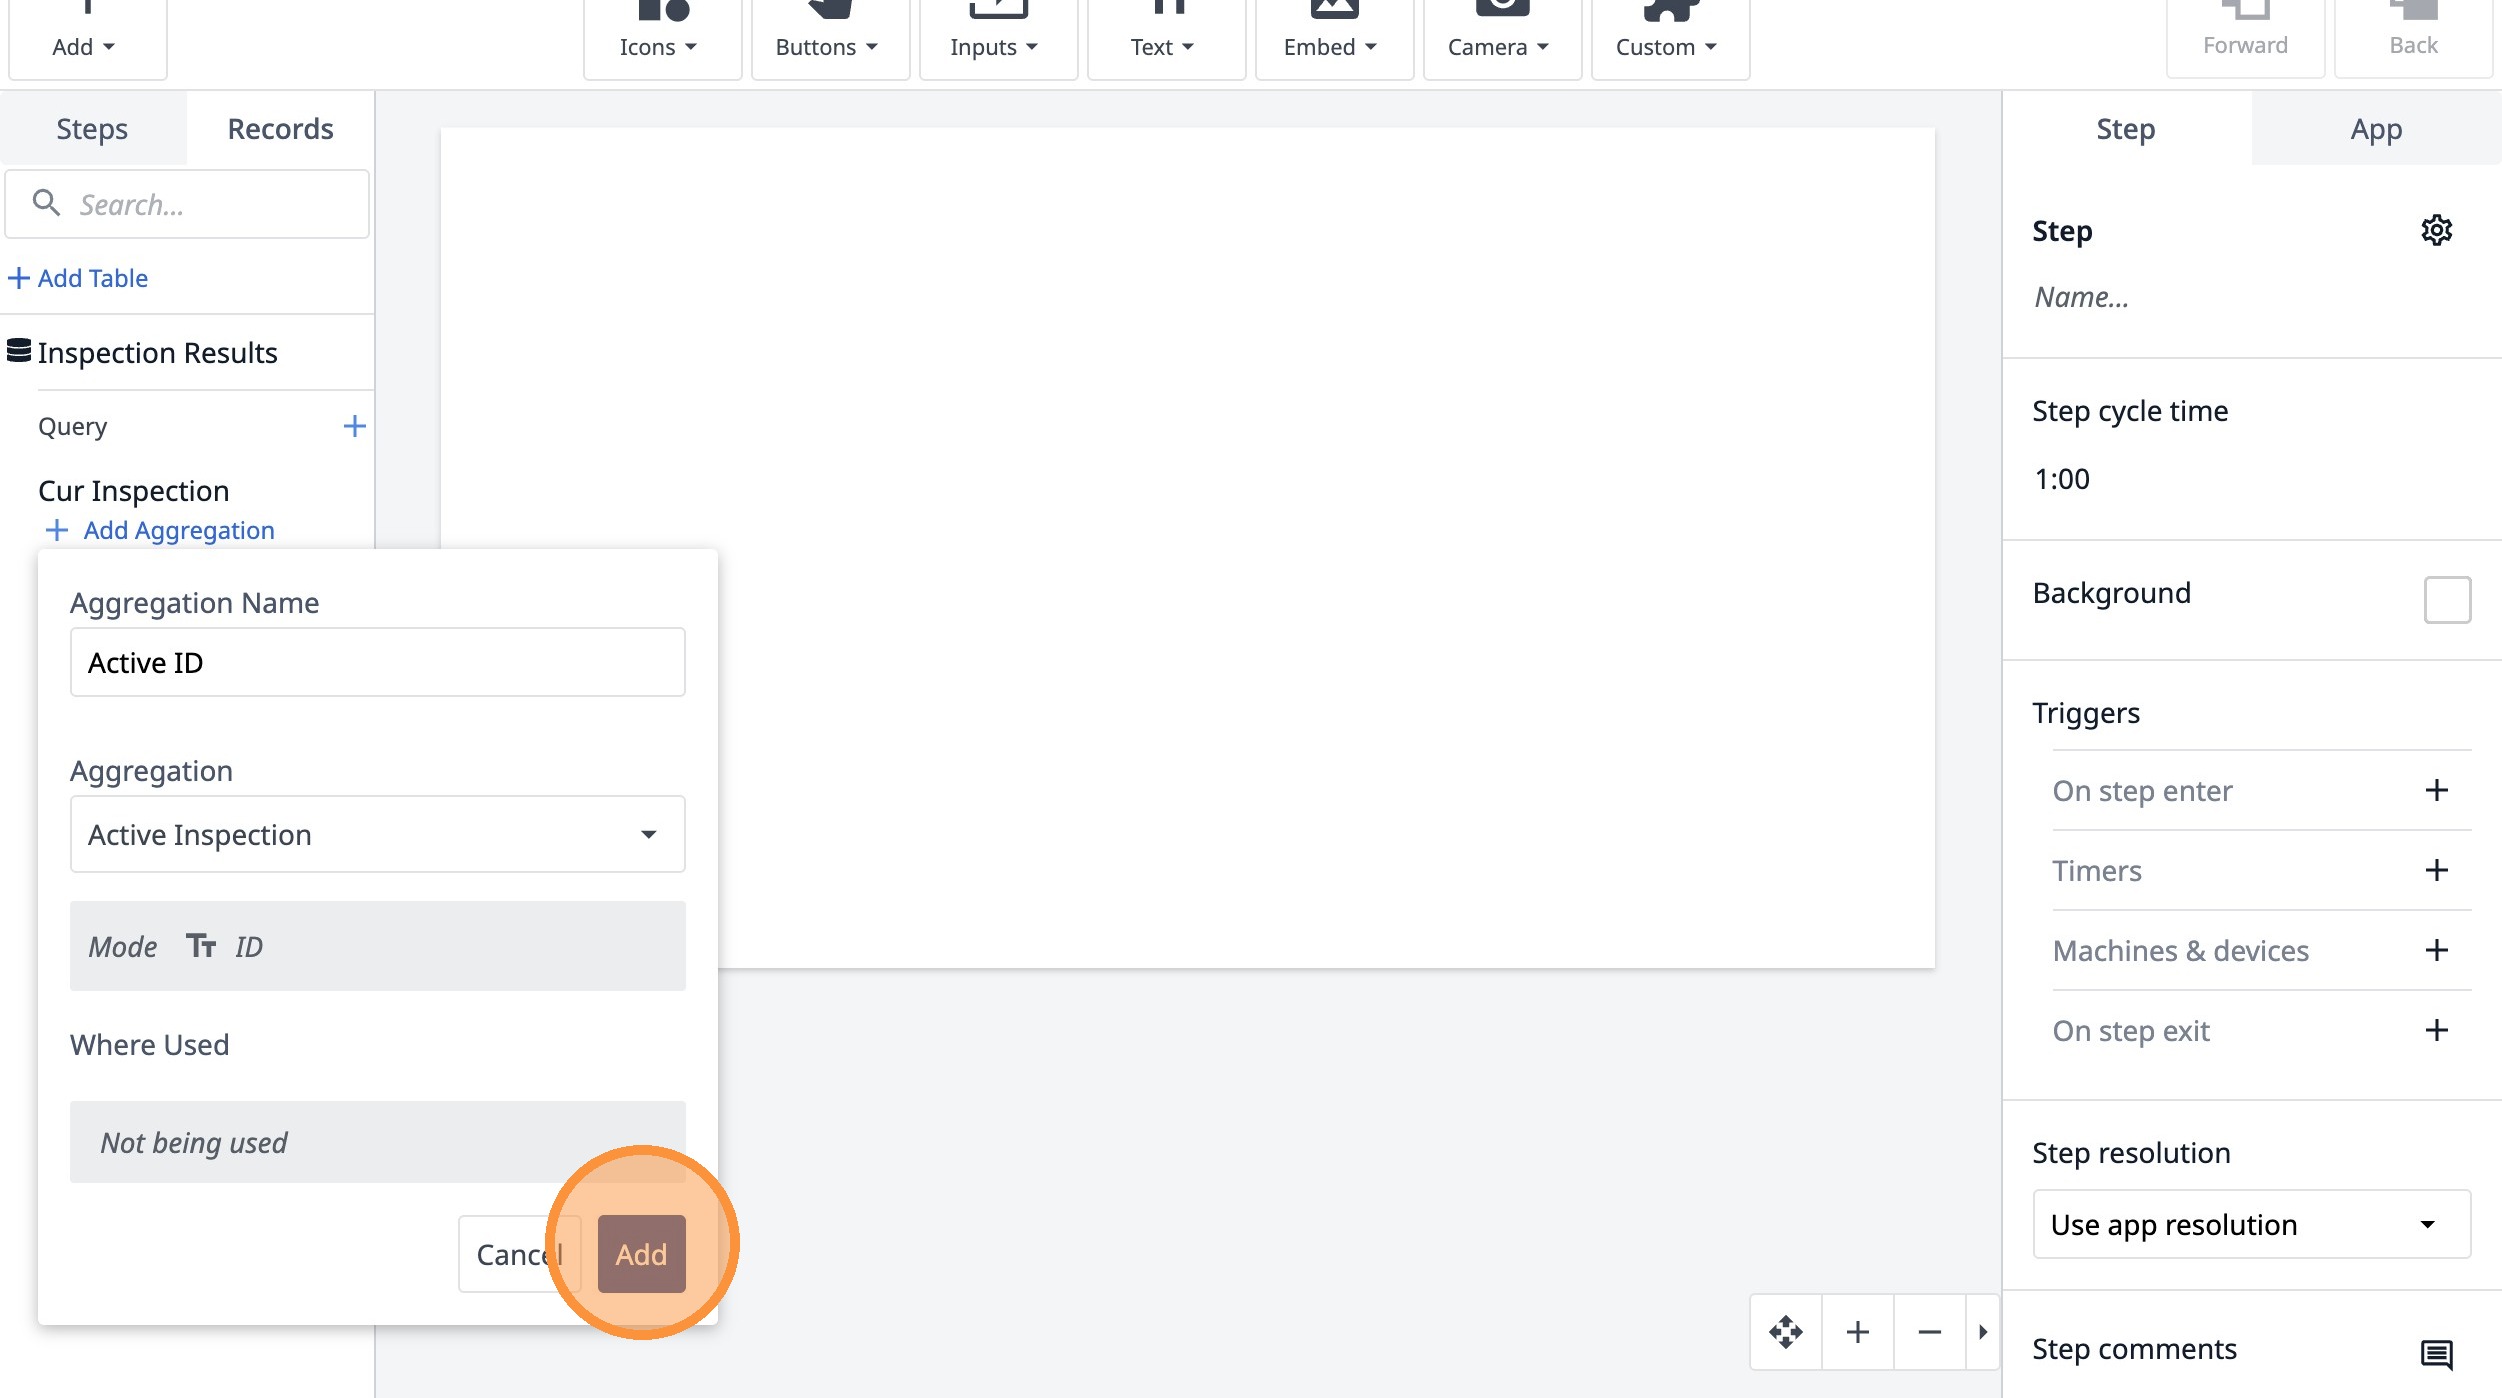
20. Click "Add Aggregation"
21. Click this text field.
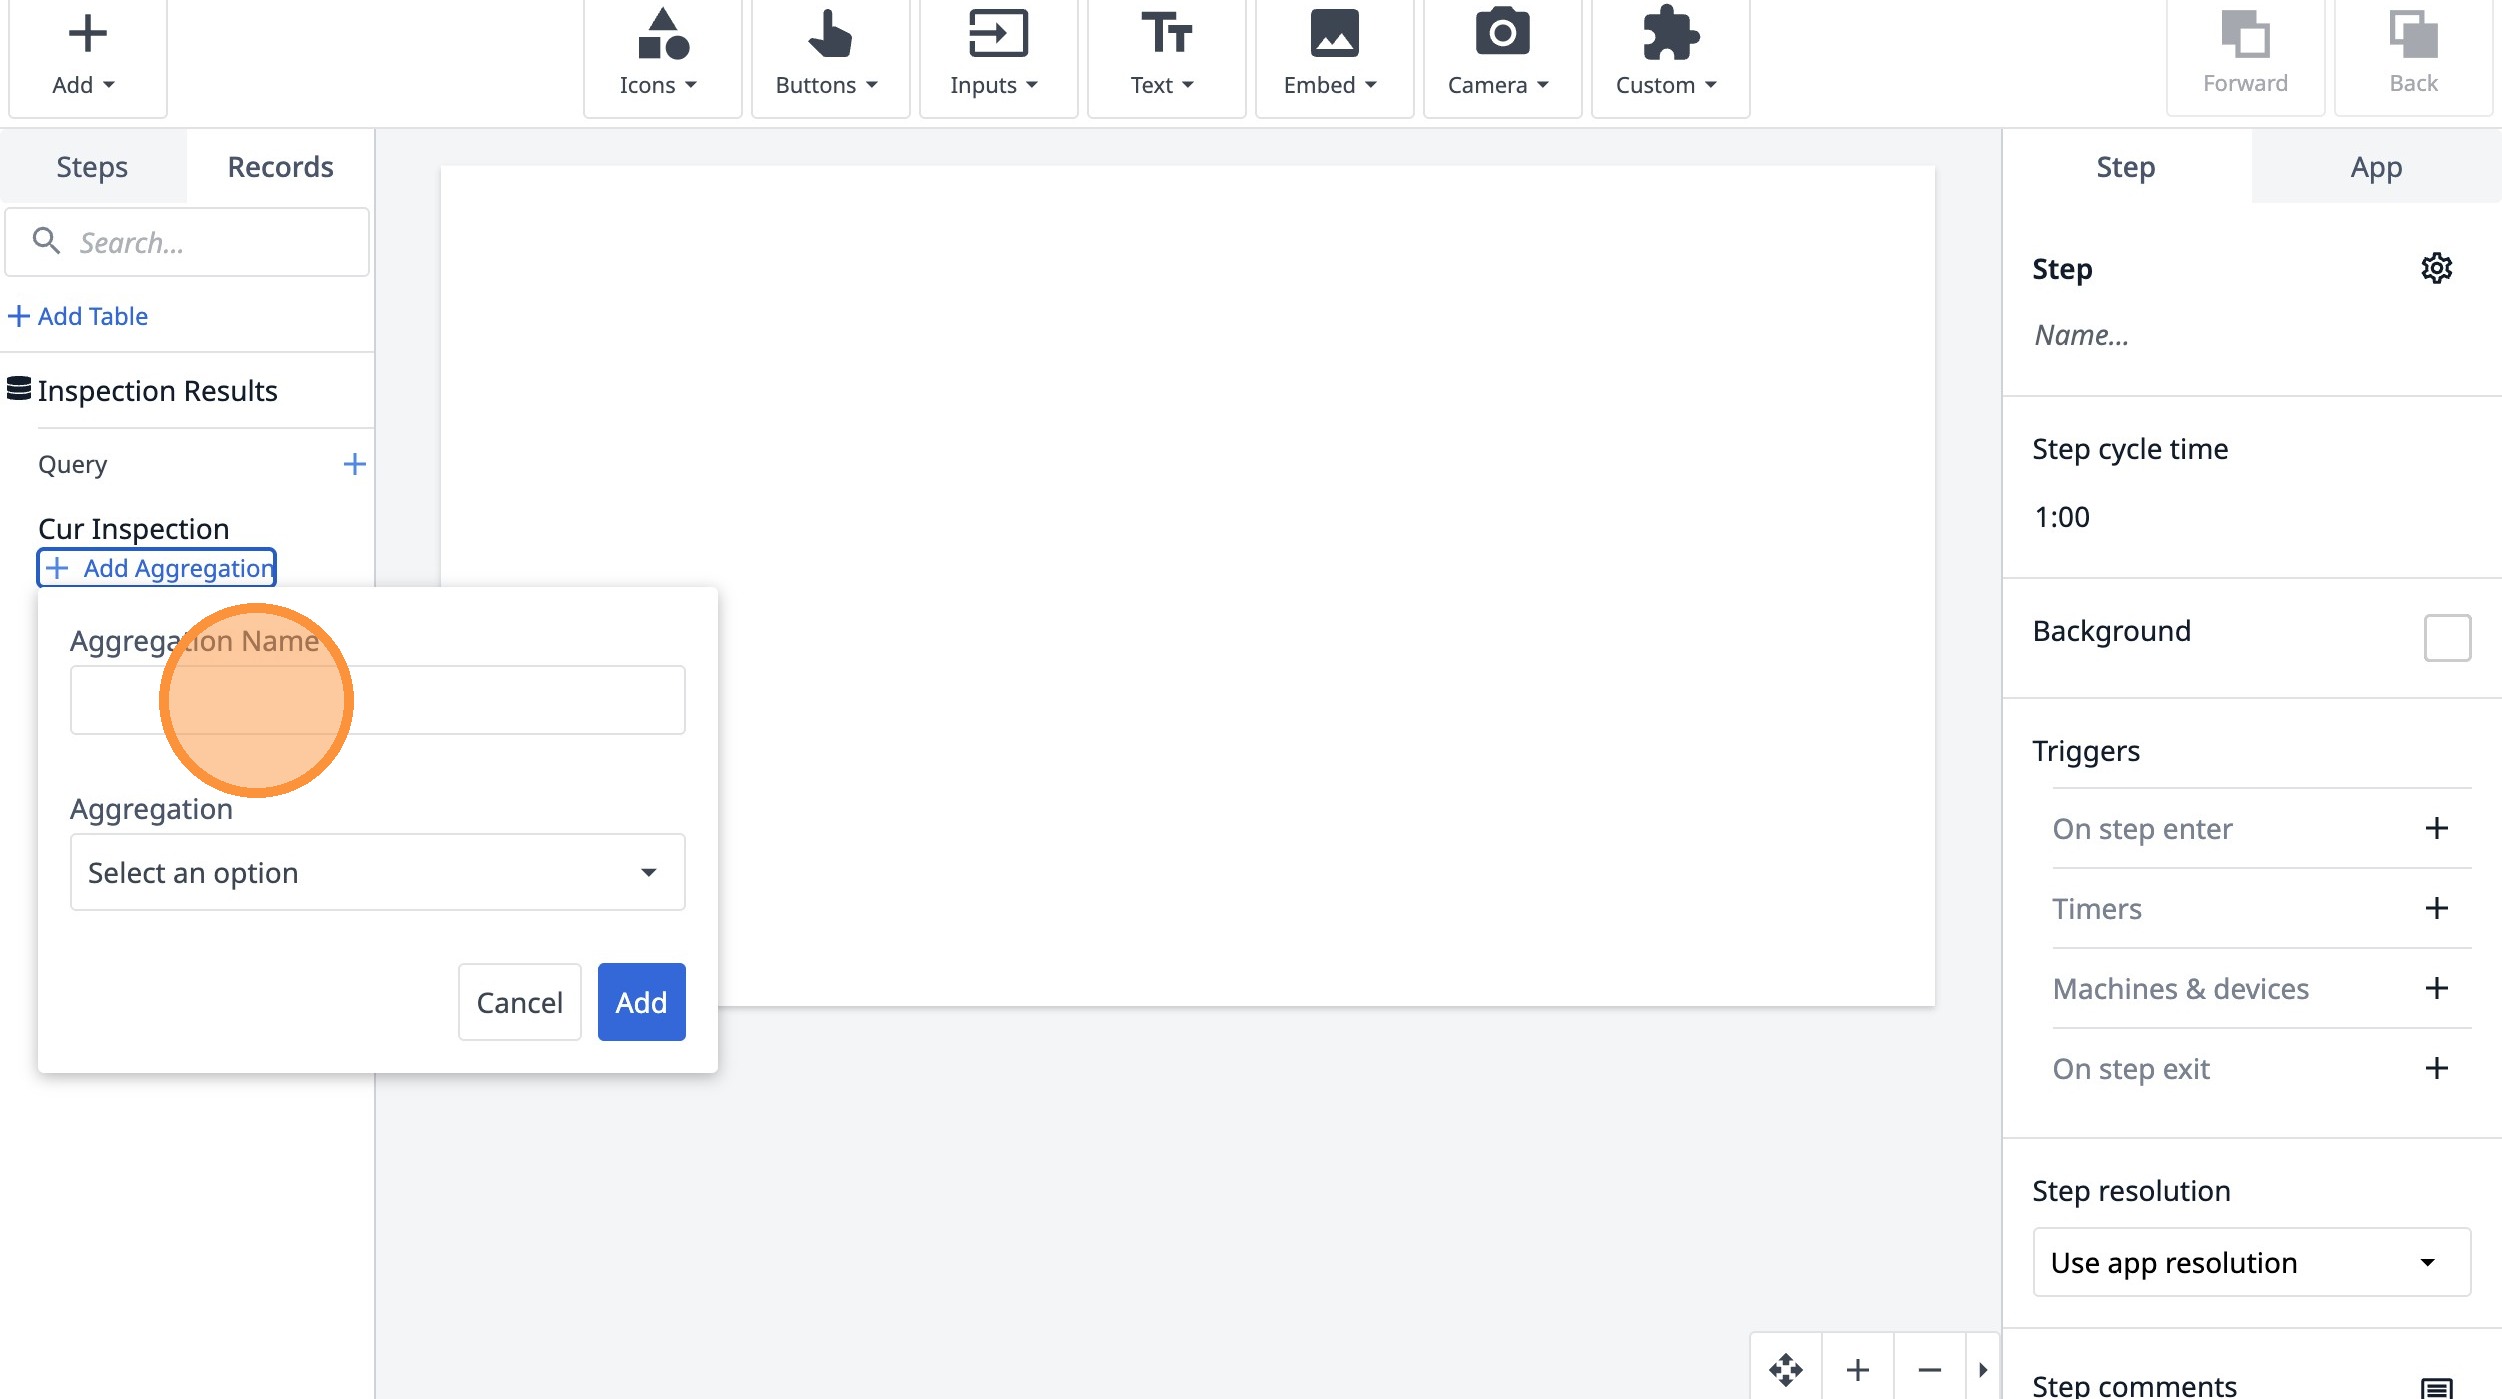
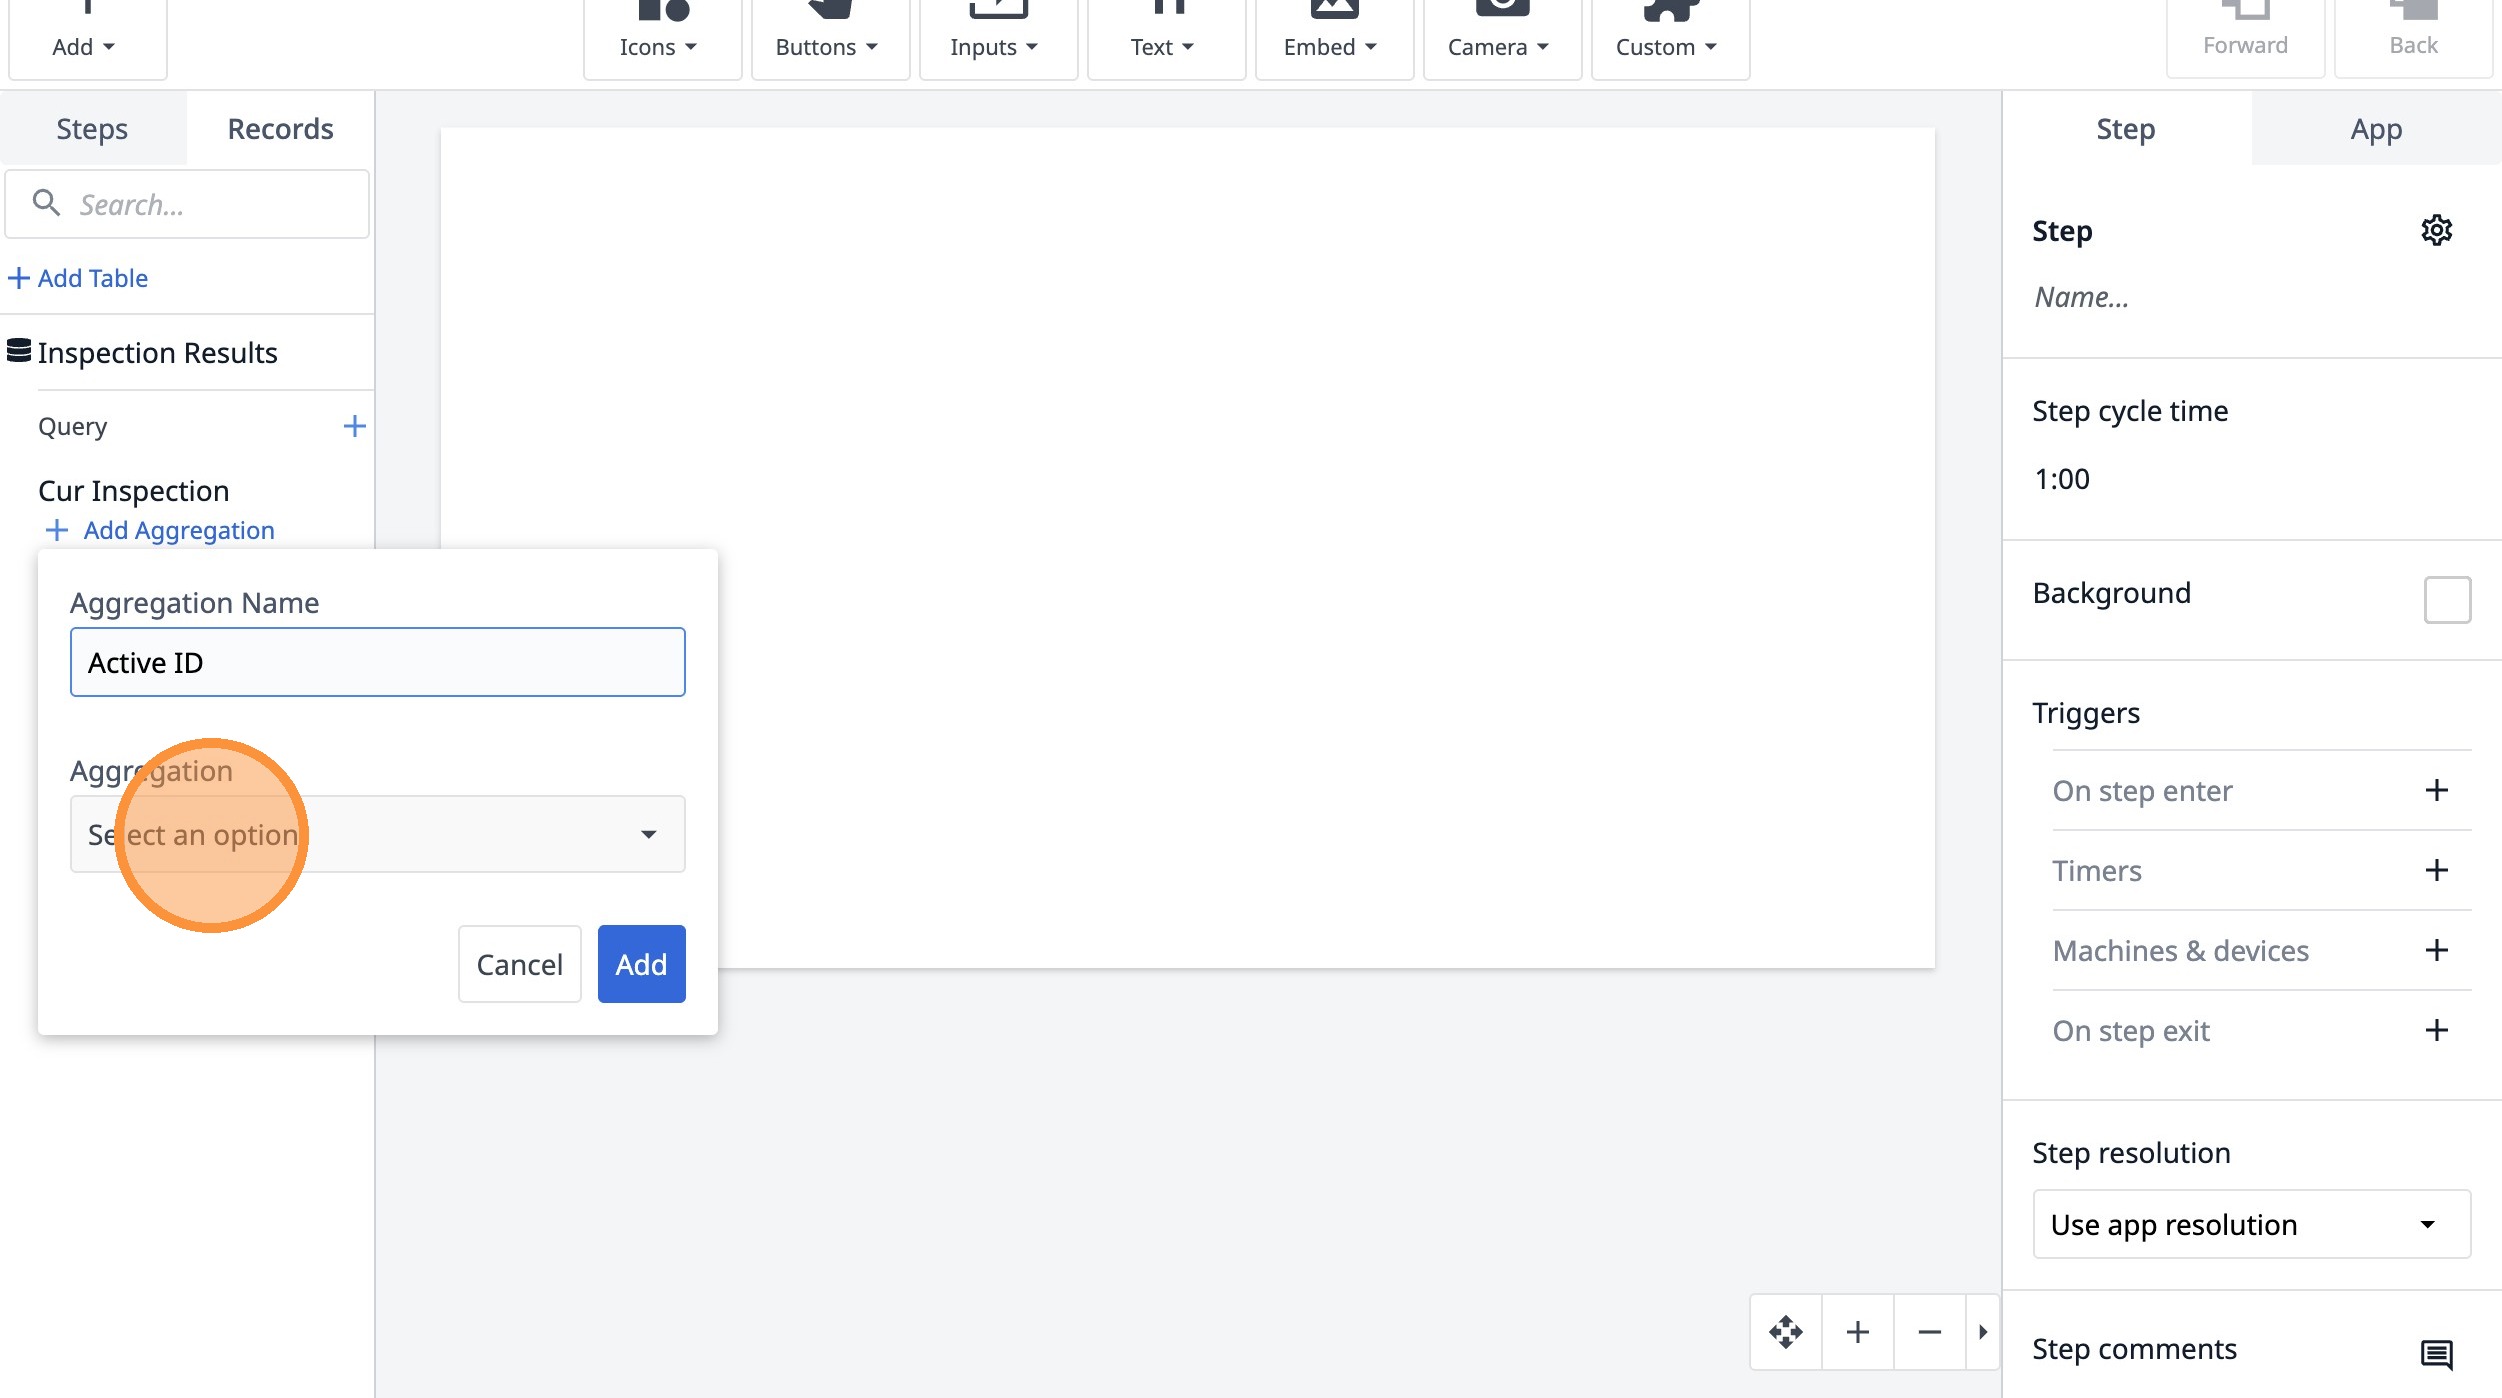
22. Type "Active ID"
23. Click "Select an option"
24. Click "Active Inspection"
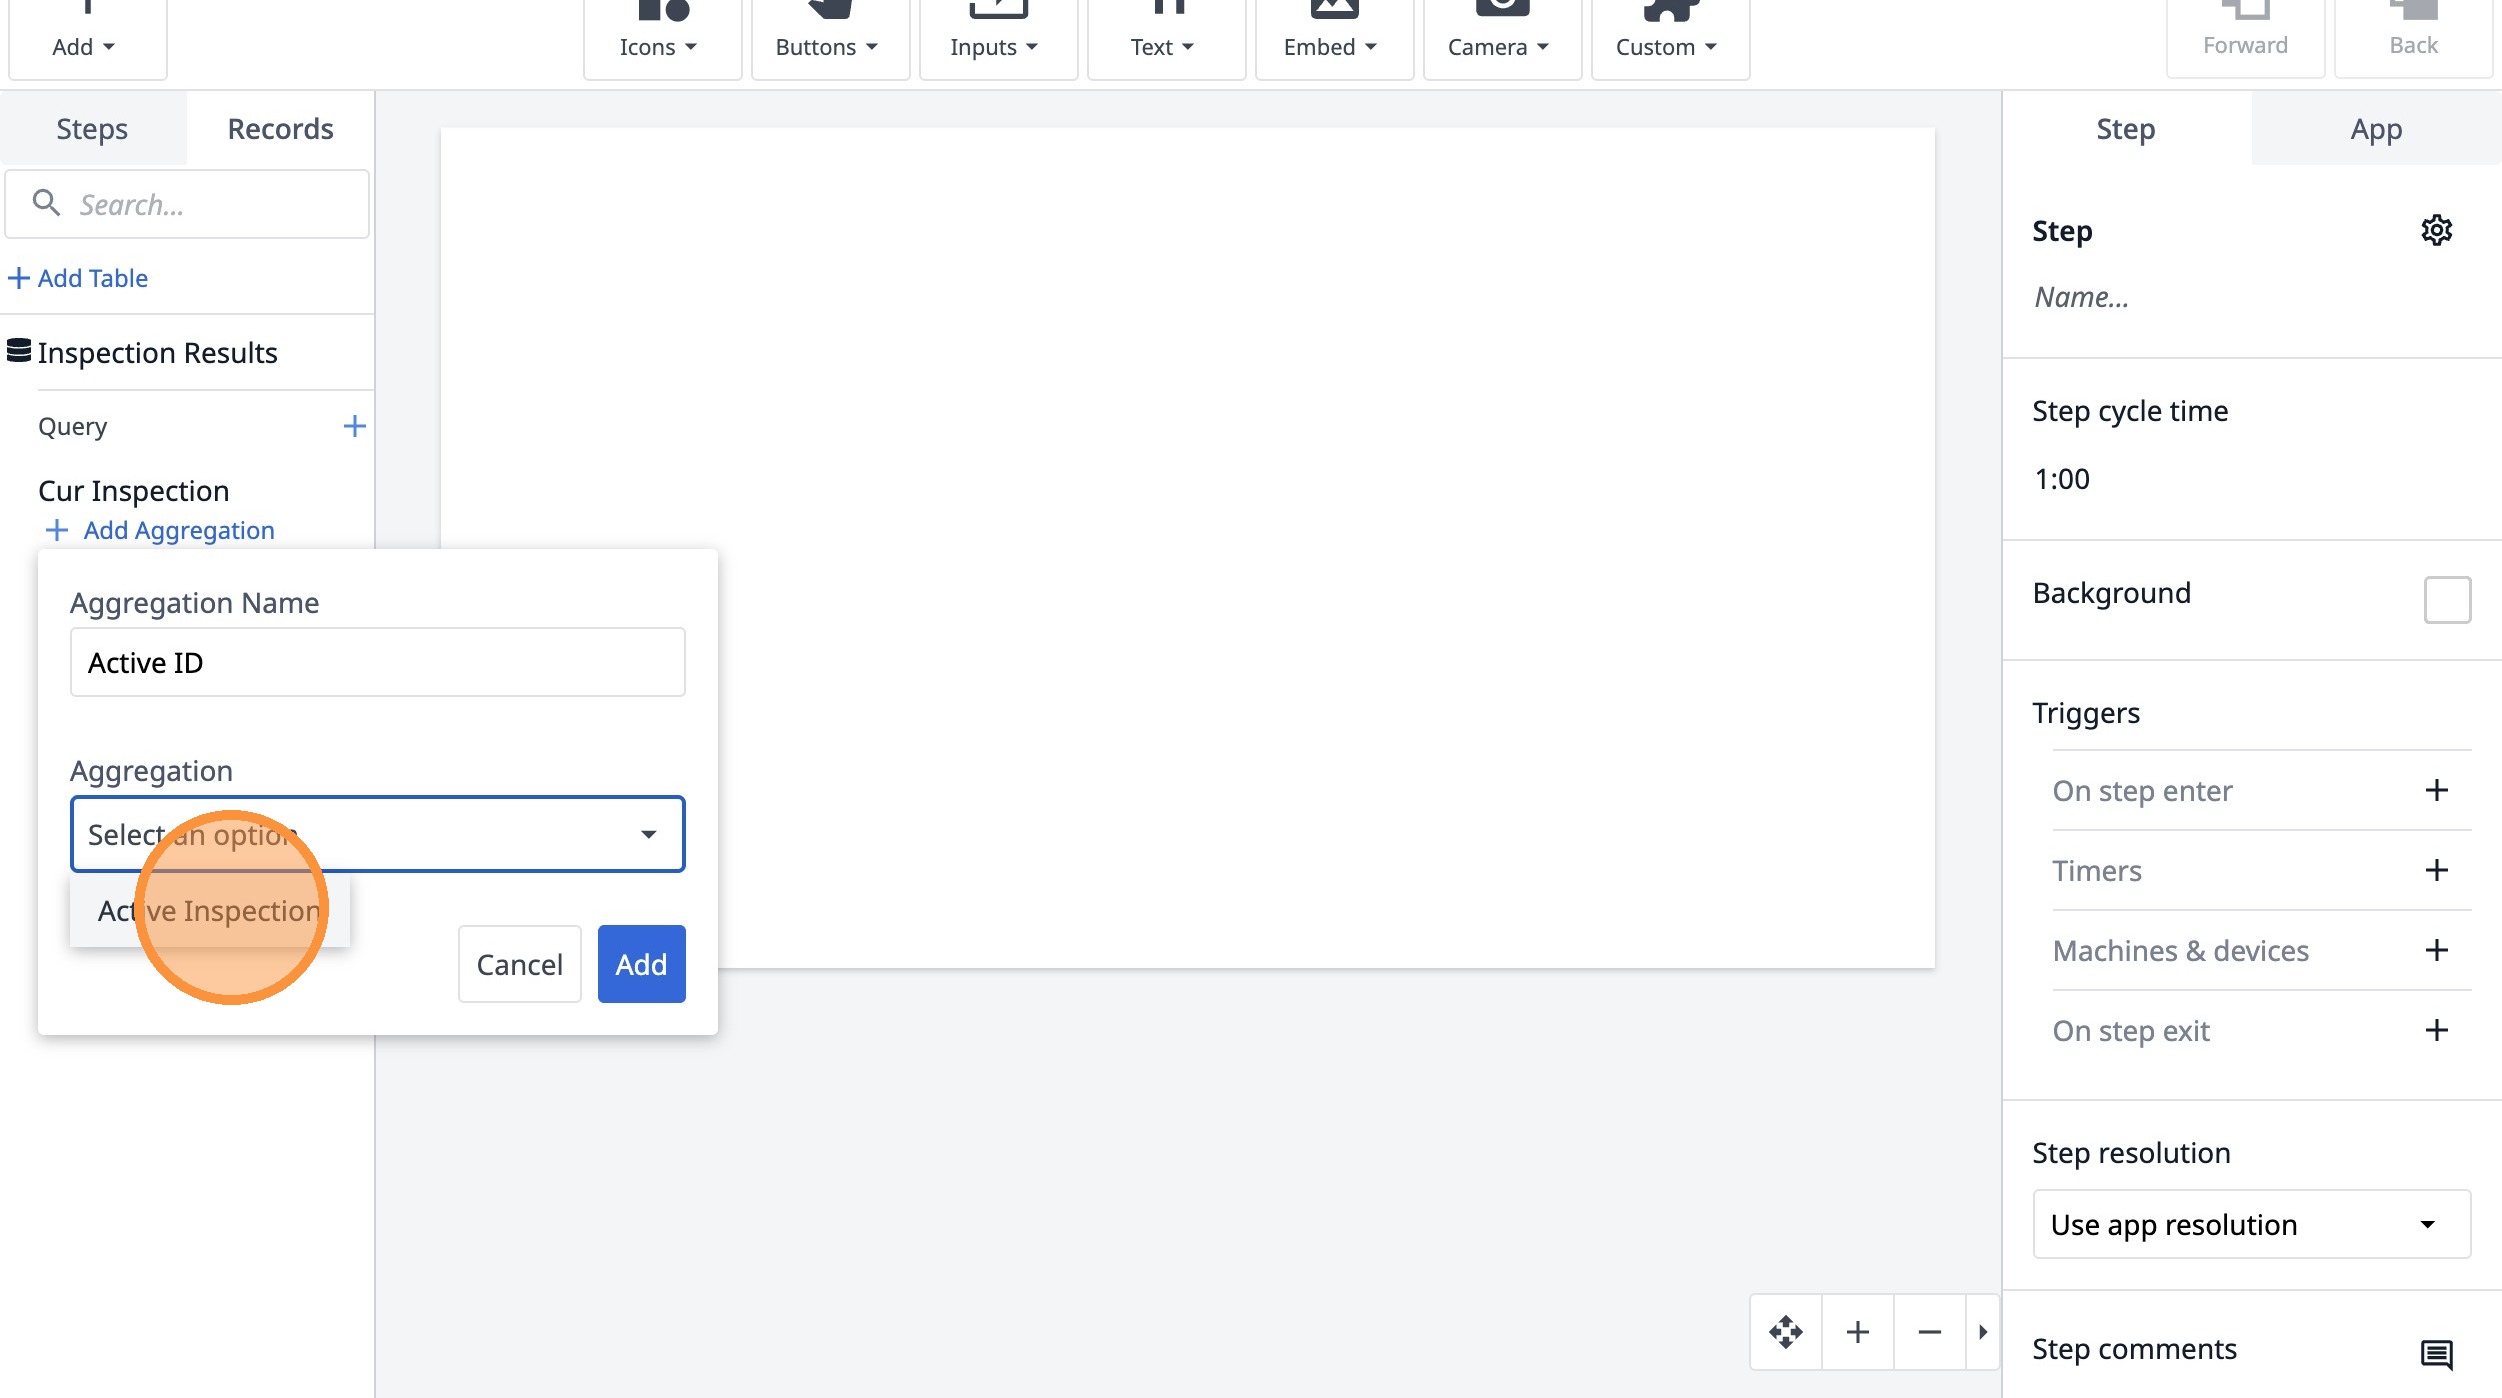
25. Click "Add"
26. Click here.
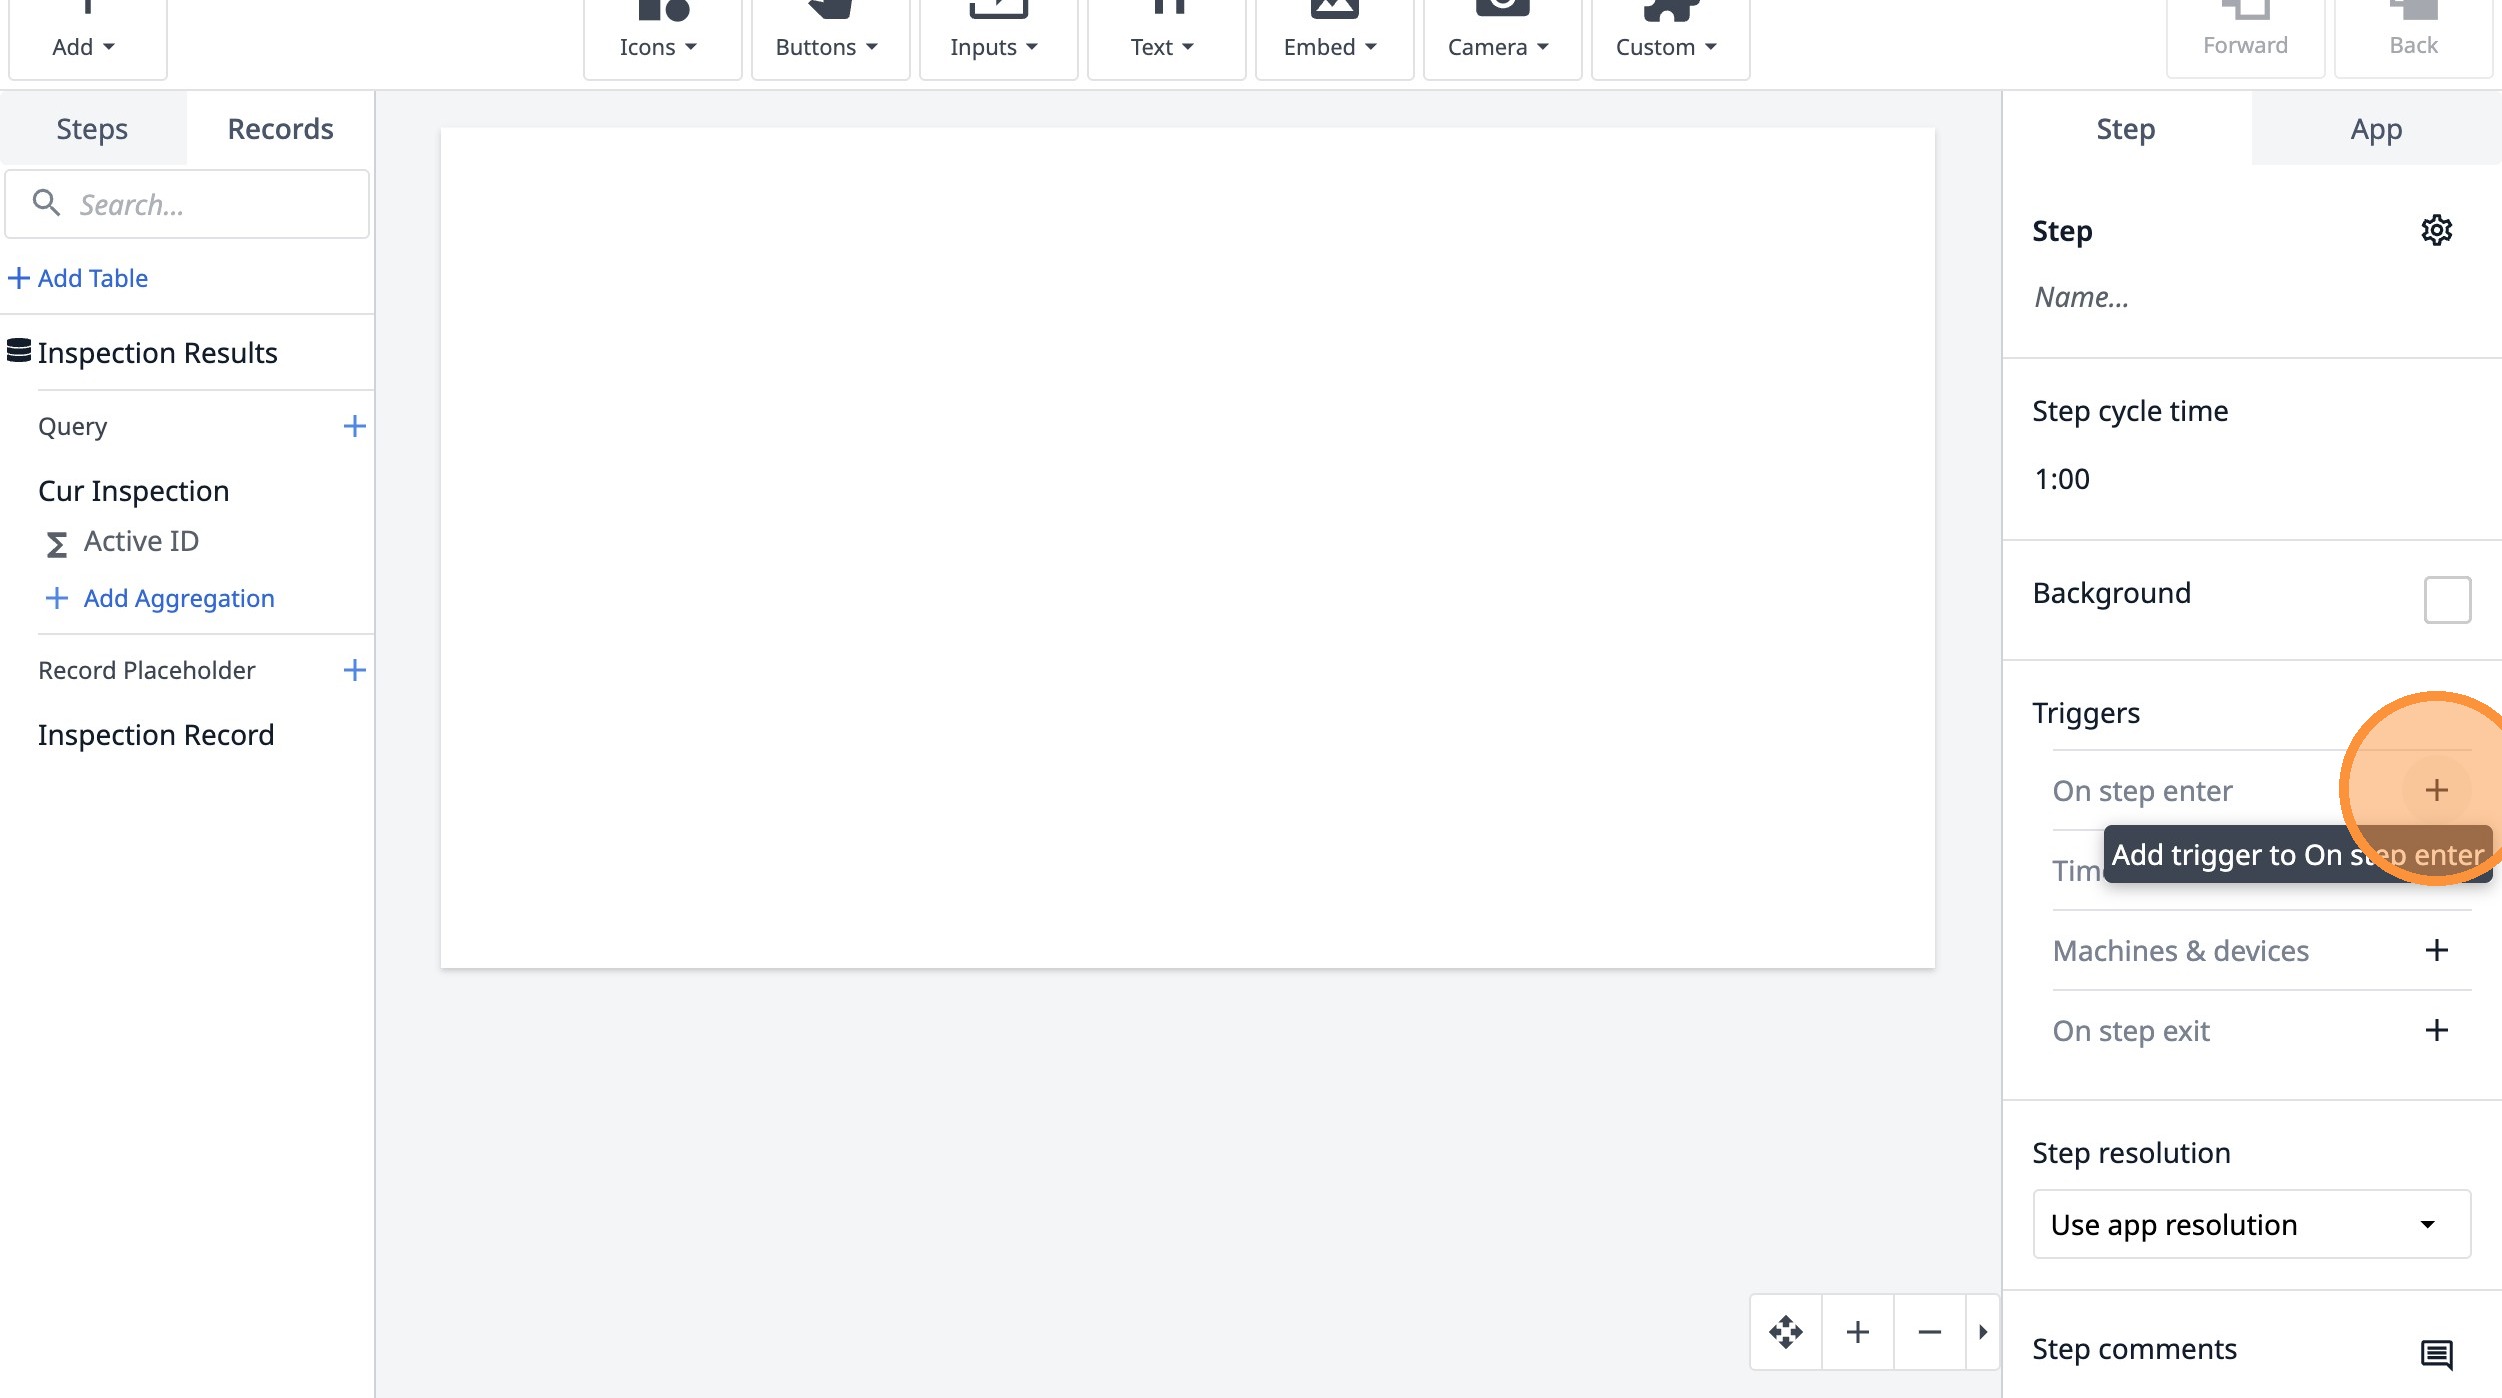
27. Type "Load Current Inspection based on step name"
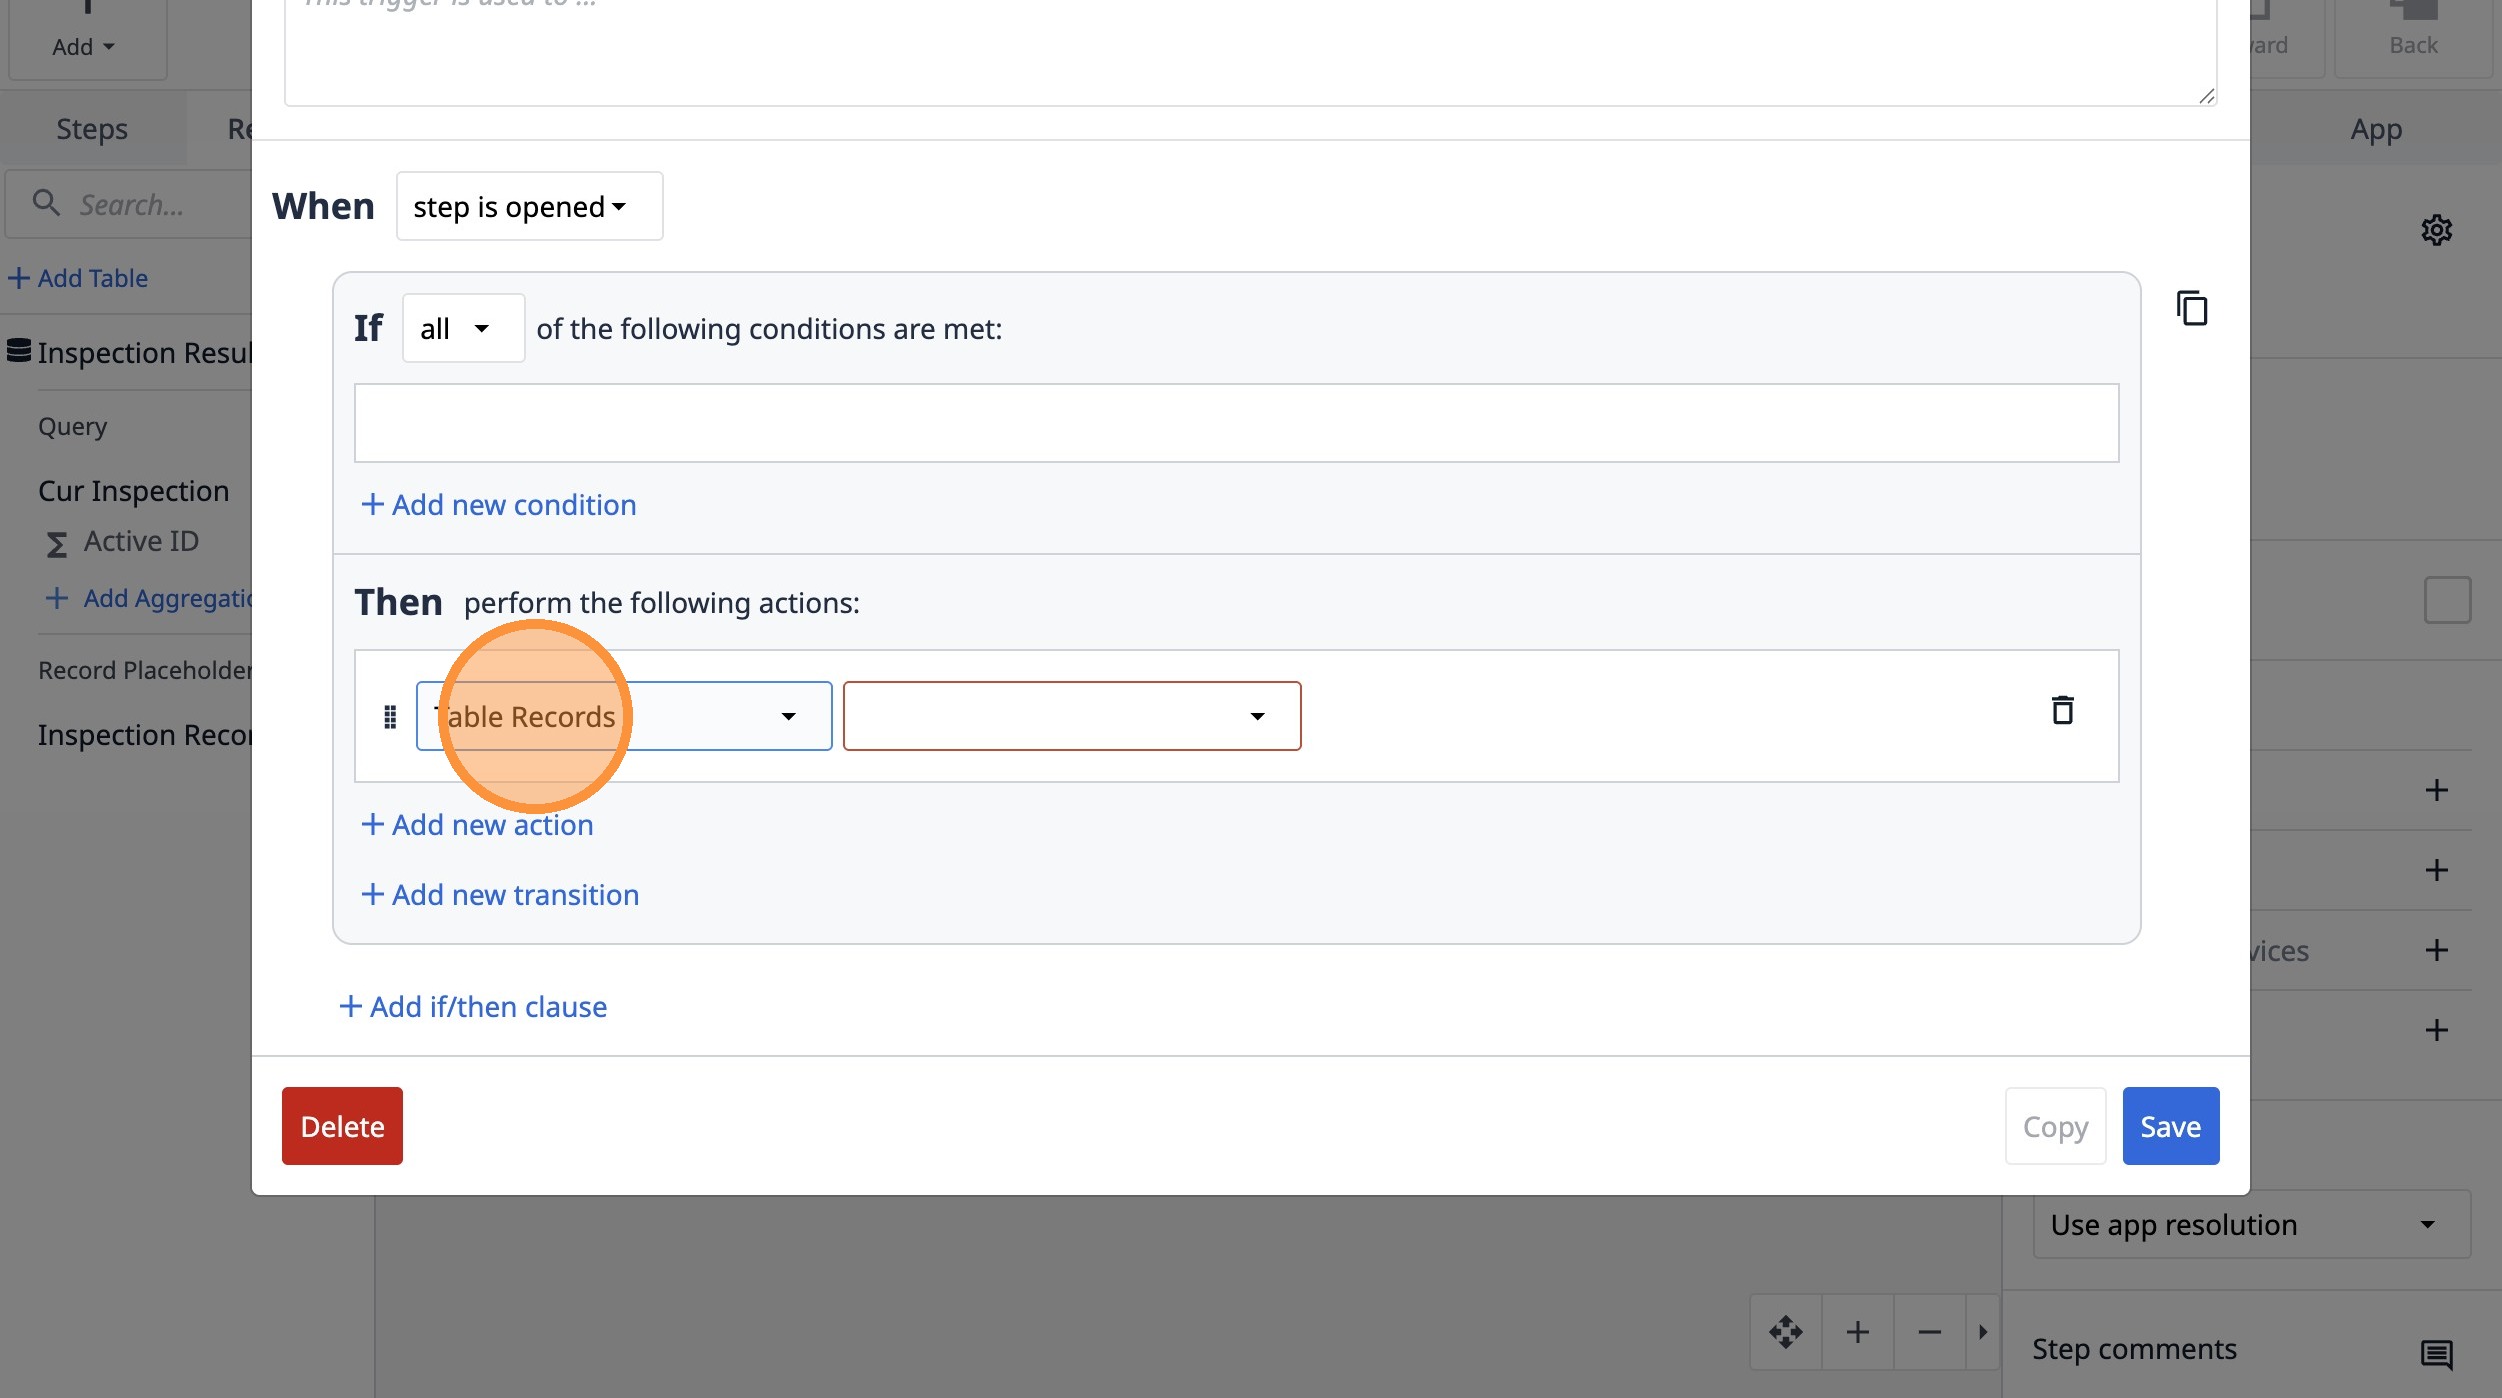
28. Click "Add new action"

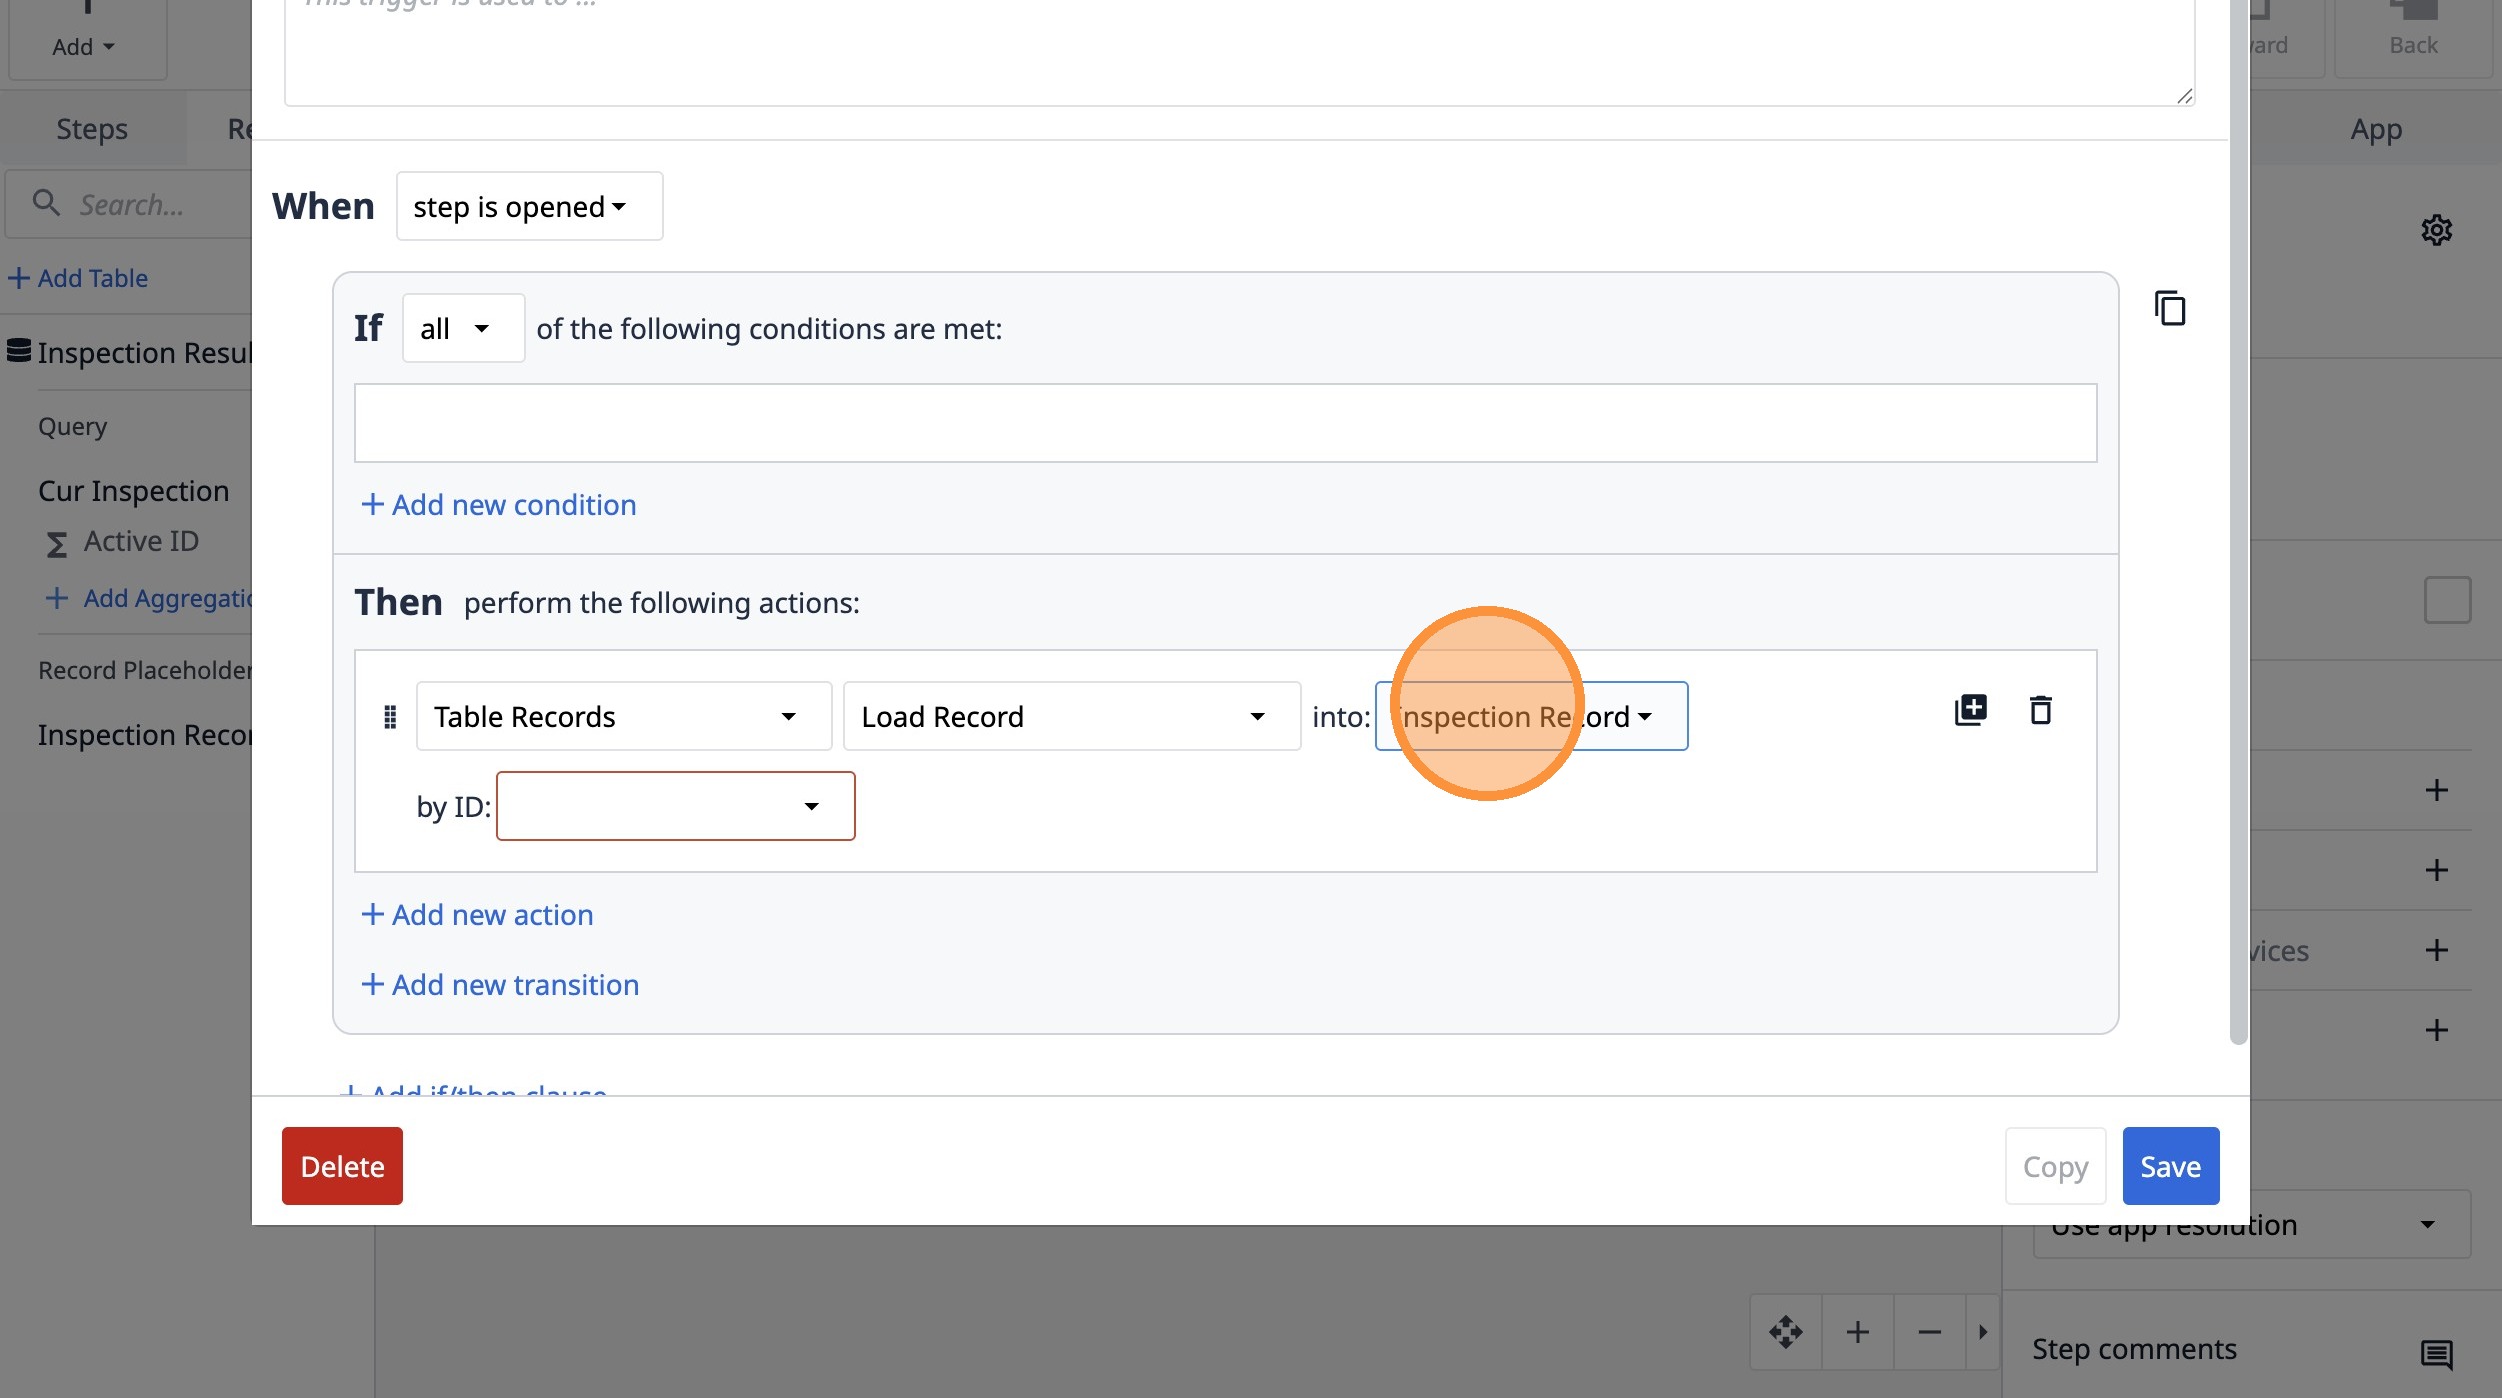
29. Select the "Table Records" option.
30. Select the "Load Record" option.
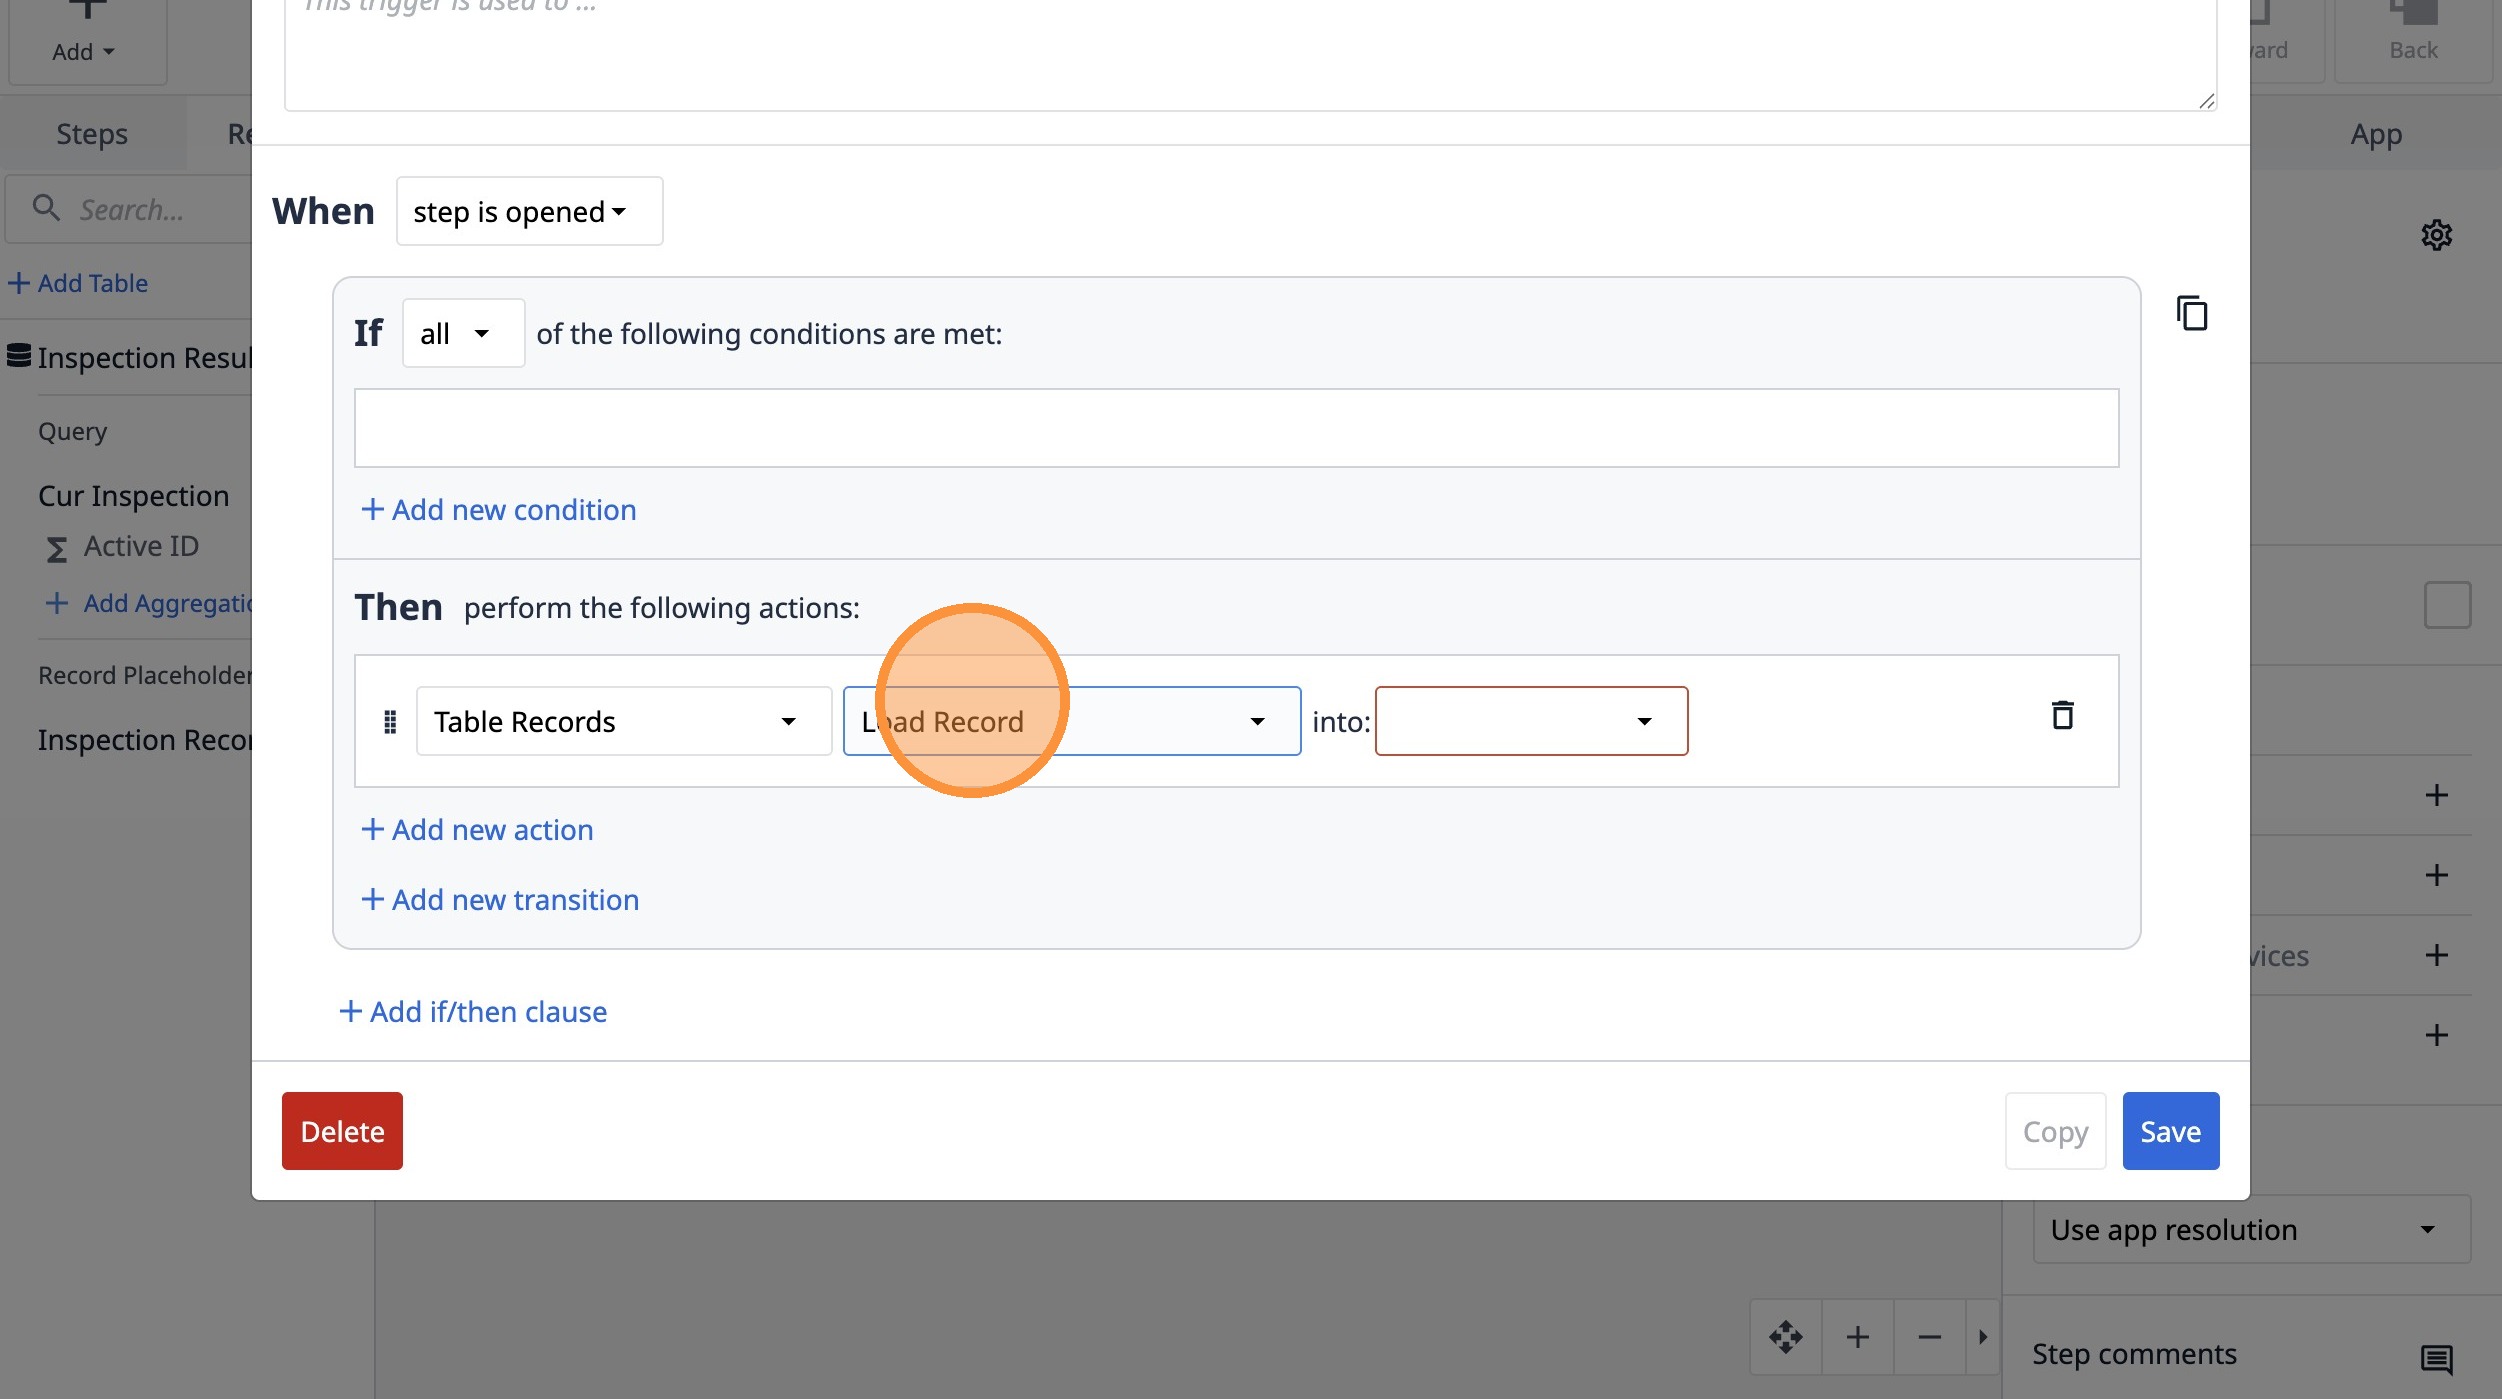
31. Select the "Inspection Record" option.
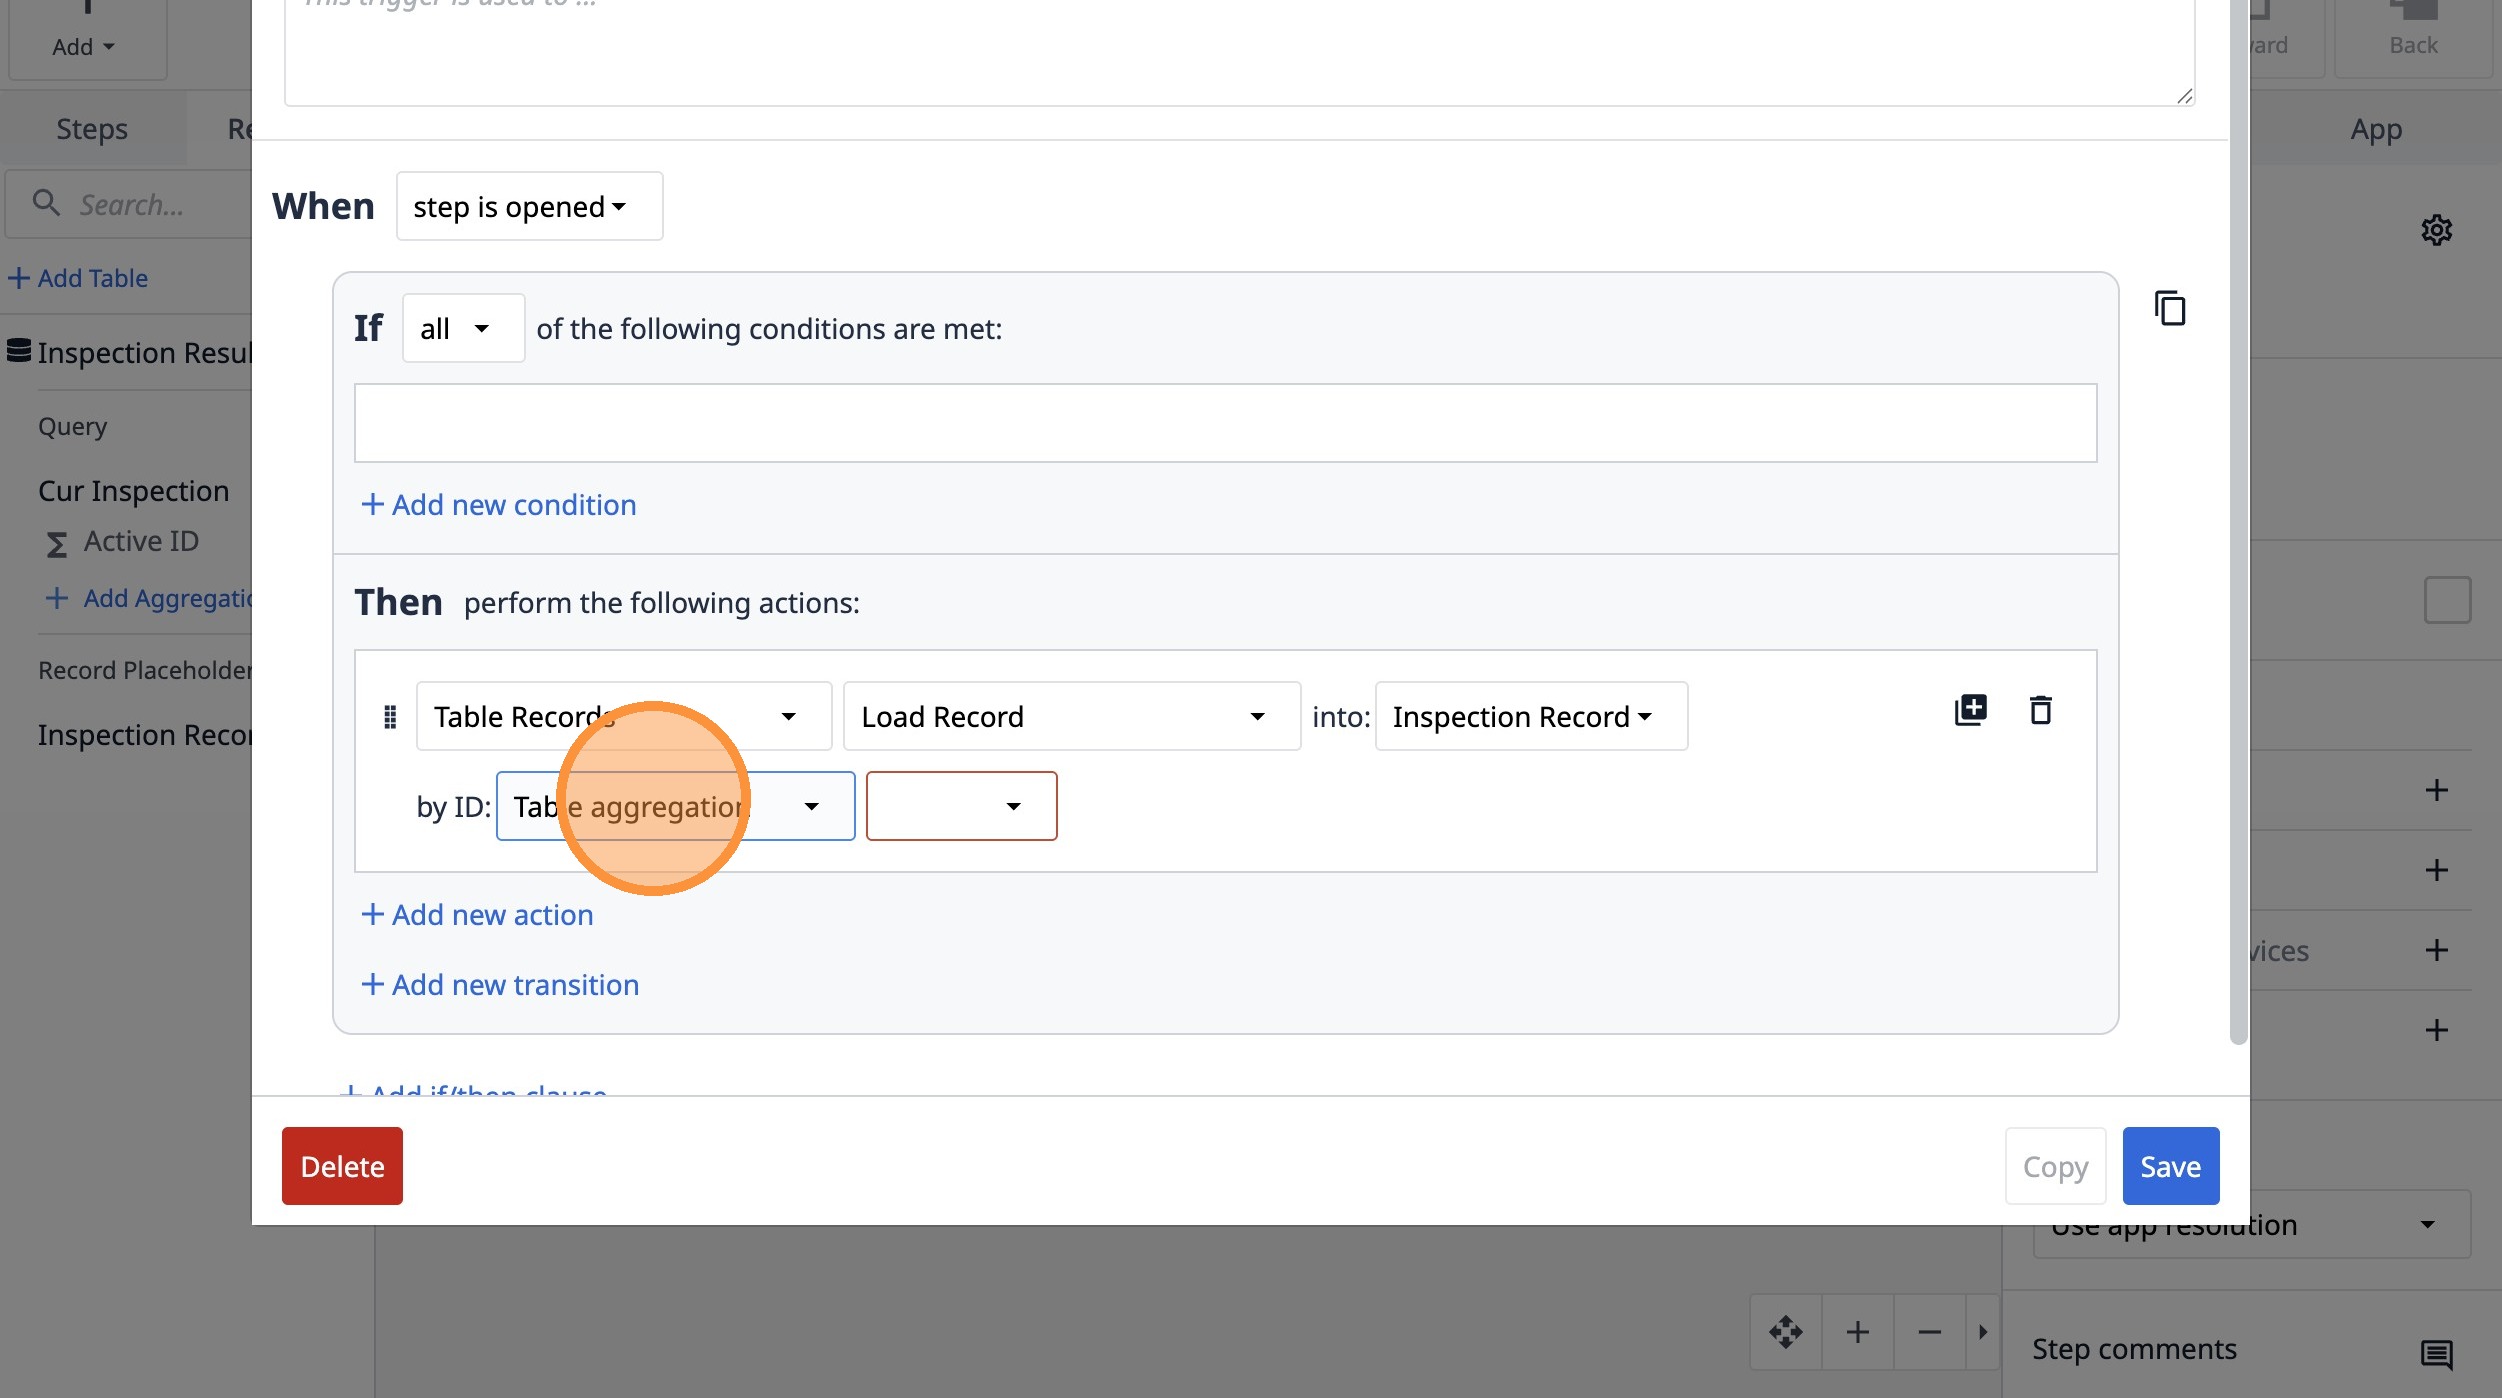
32. Select the "Table aggregation" option.
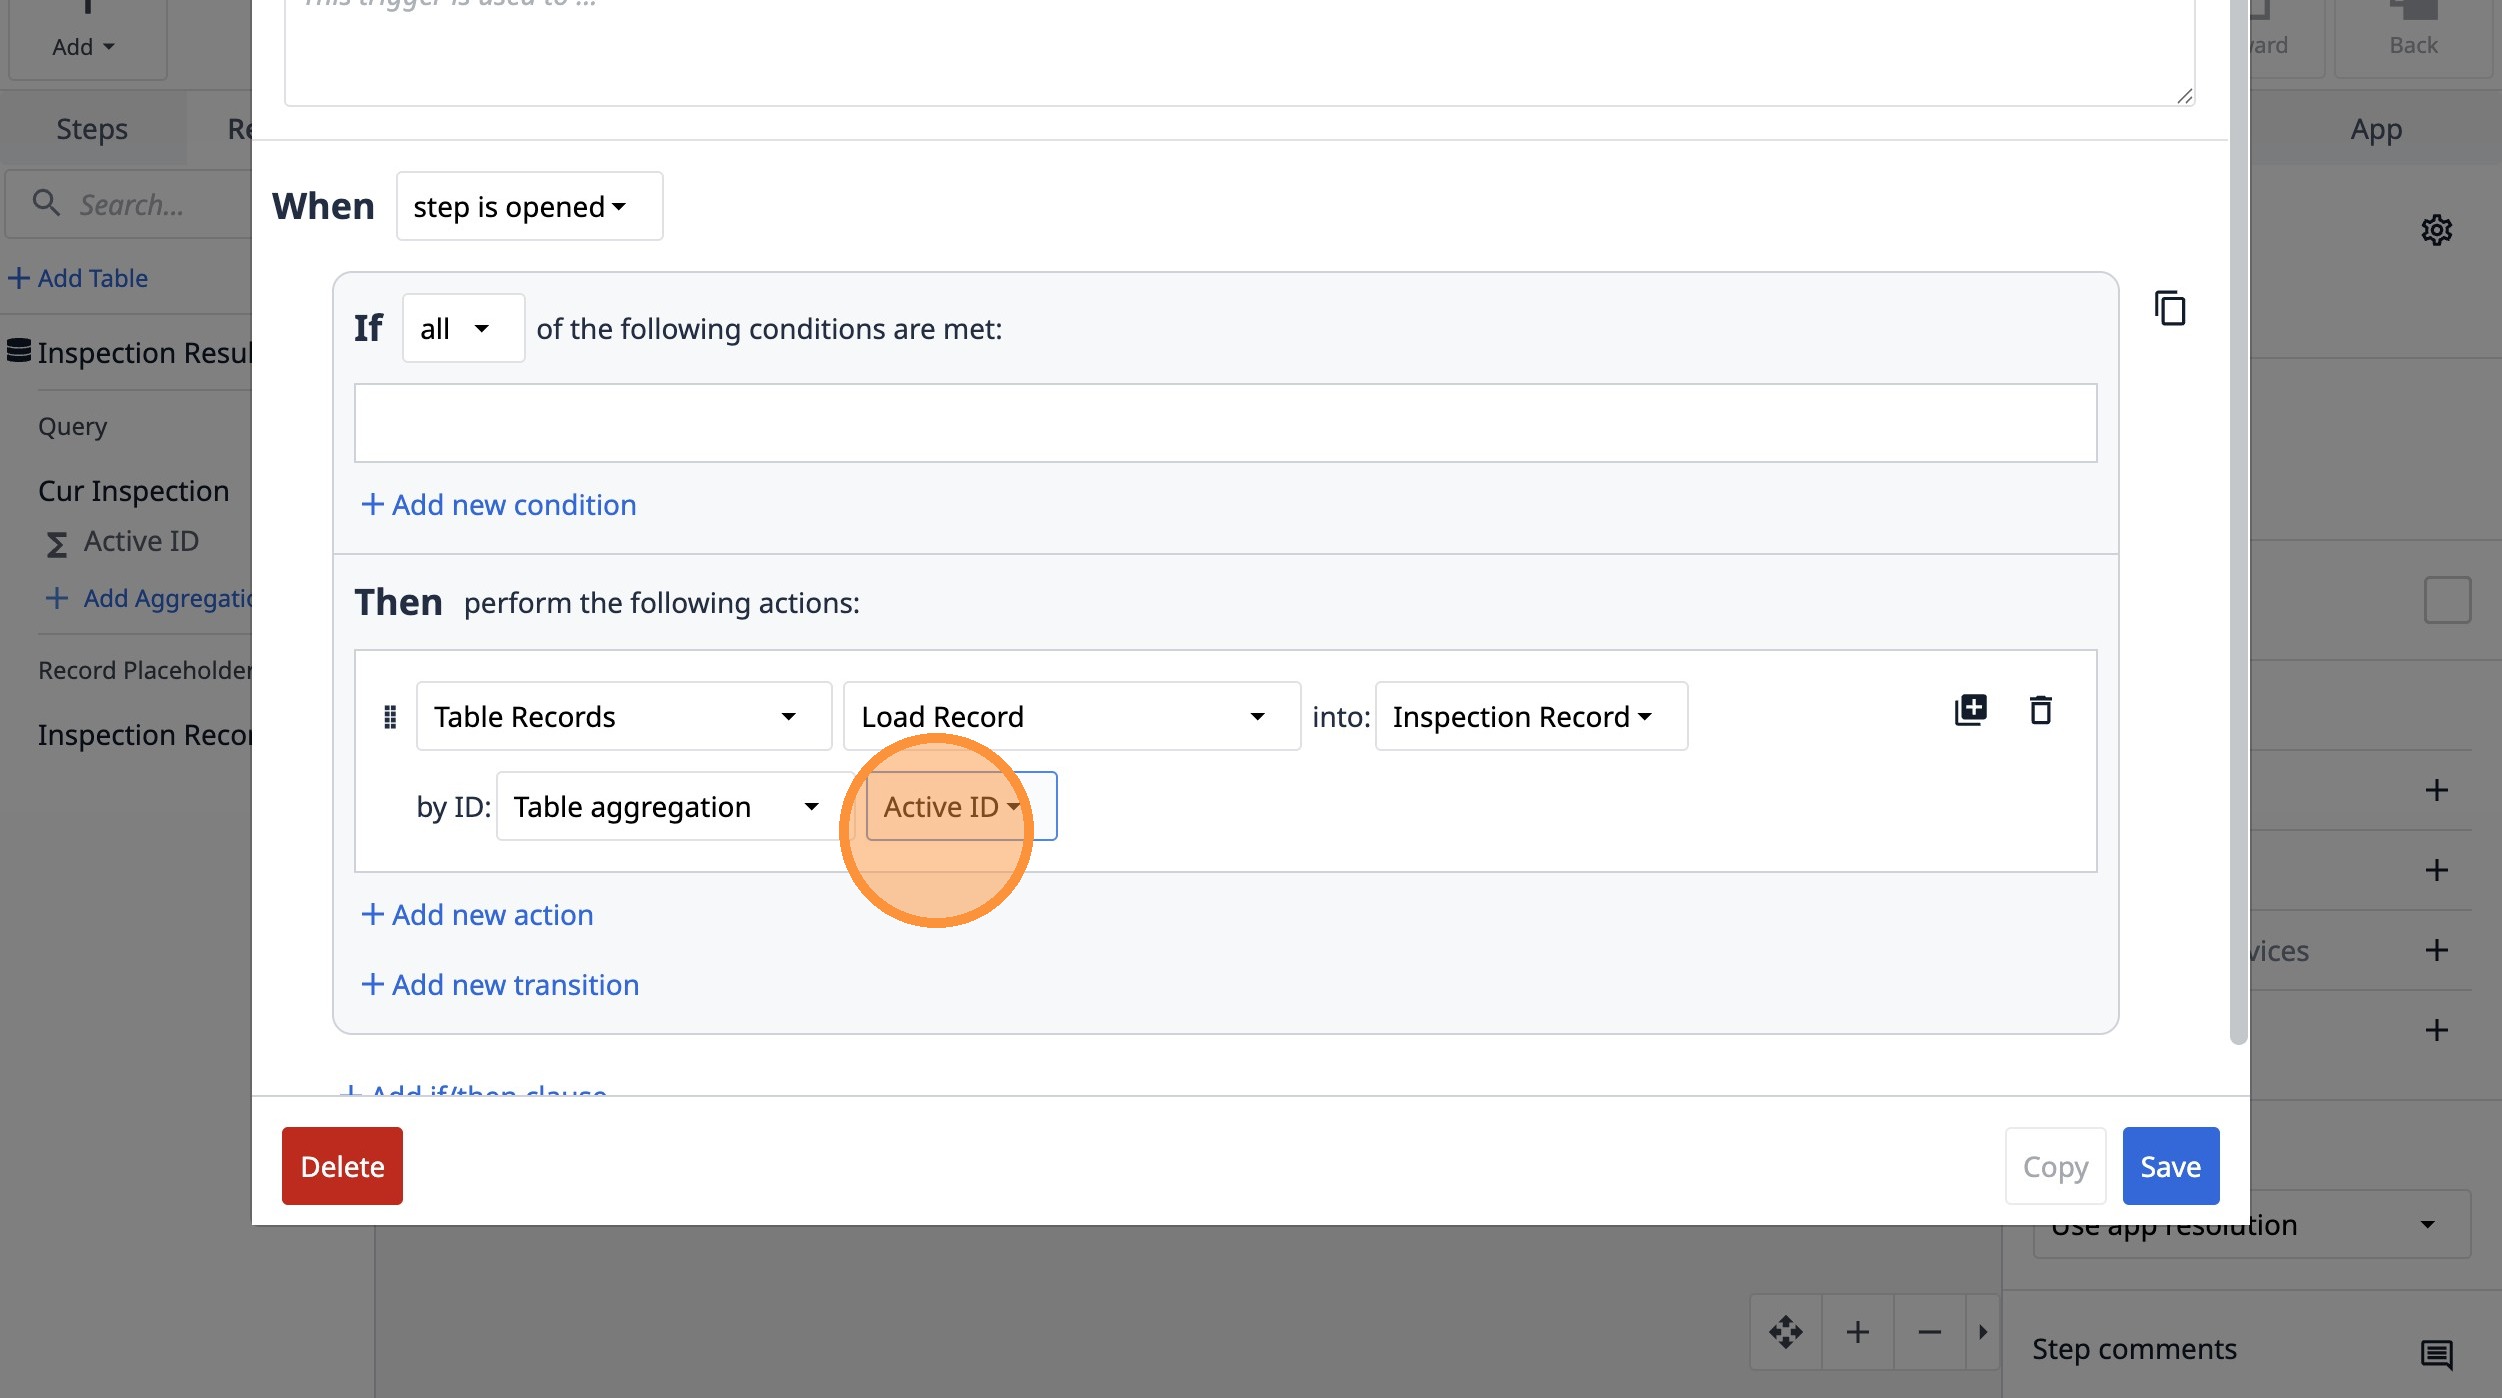
33. Select the "Active ID" option.
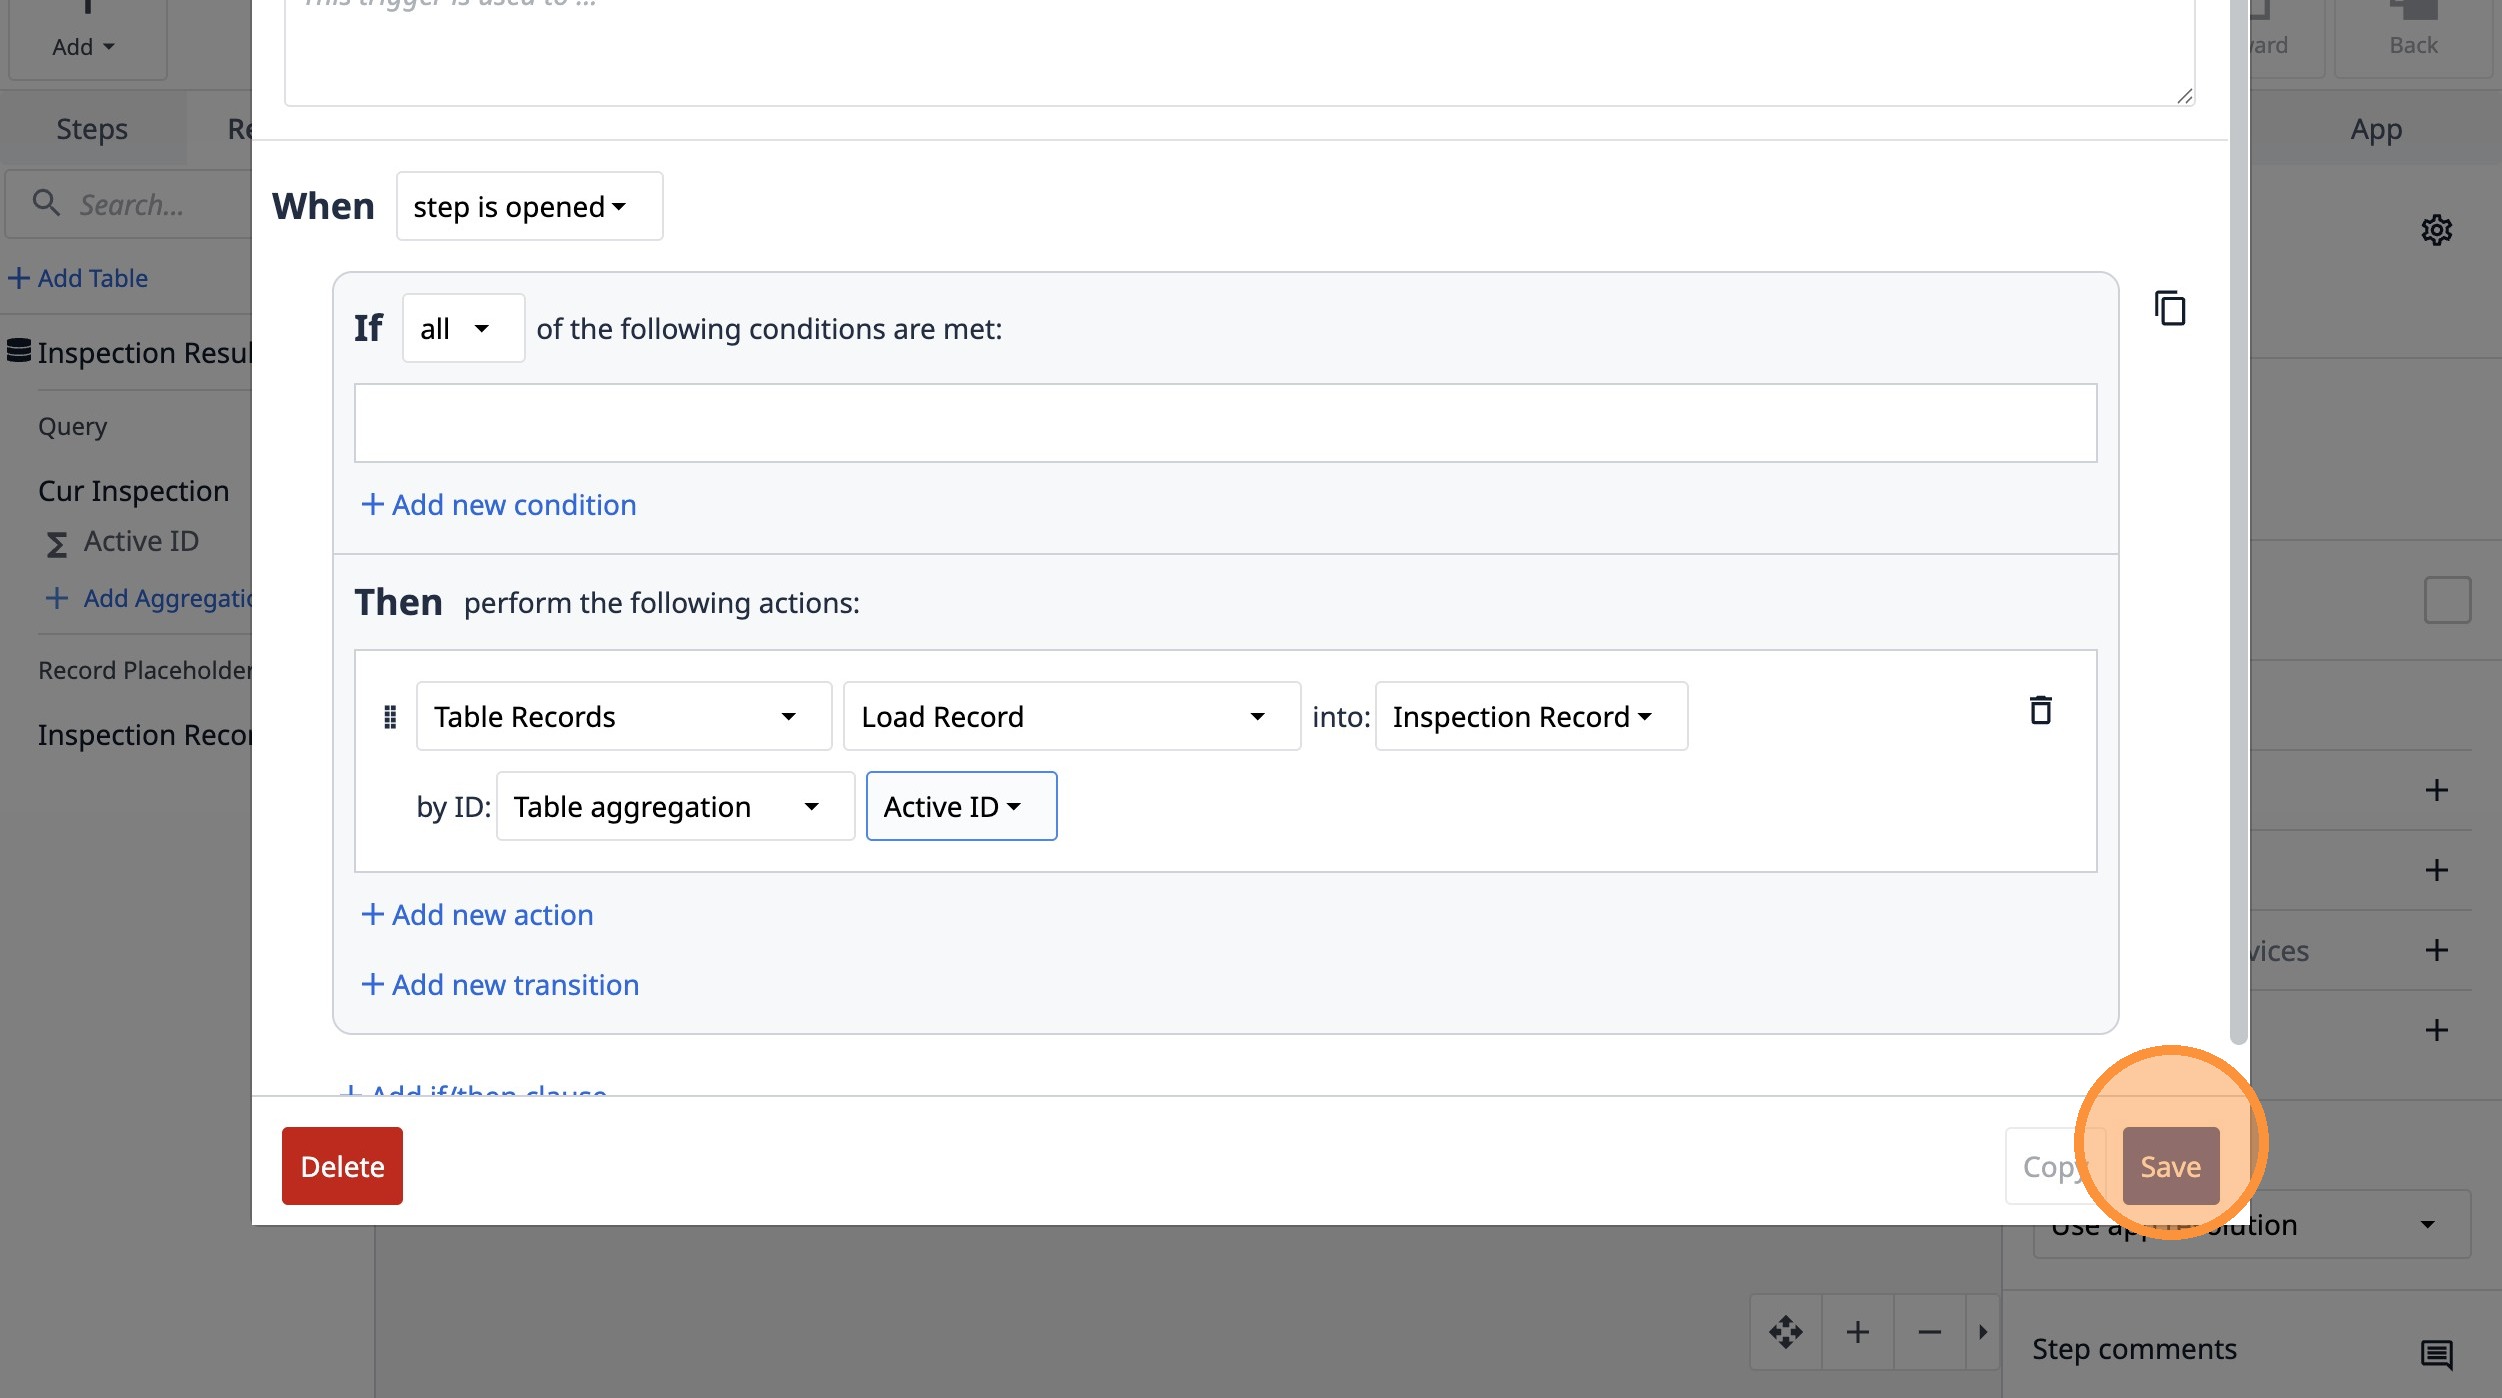
34. Click "Save"
35. Click "Steps"
36. Double-click "Untitled Step"
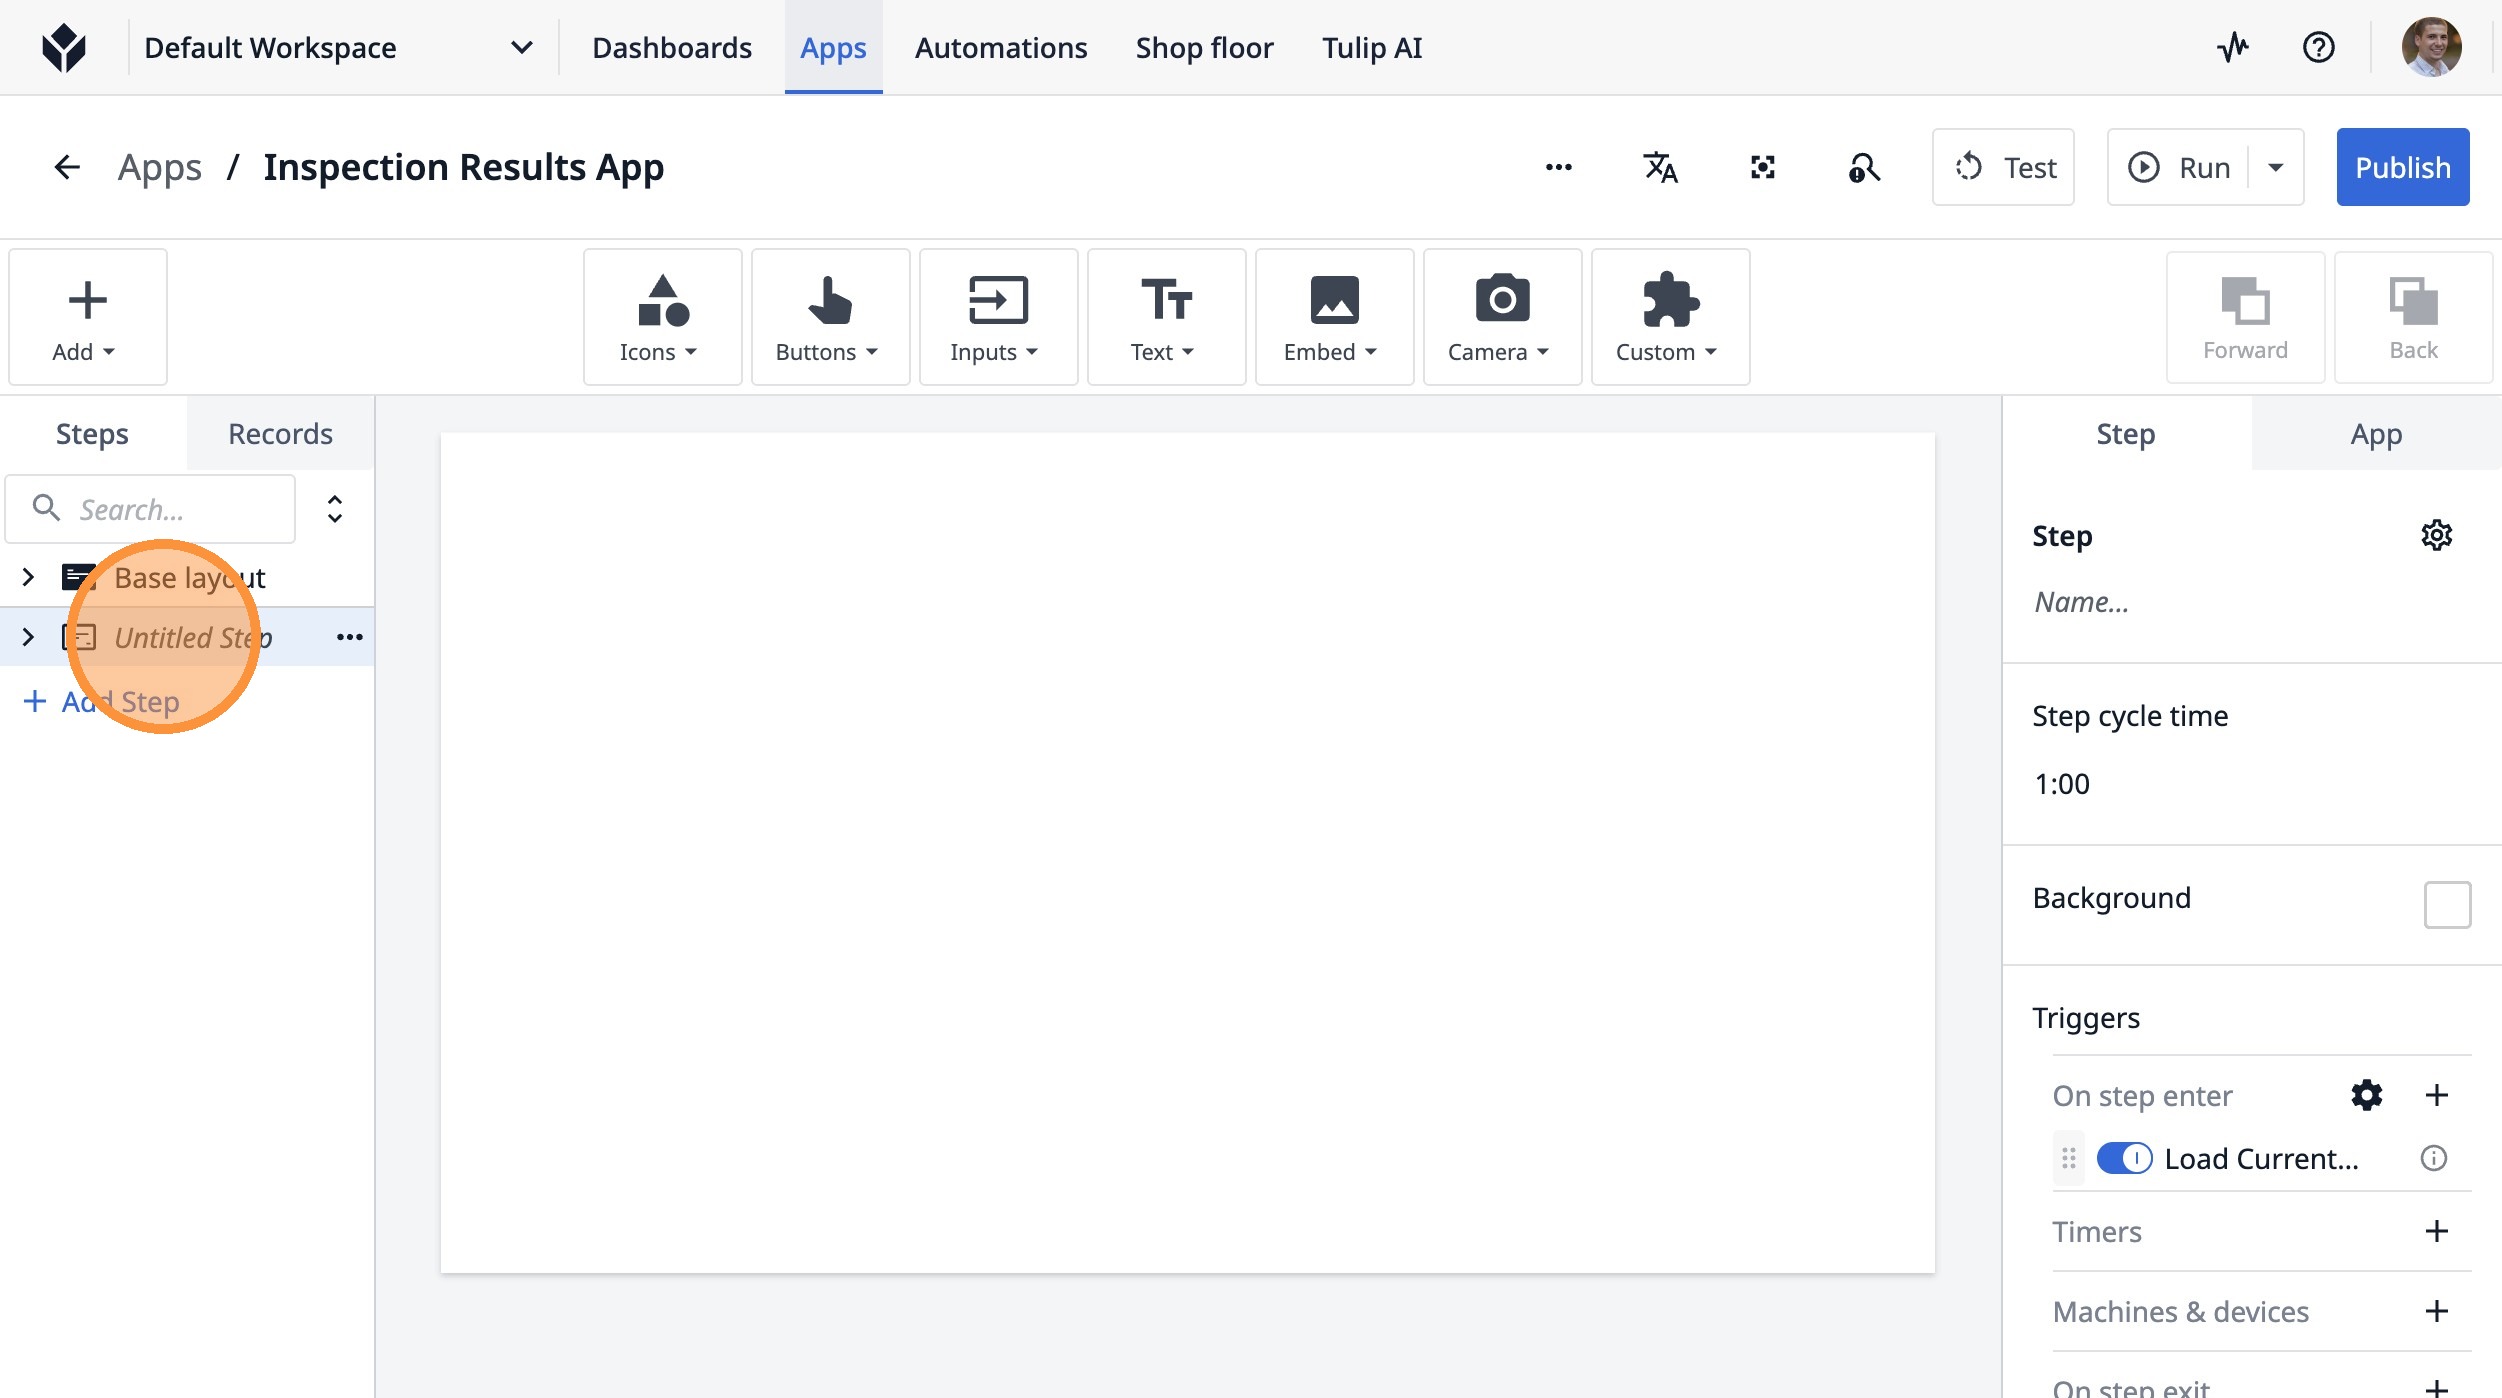
37. Type "Rotor"
38. Click this icon.
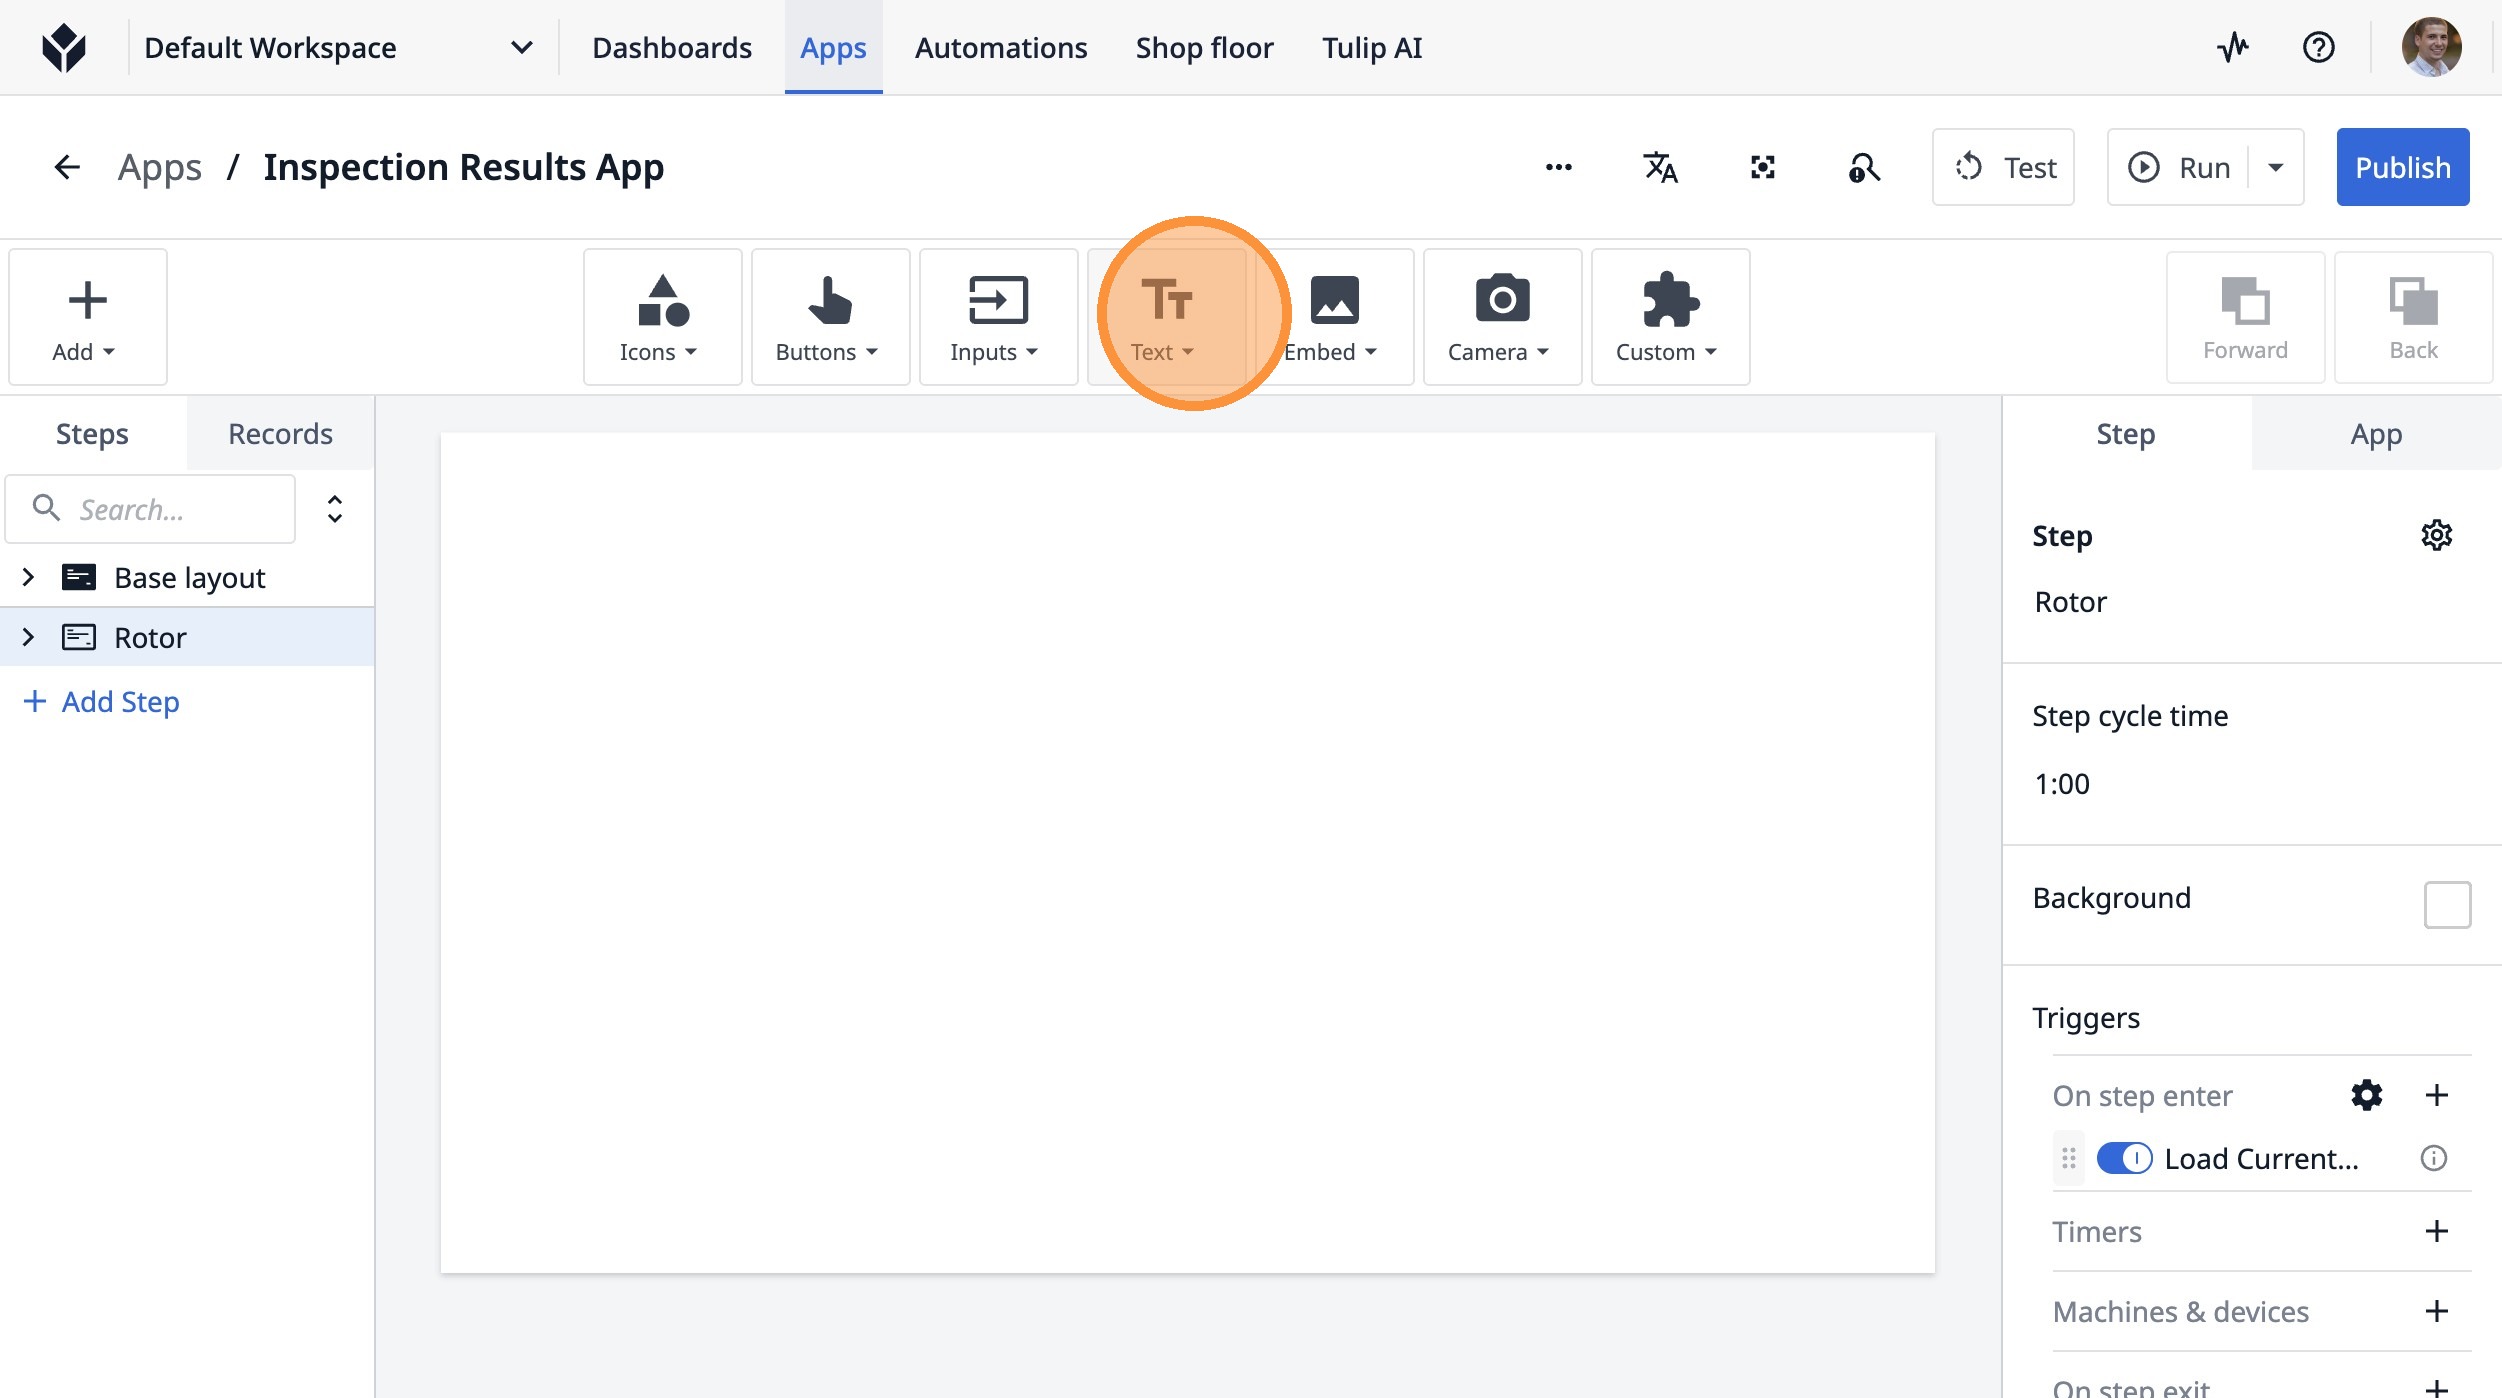
39. Click "Text"
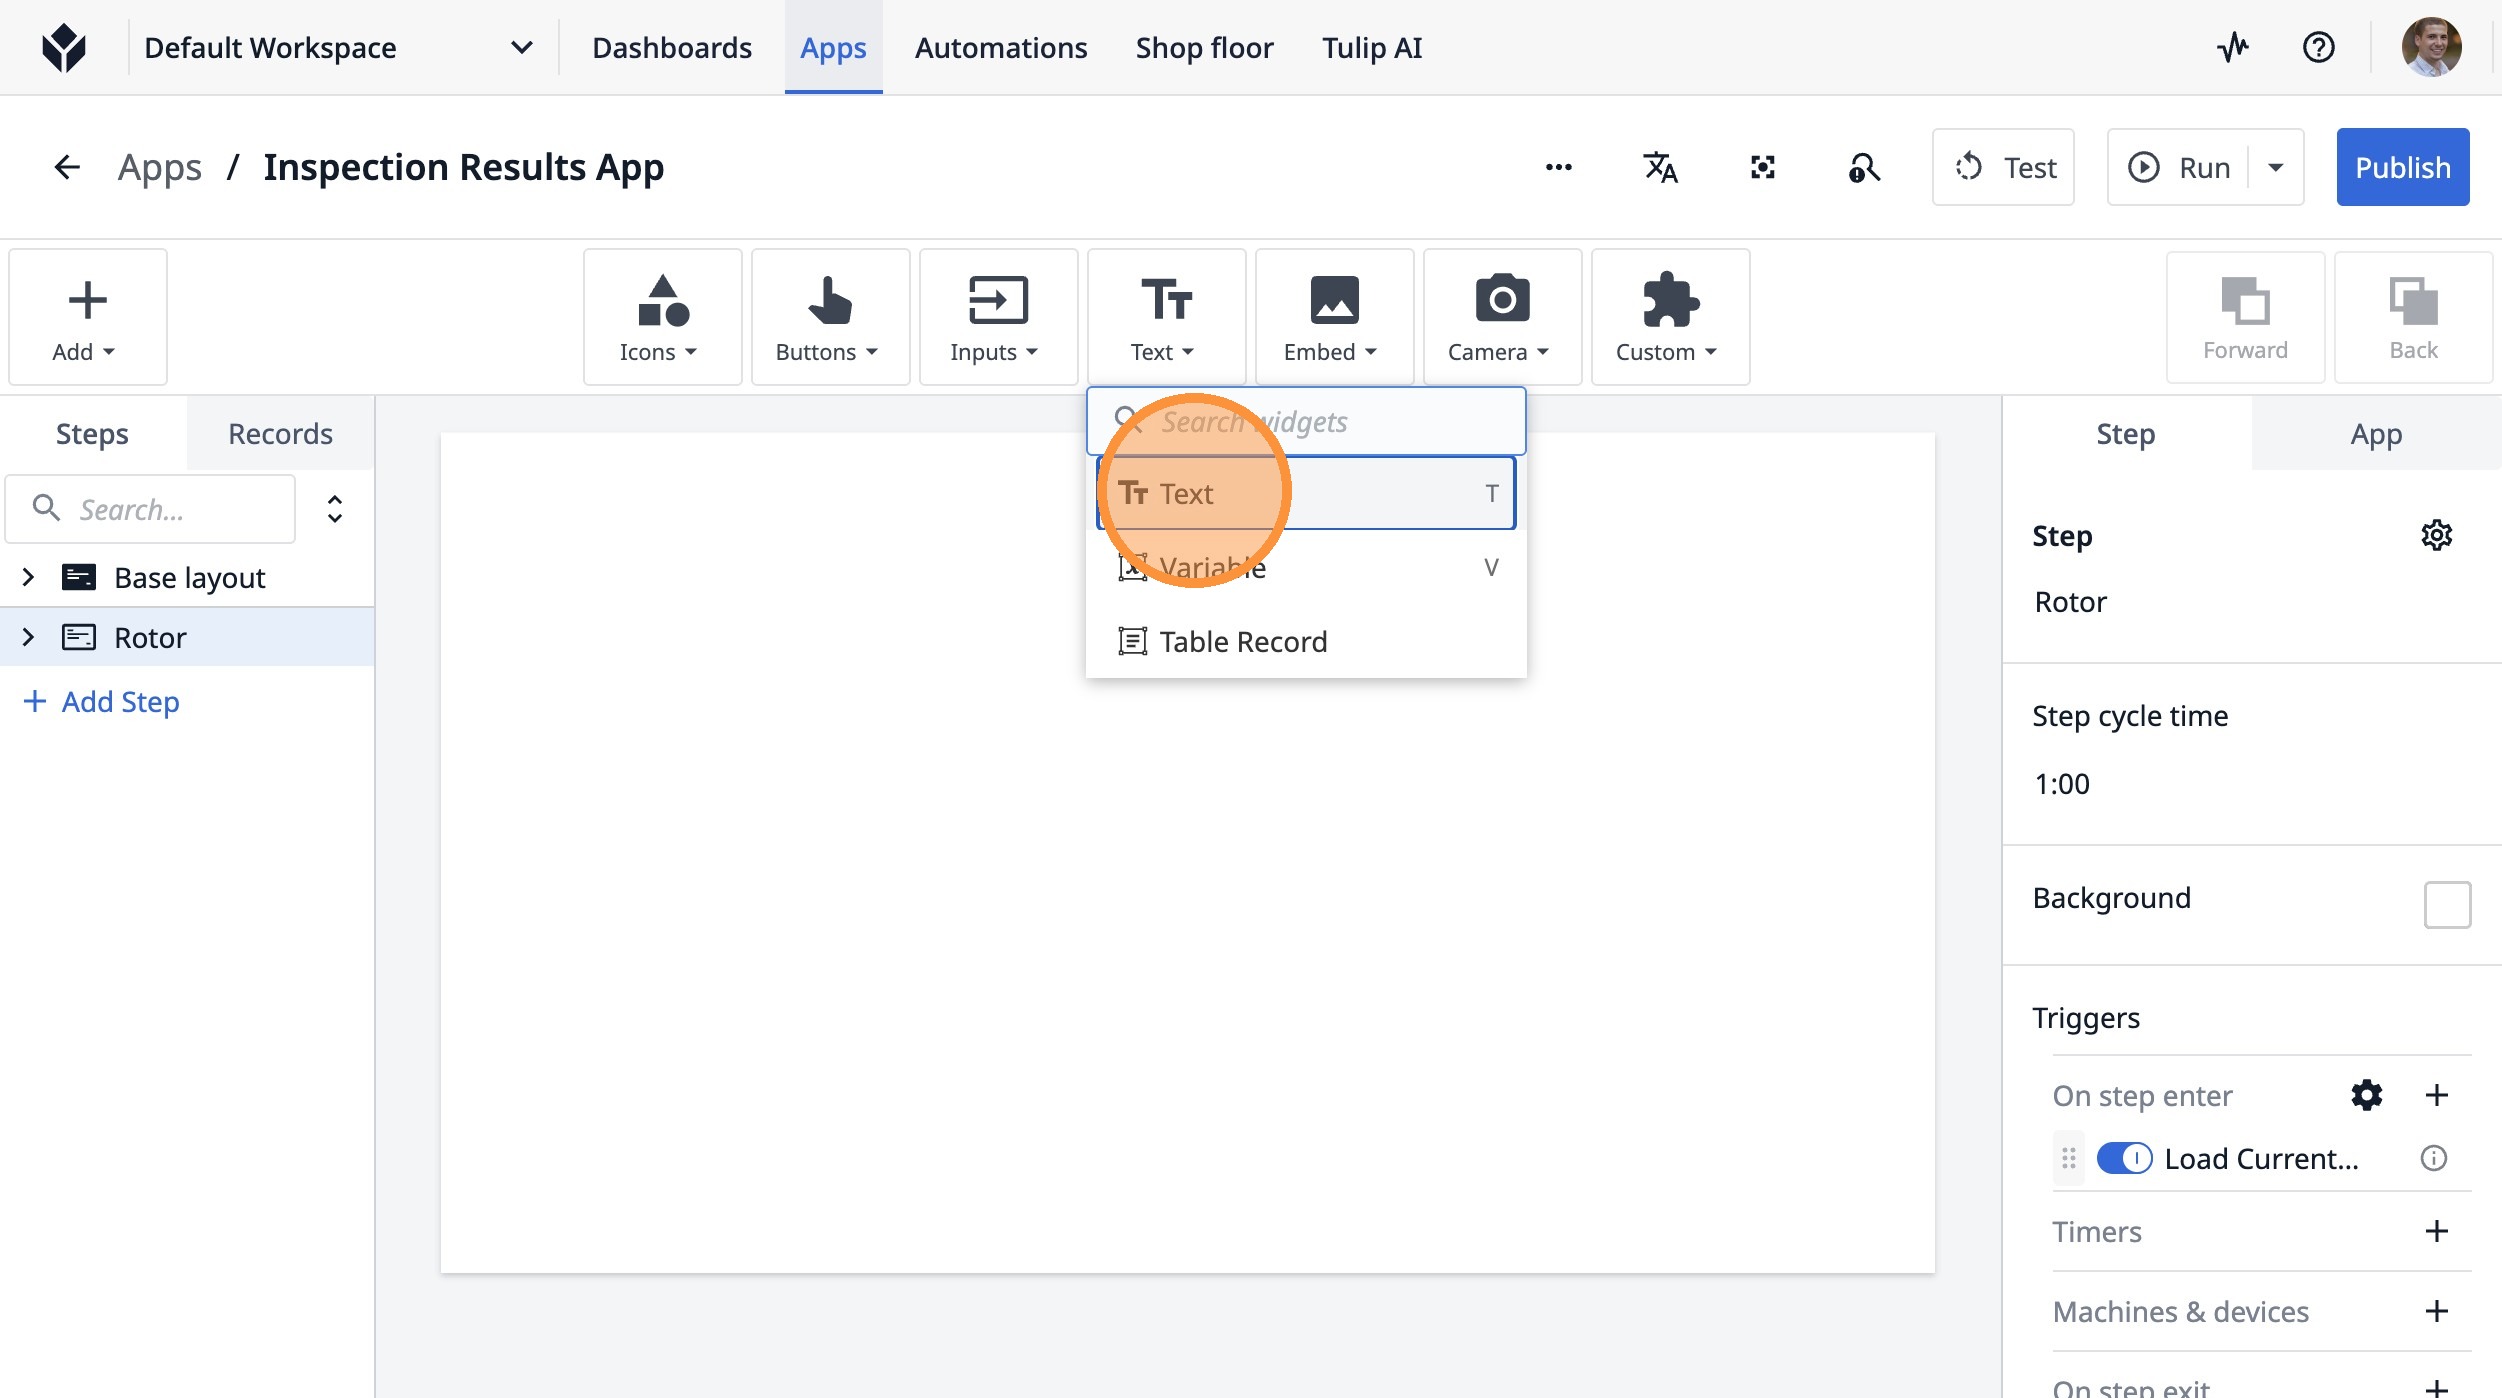
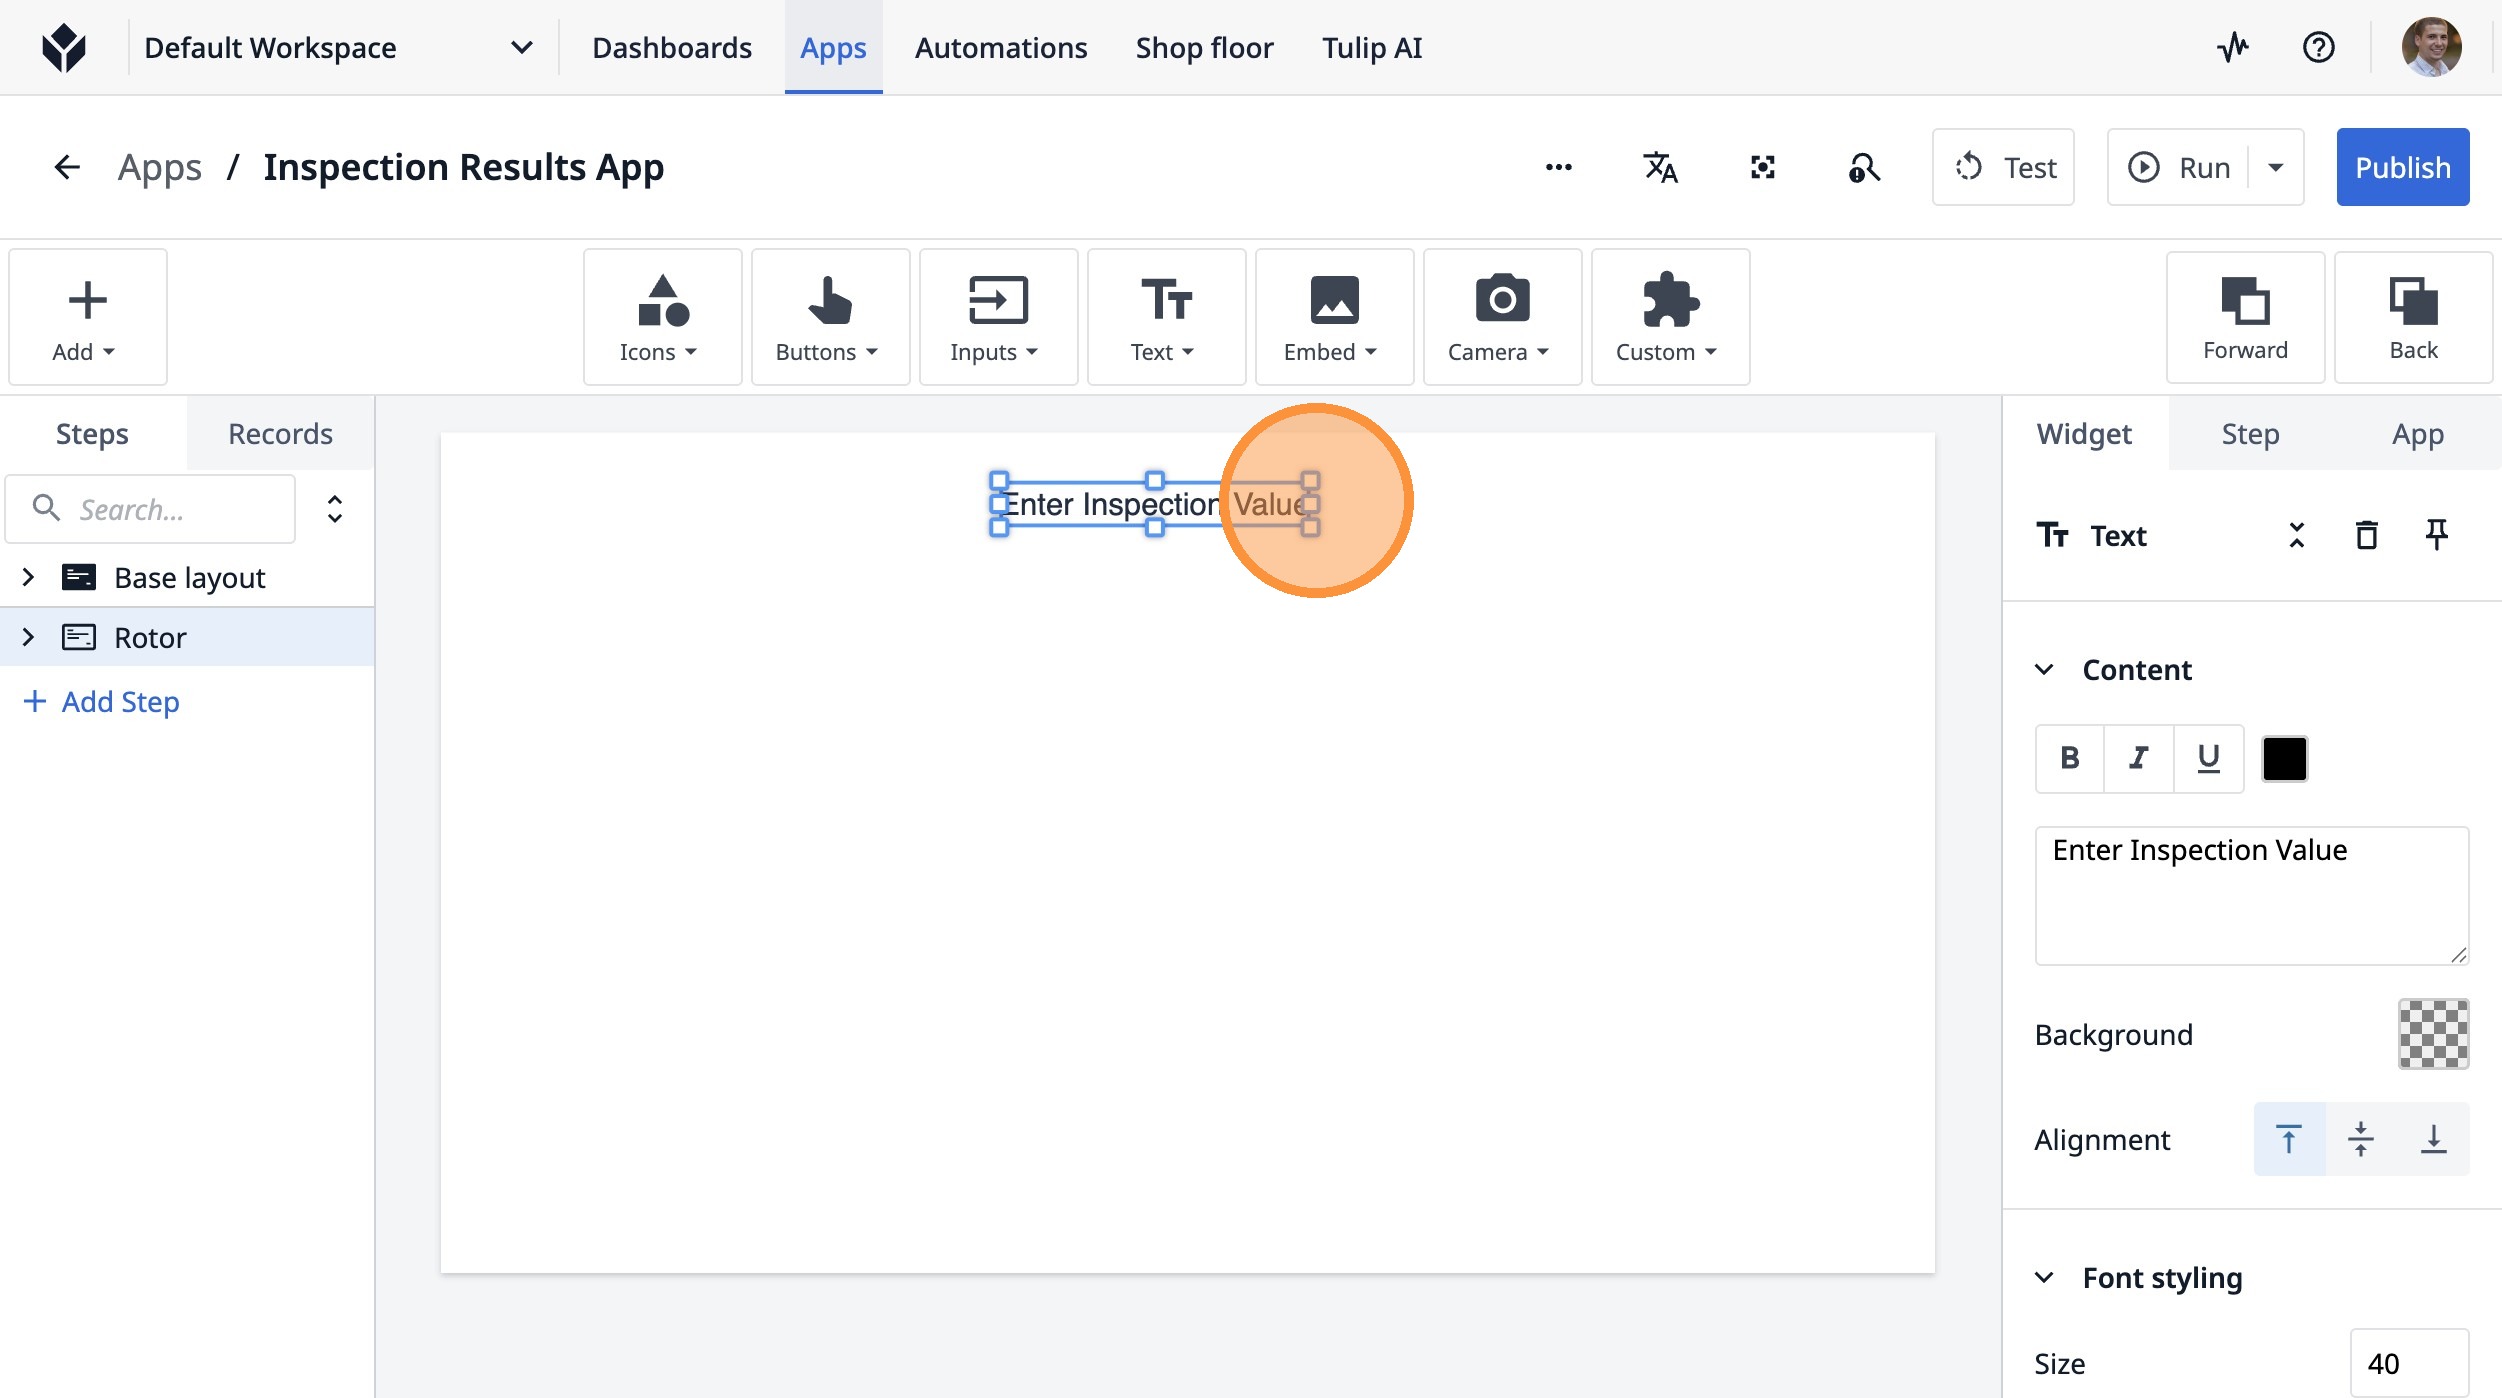
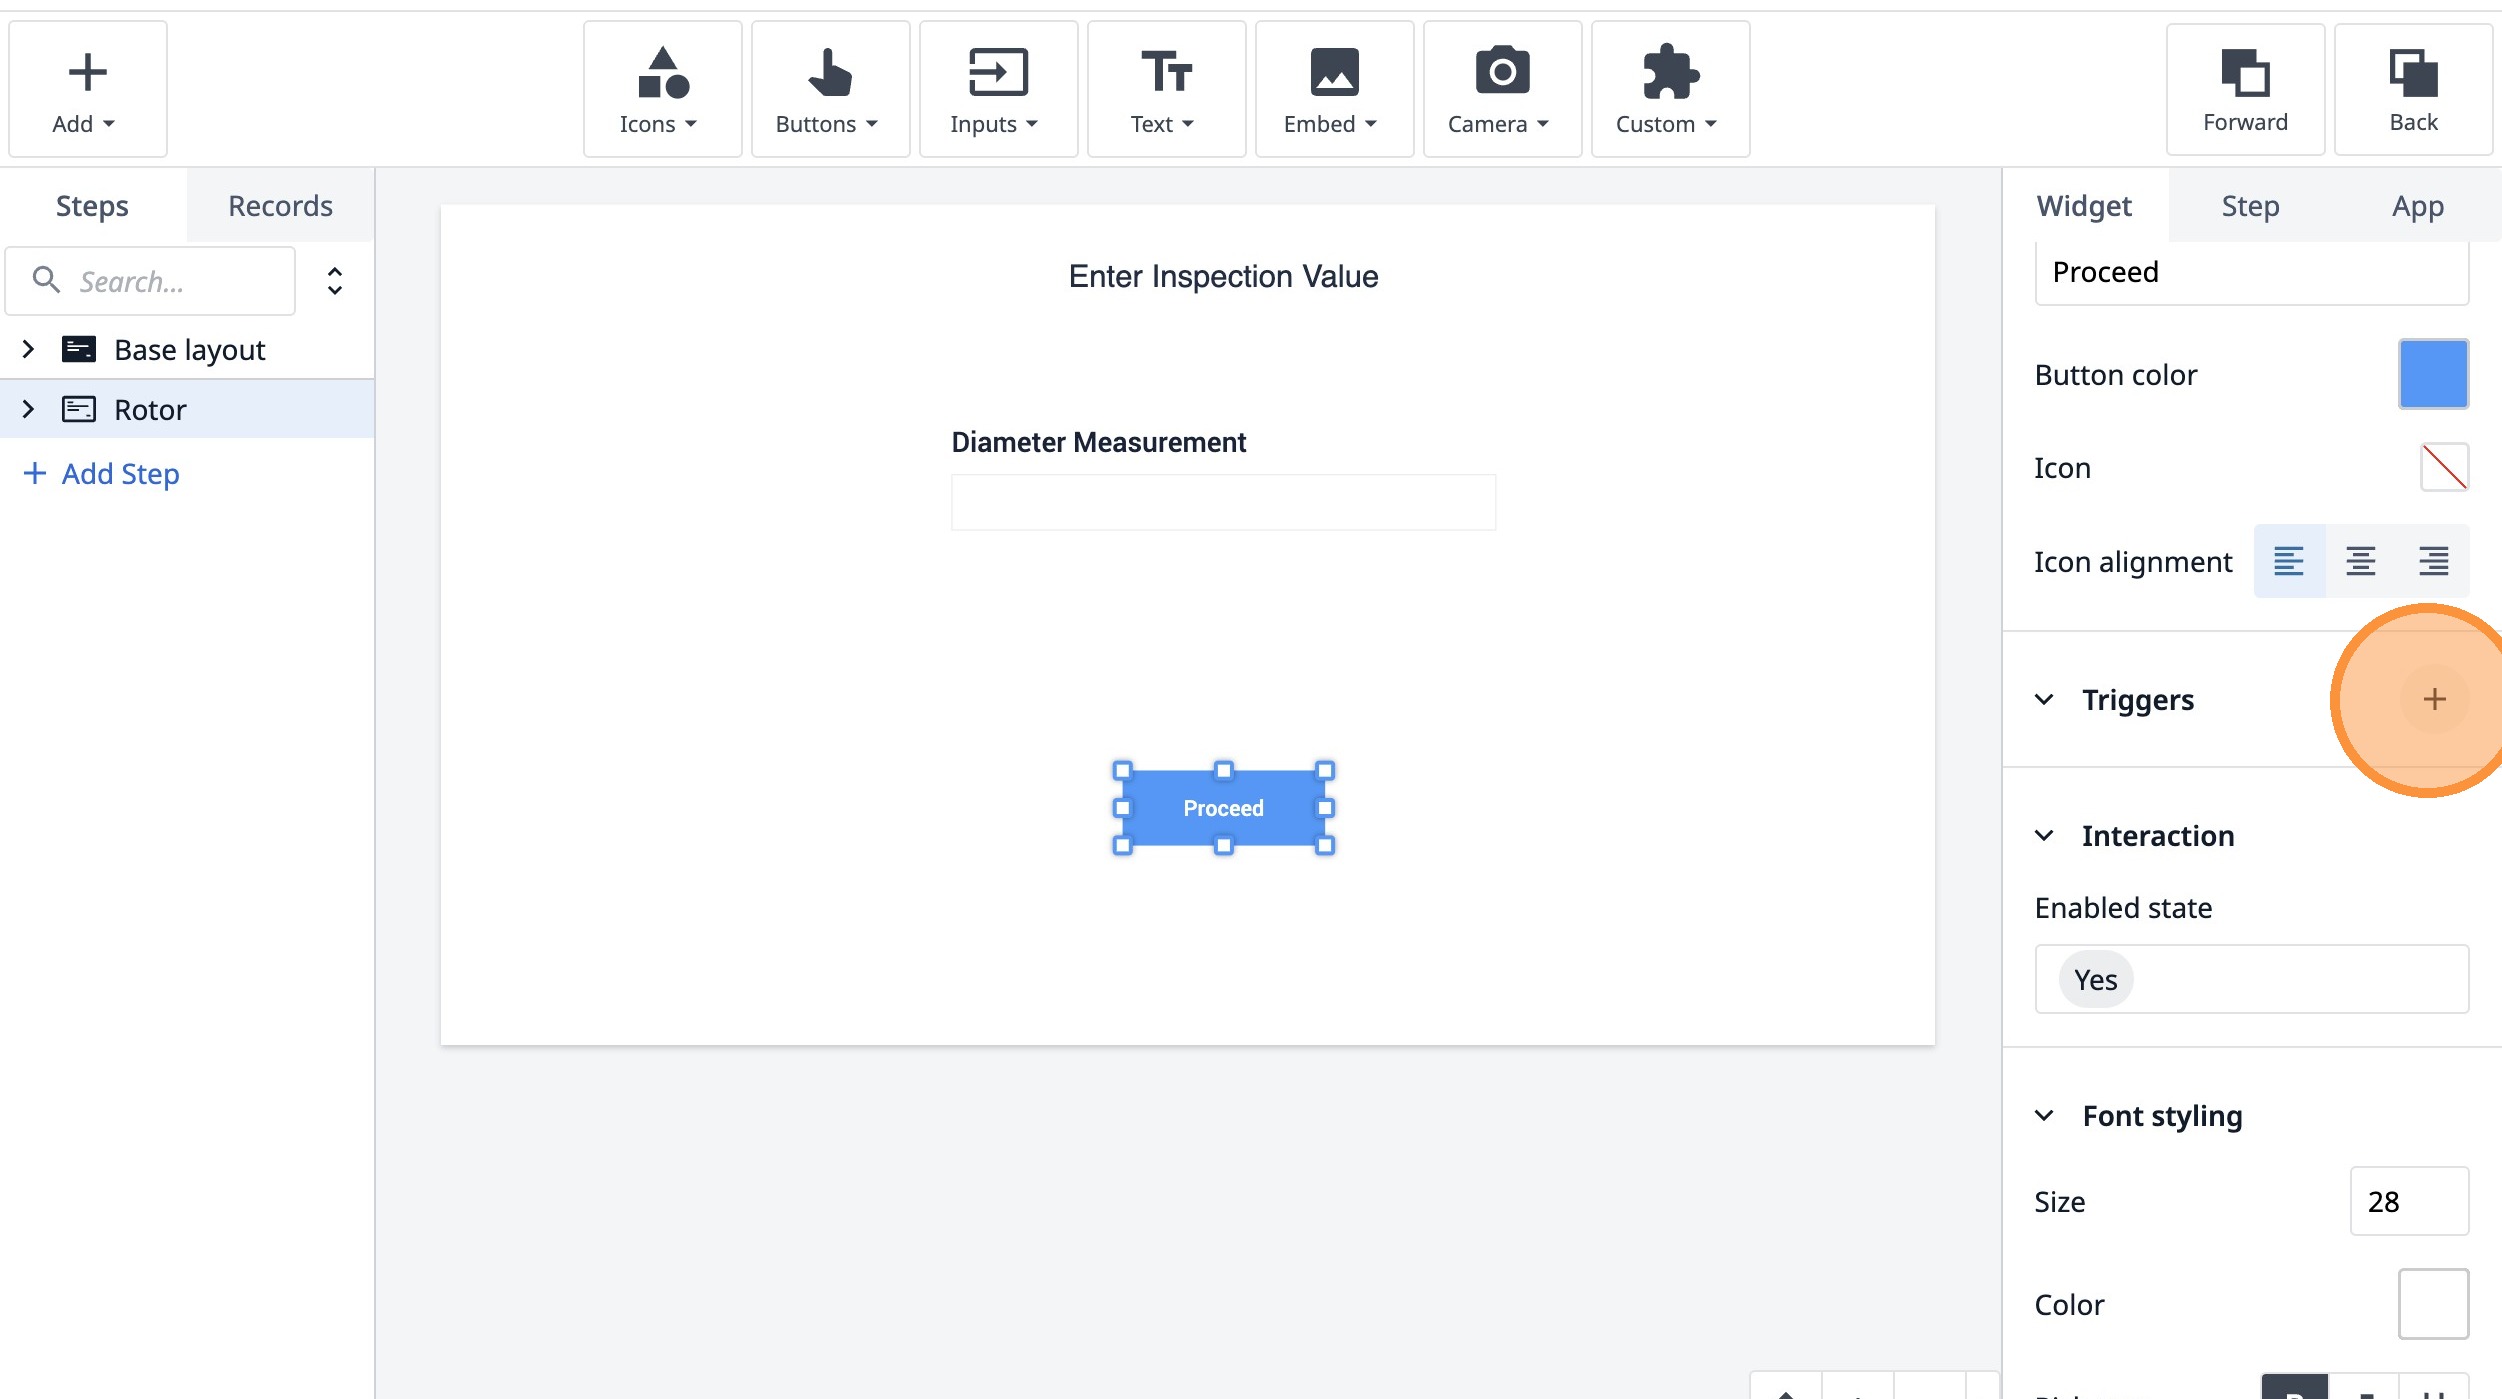
40. Type "Enter Inspection Value"
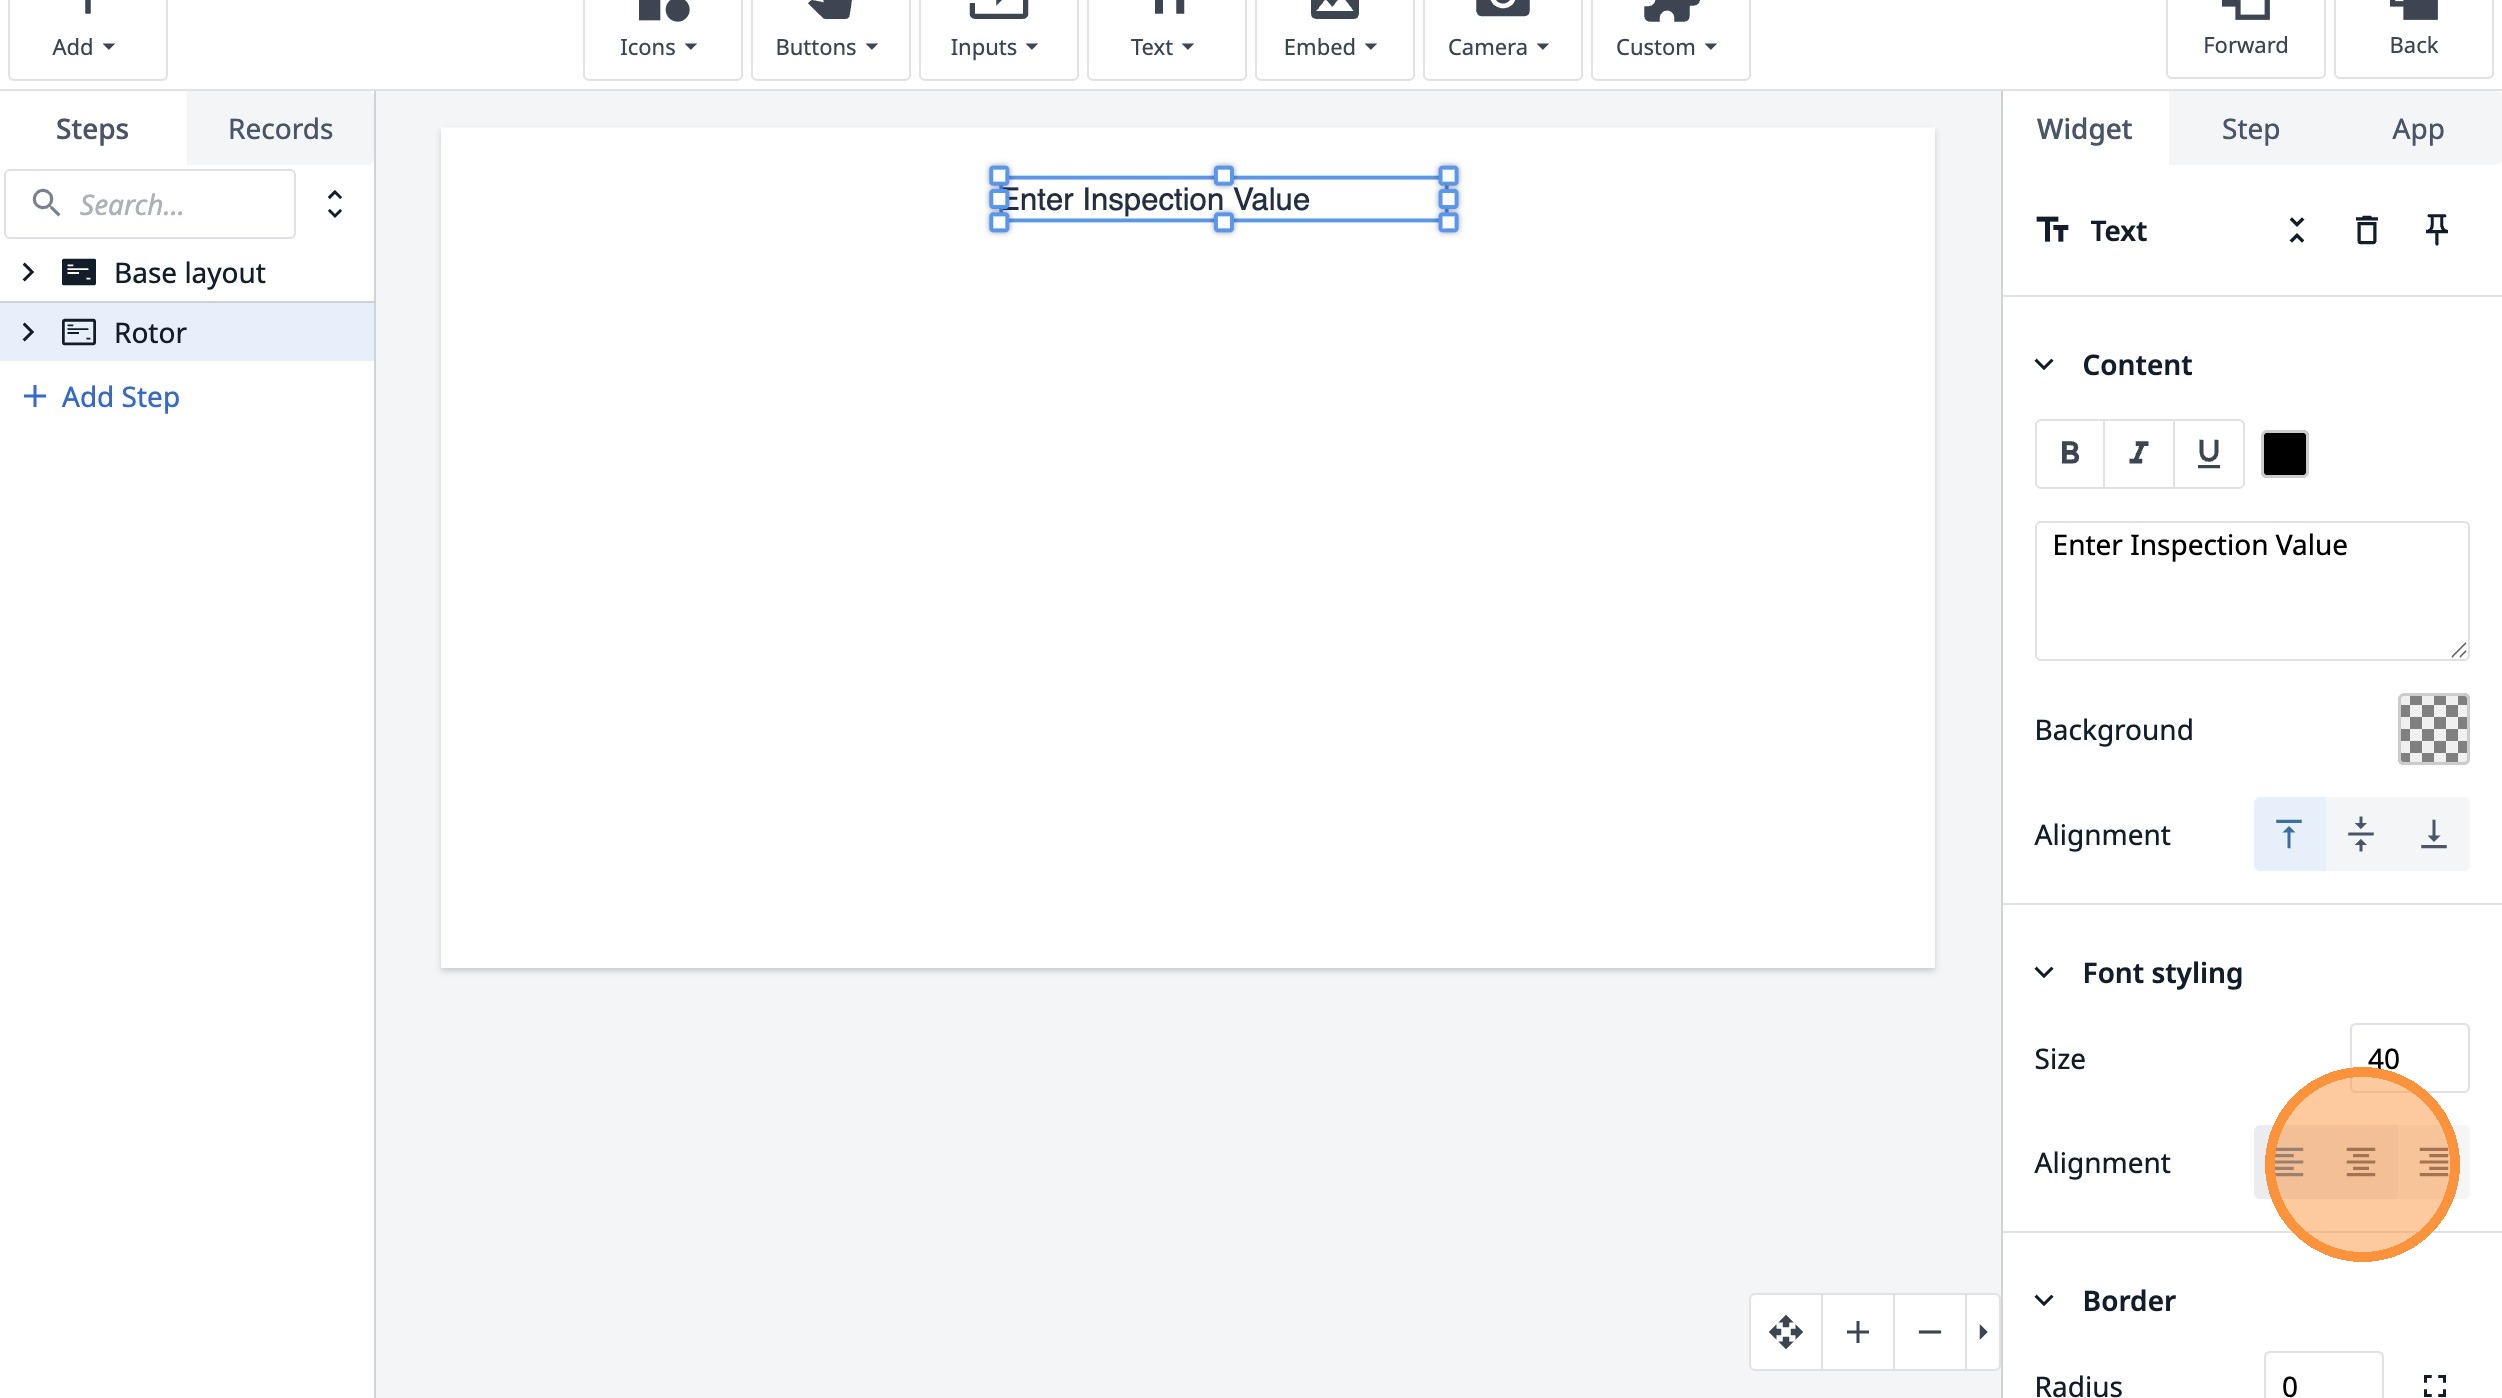
41. Click here.
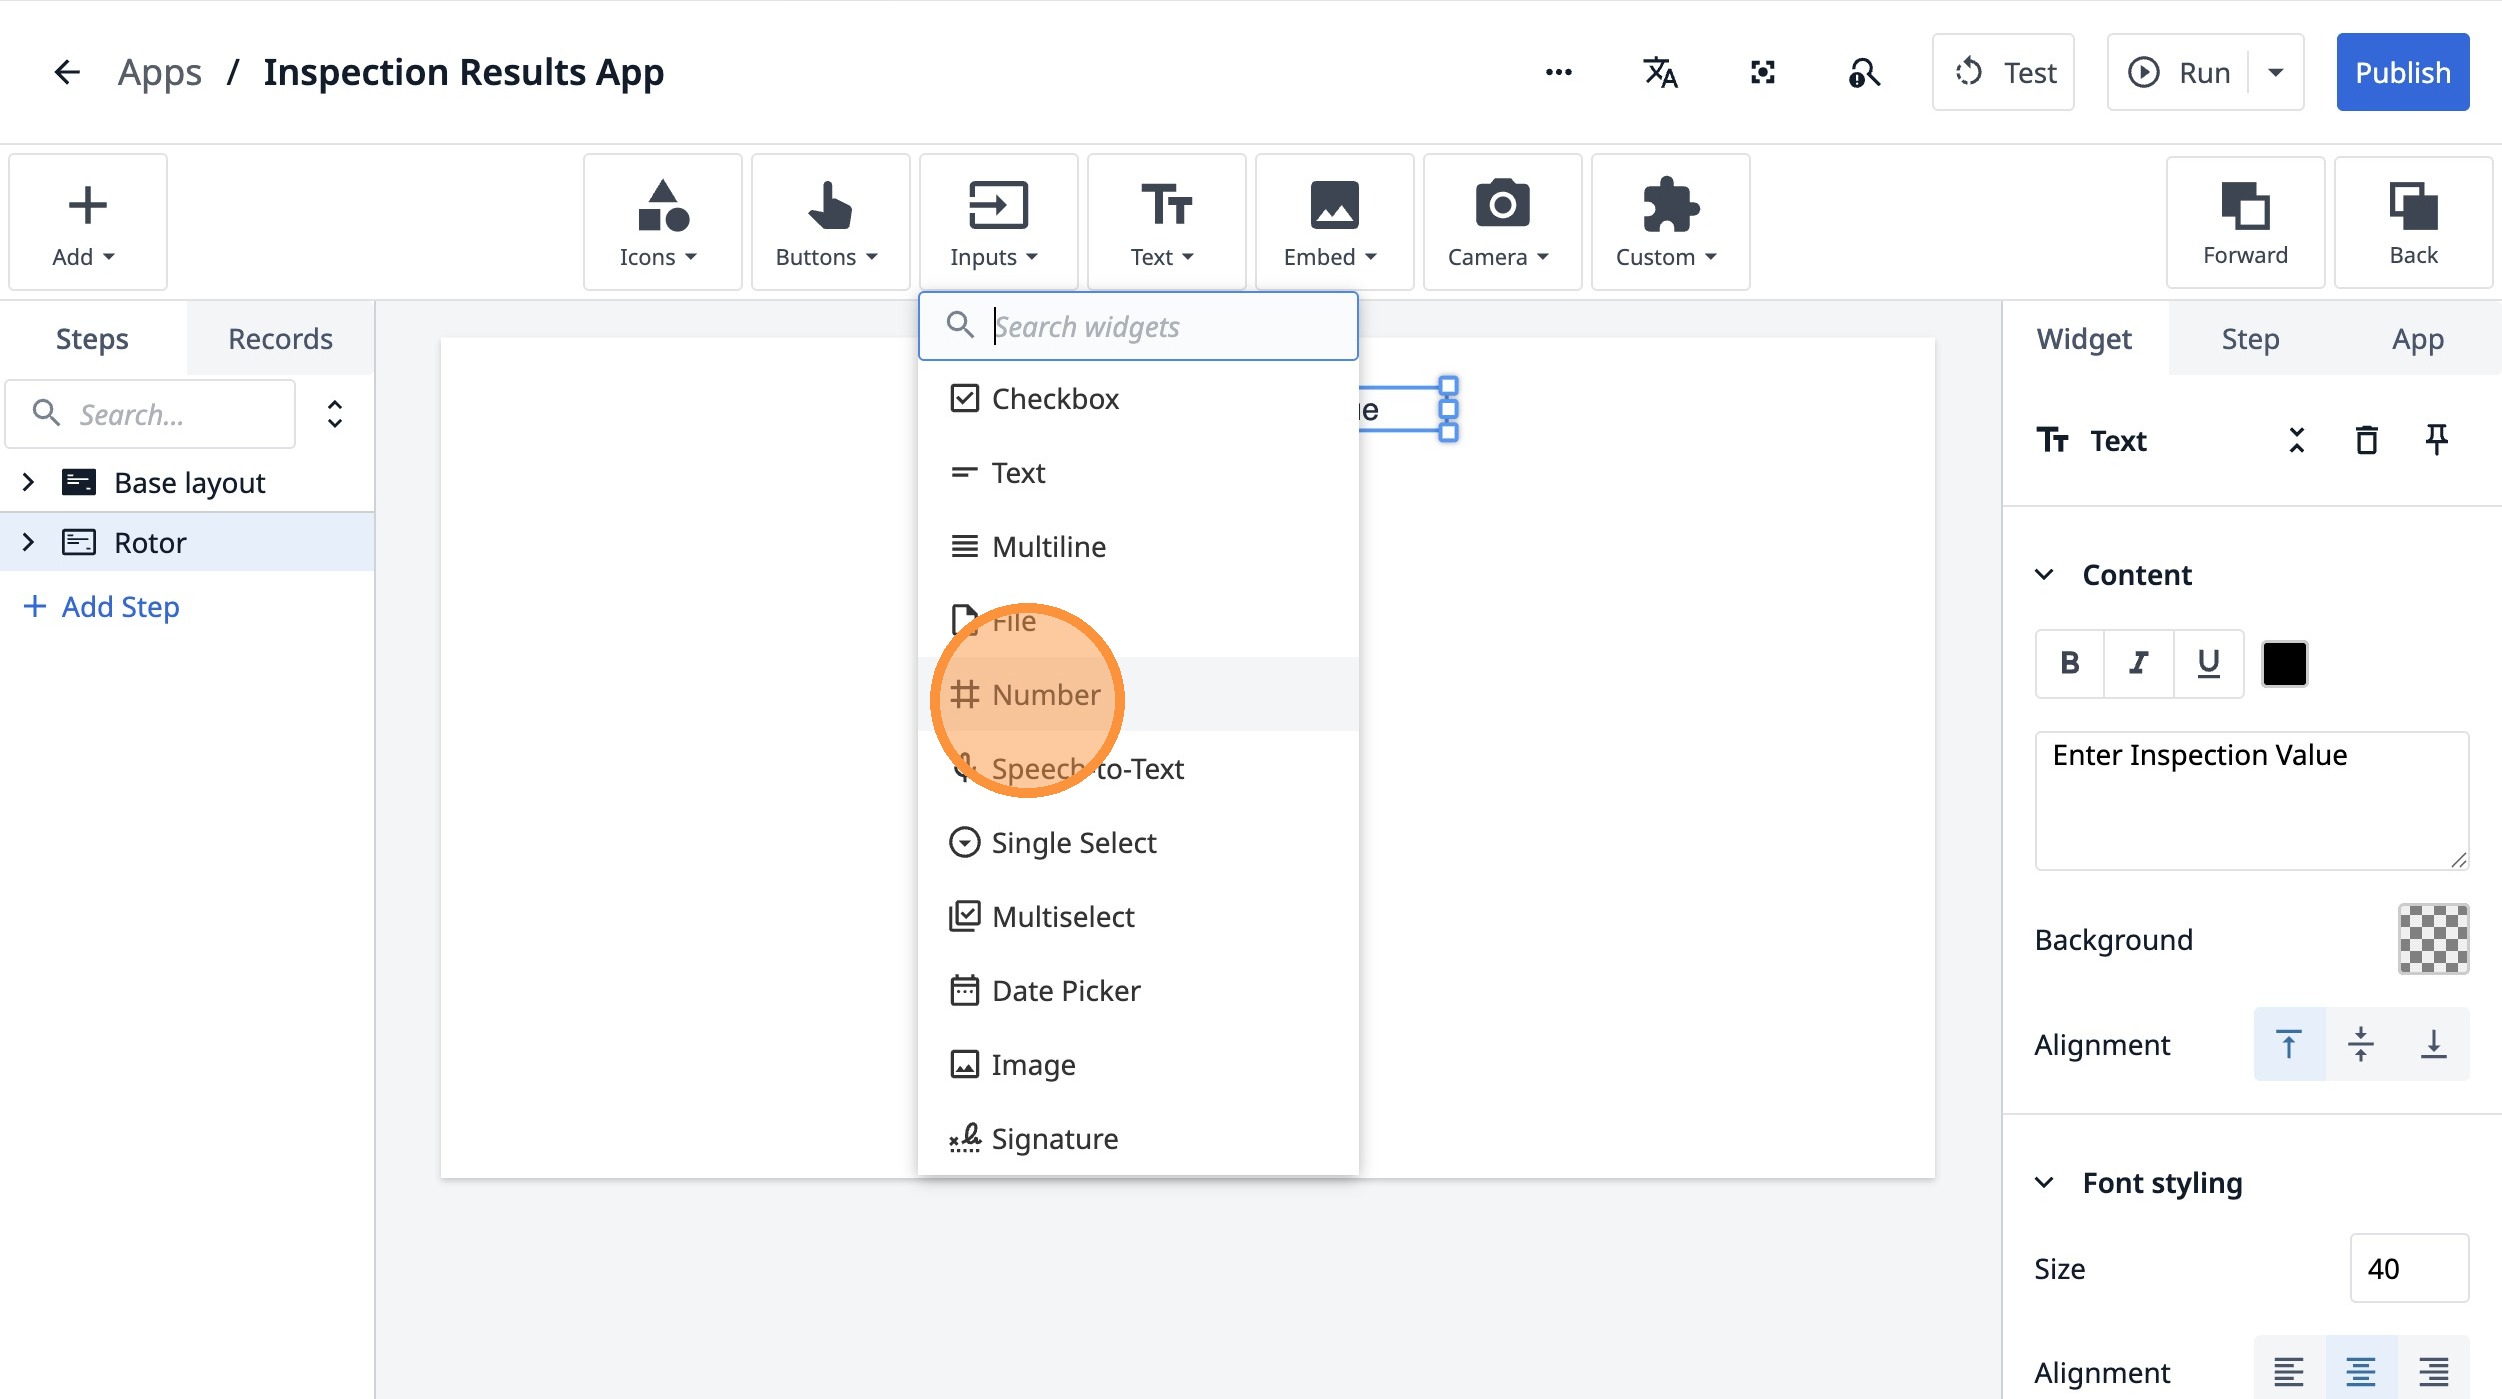
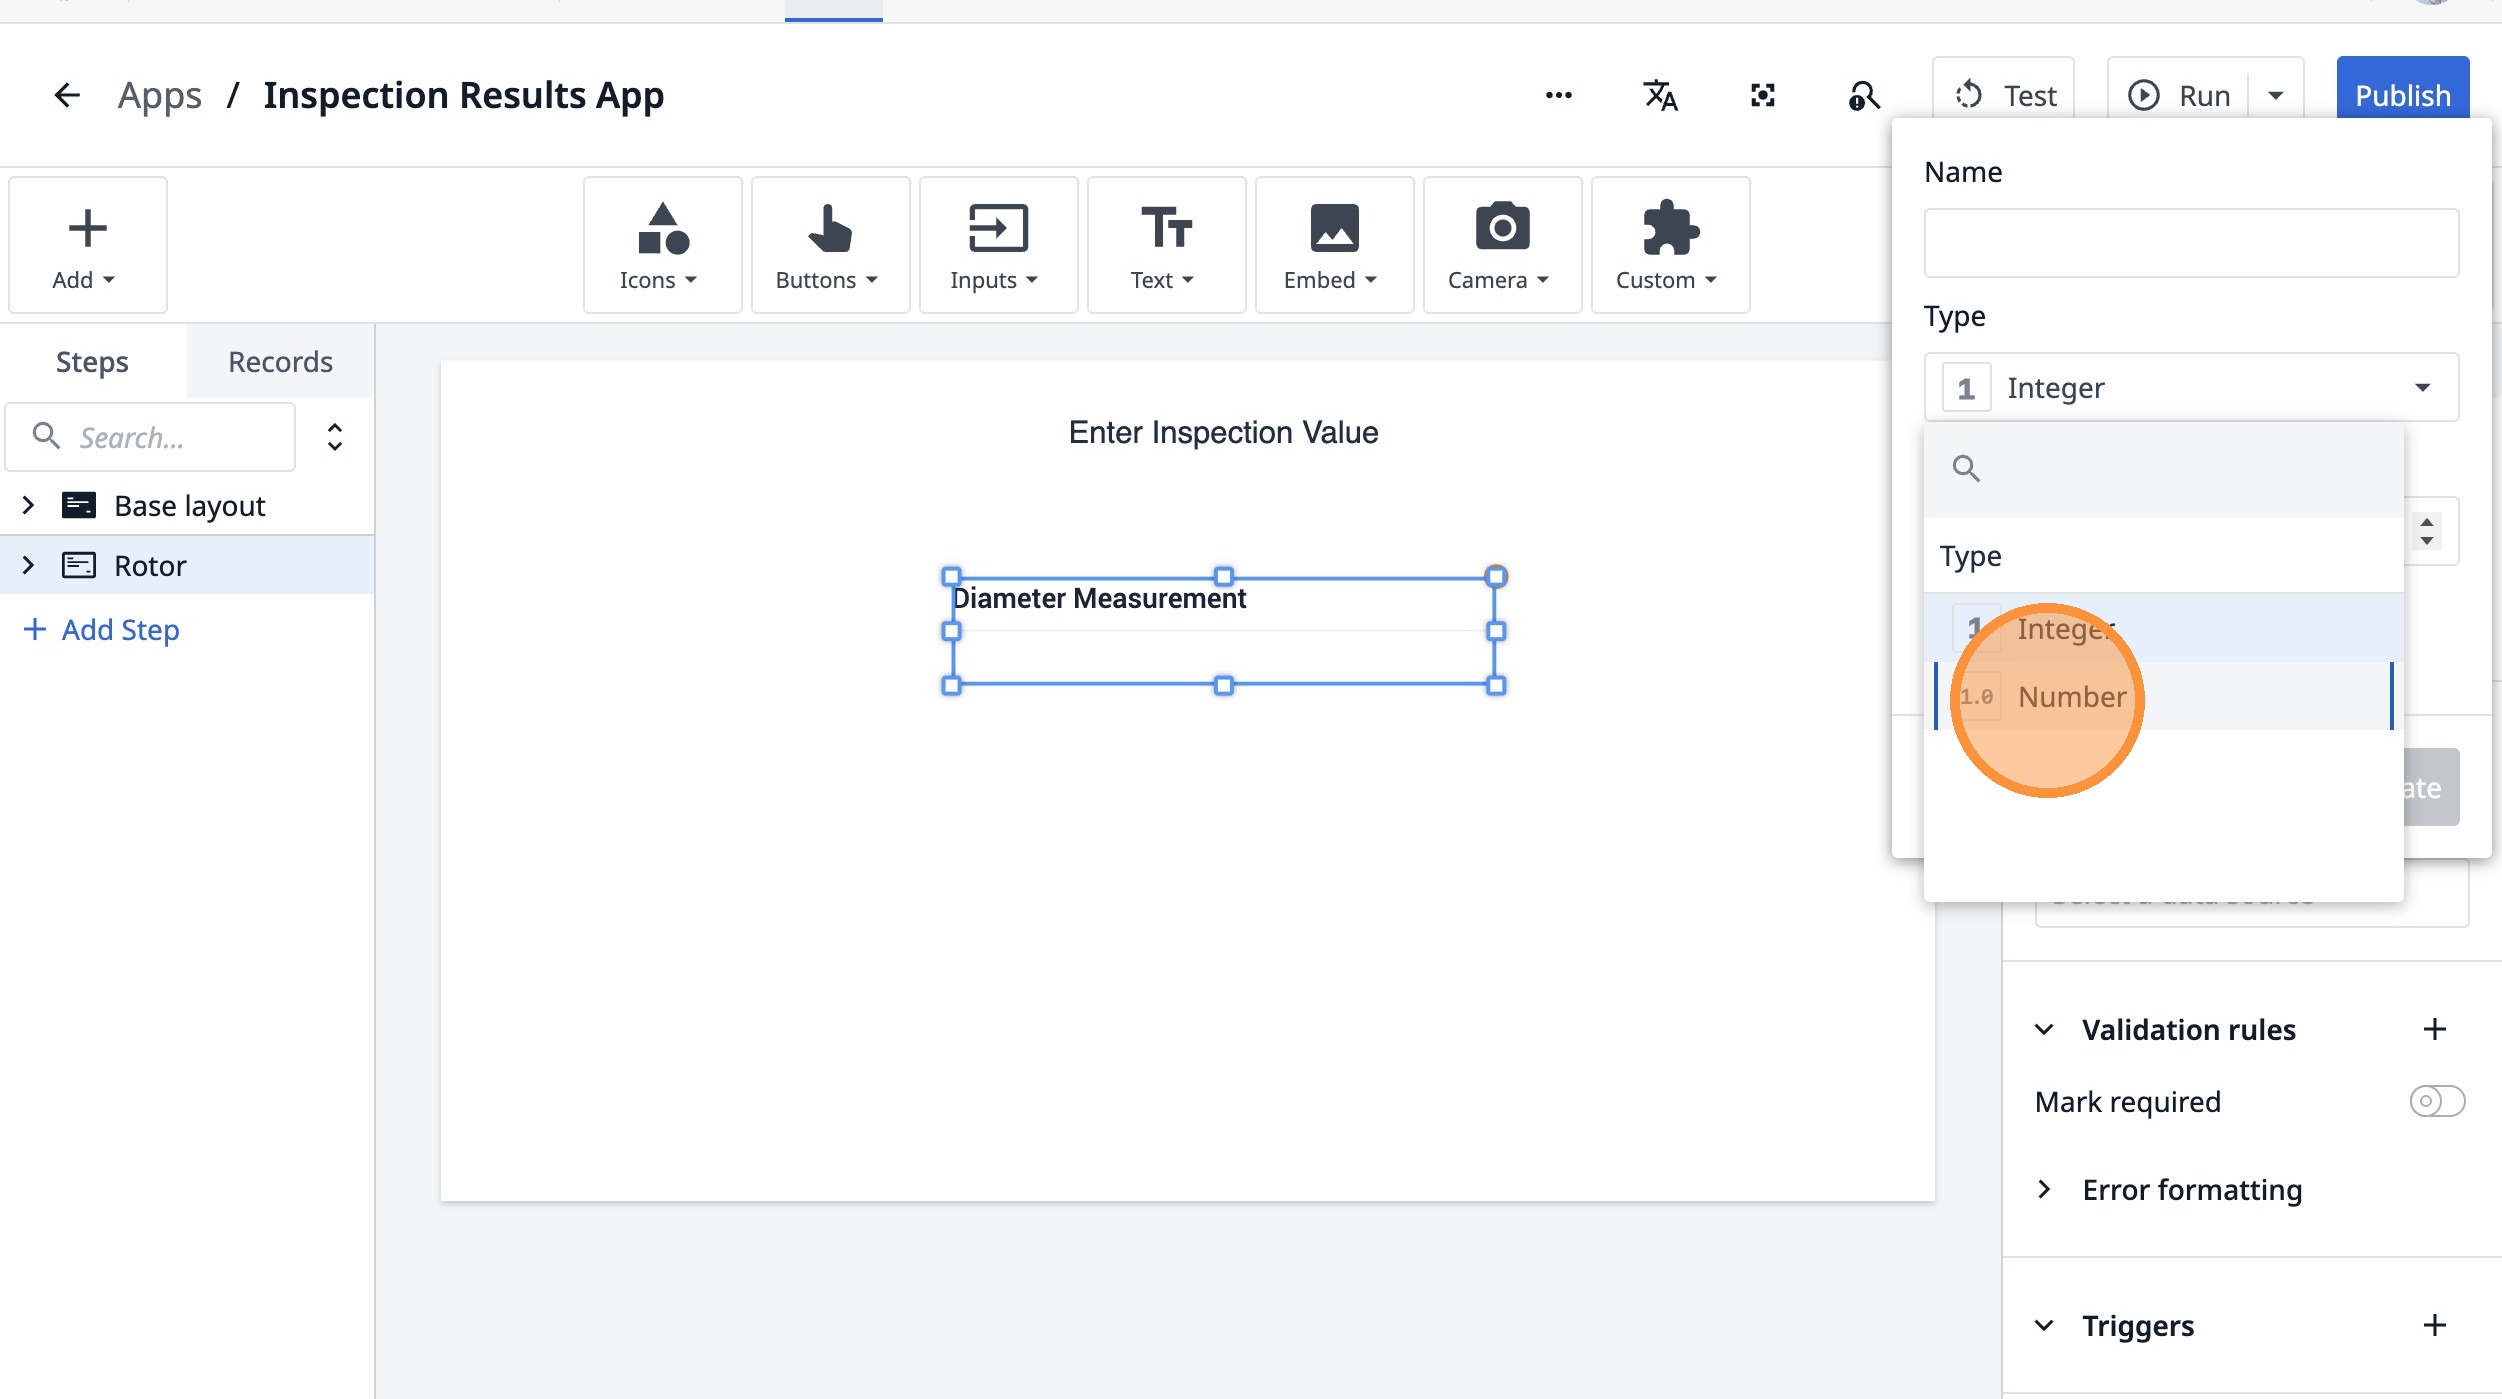
42. Click this icon.
43. Click "Number"
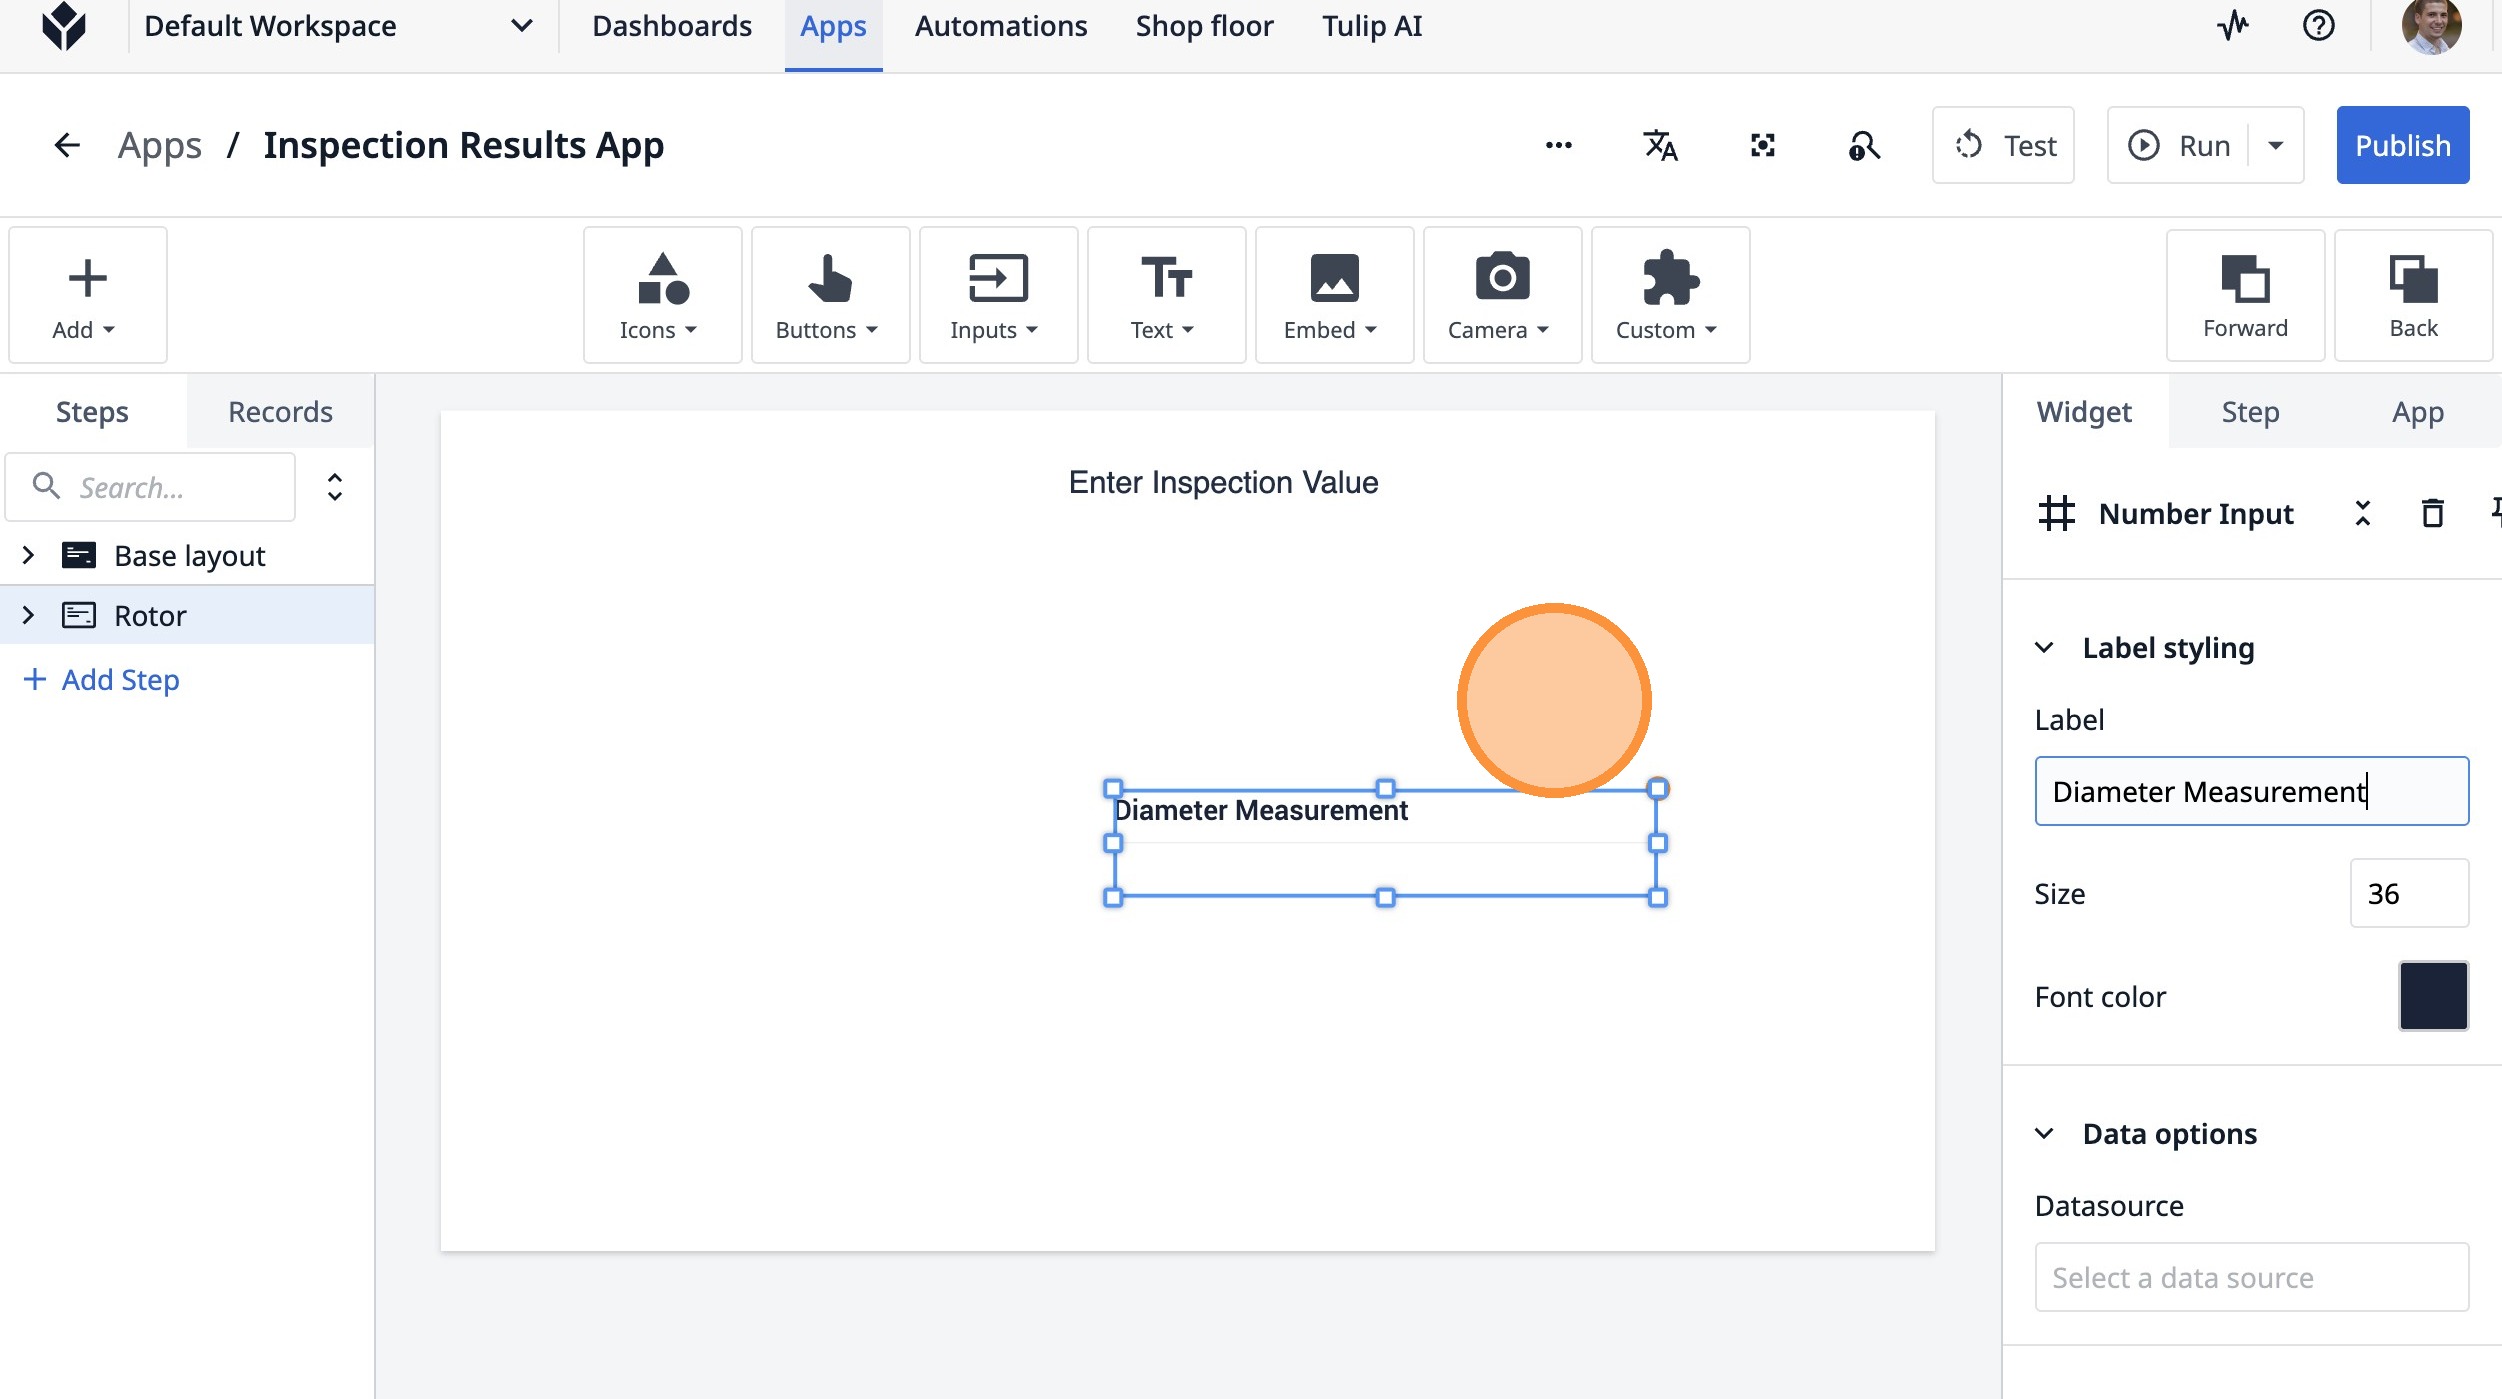
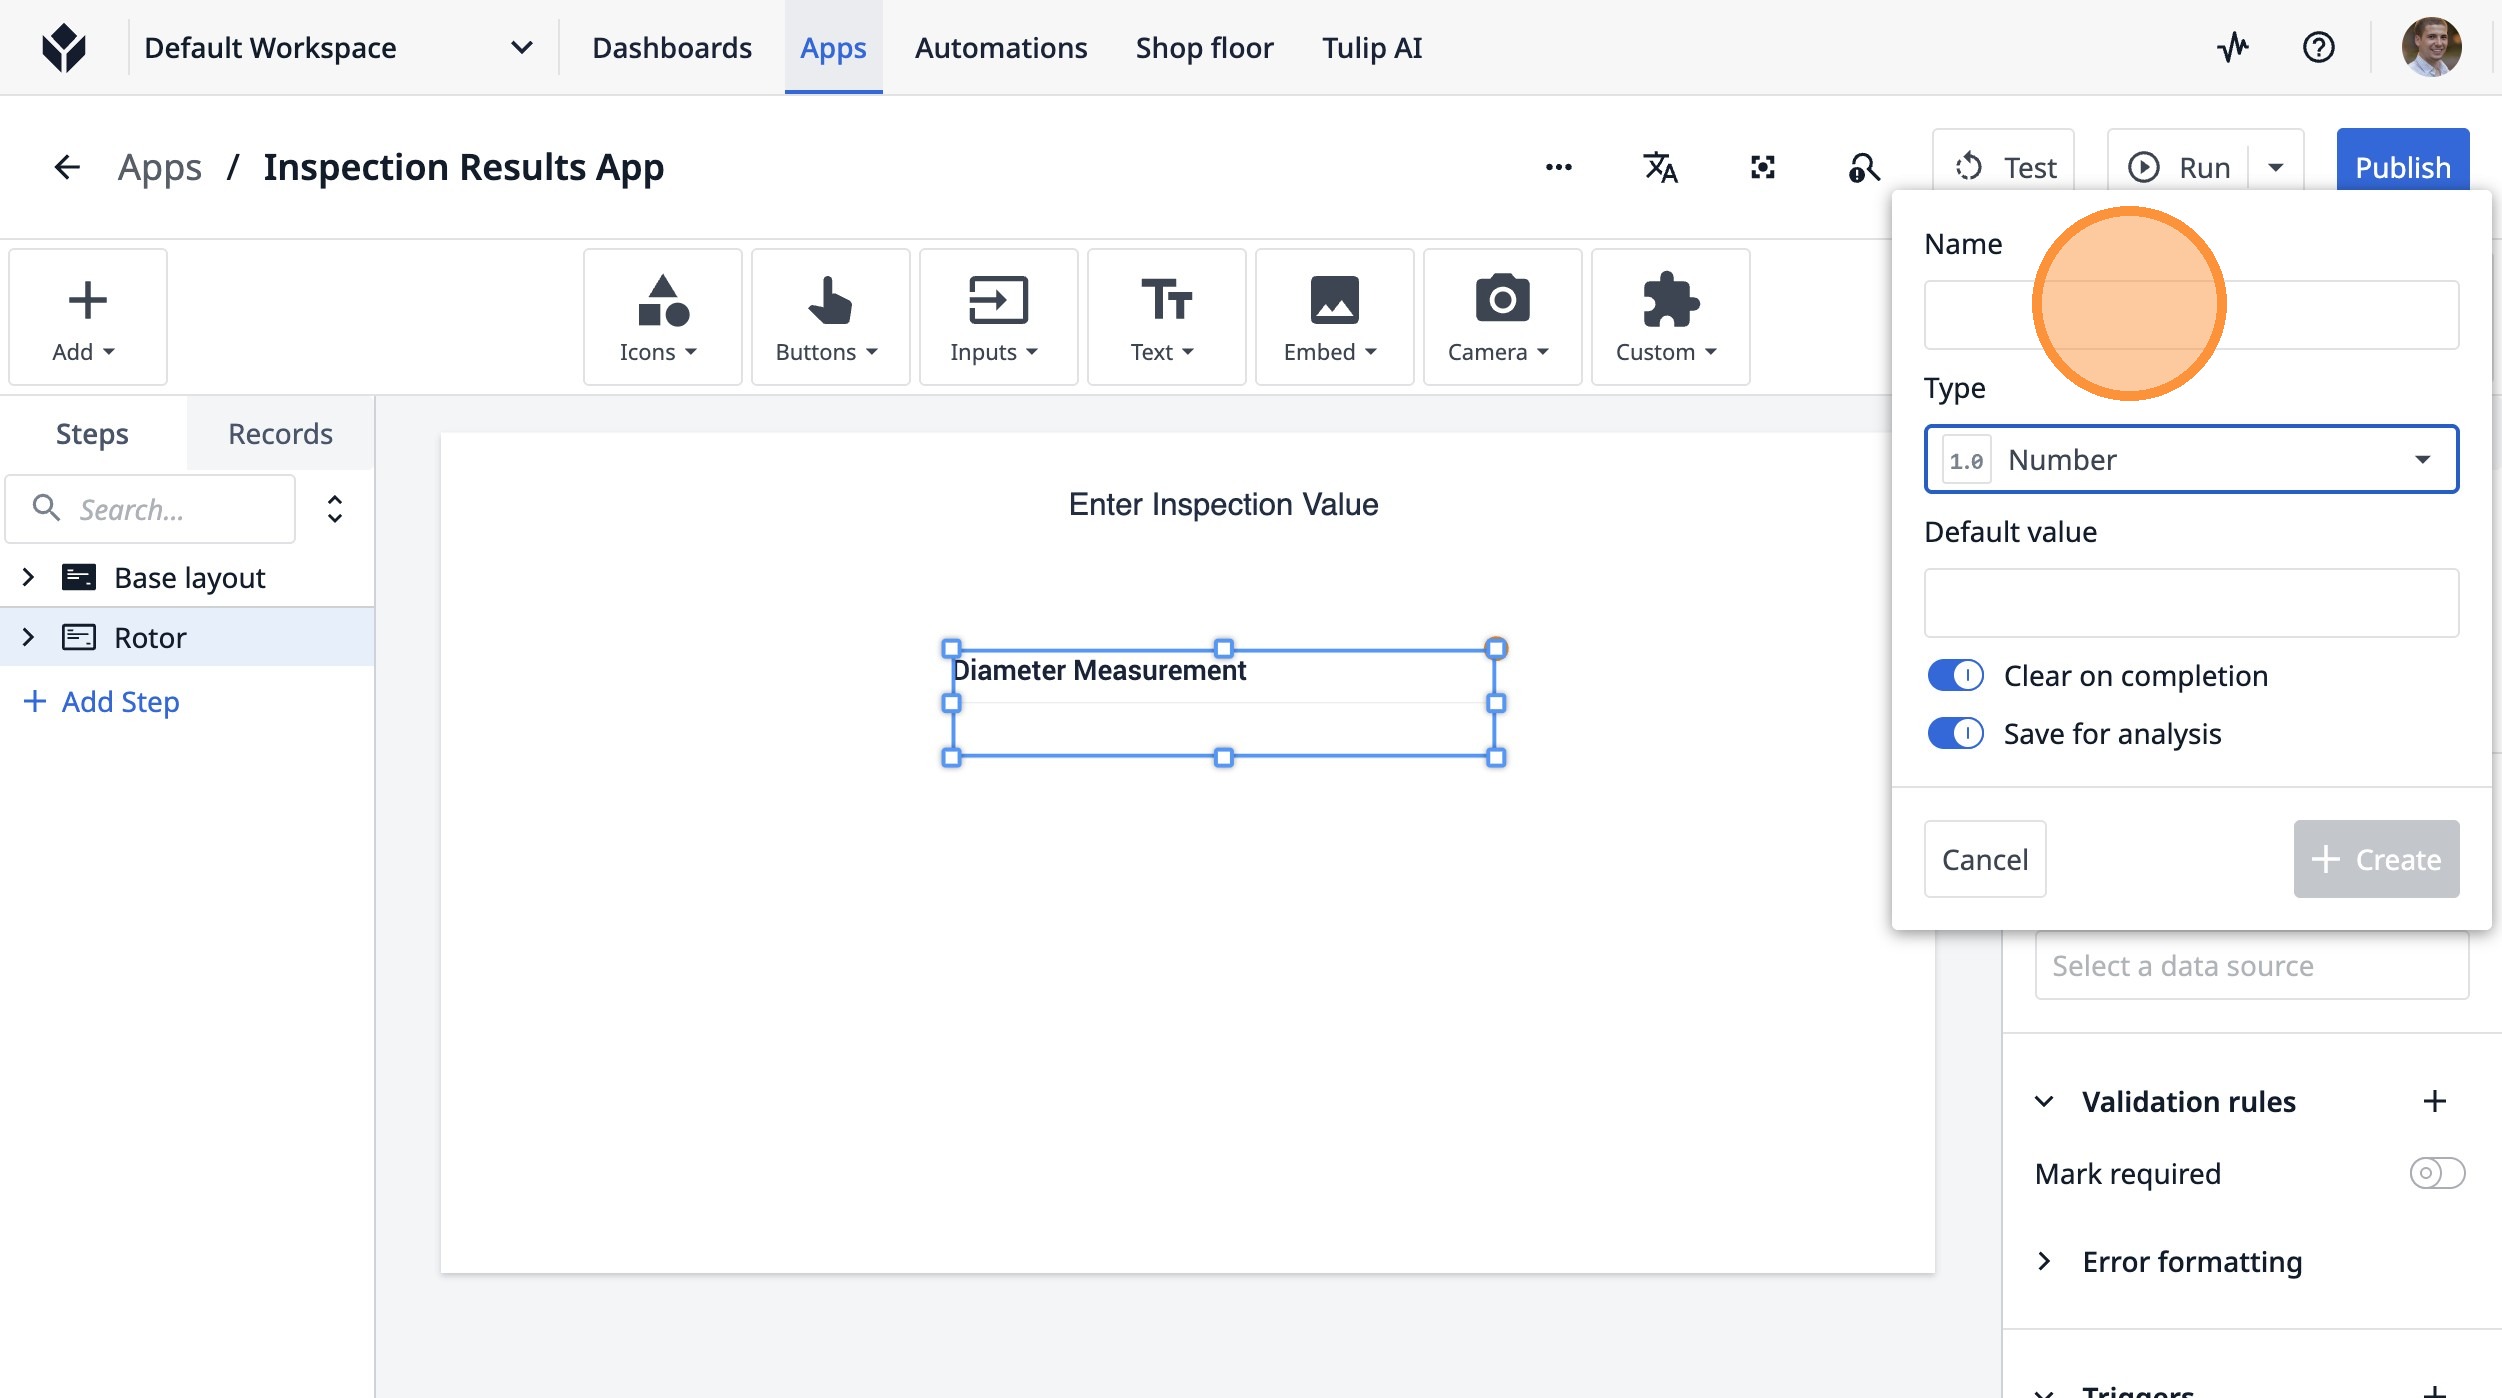
44. Double-click the "Label" field.
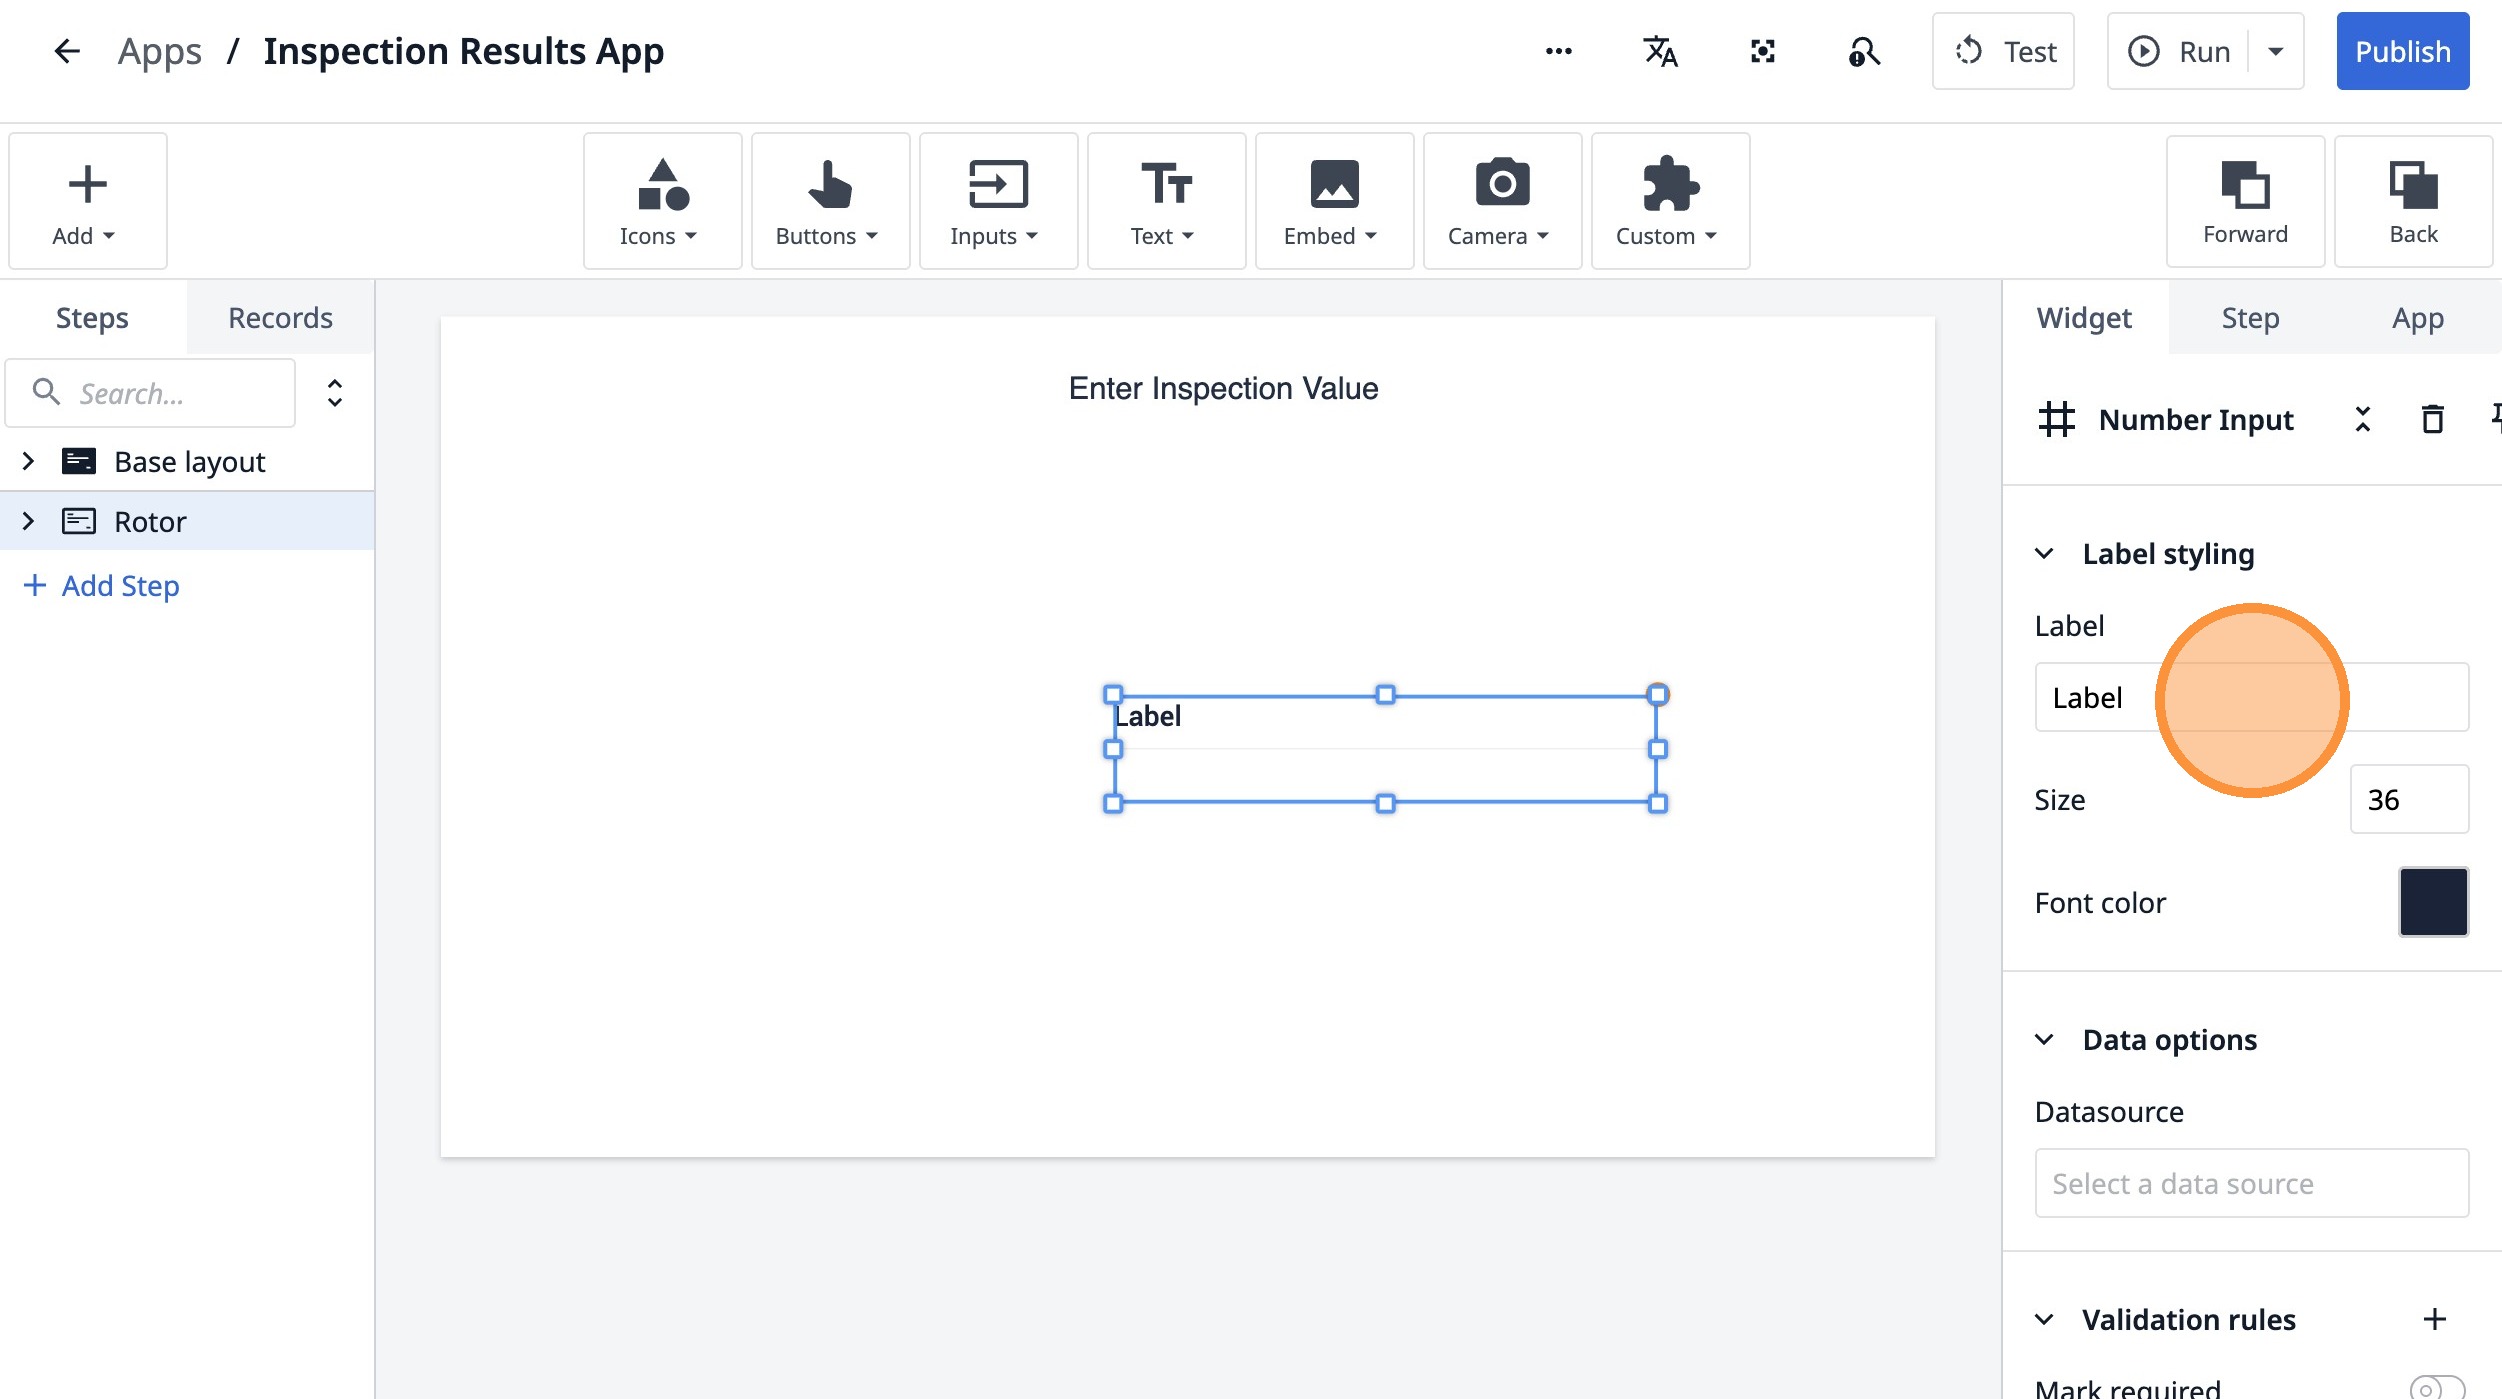
45. Type "Diameter Measurement"
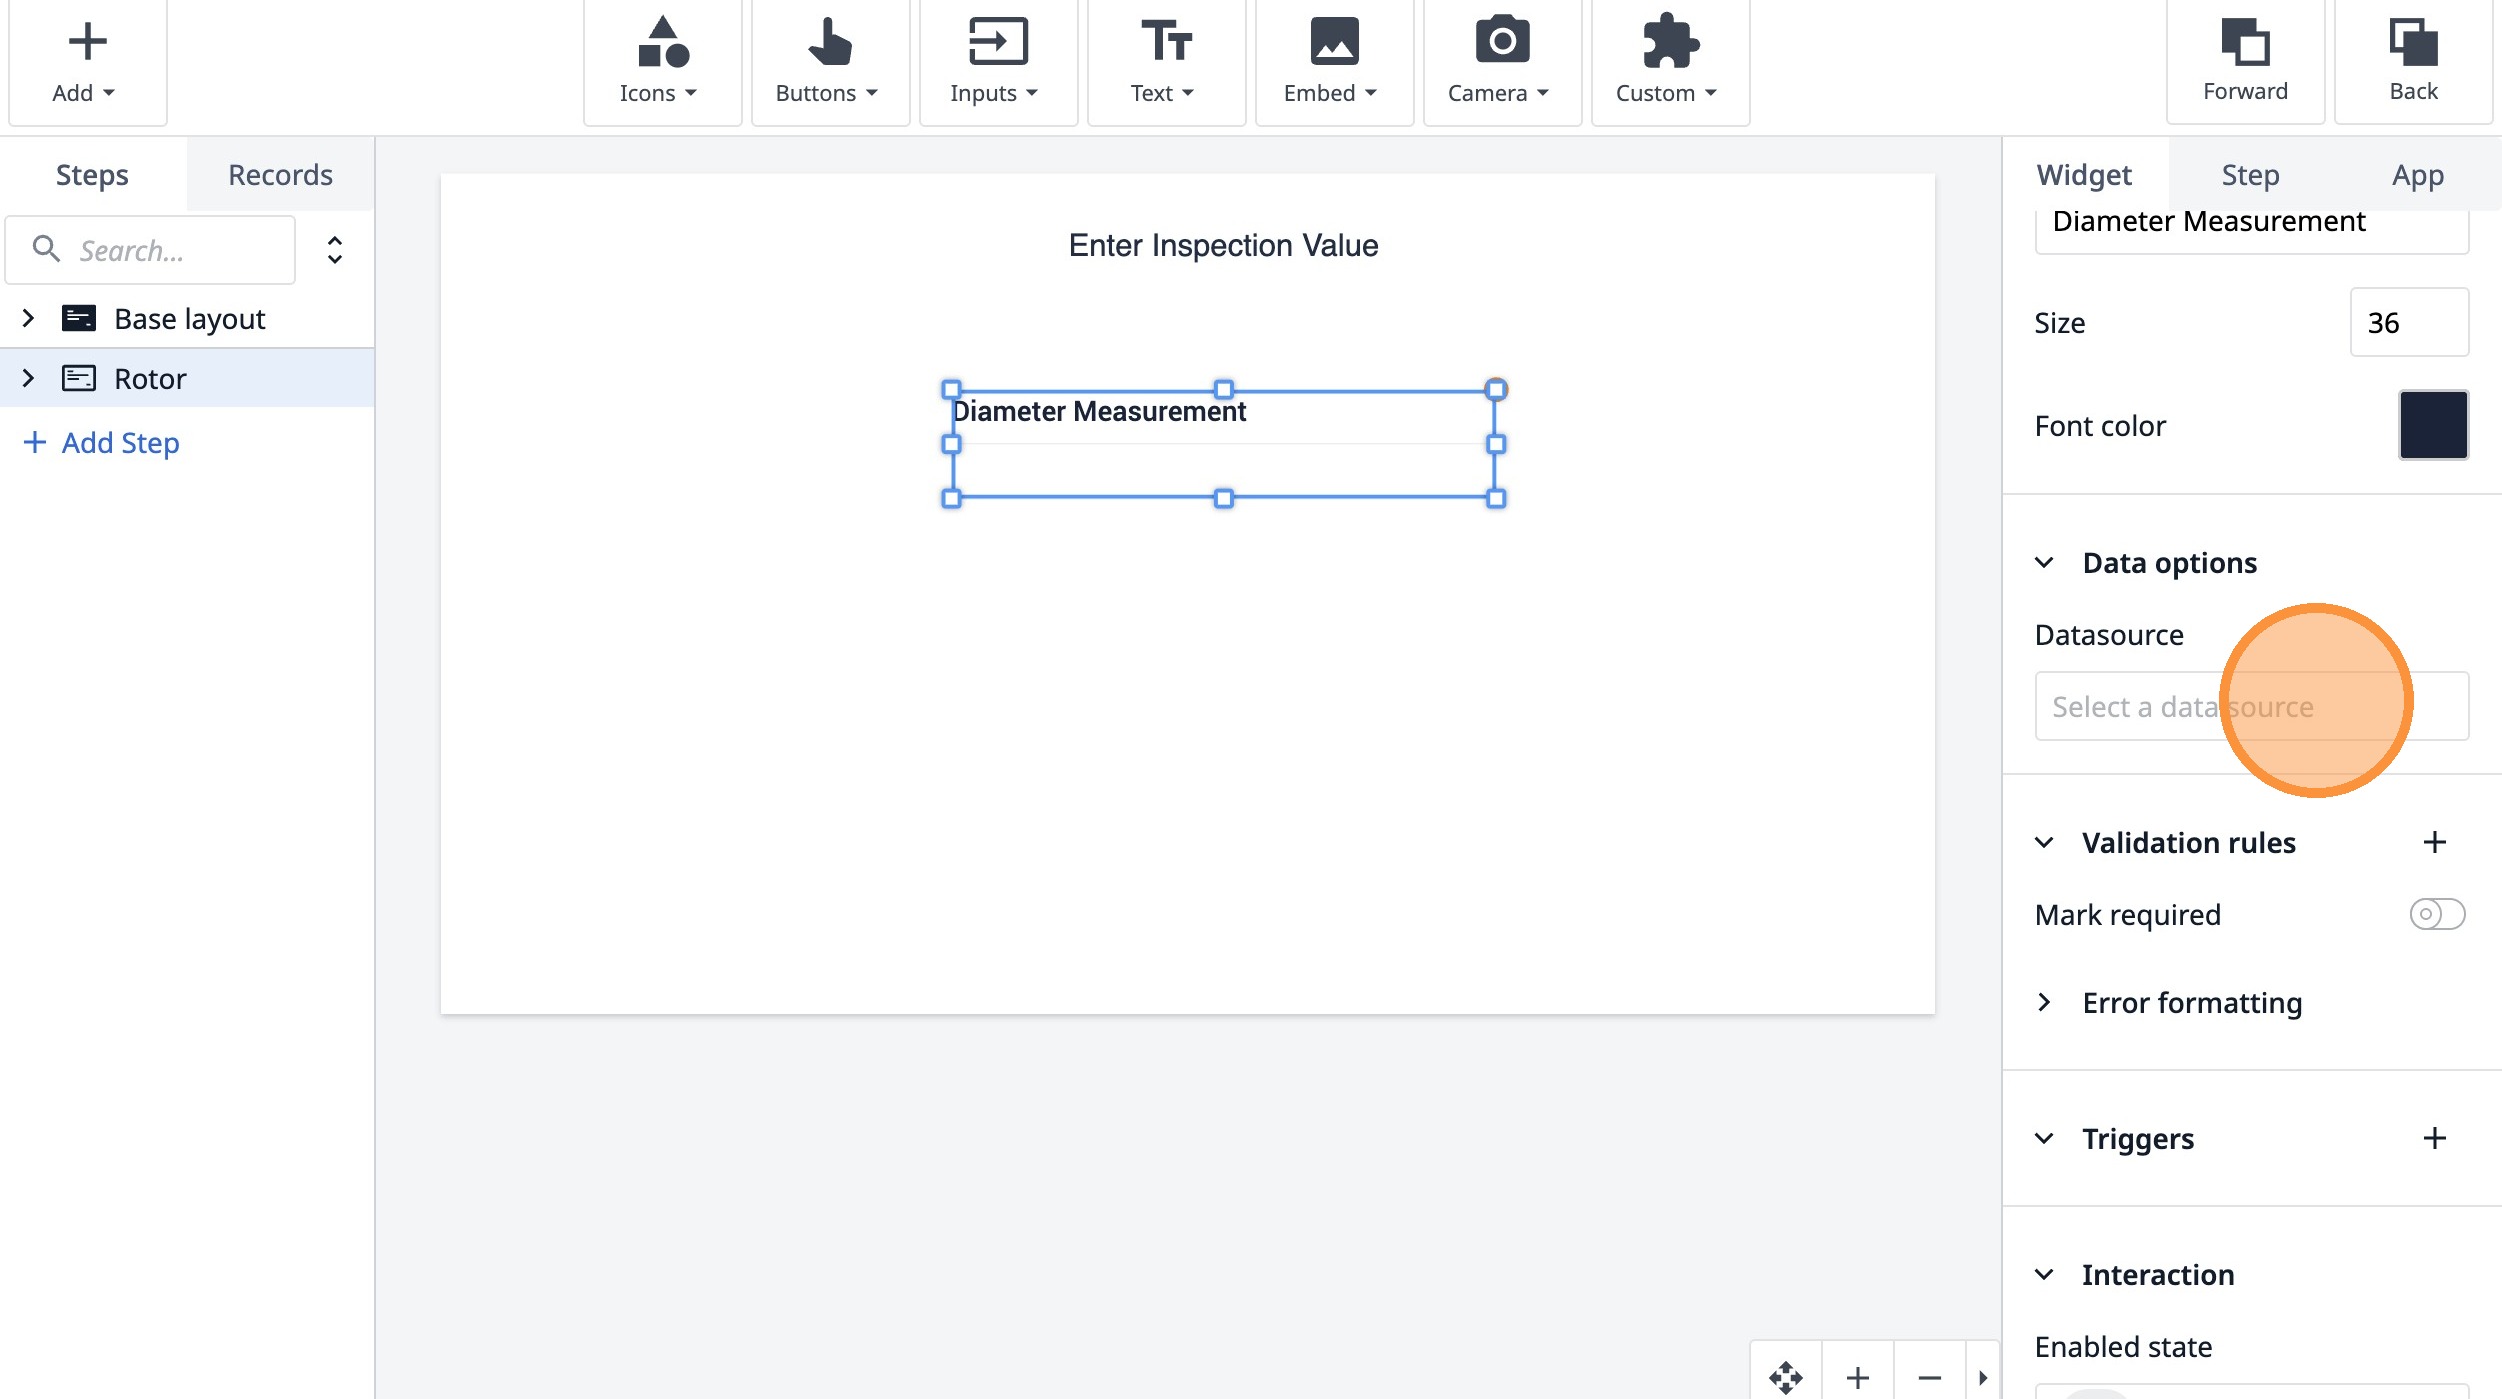
46. Click here.
47. Click "Select a data source"
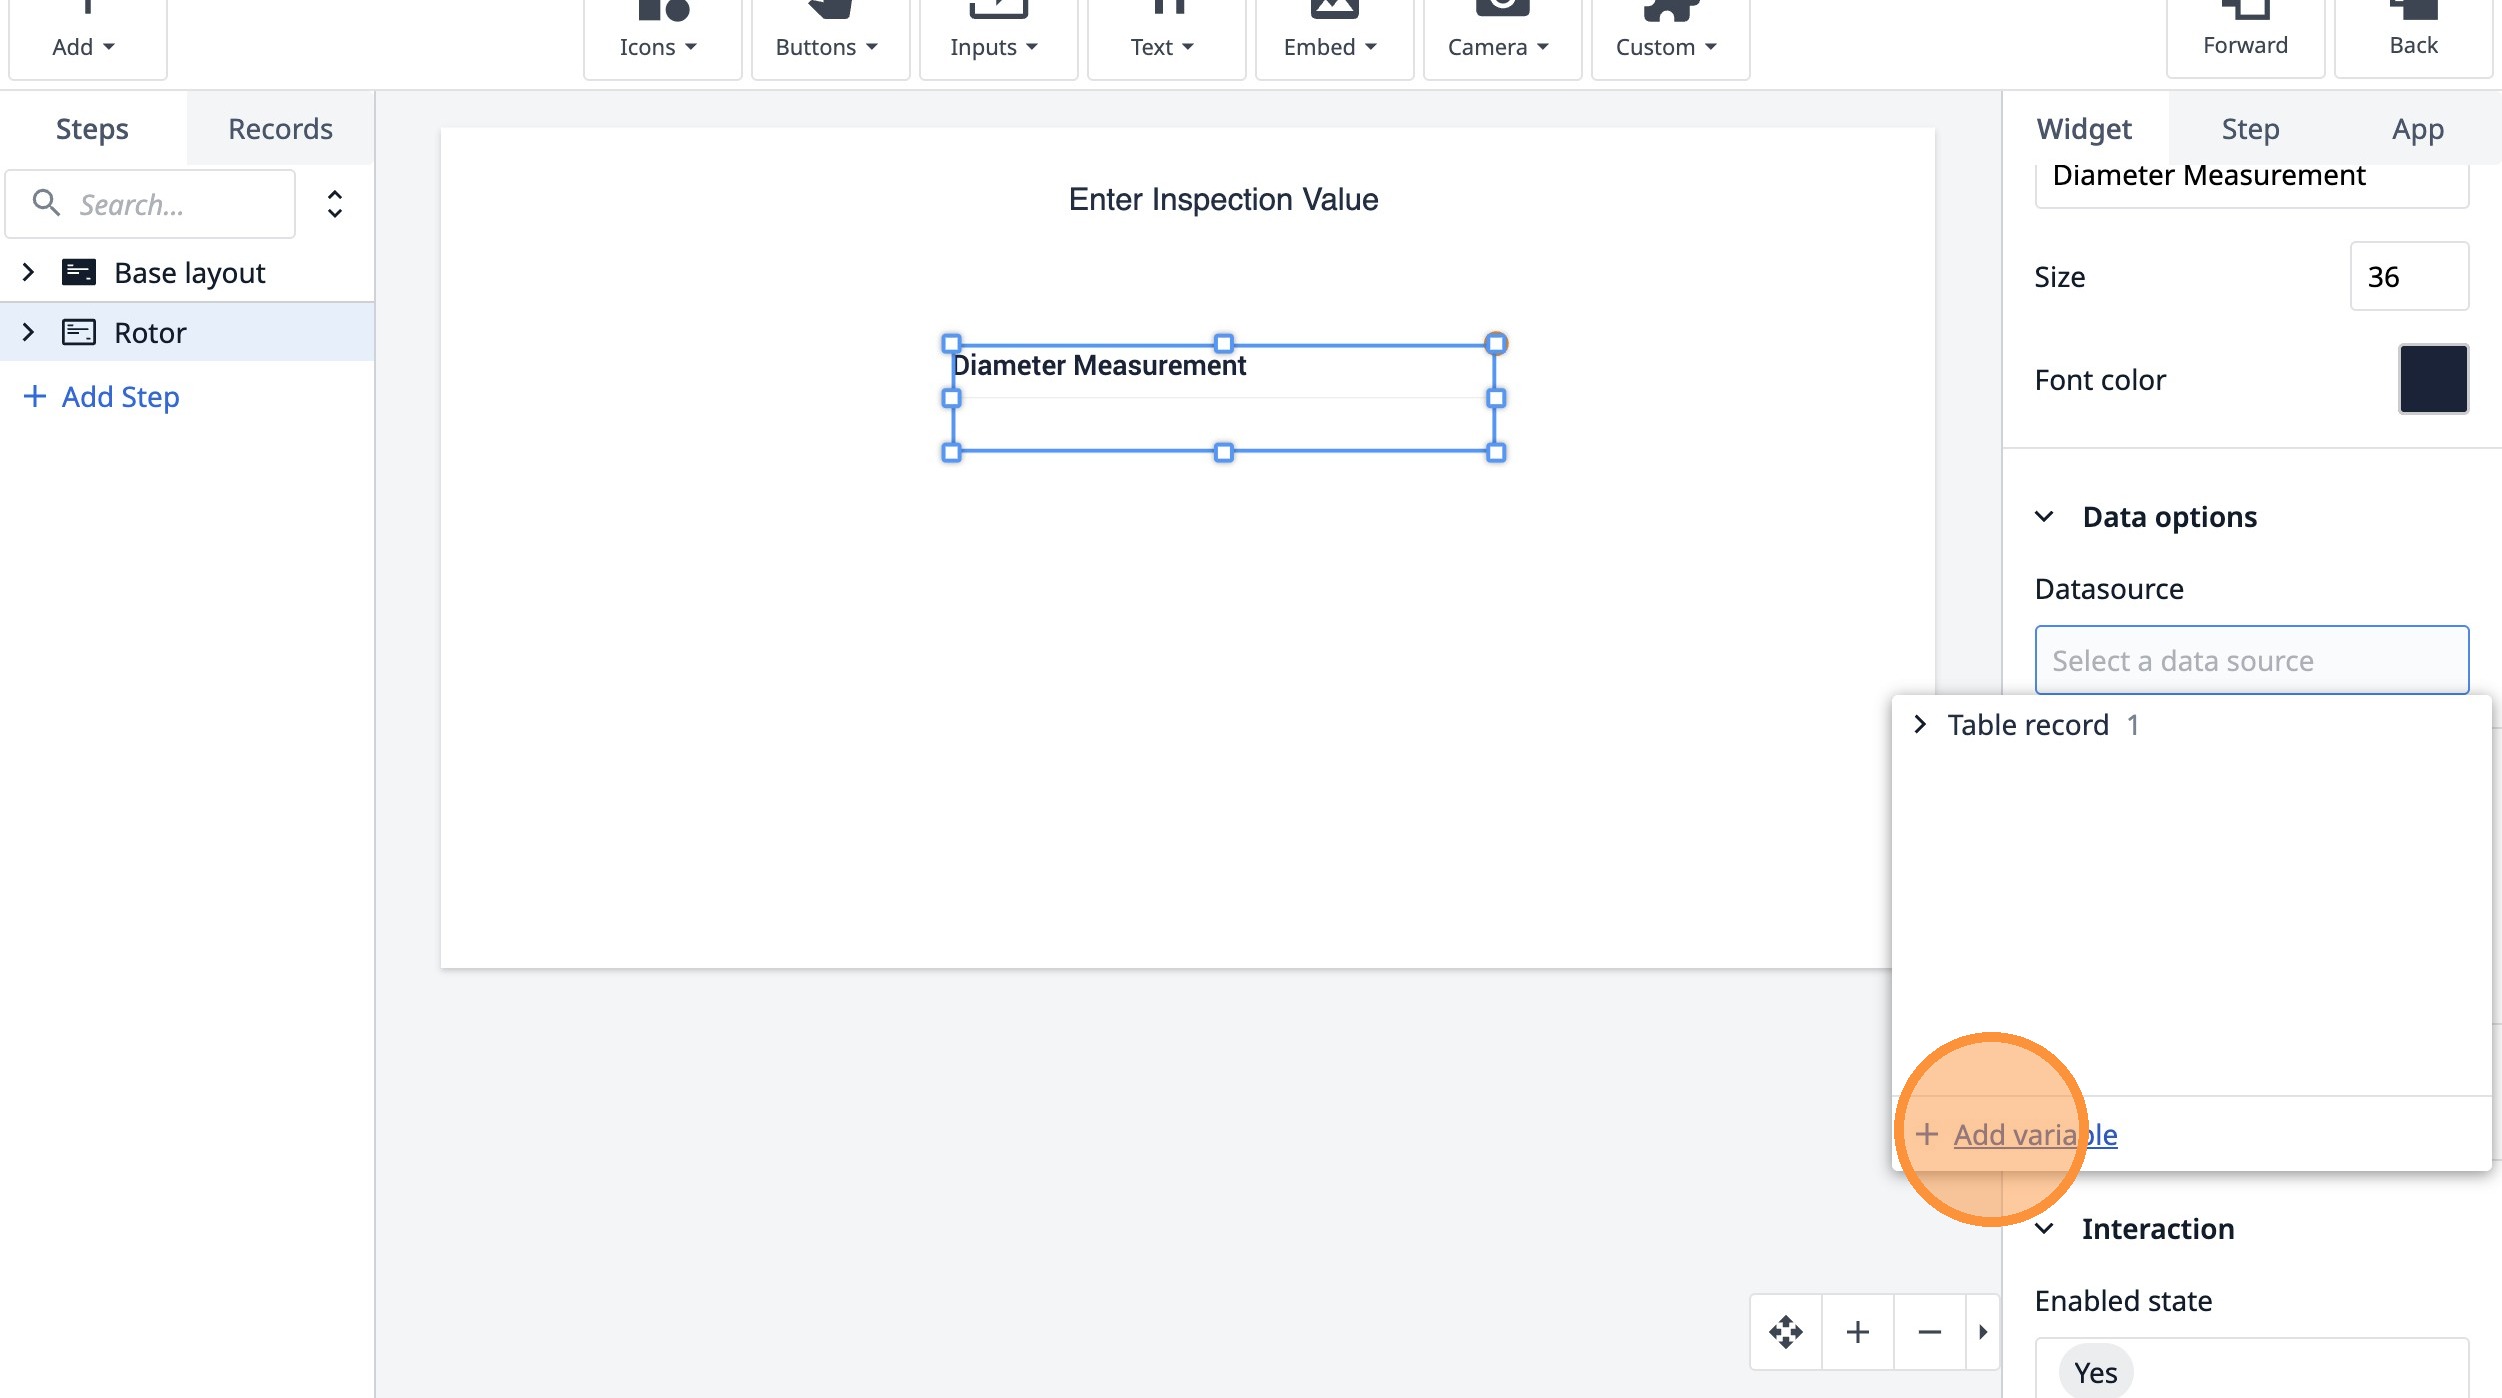
48. Click "Add variable"
49. Click "Integer"
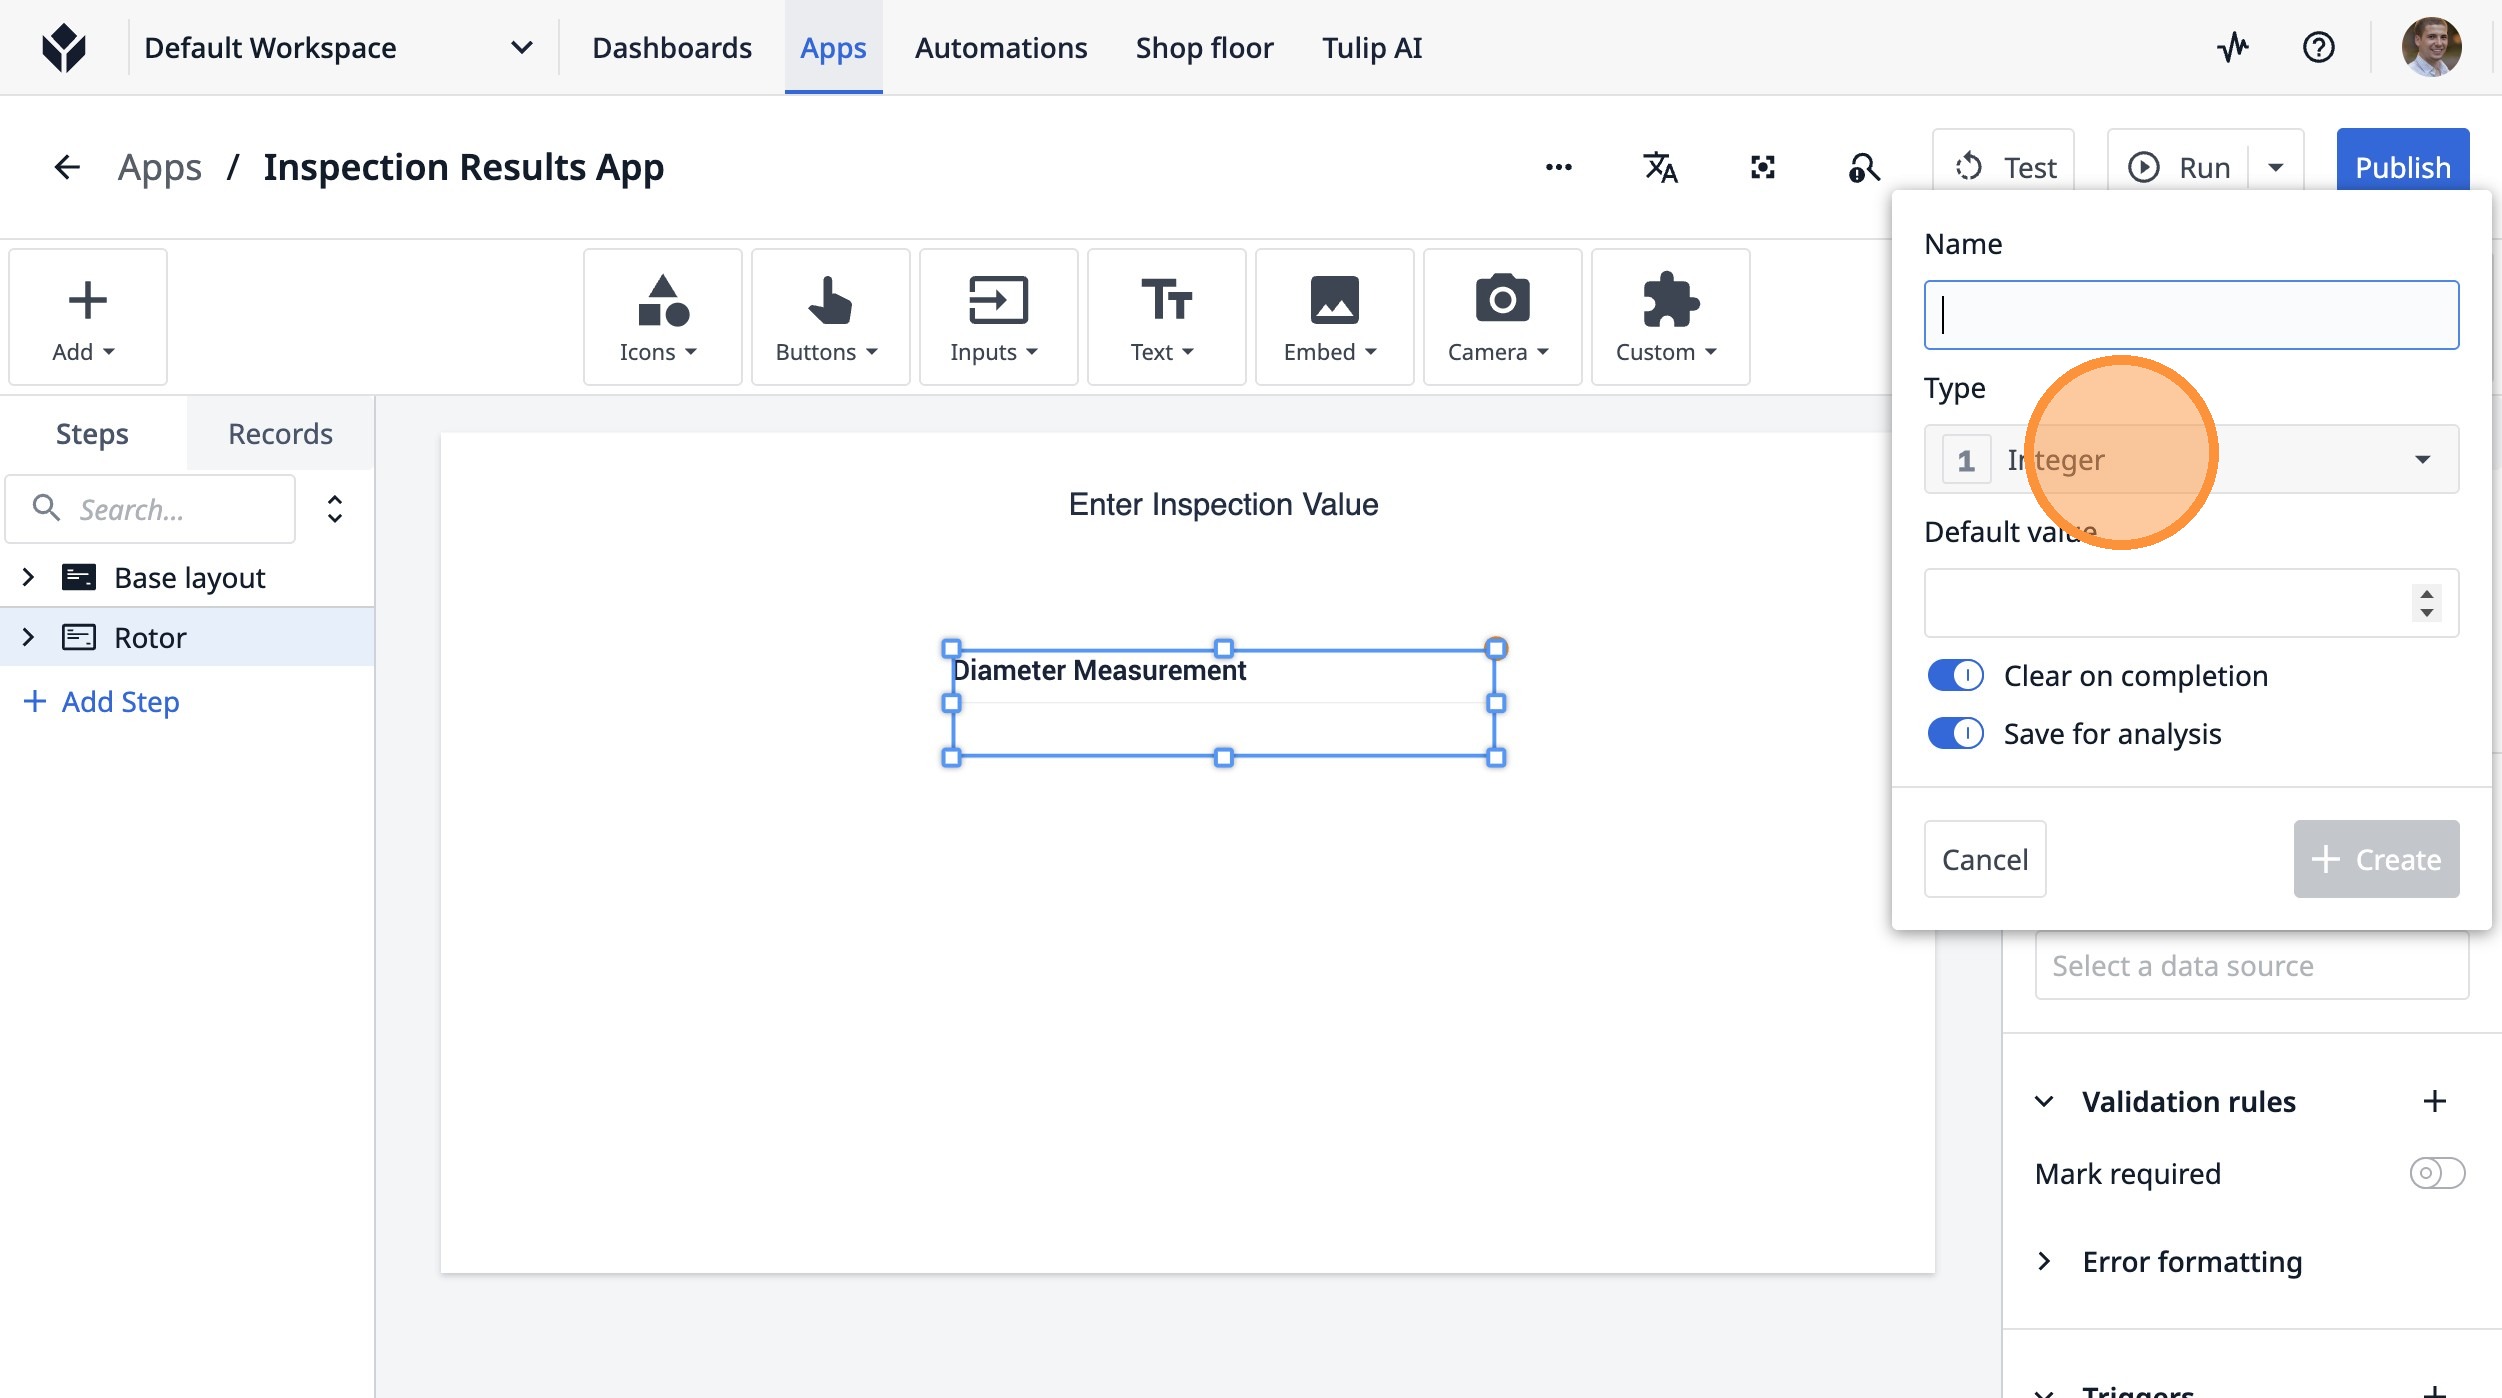
50. Click "Number"
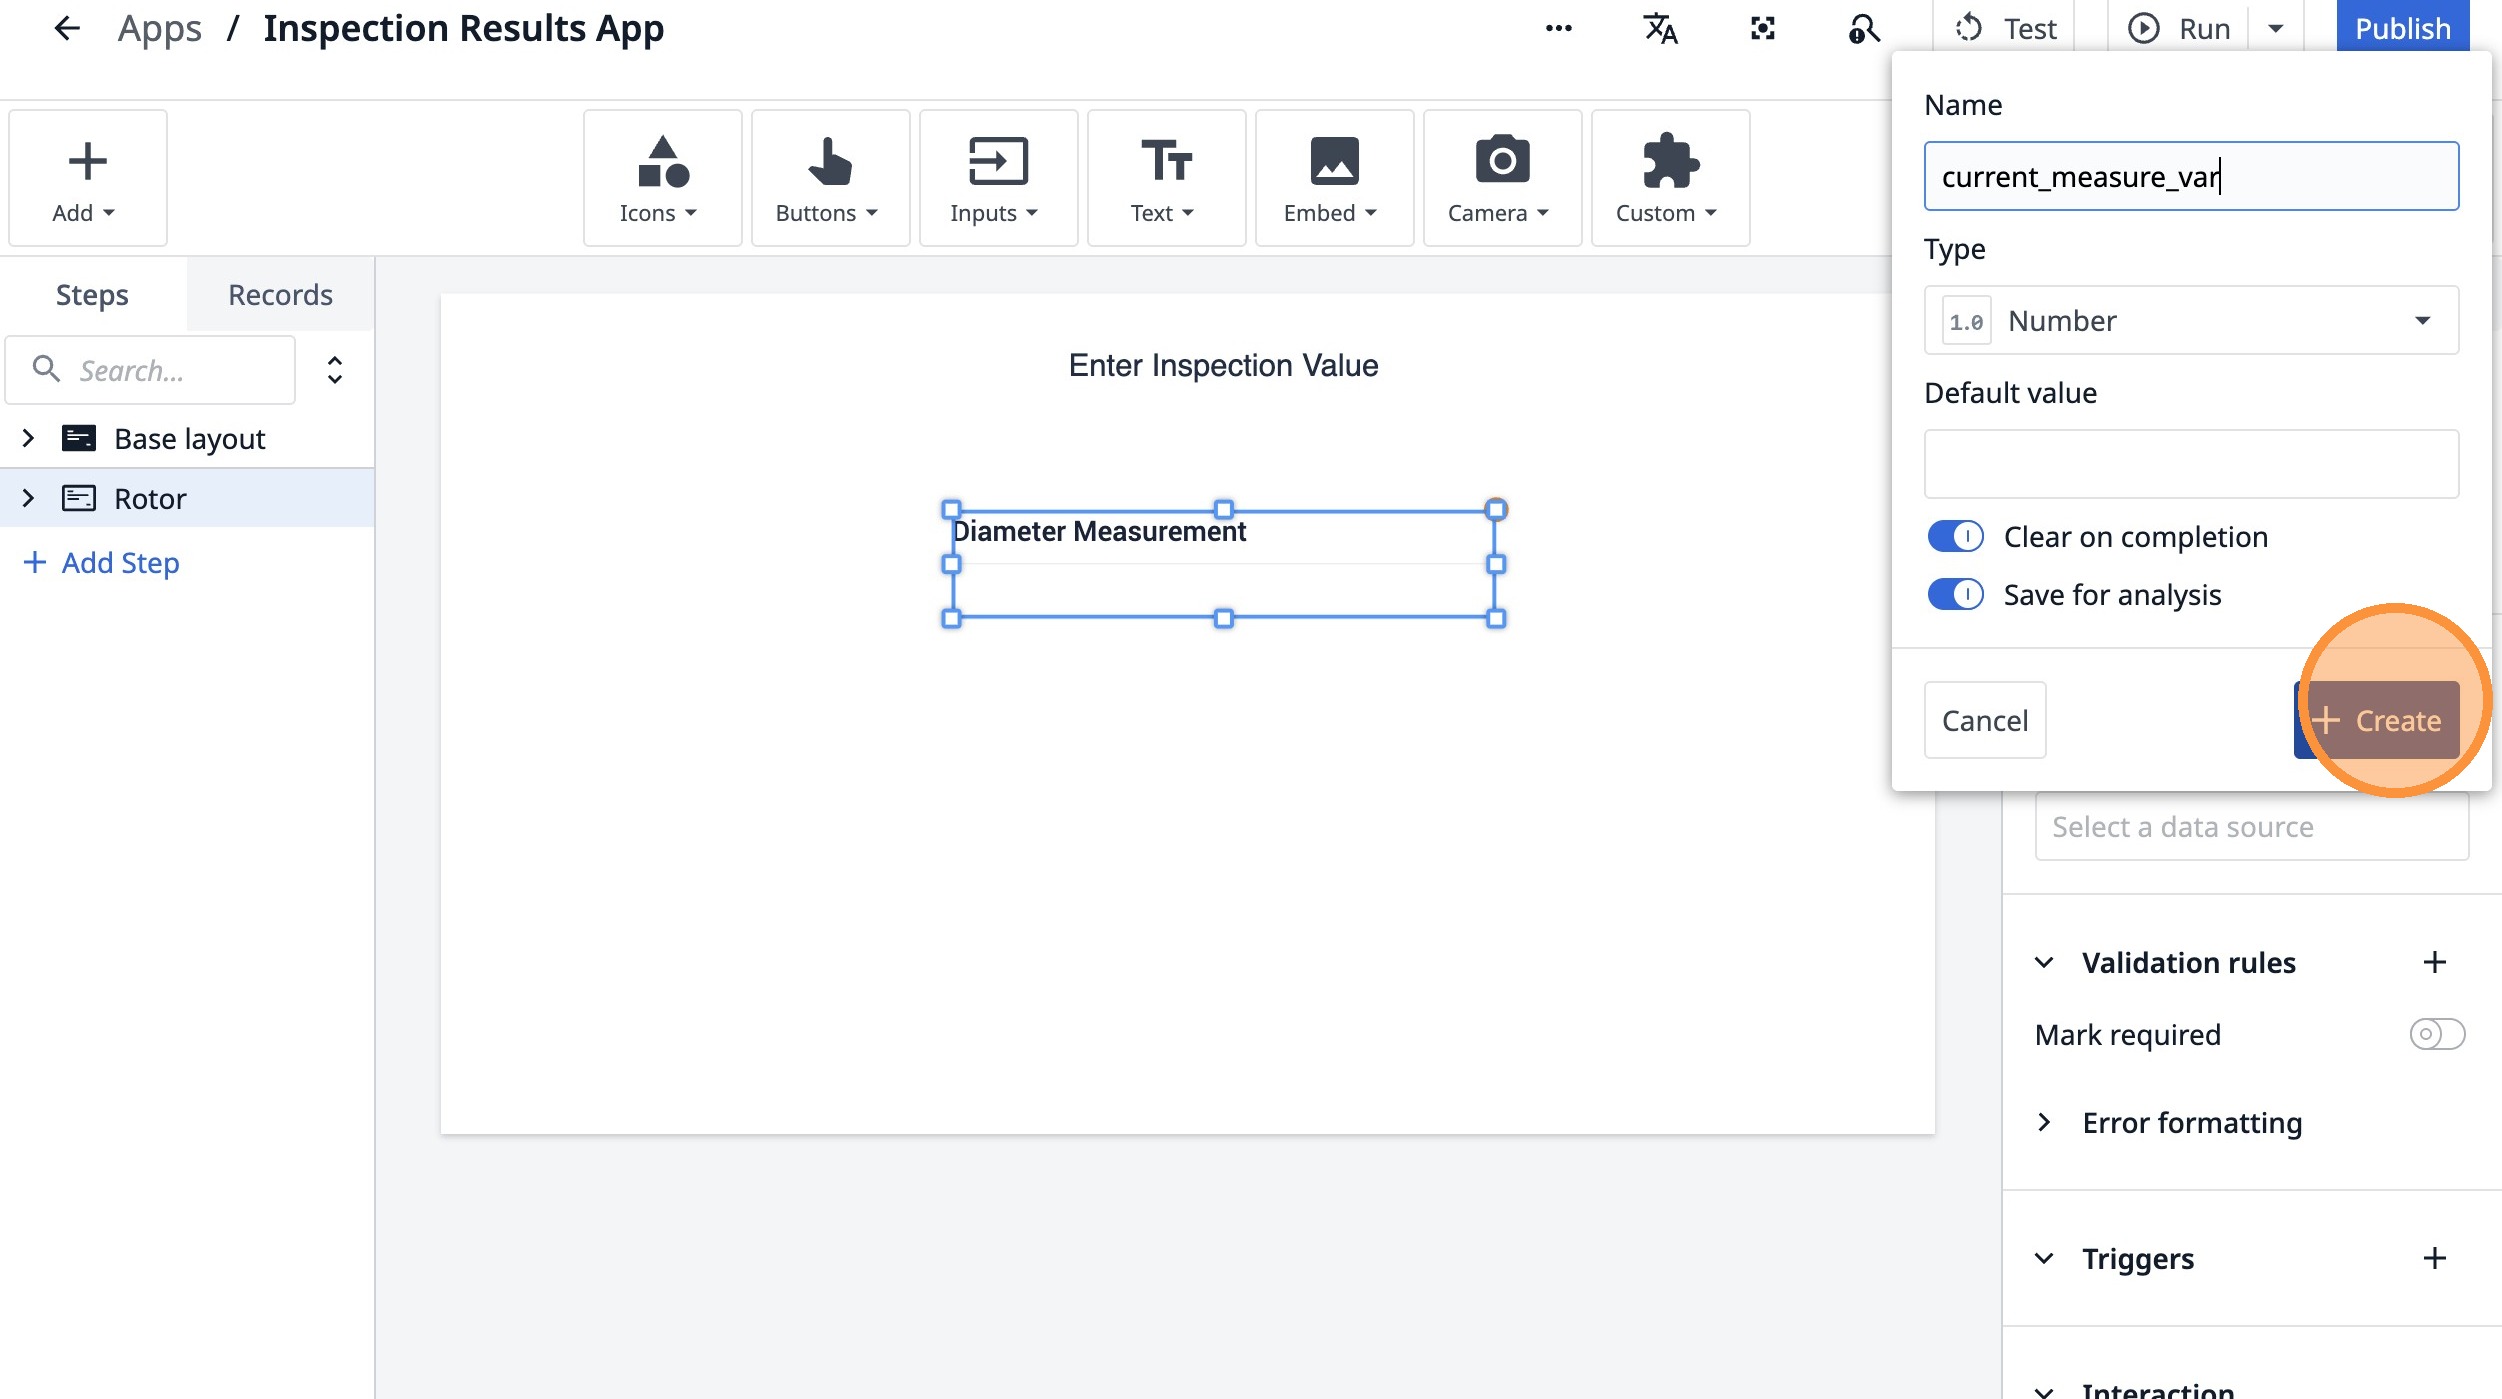
51. Click the "Name" field.
52. Type "current_measure_var"
53. Click "Create"
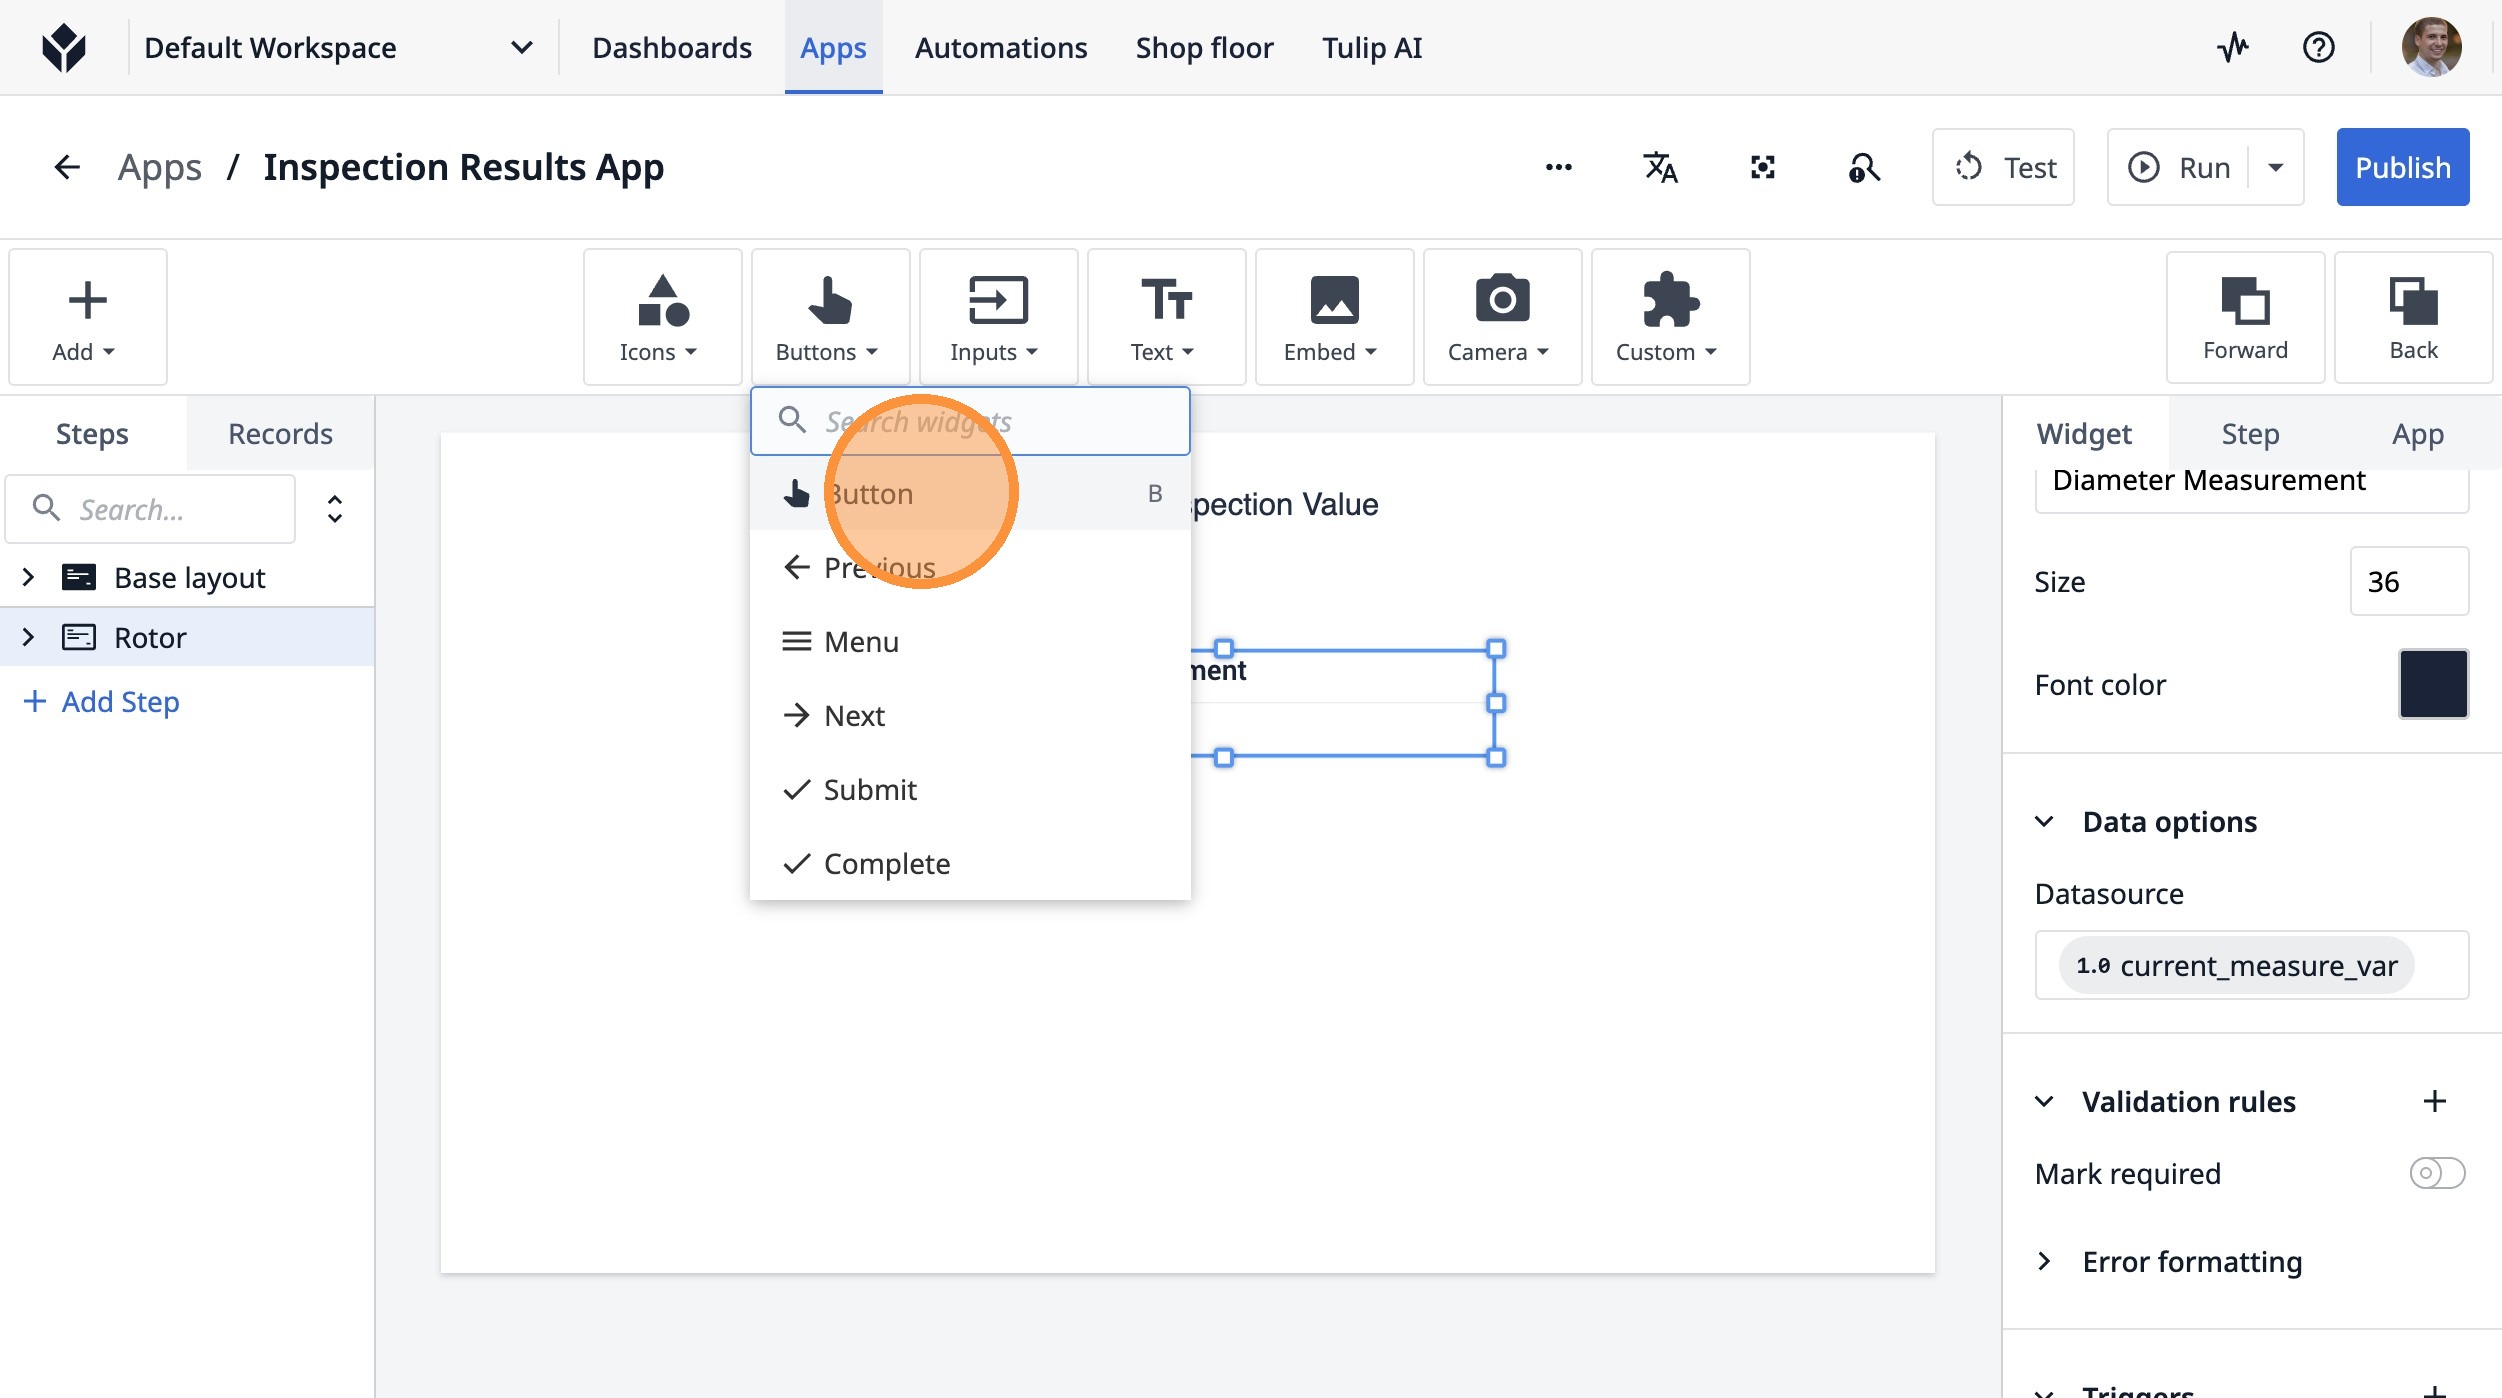
54. Click here.
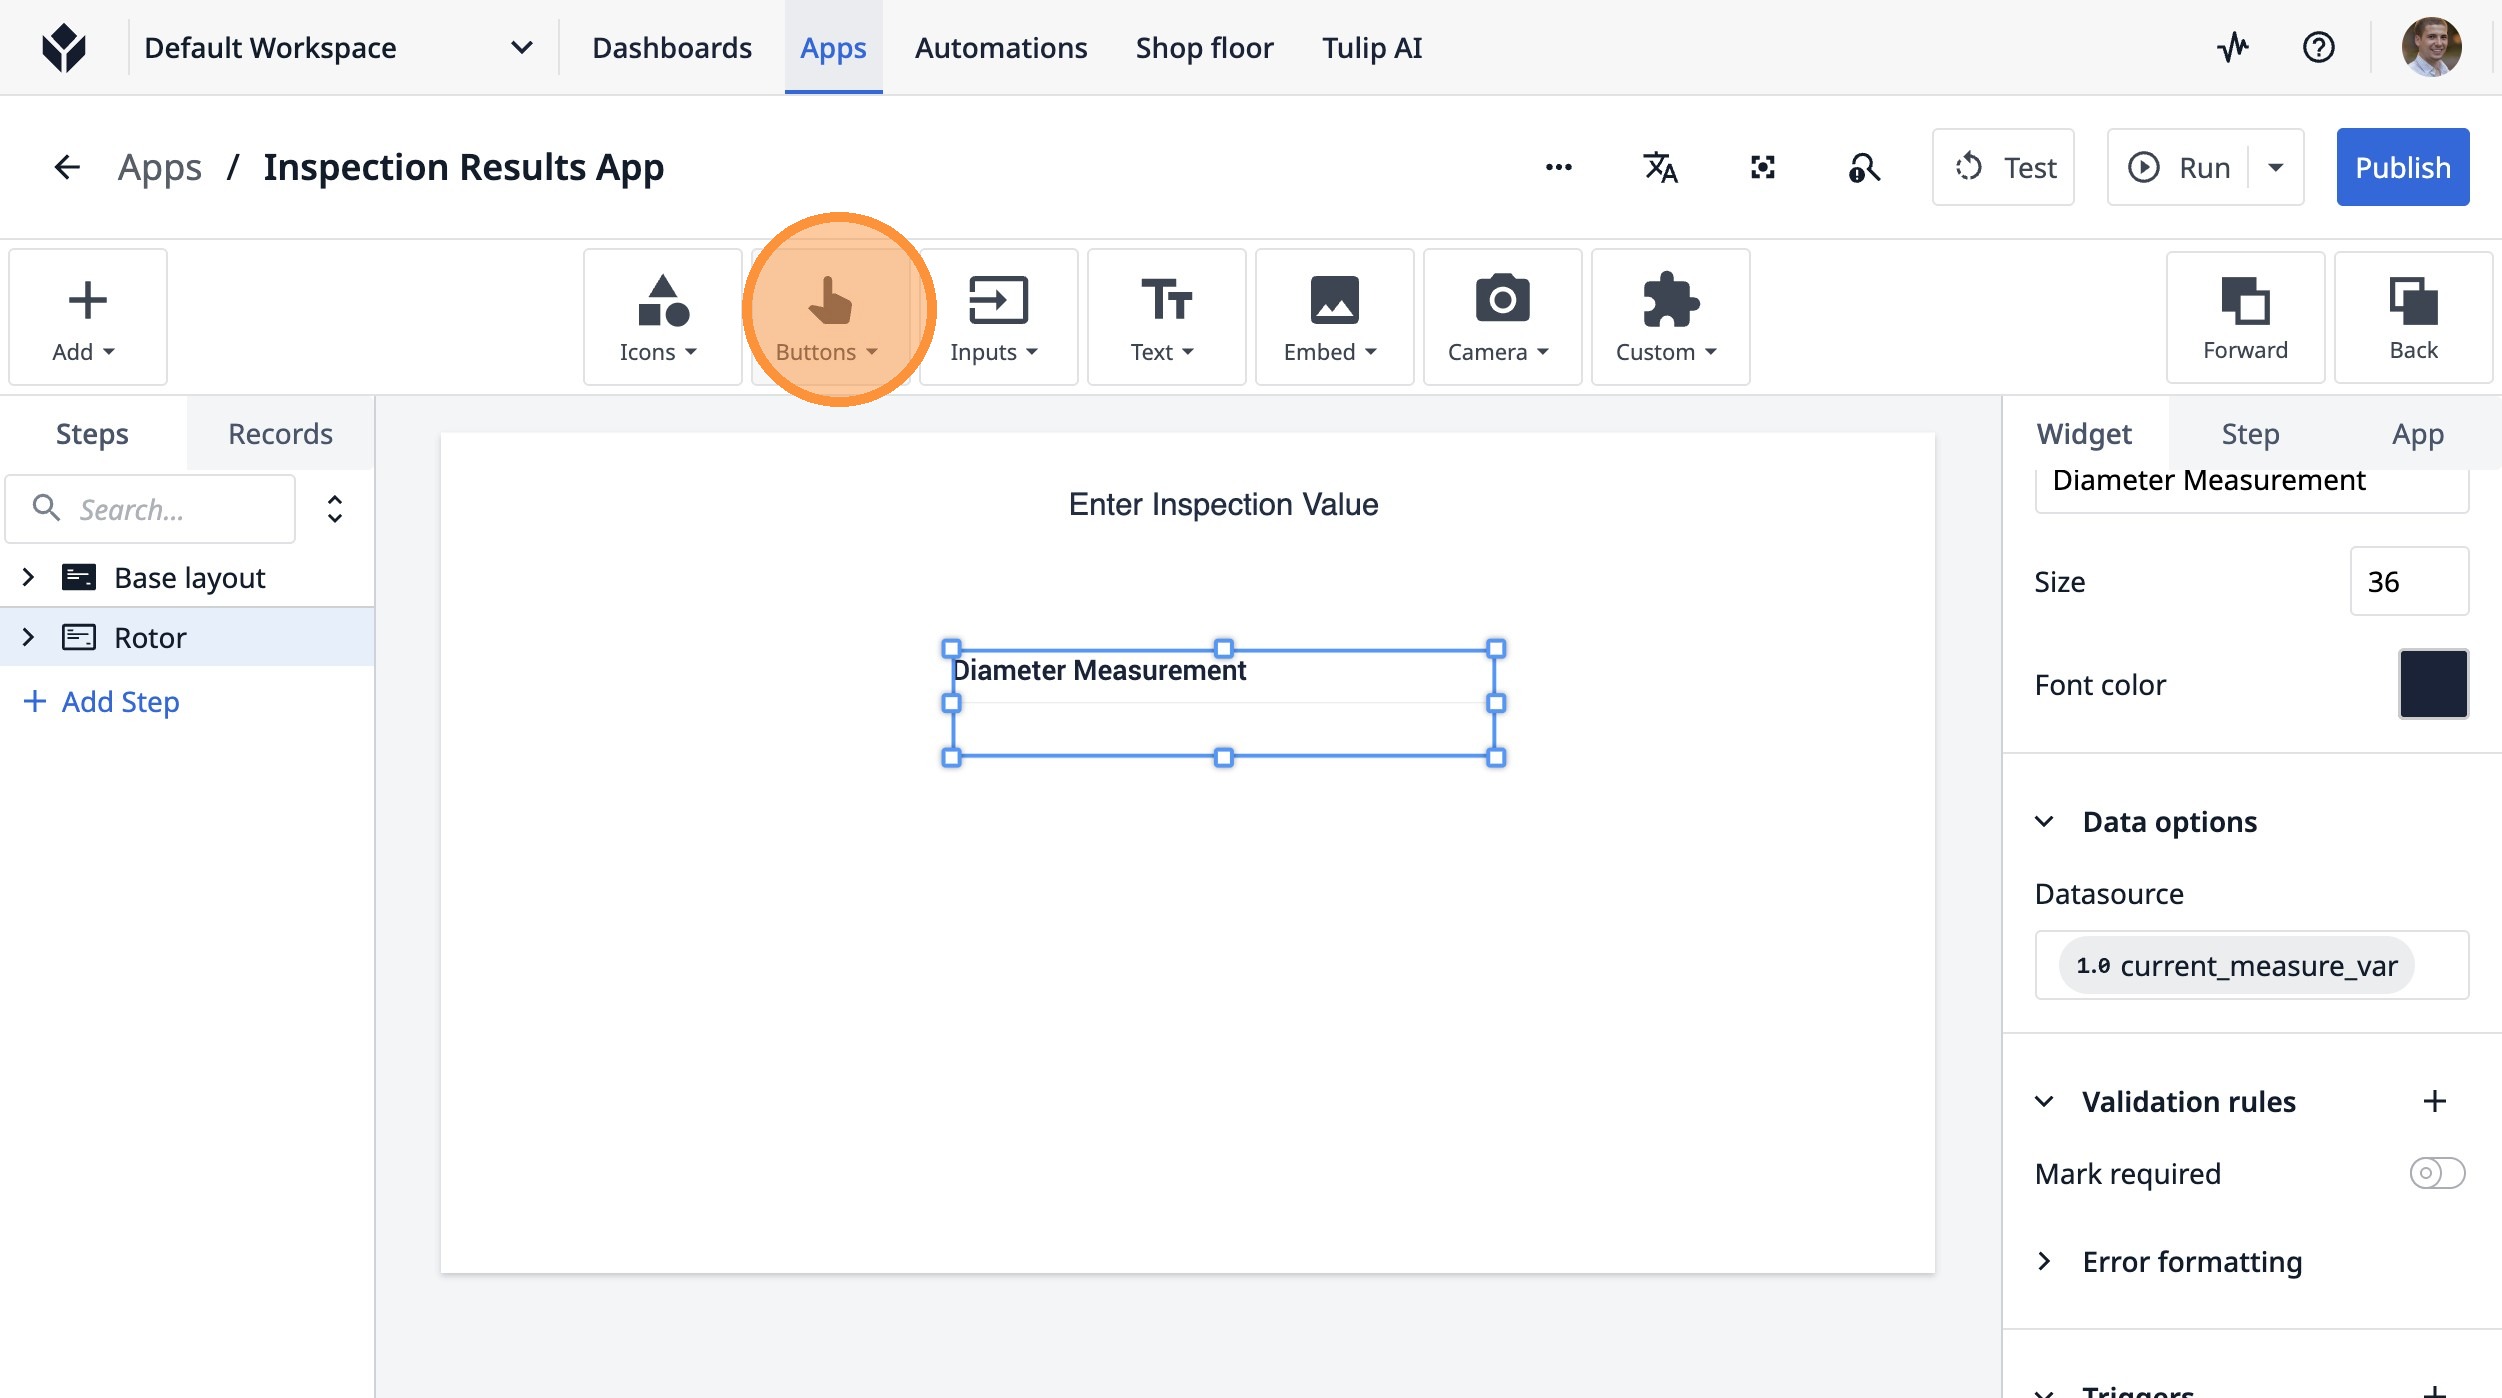
55. Click "ButtonB"
56. Click here.
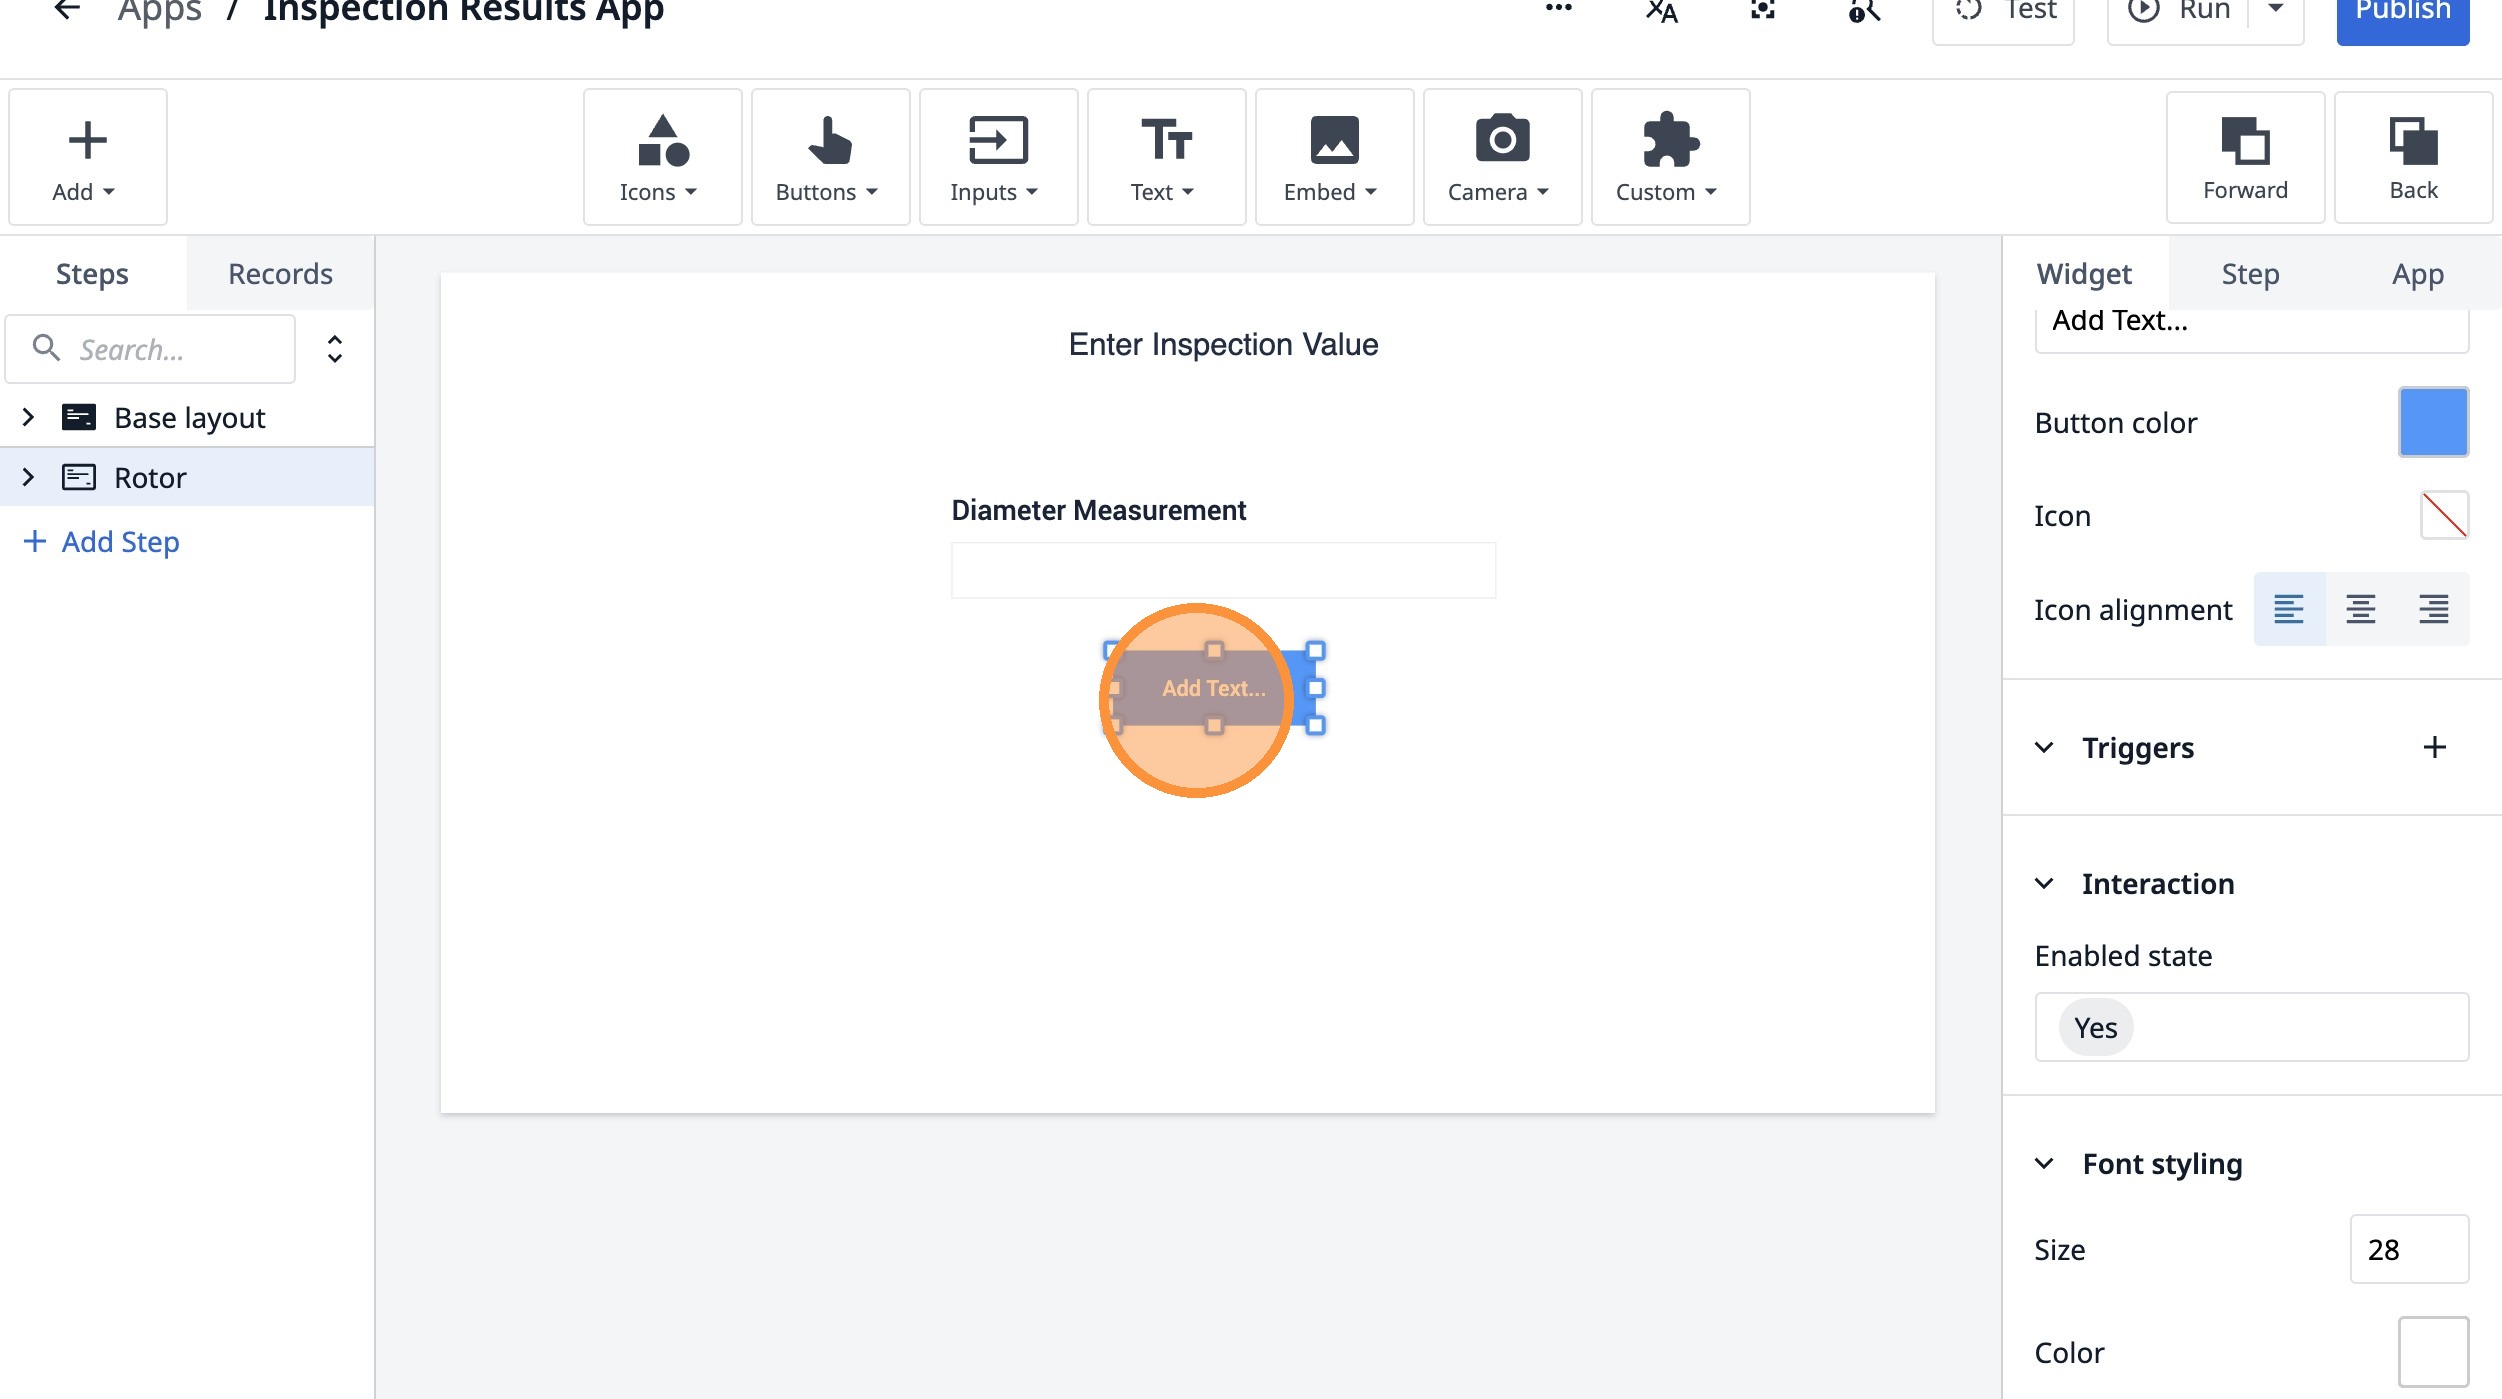
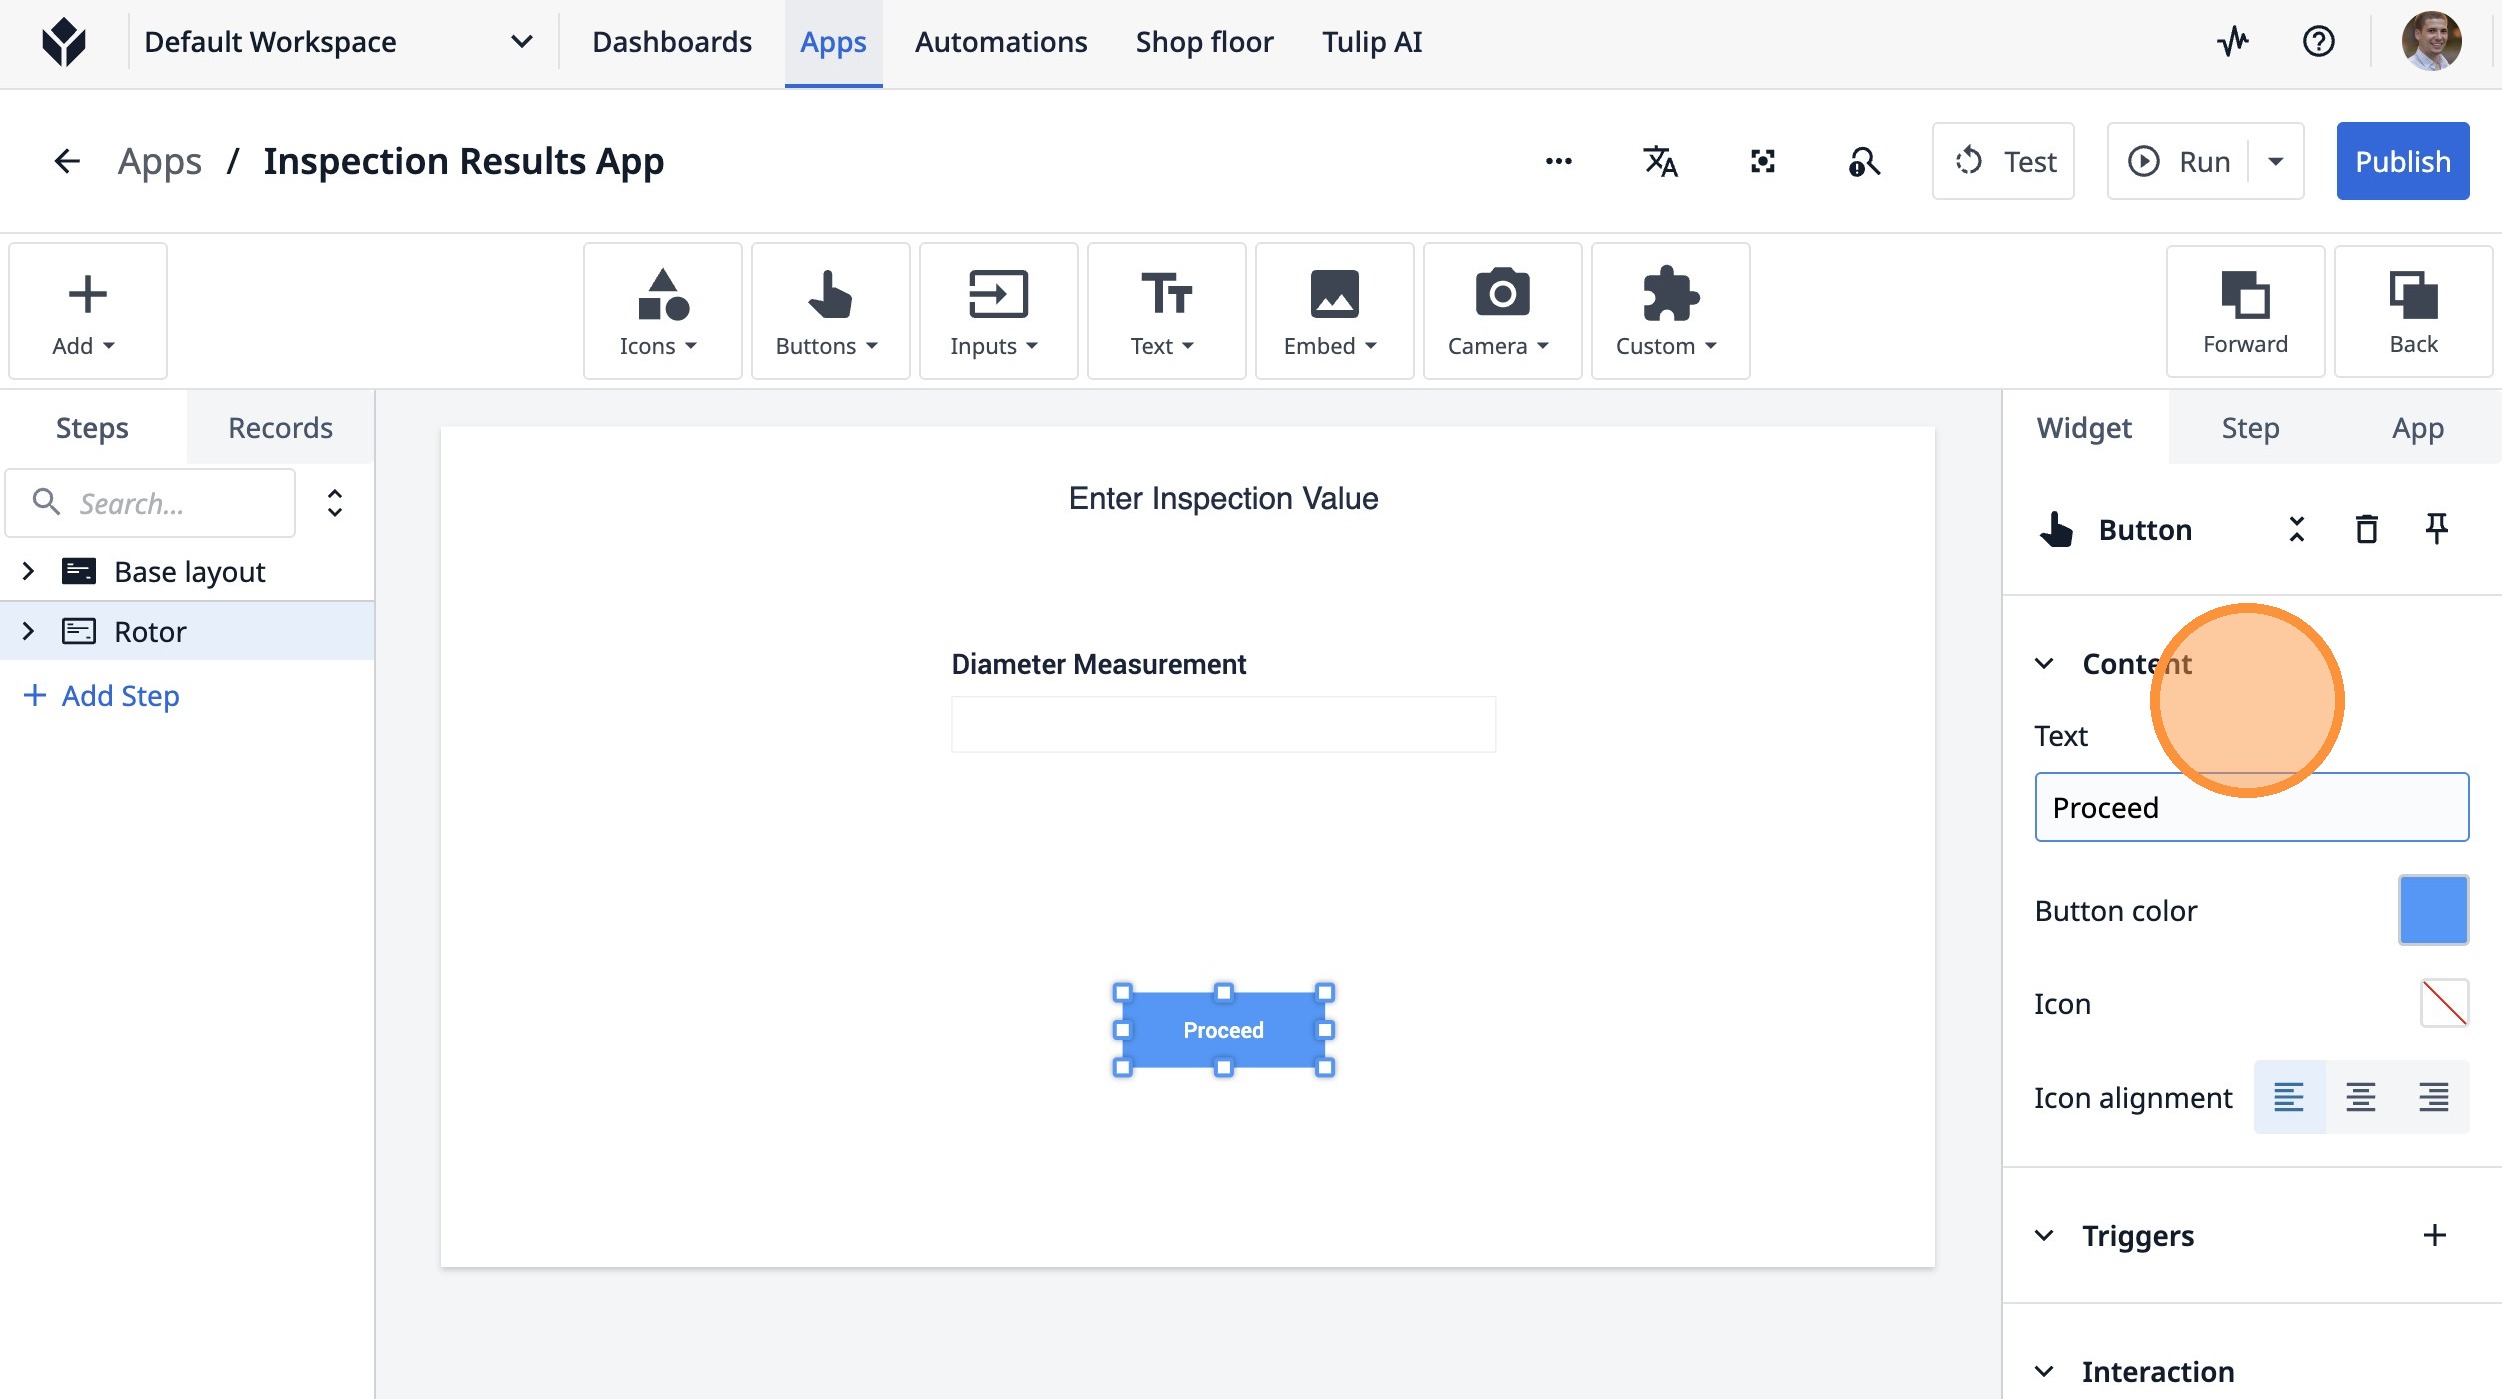
57. Double-click the "Text" field.
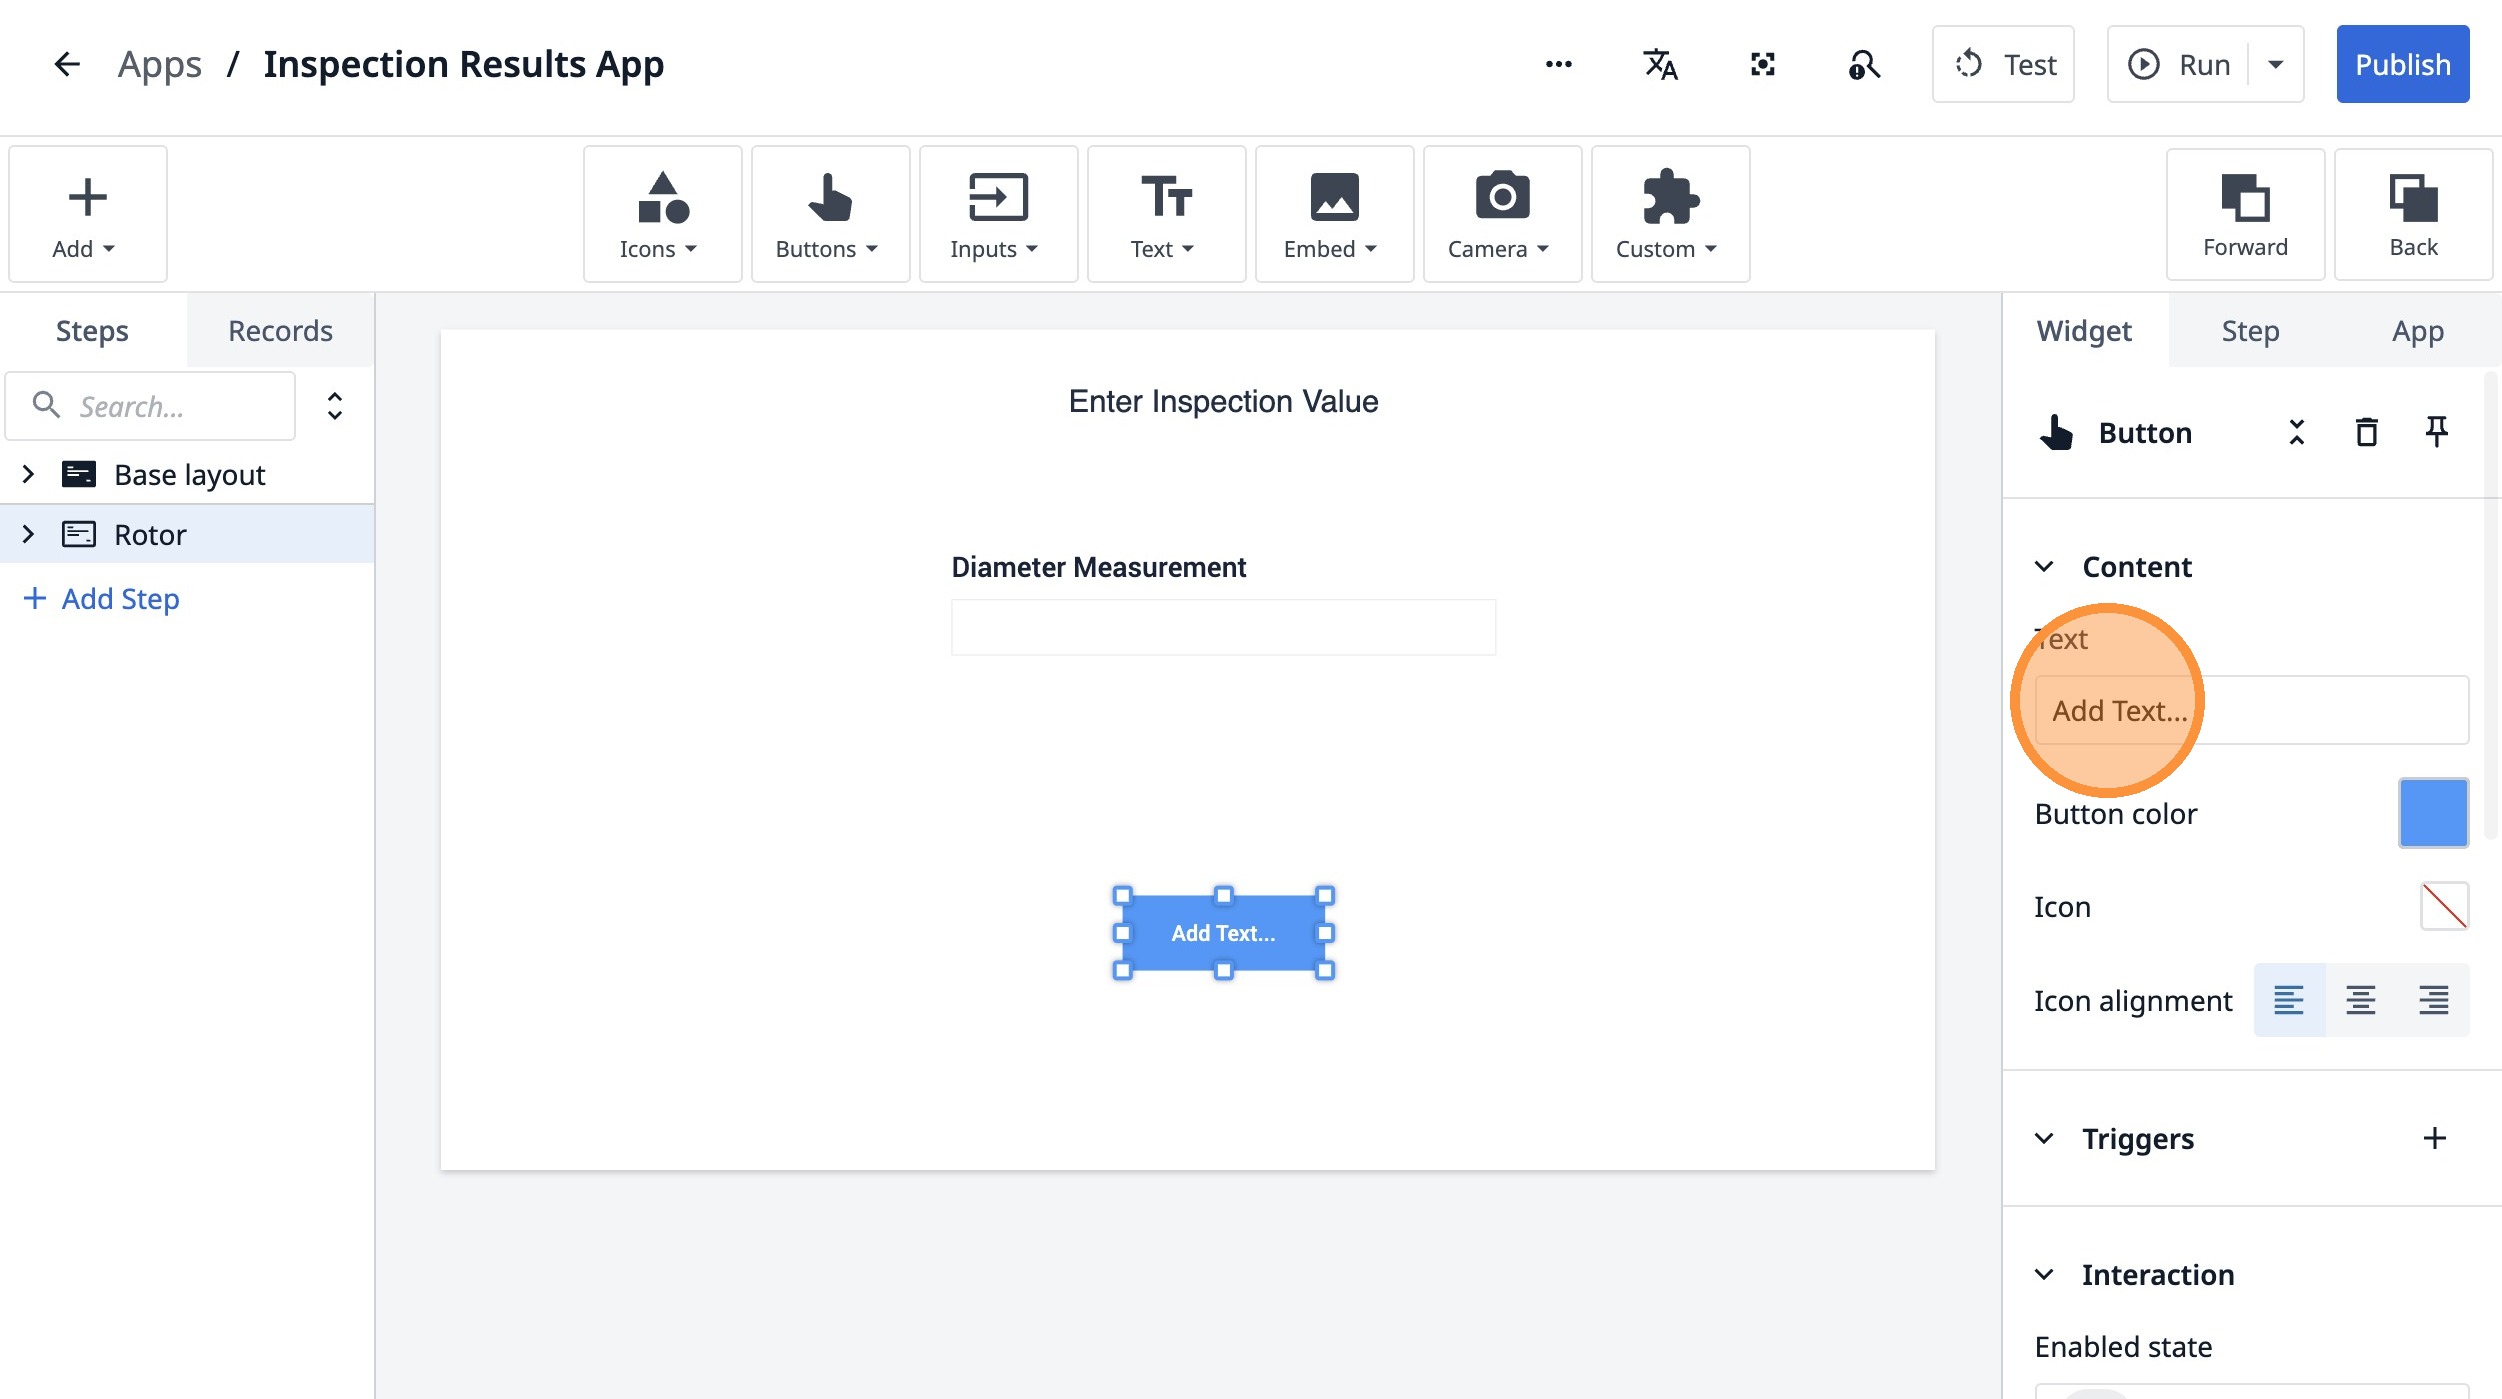
58. Type "Proceed"
59. Click "Content"
60. Click this icon.
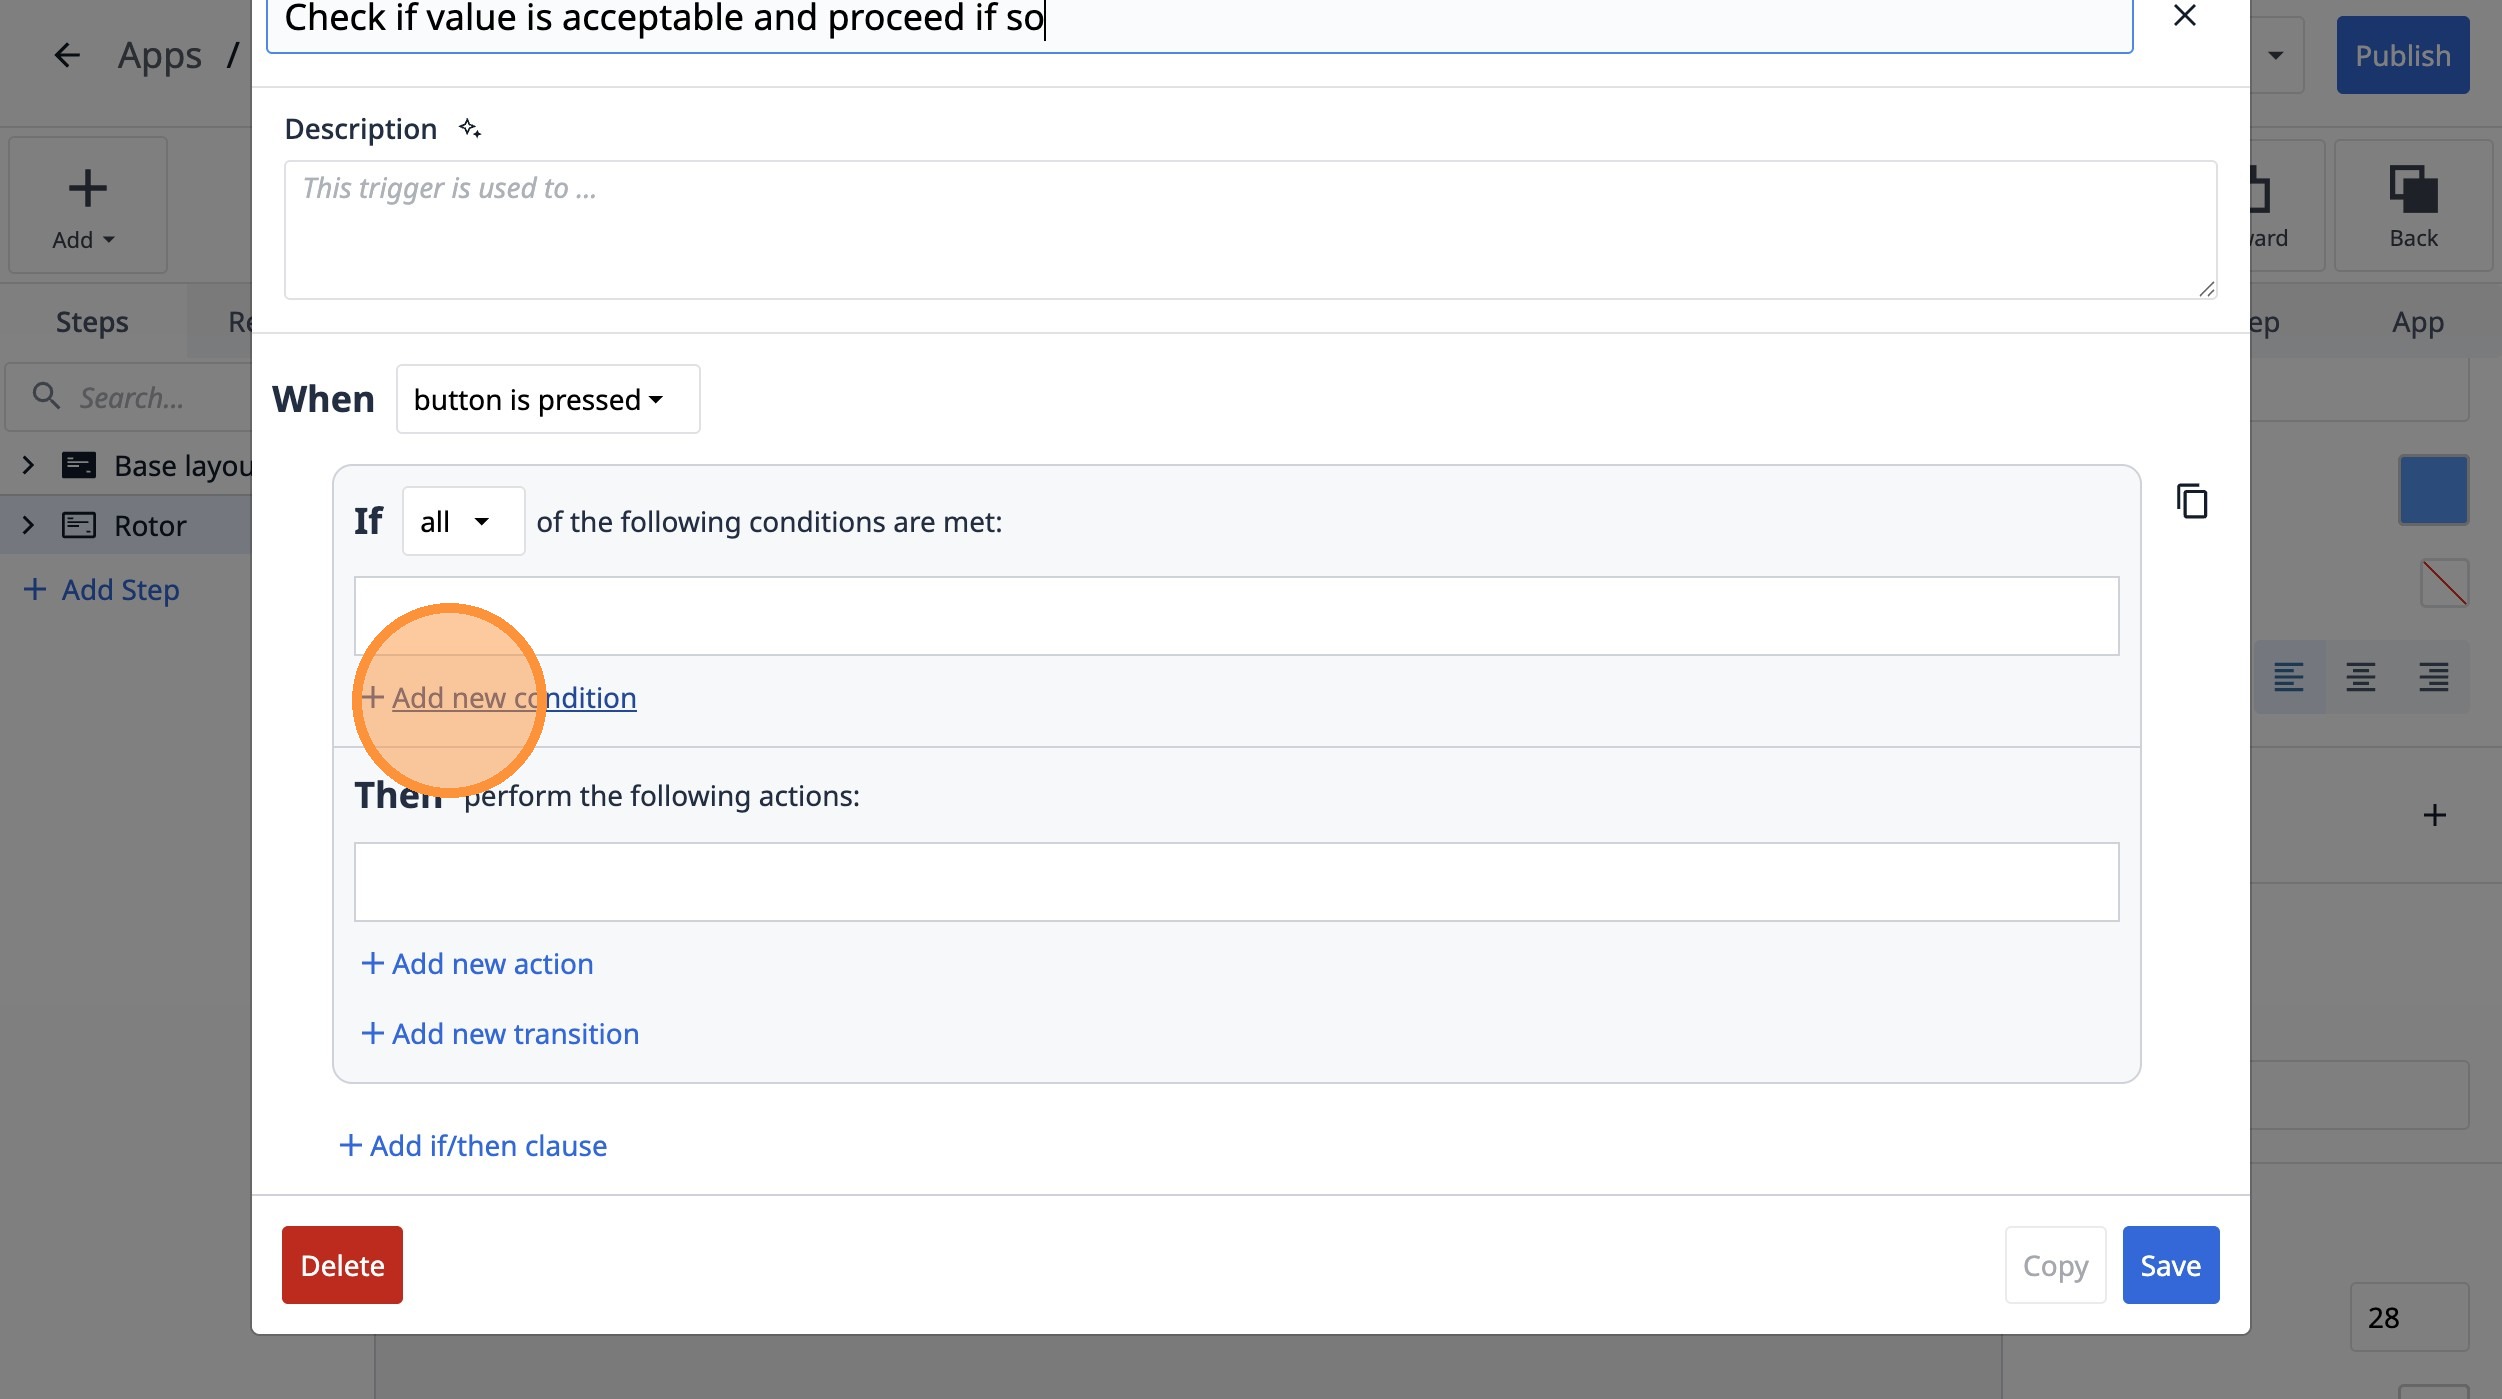
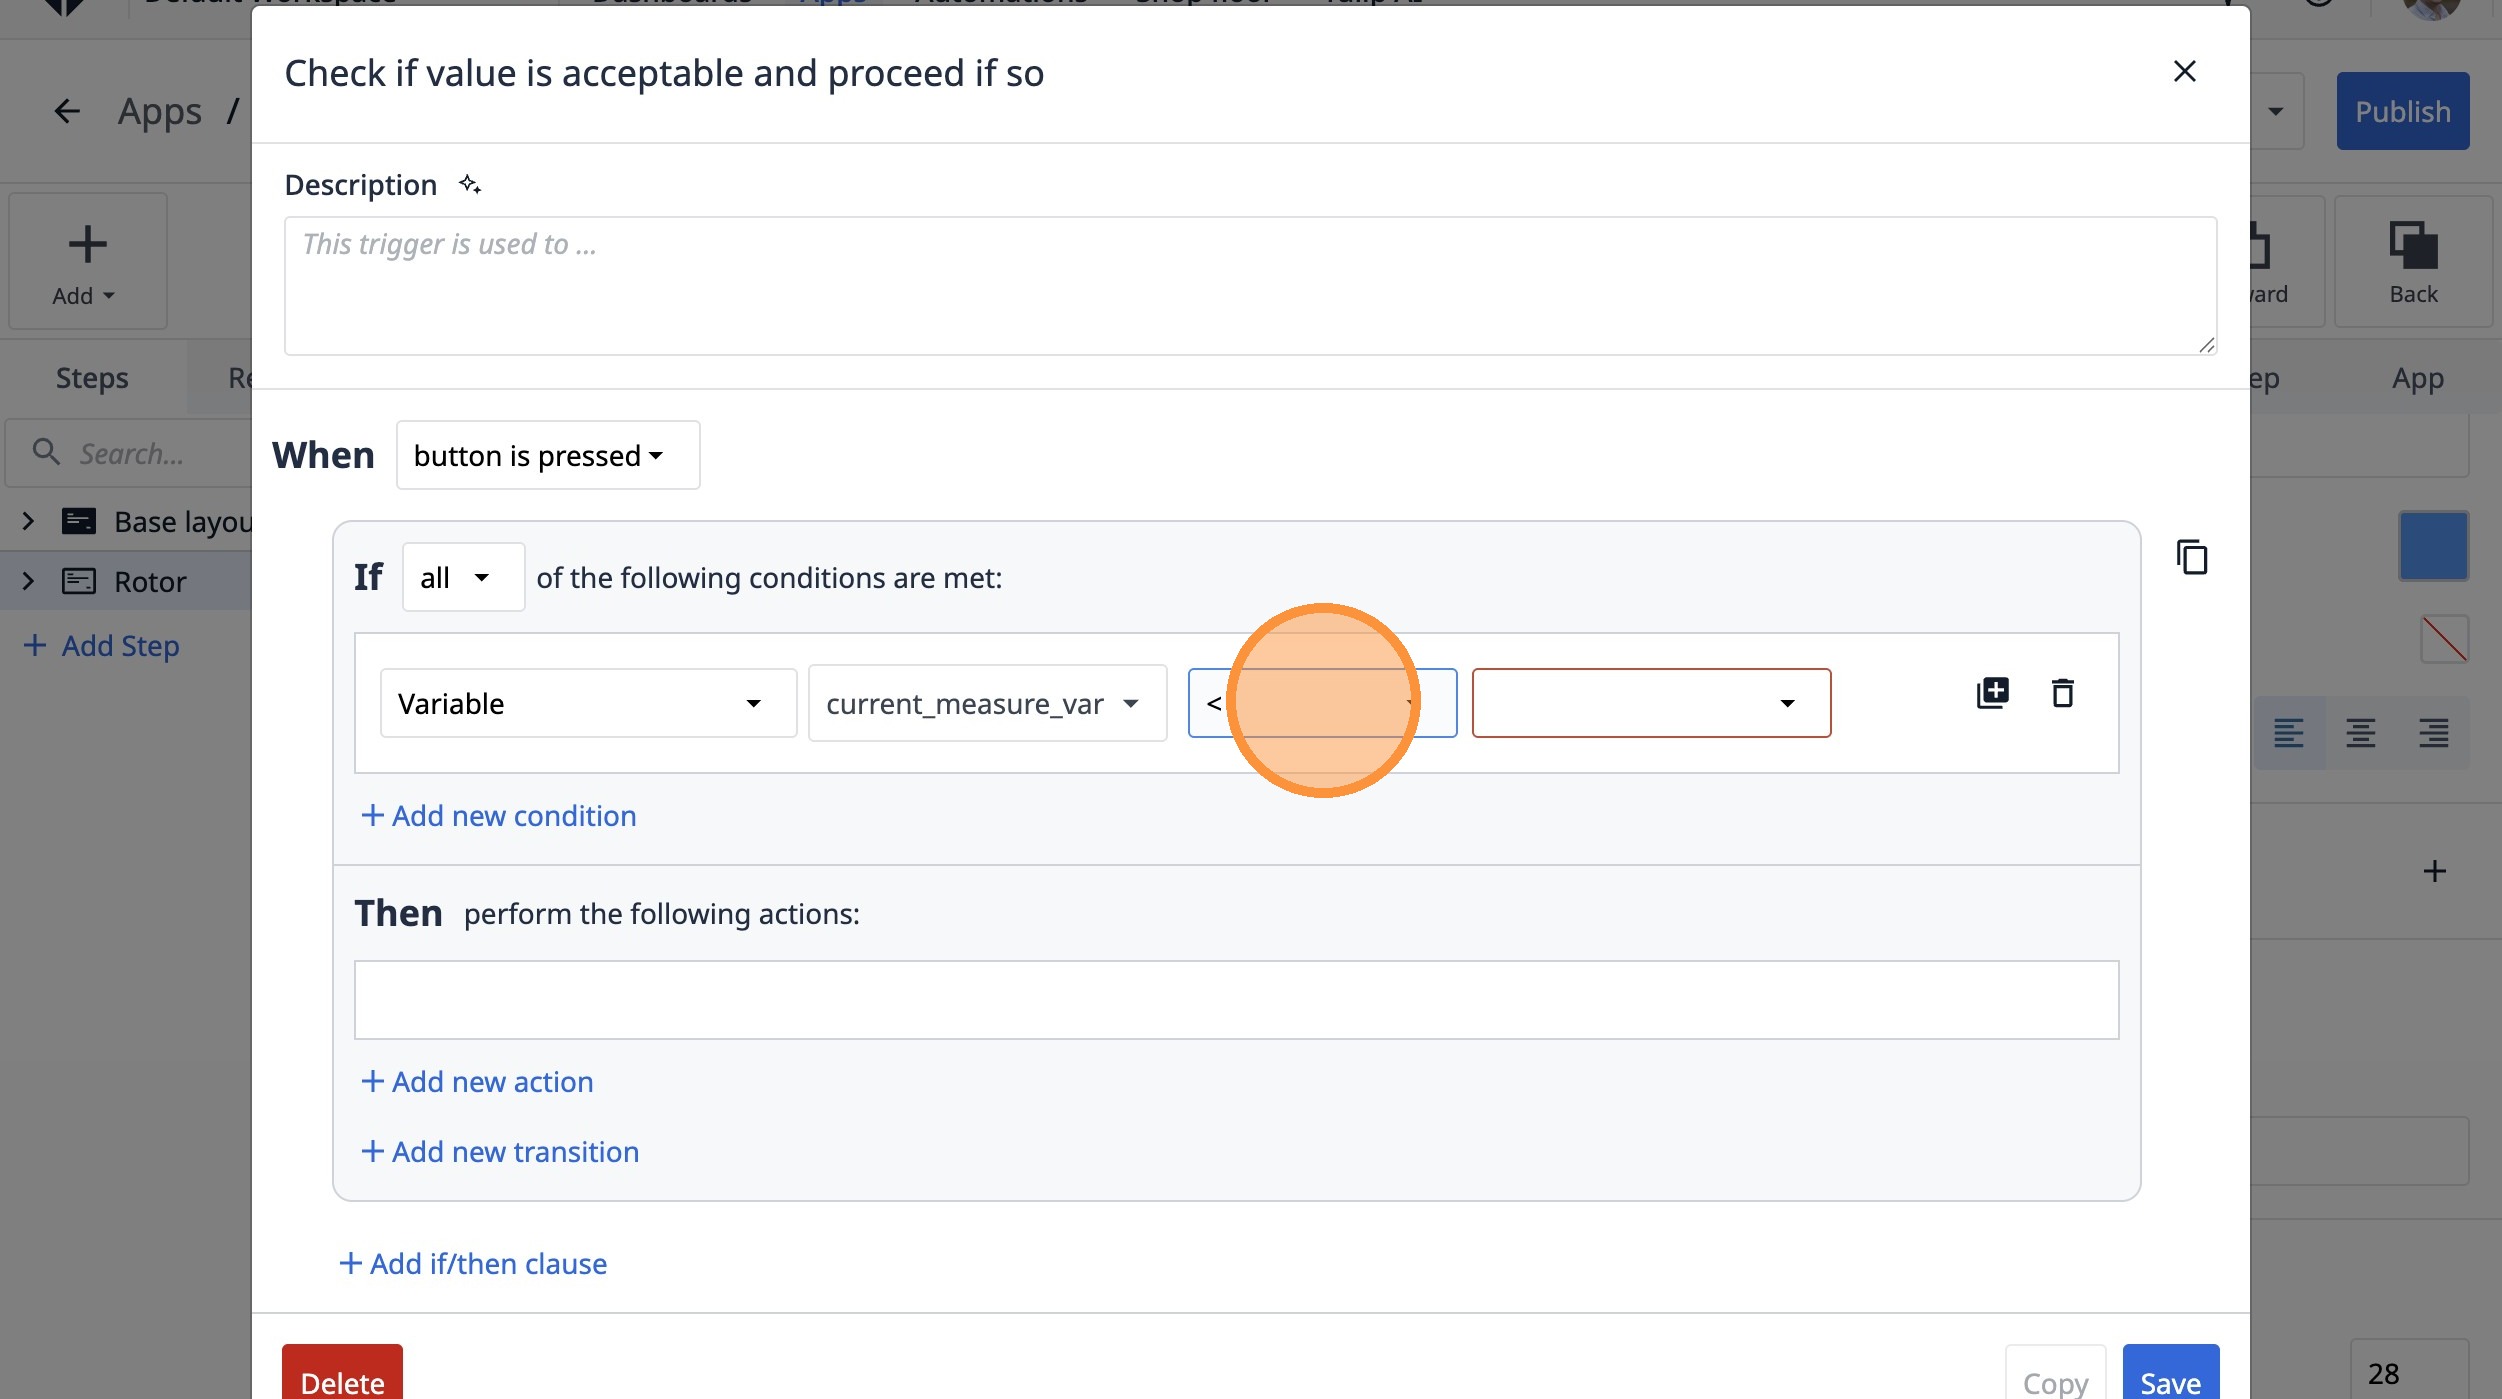
61. Type "Check if value is acceptable and proceed if so"
62. Click "Add new condition"
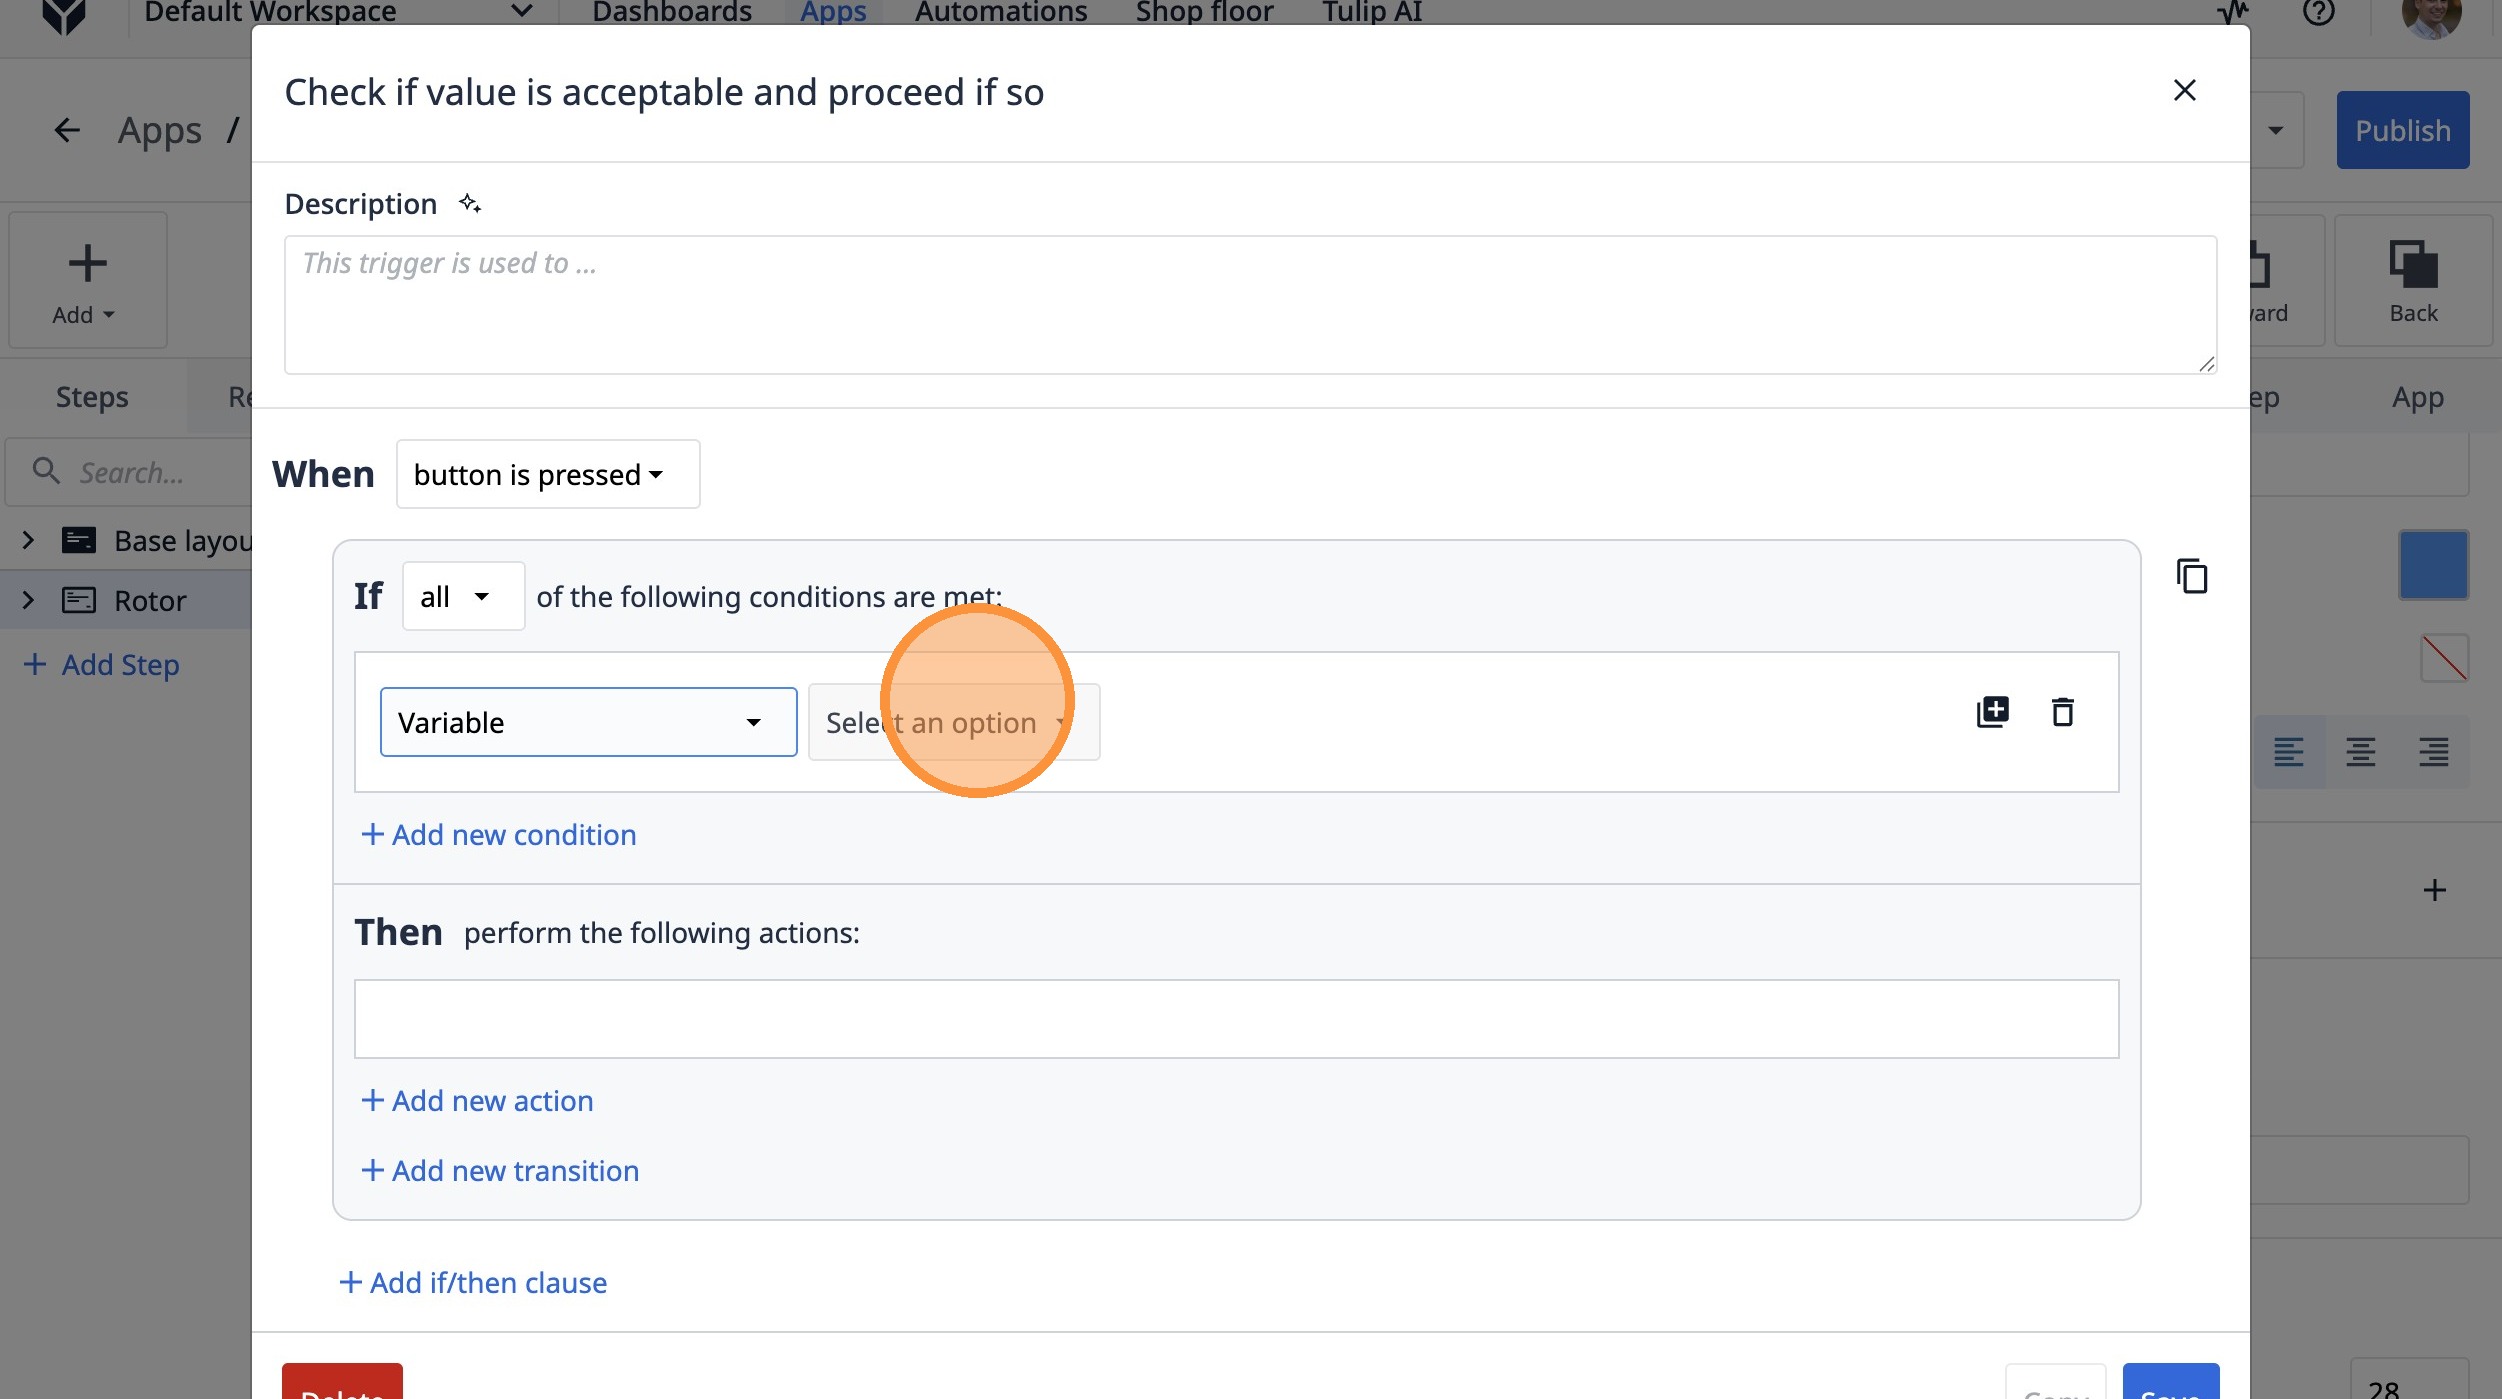
63. Select the "Variable" option.
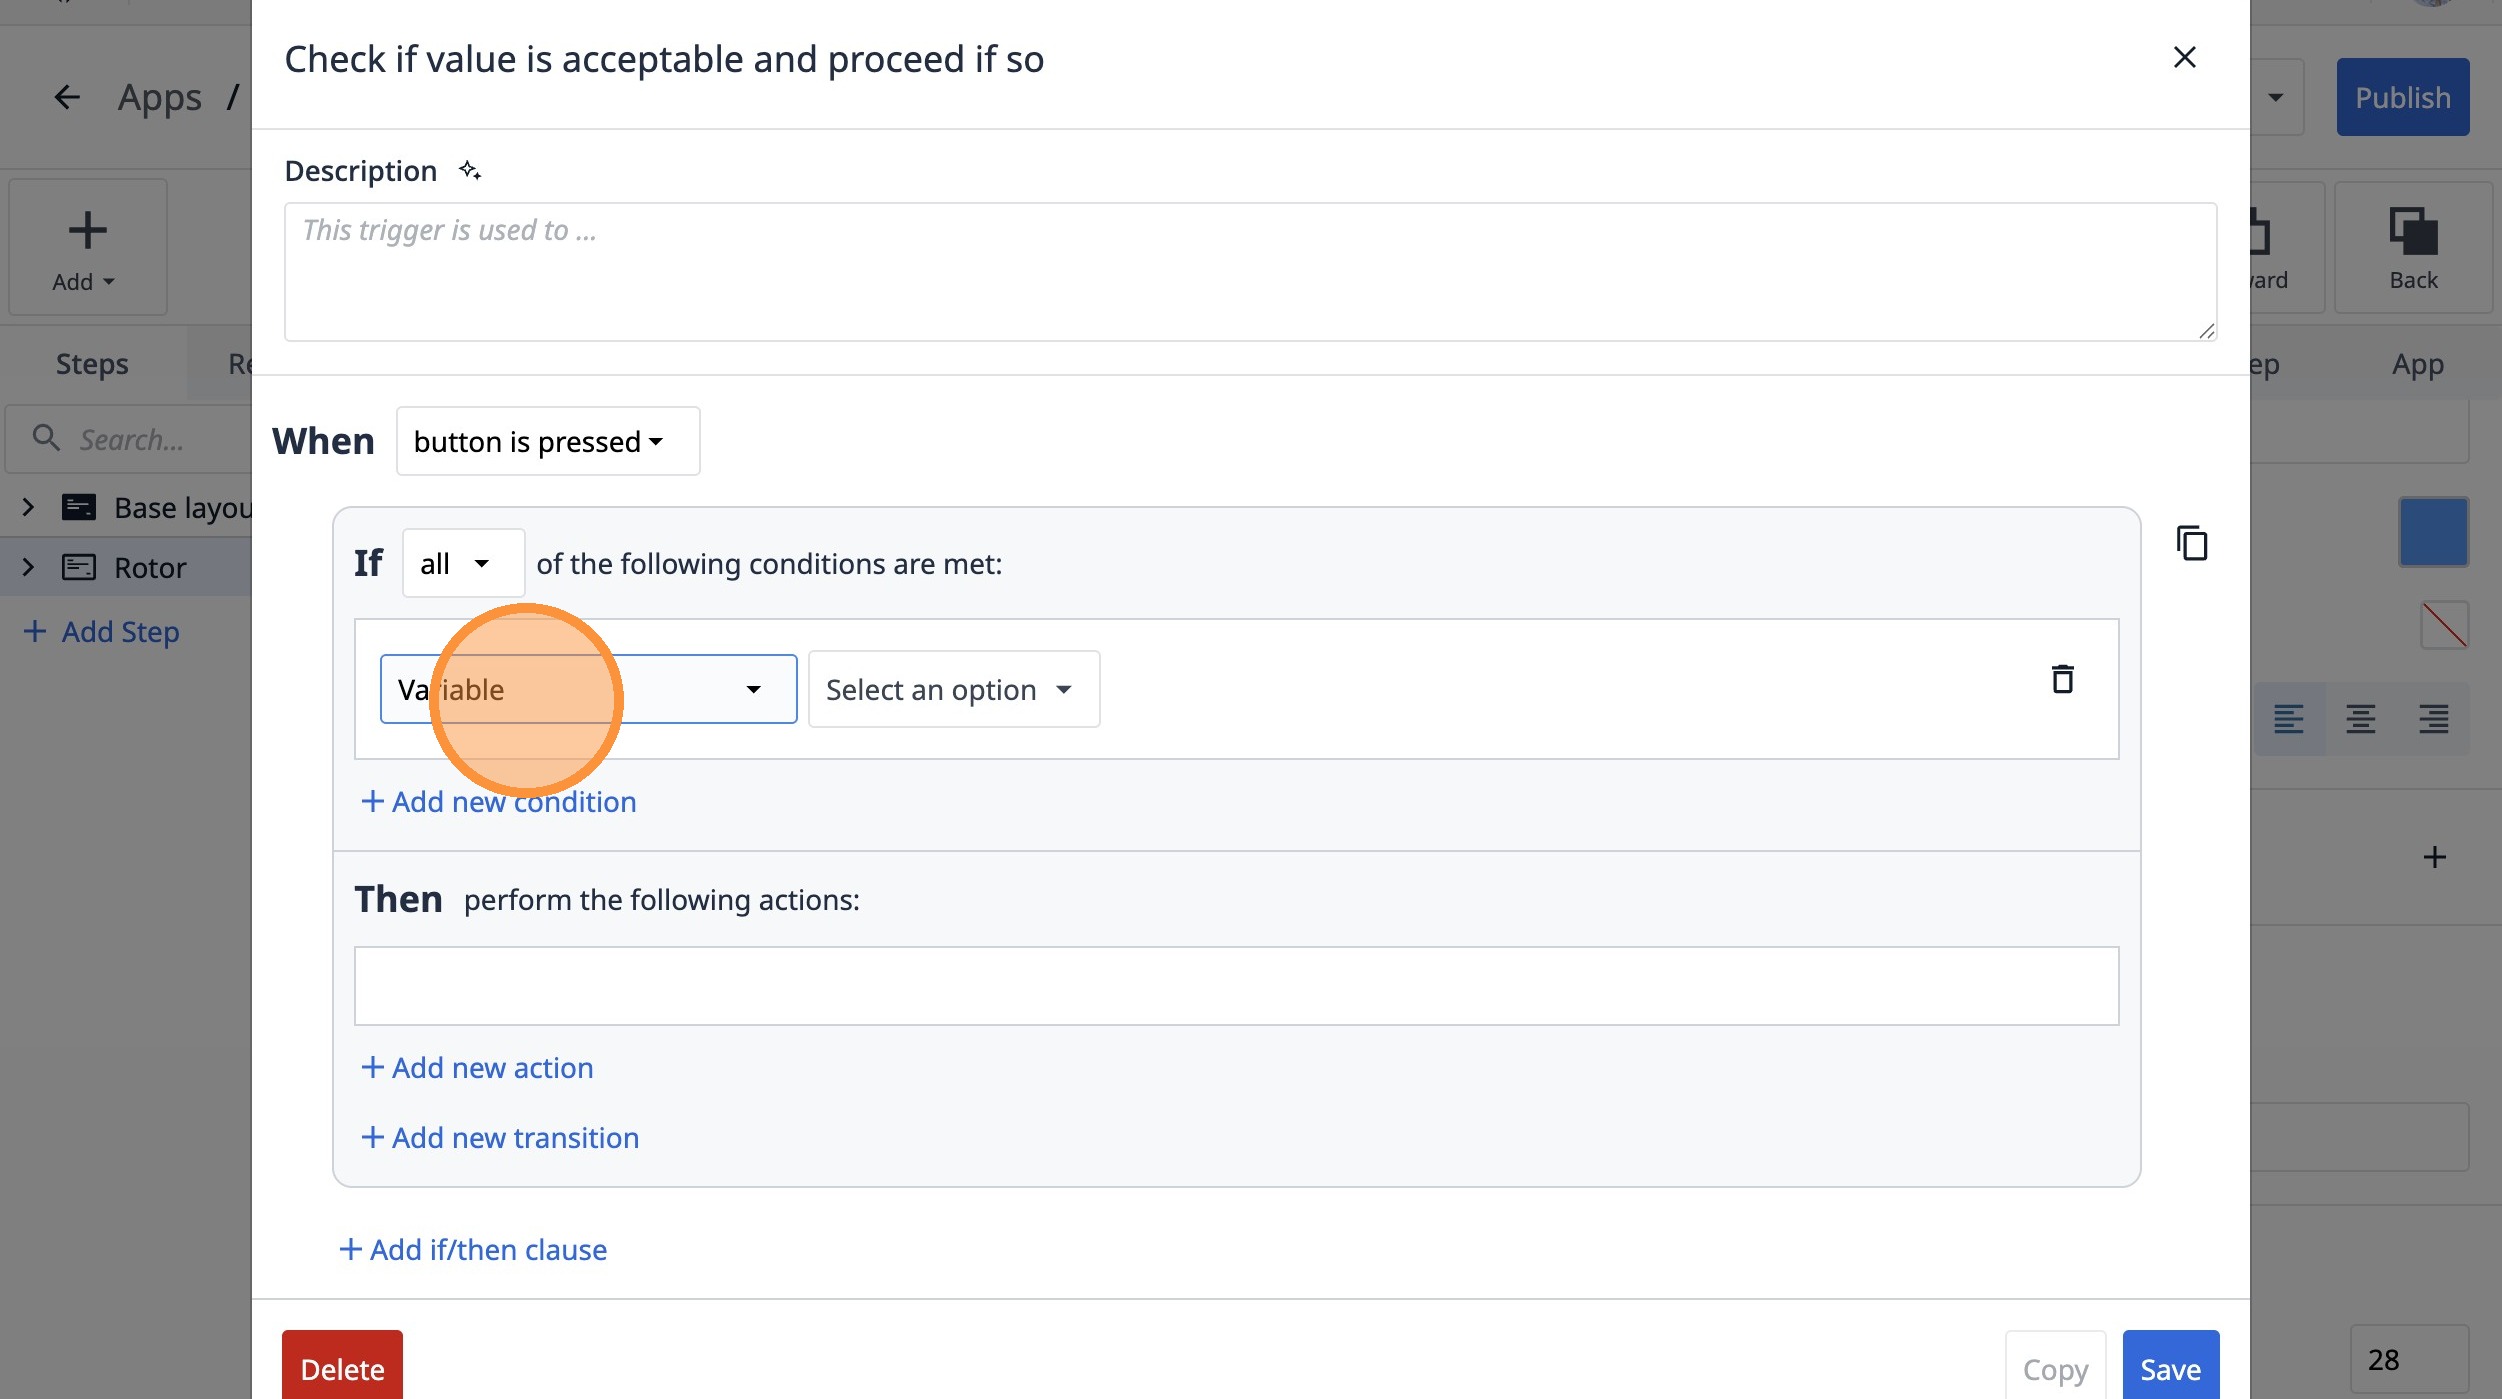
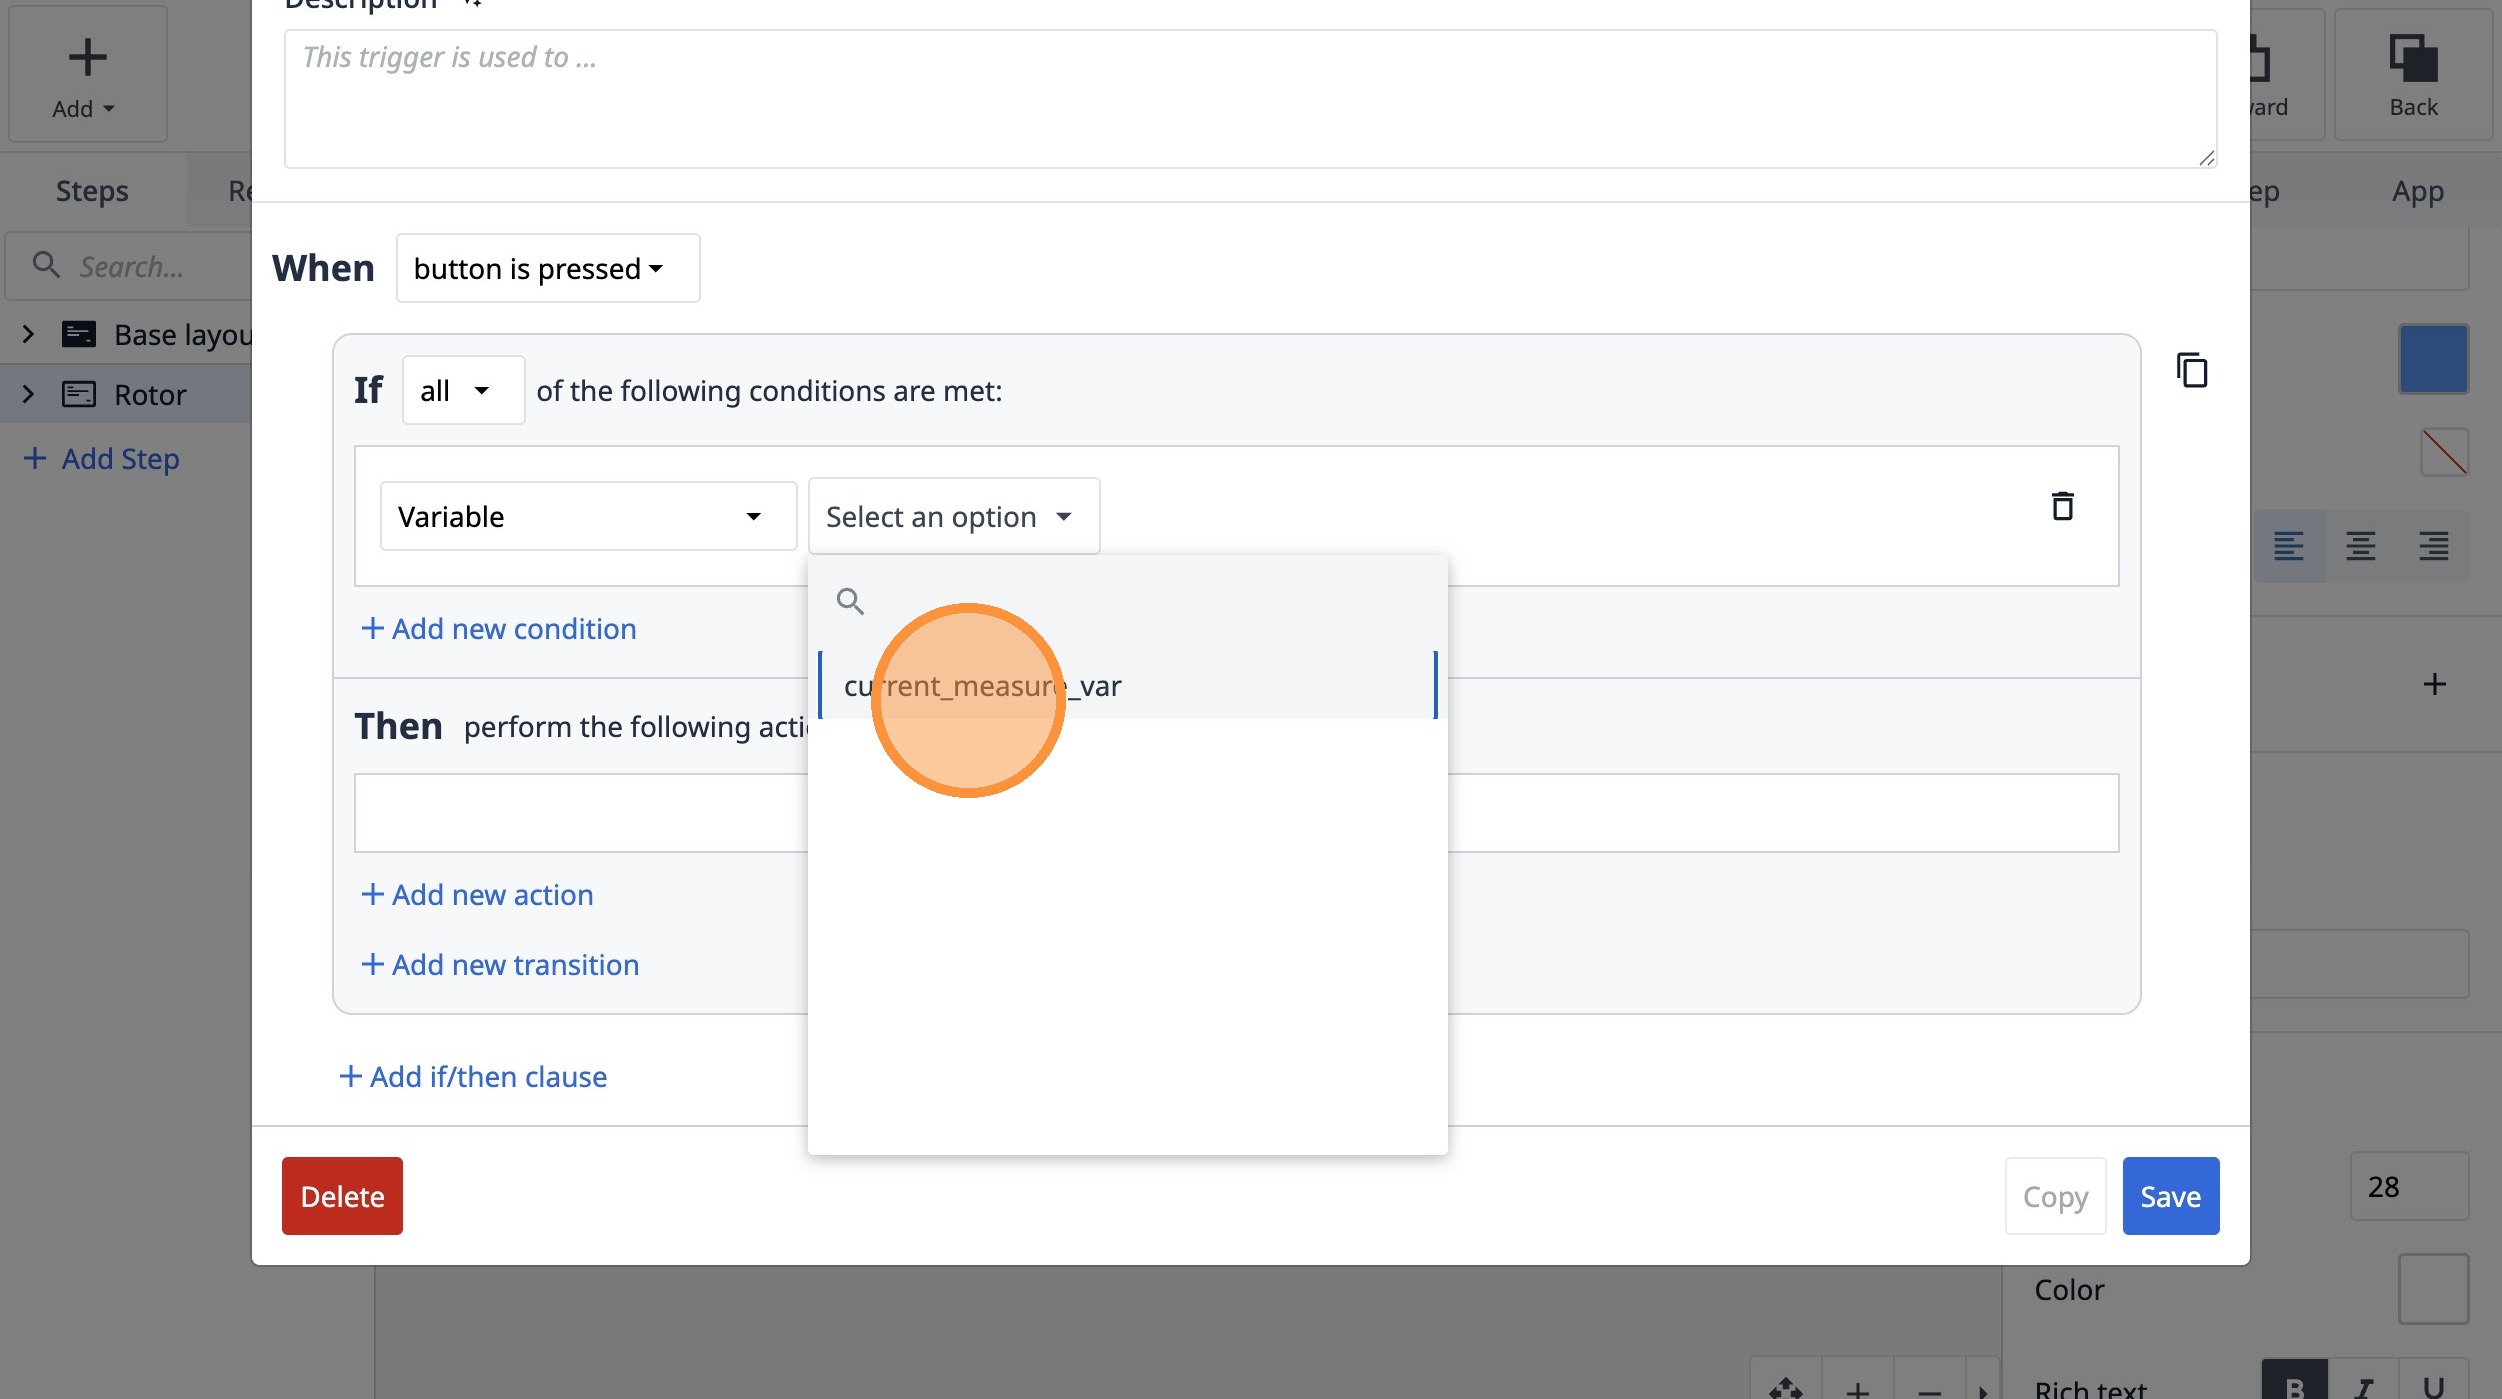
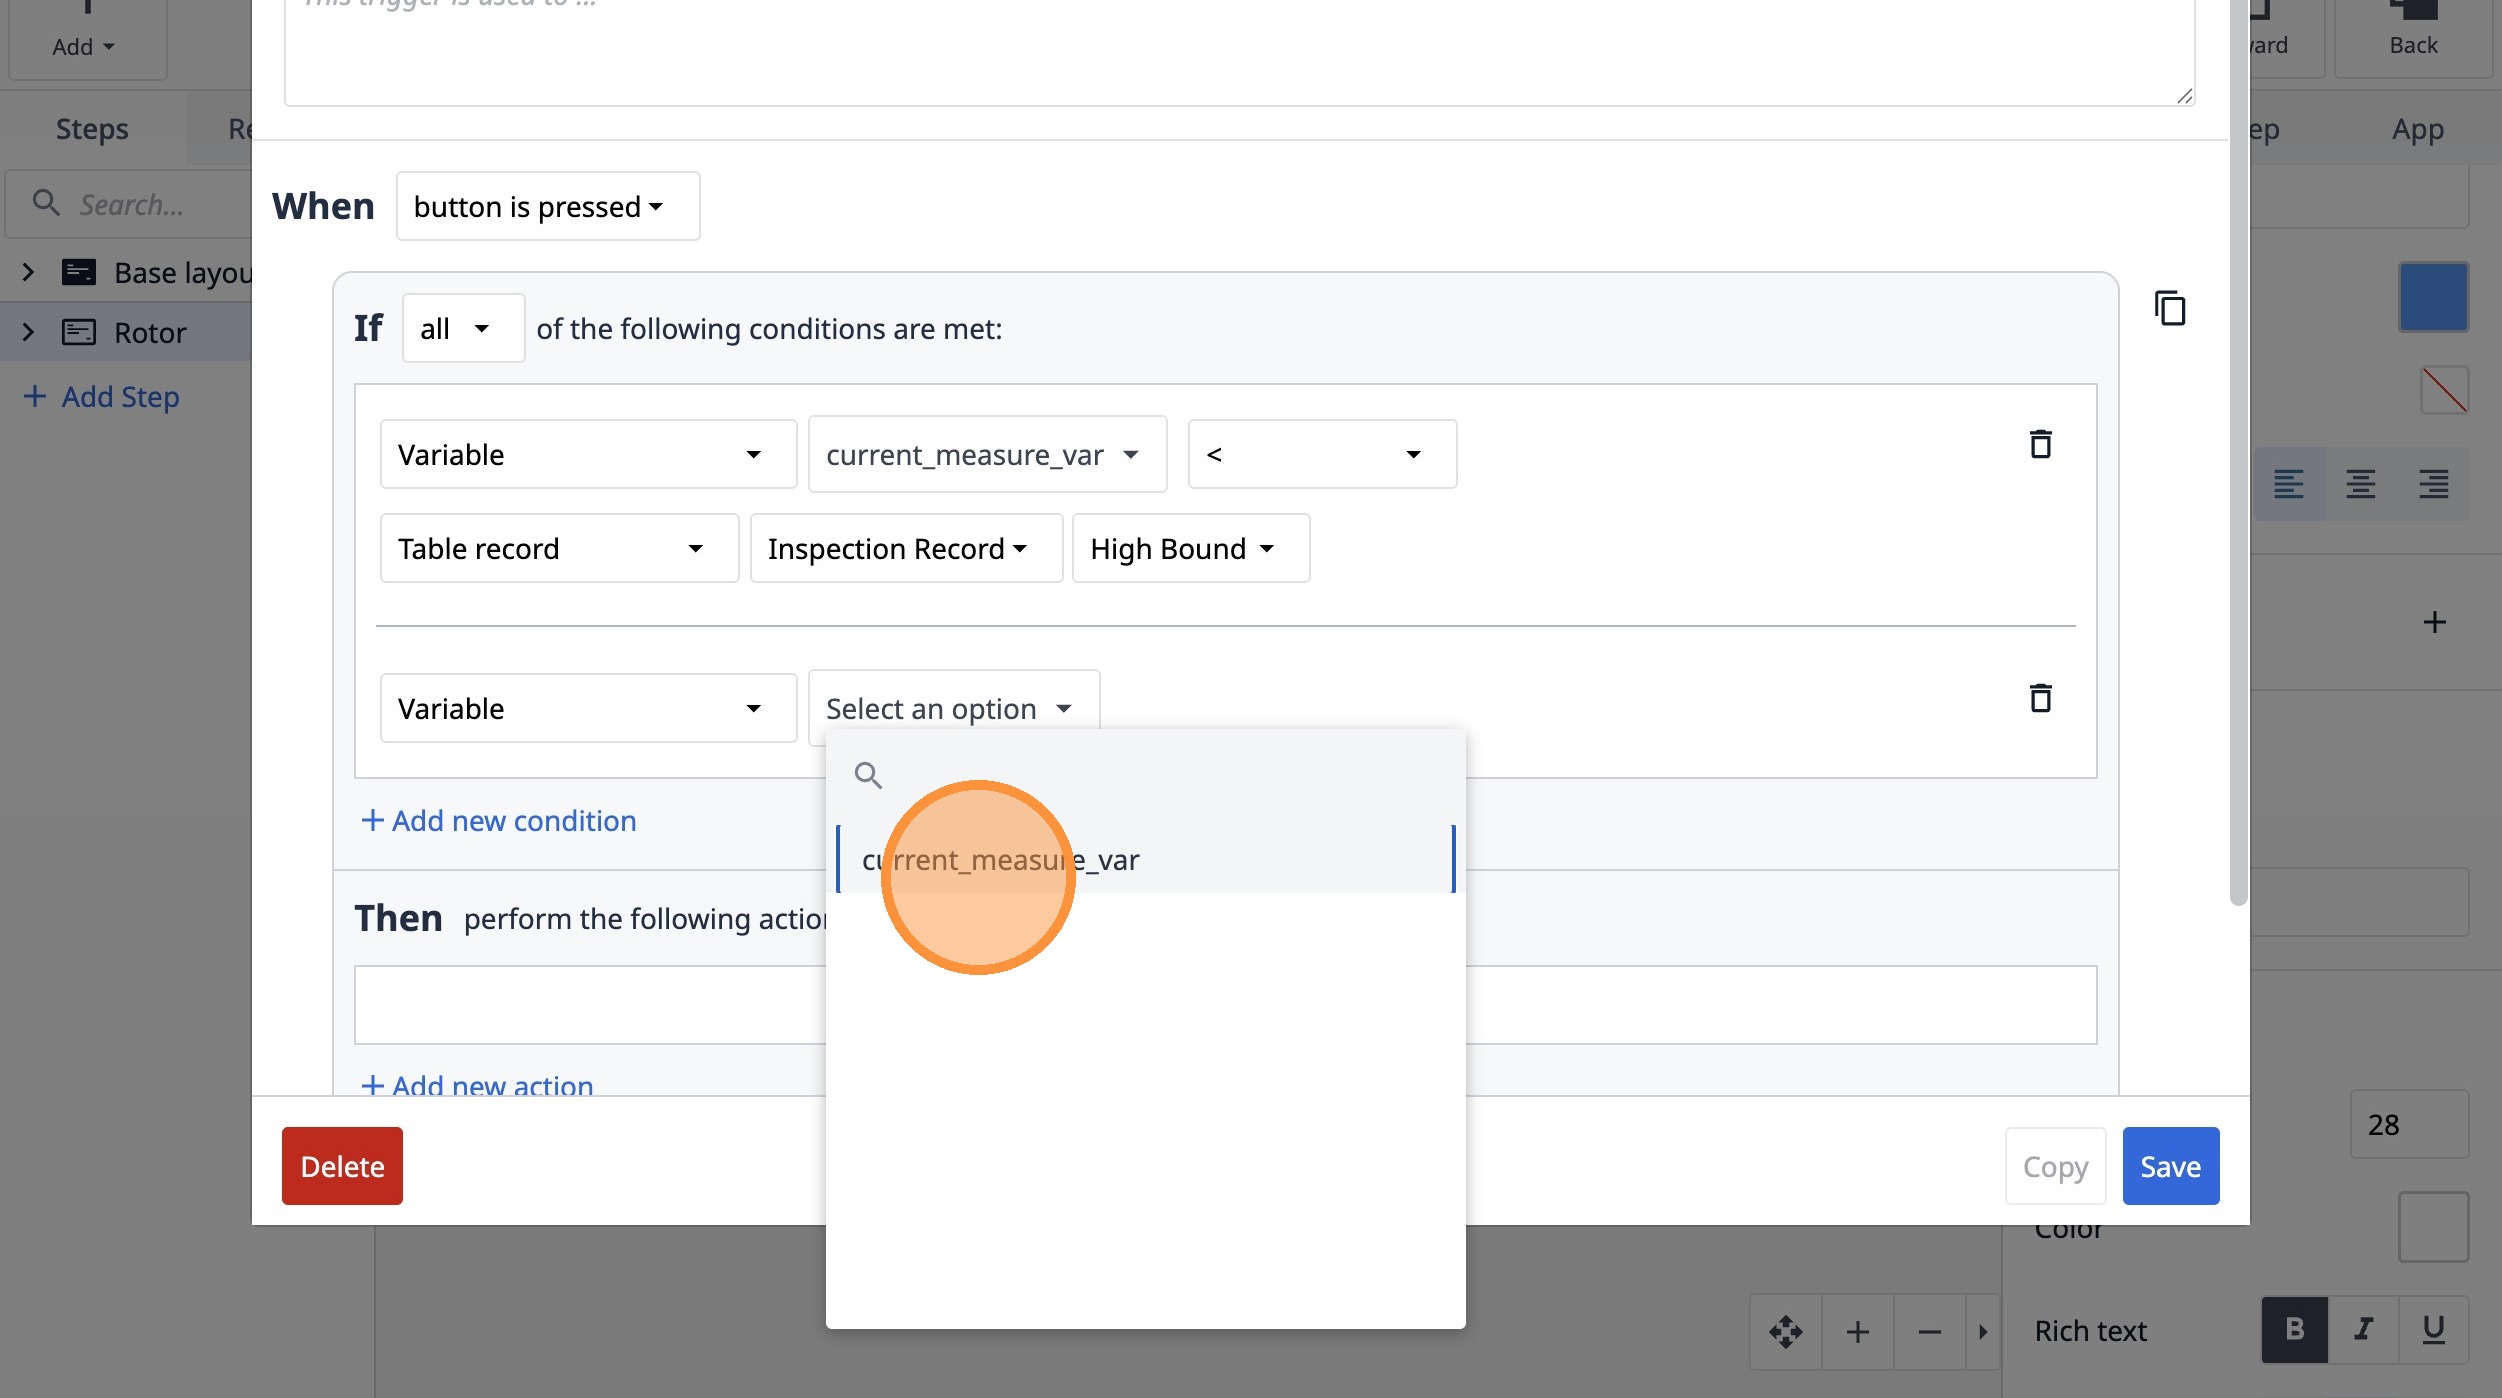
64. Click "Select an option"
65. Click "current_measure_var"
66. Select the "<" option.
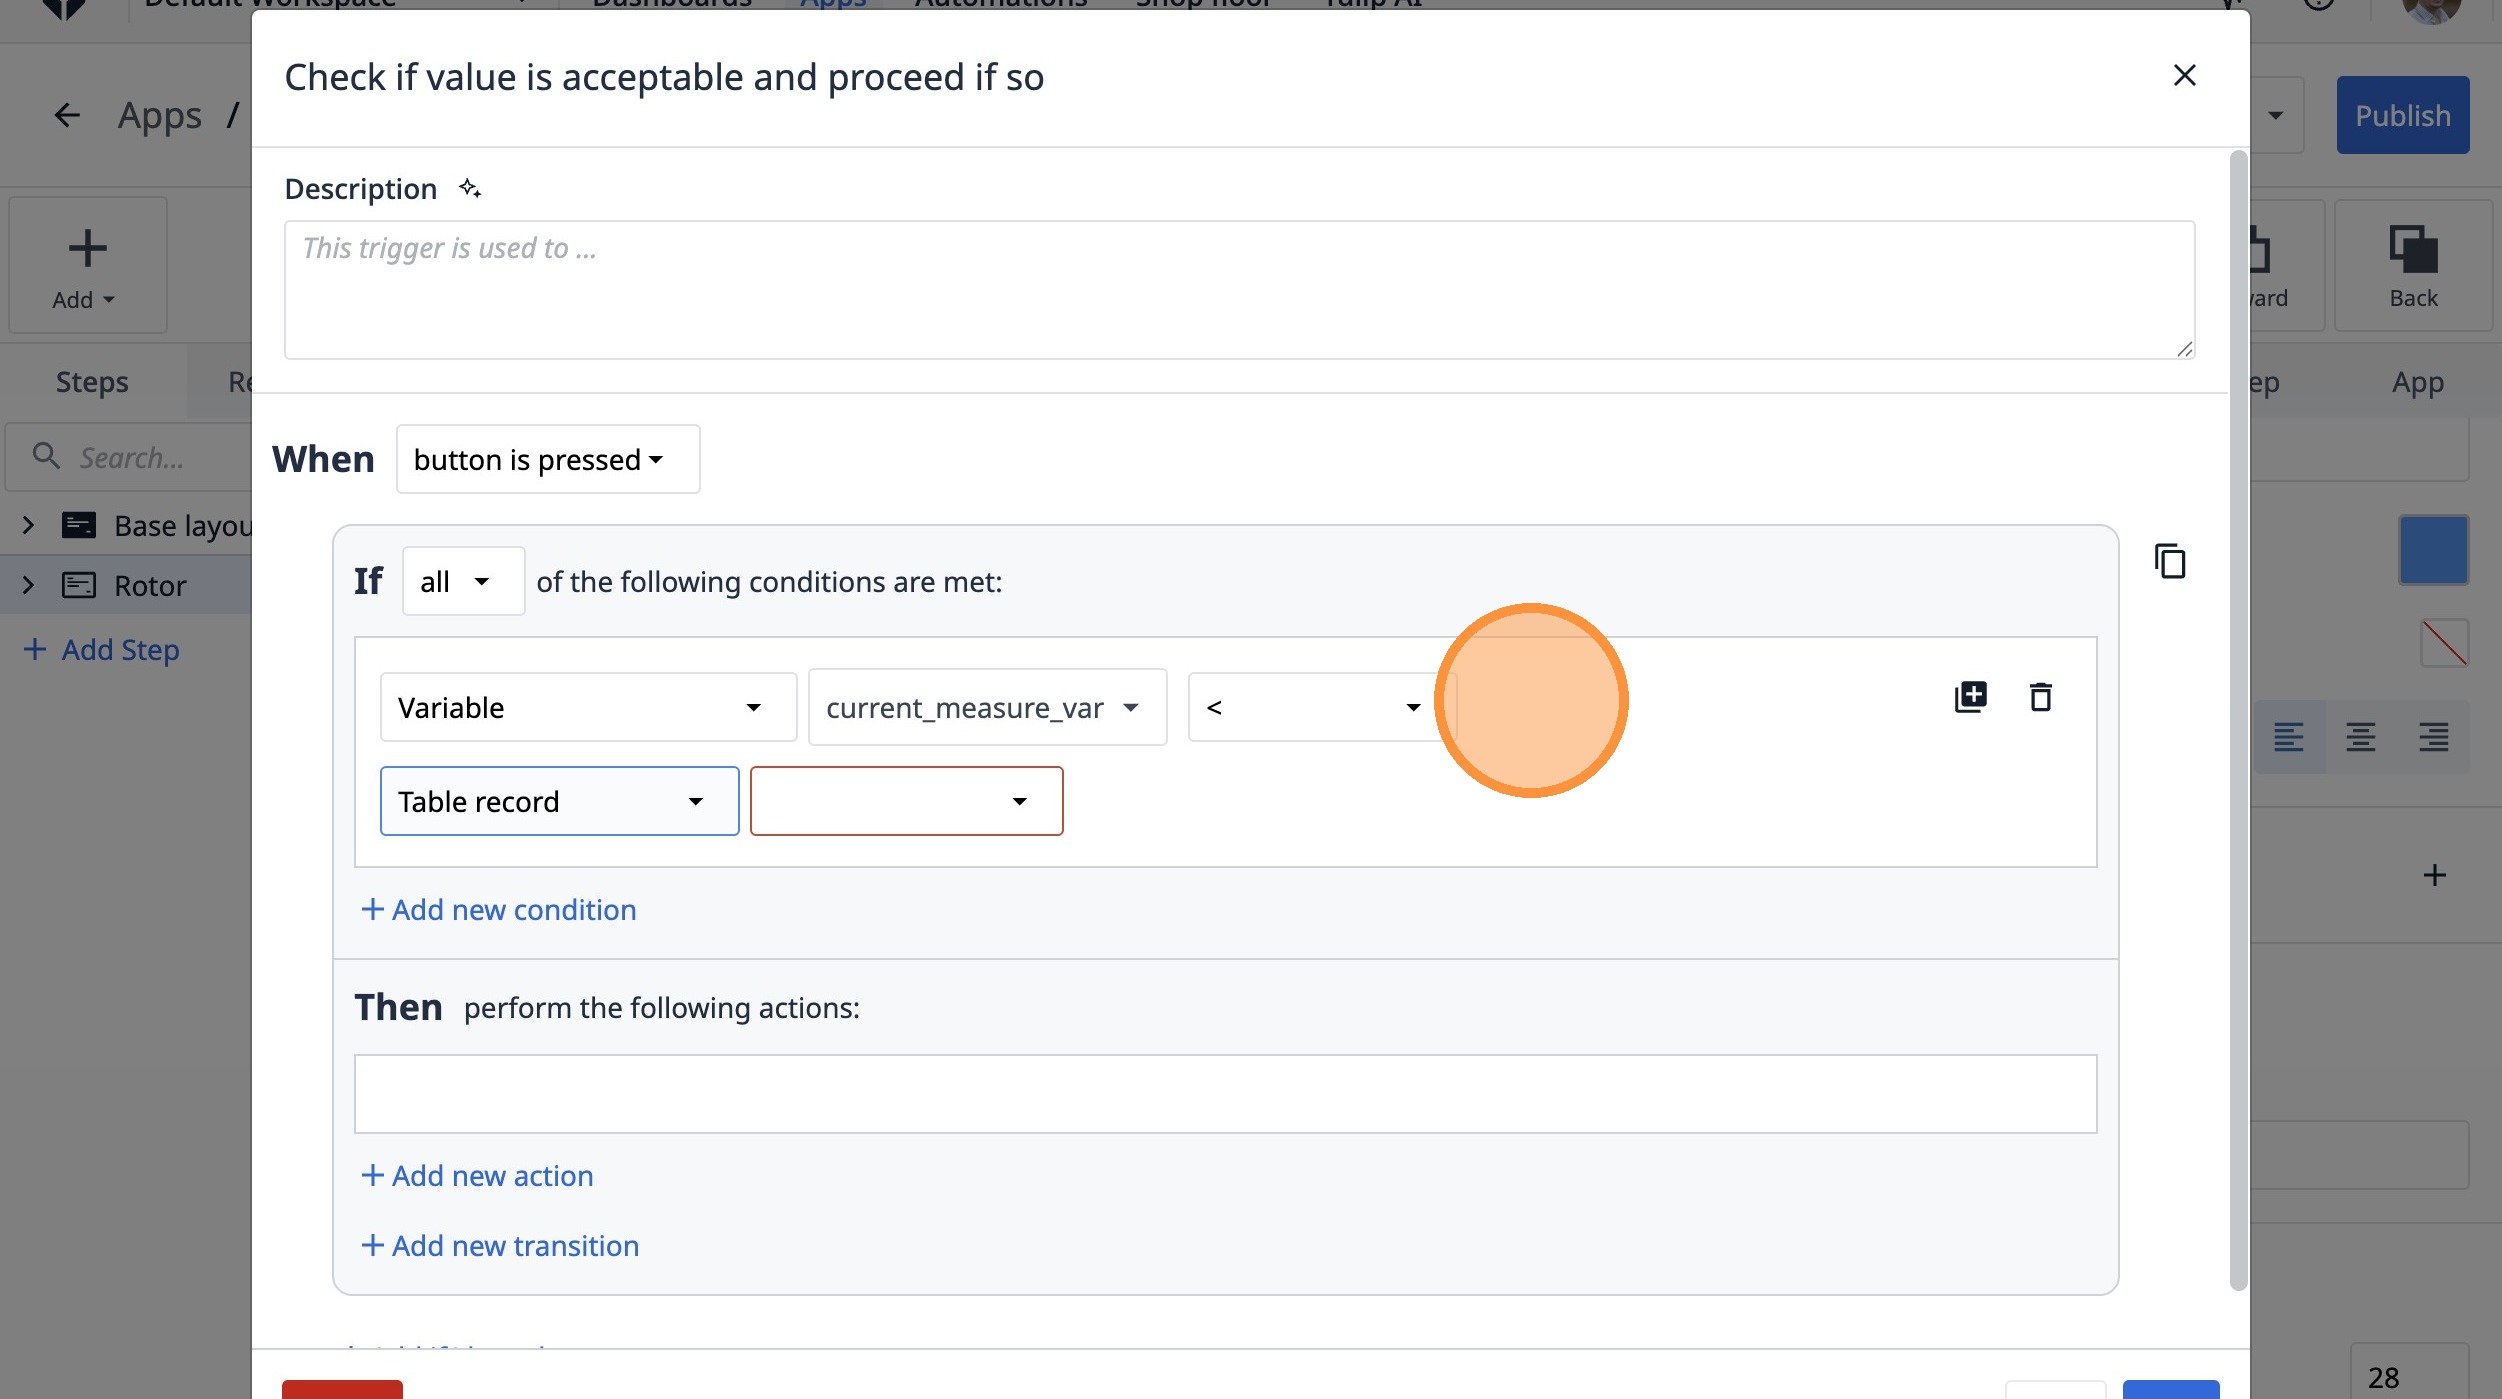
67. Select the "Table record" option.
68. Select the "NEMJhEW9TYqZPect8" option.
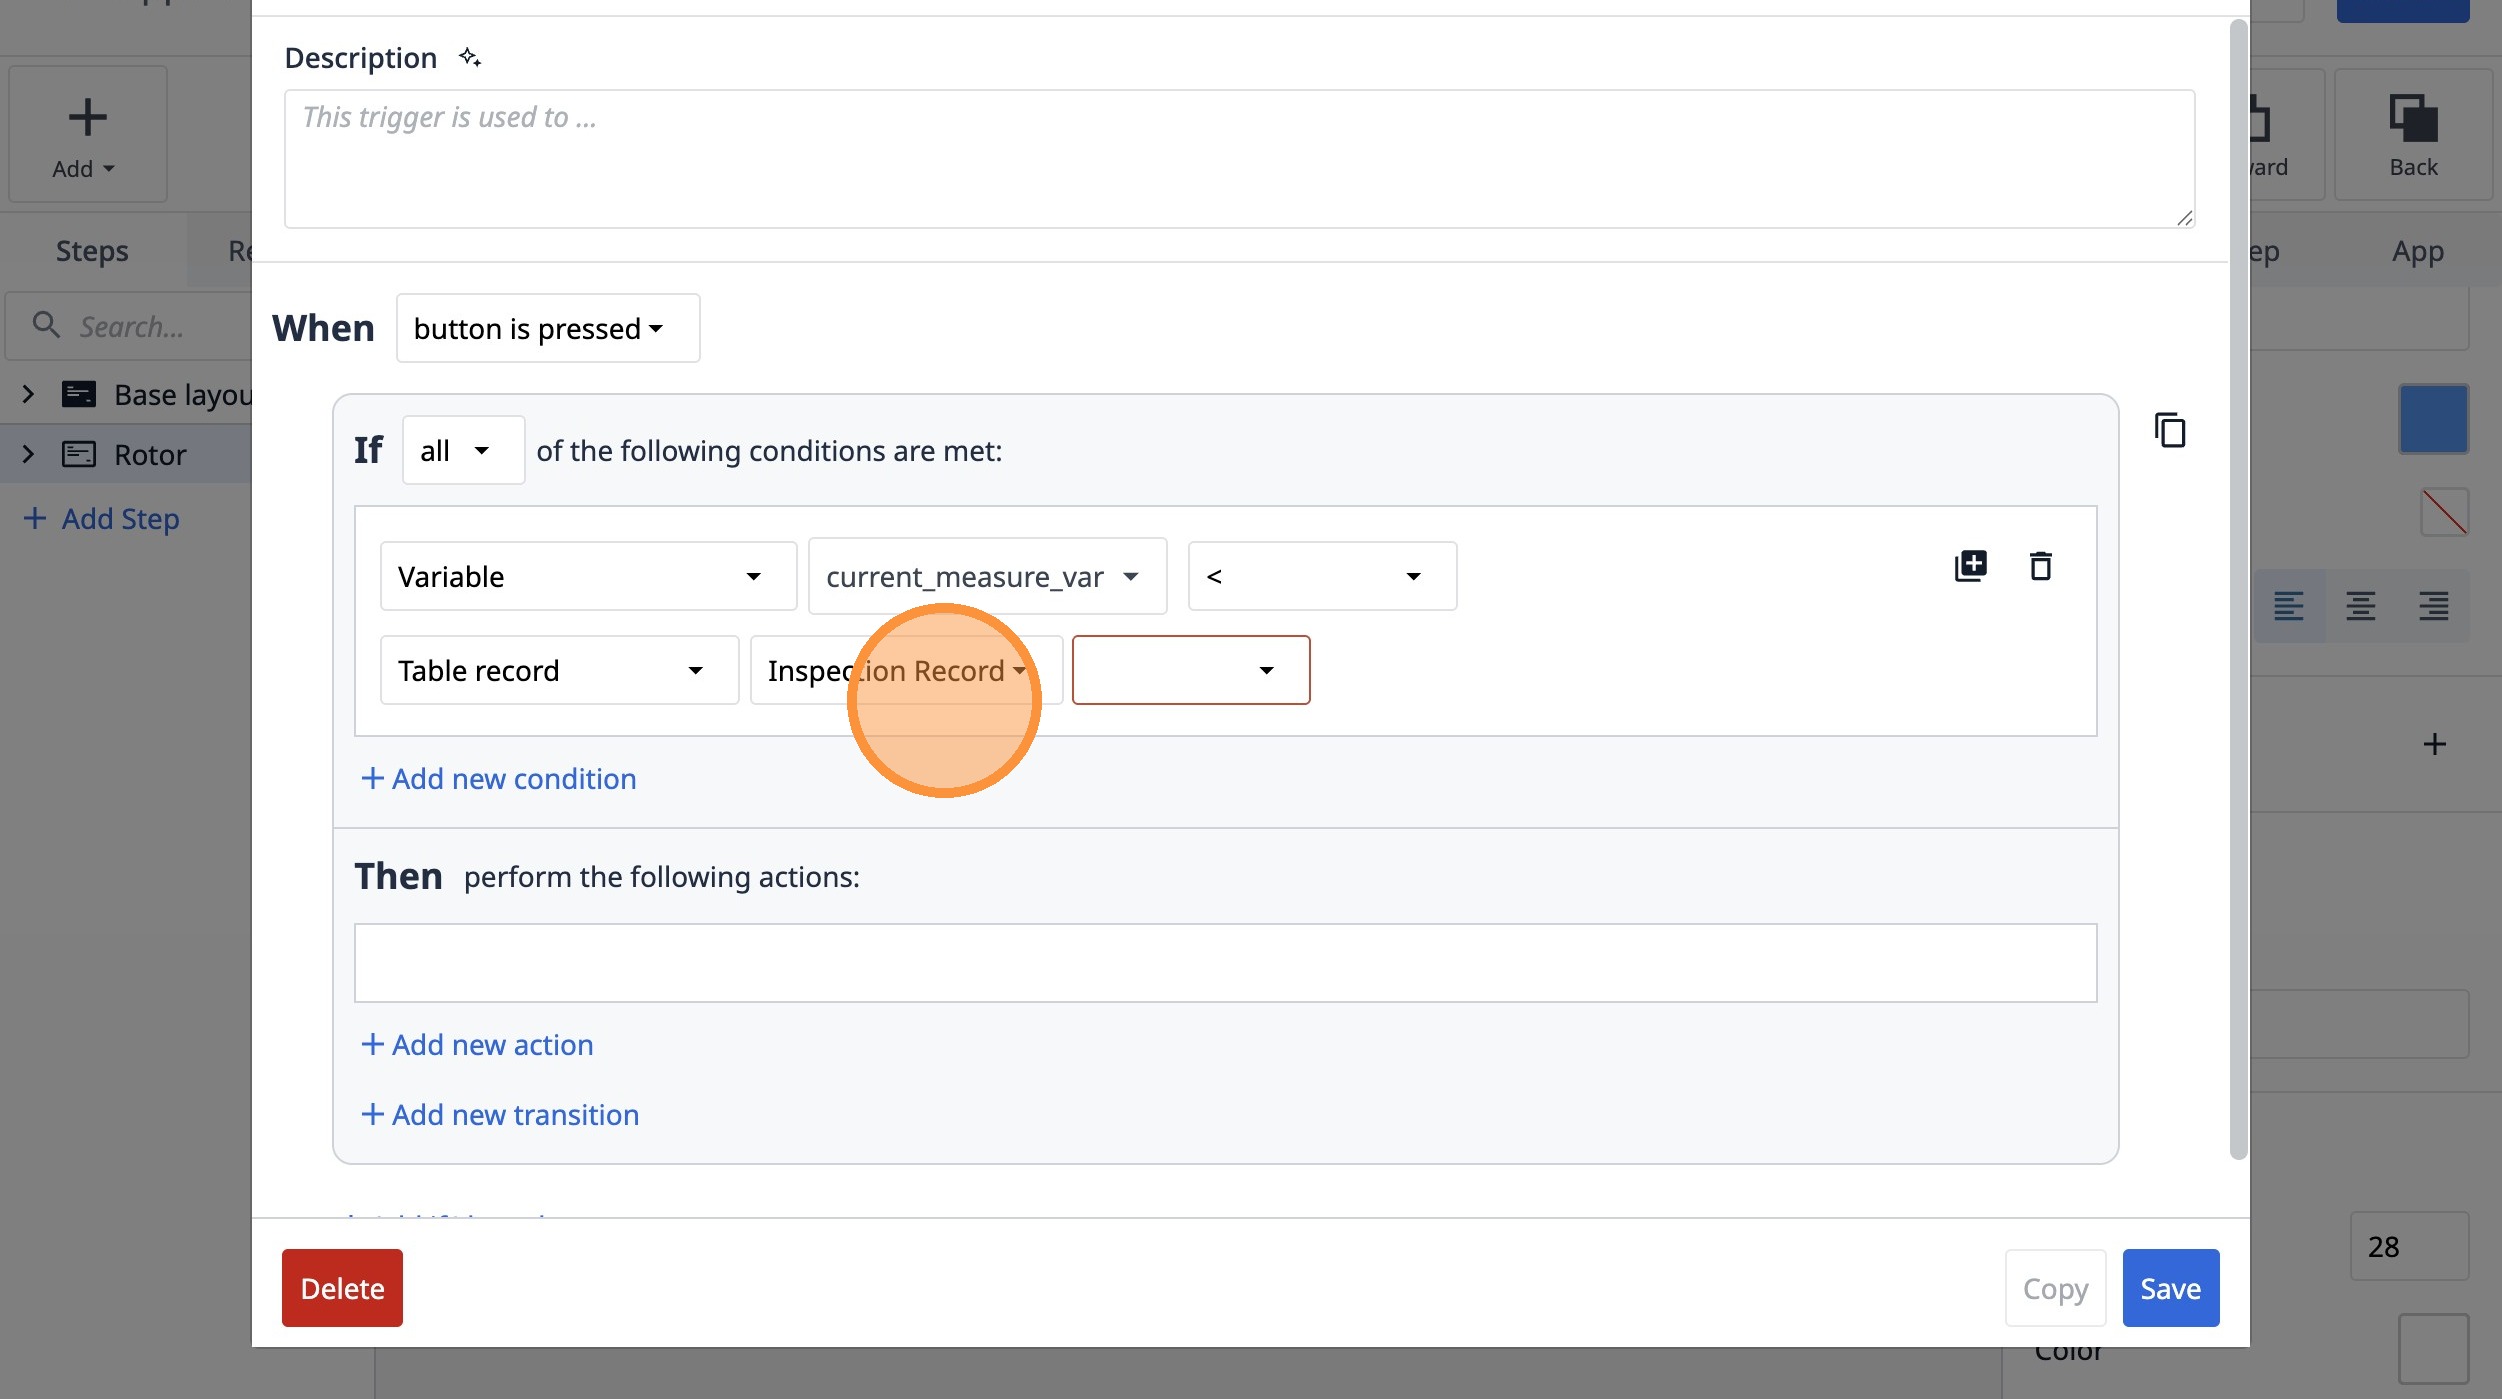
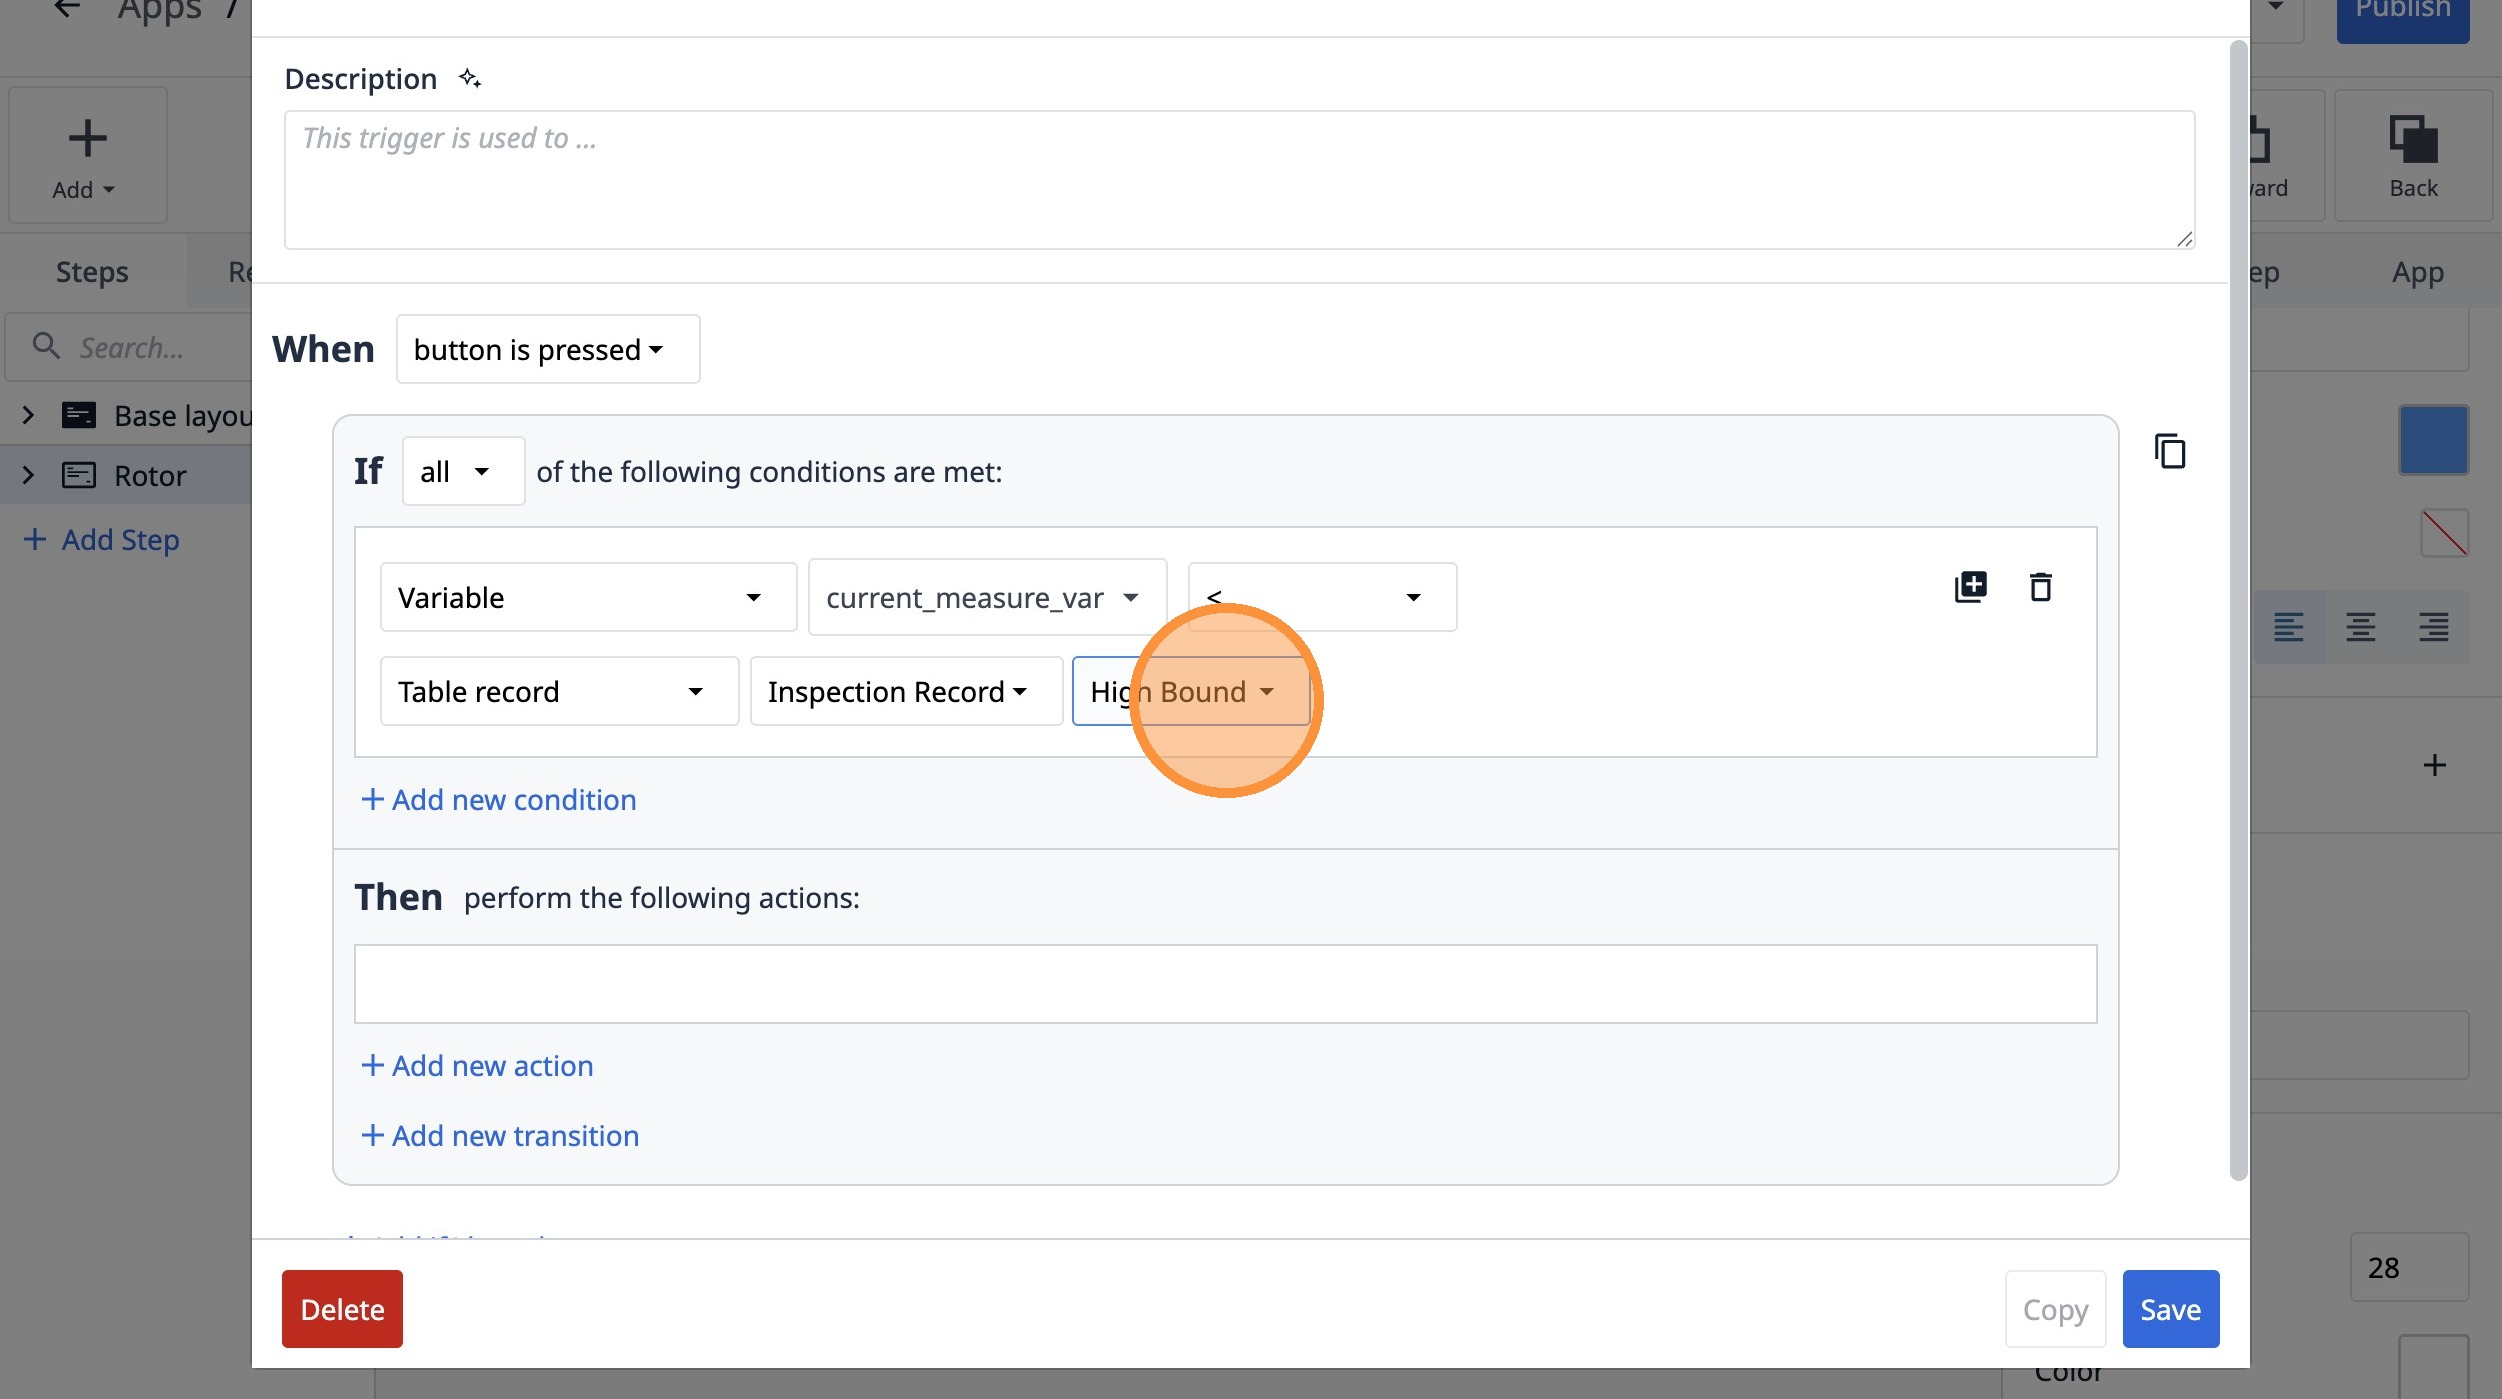
69. Select the "High Bound" option.
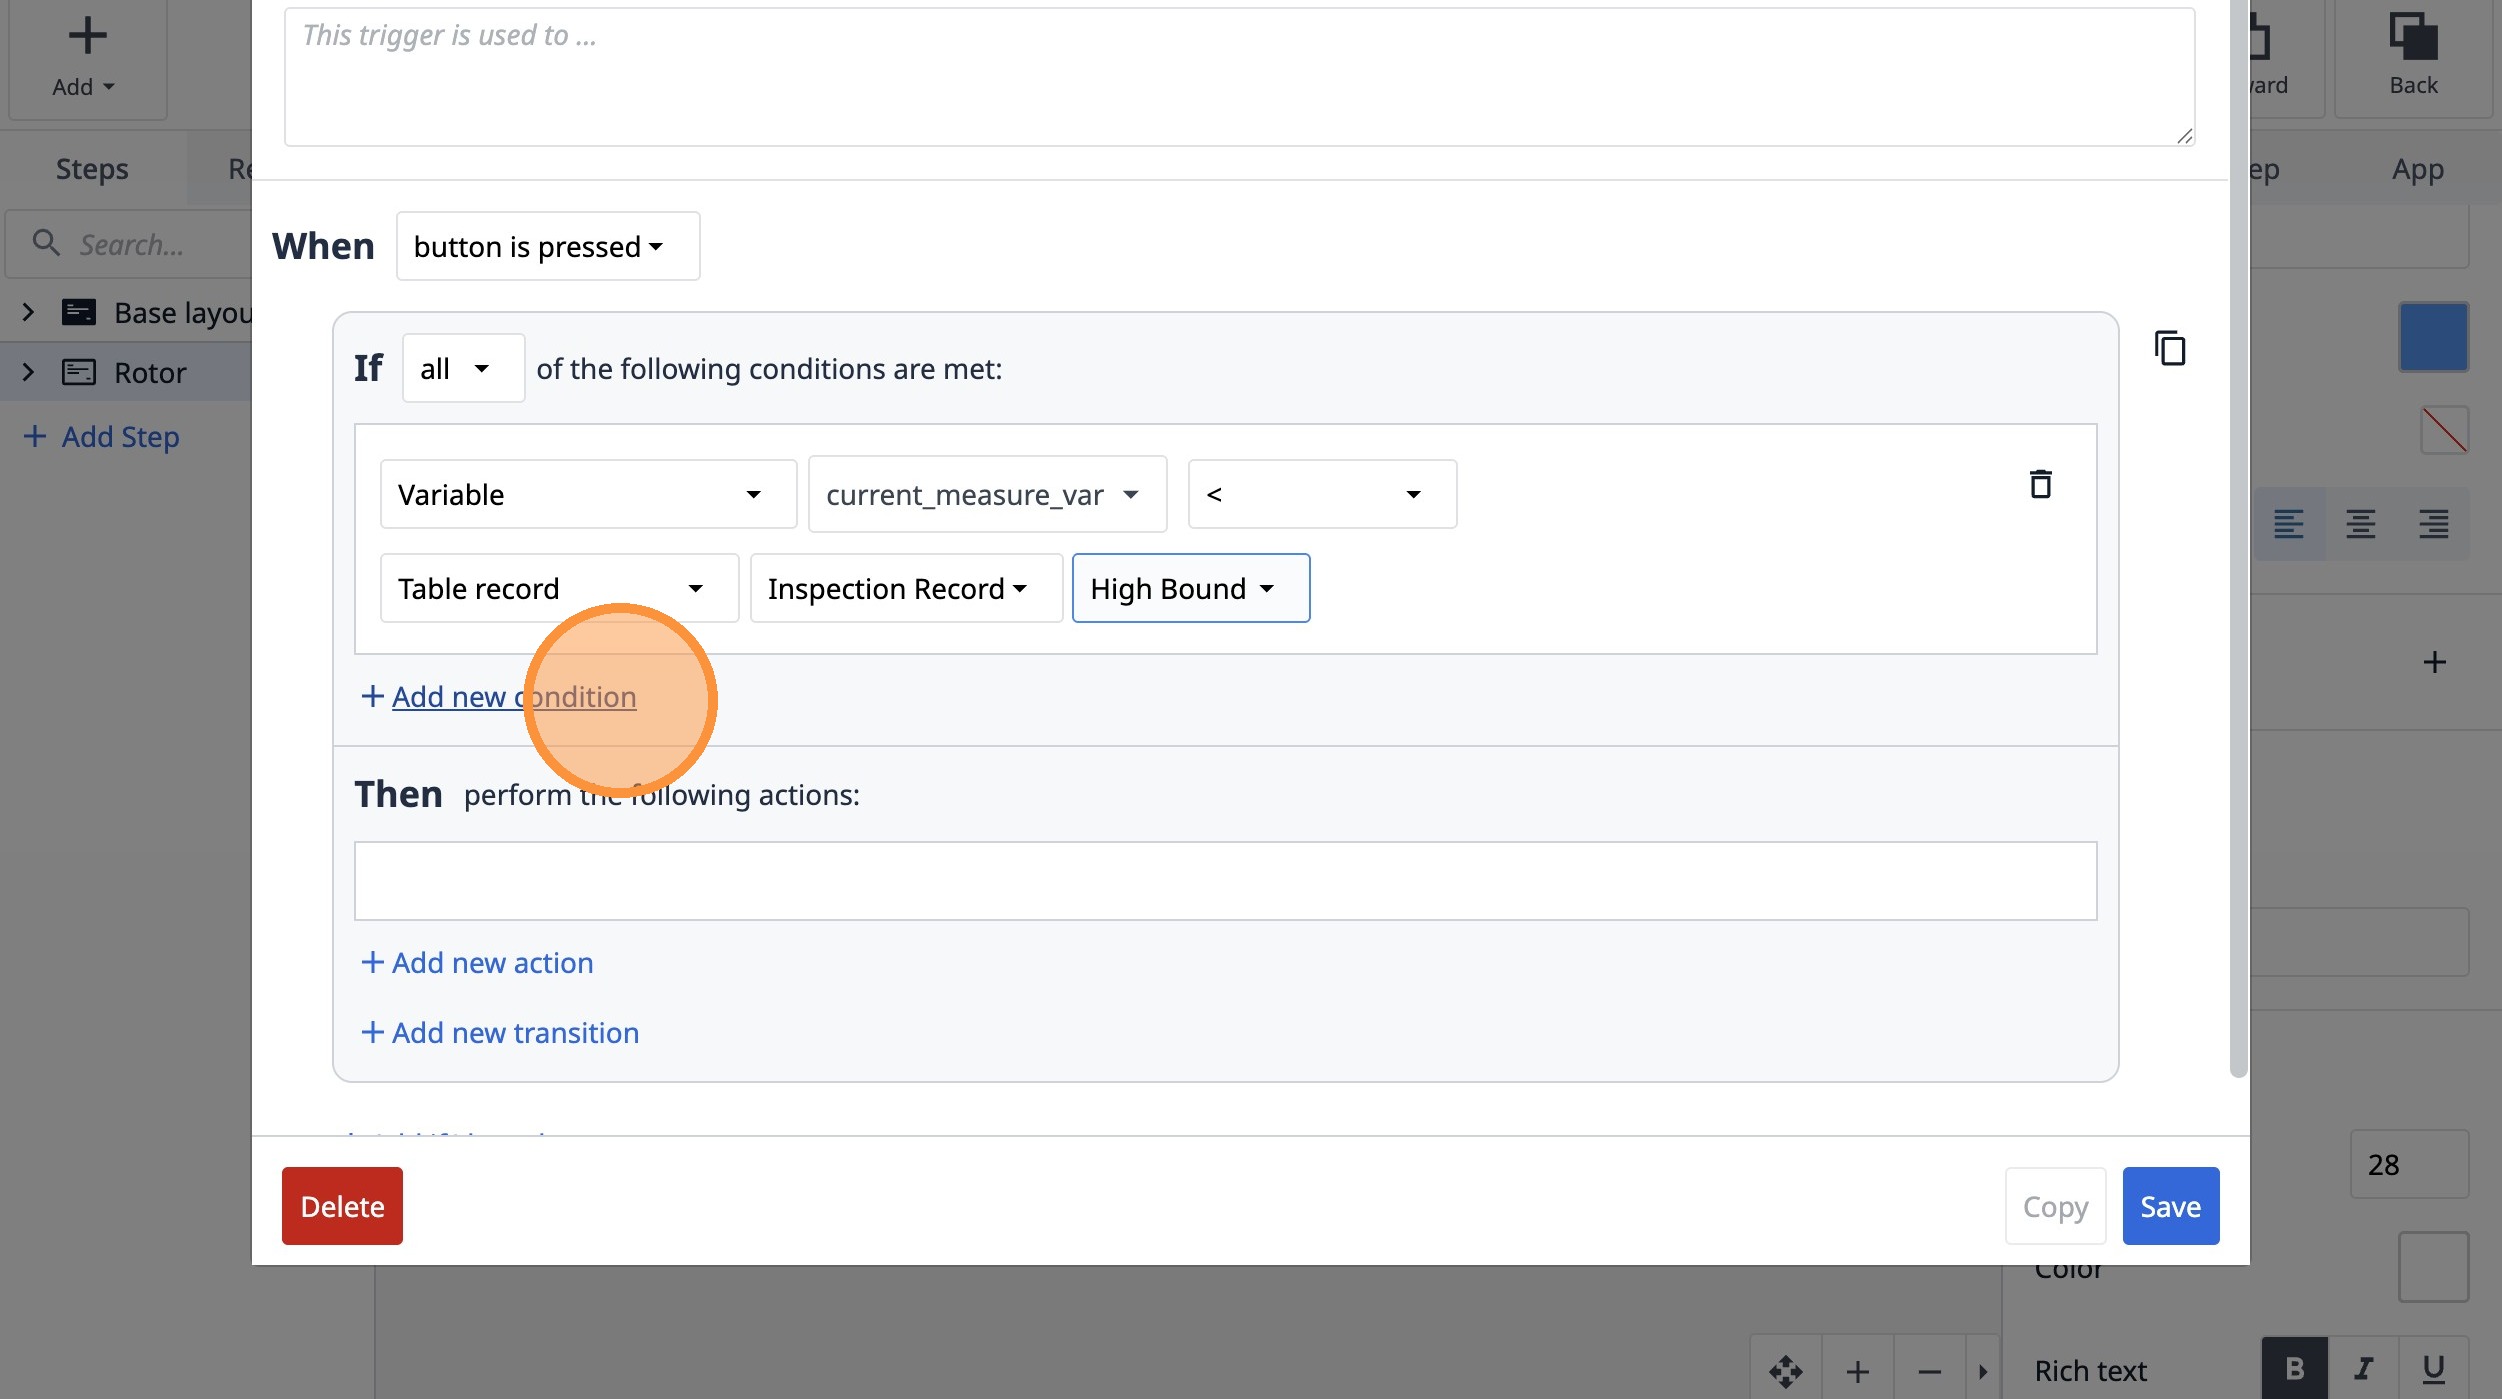
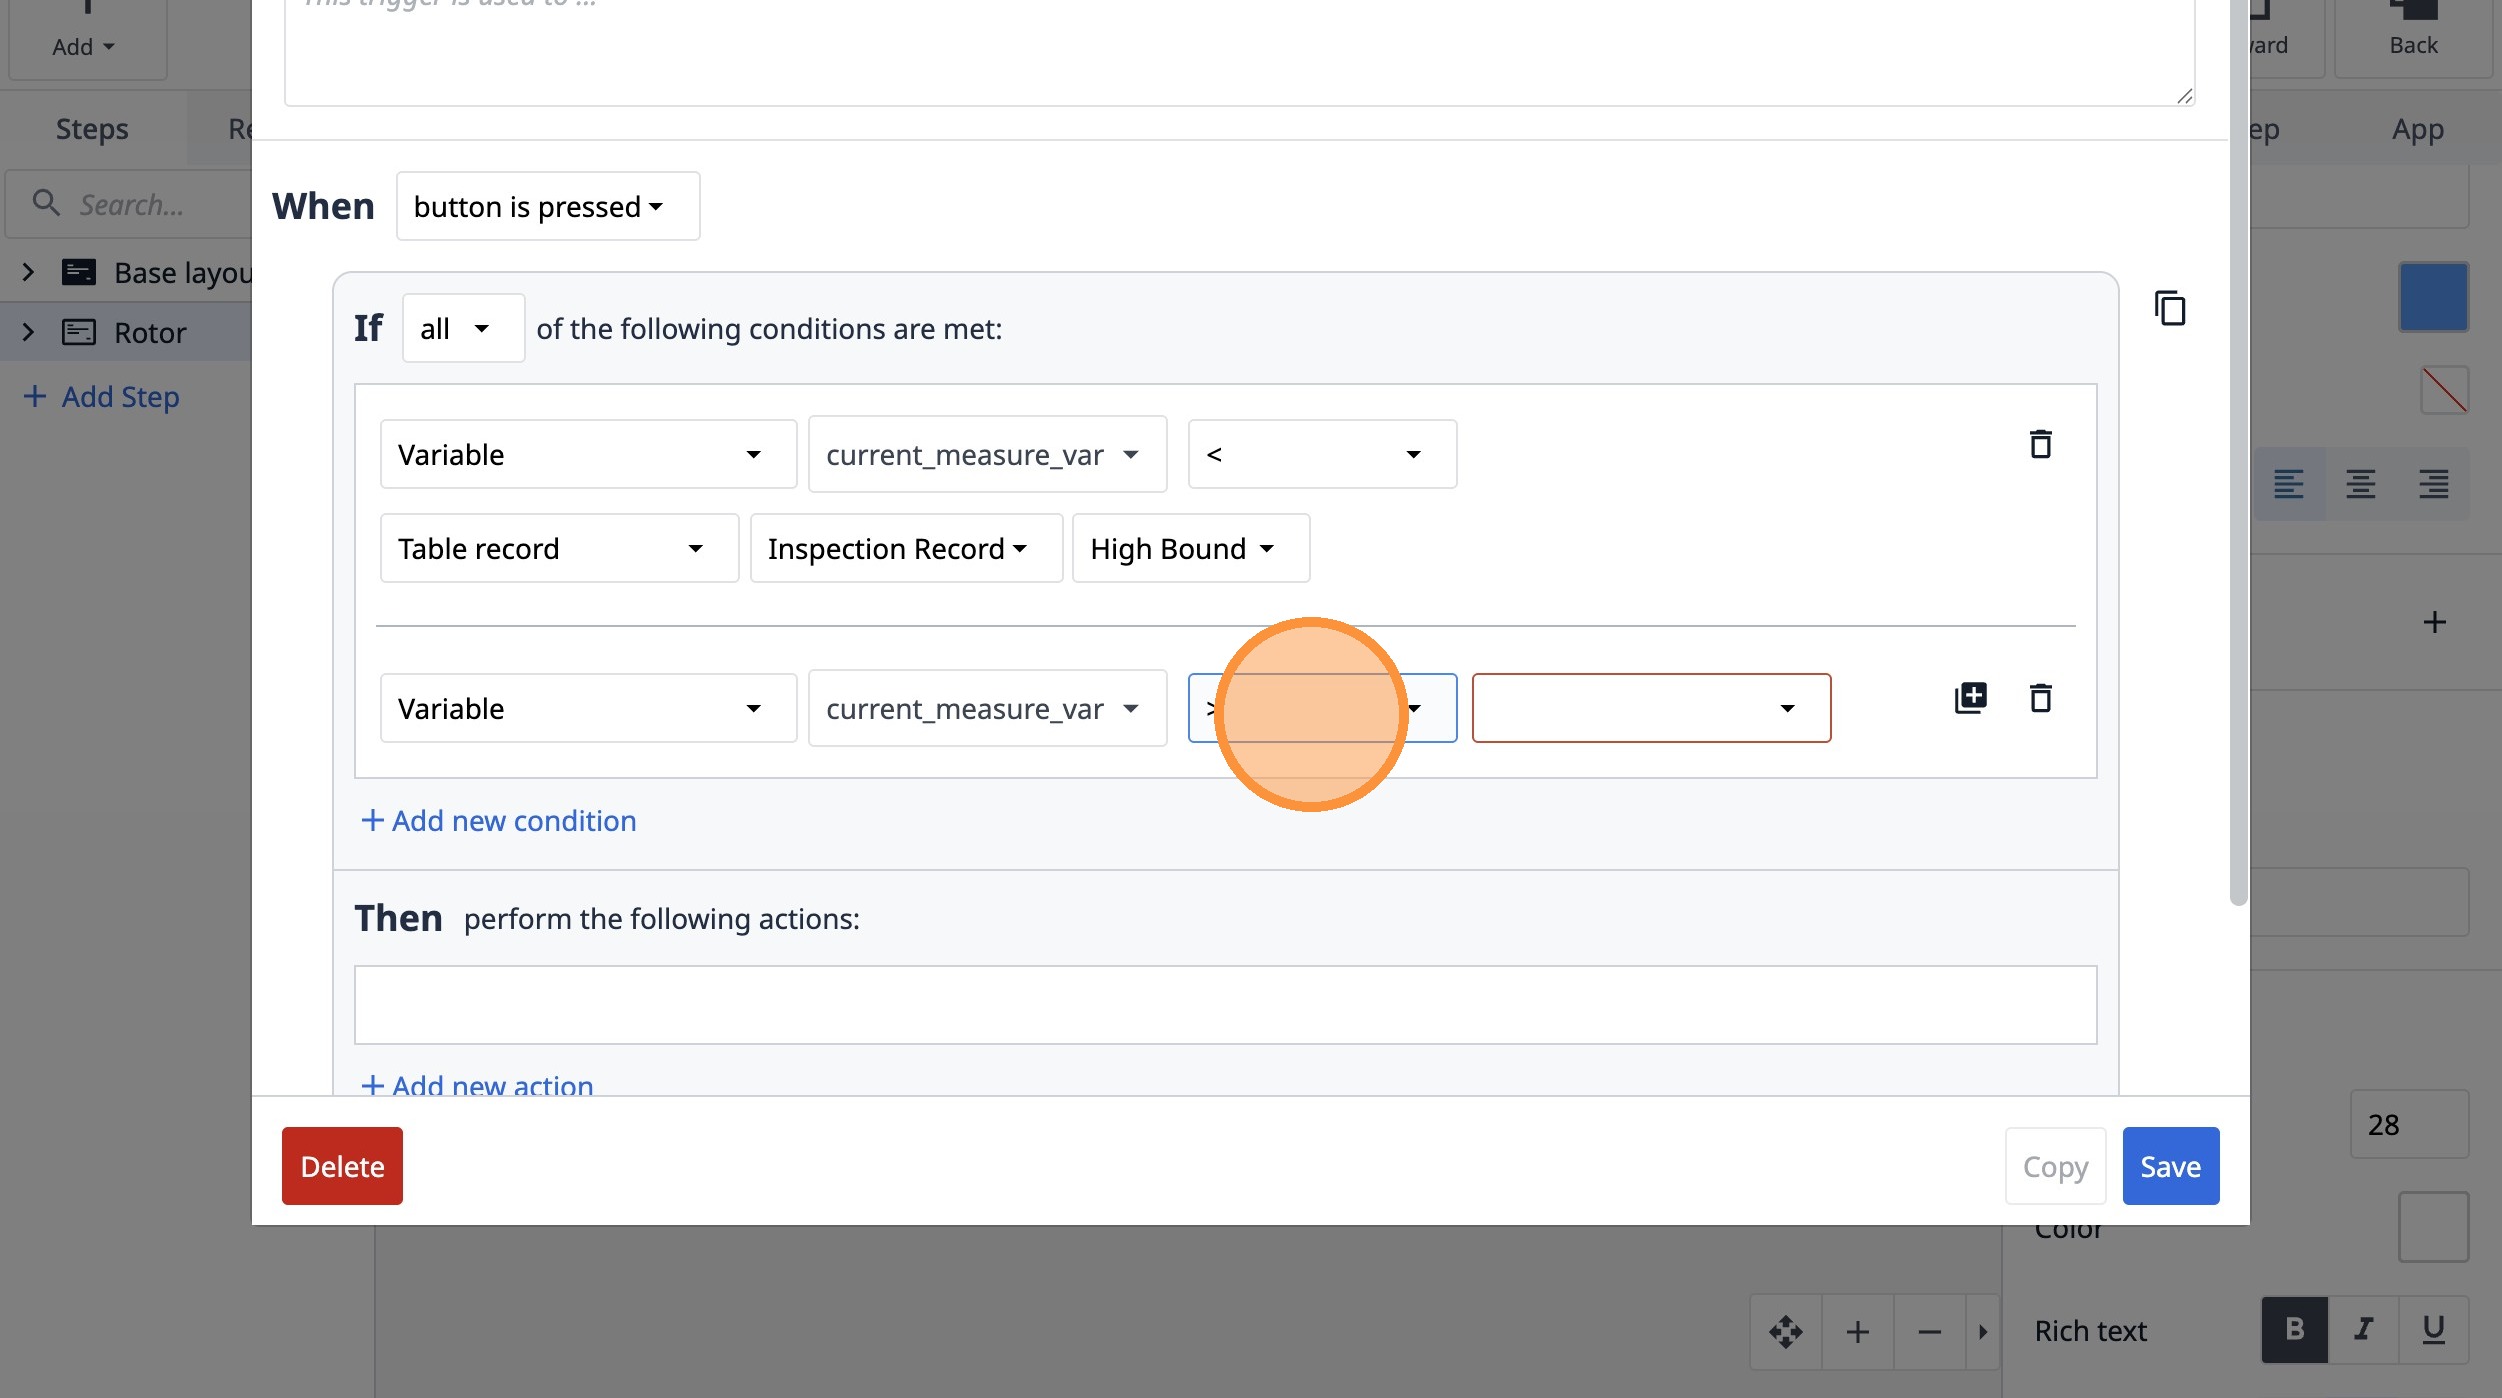
70. Click "Add new condition"
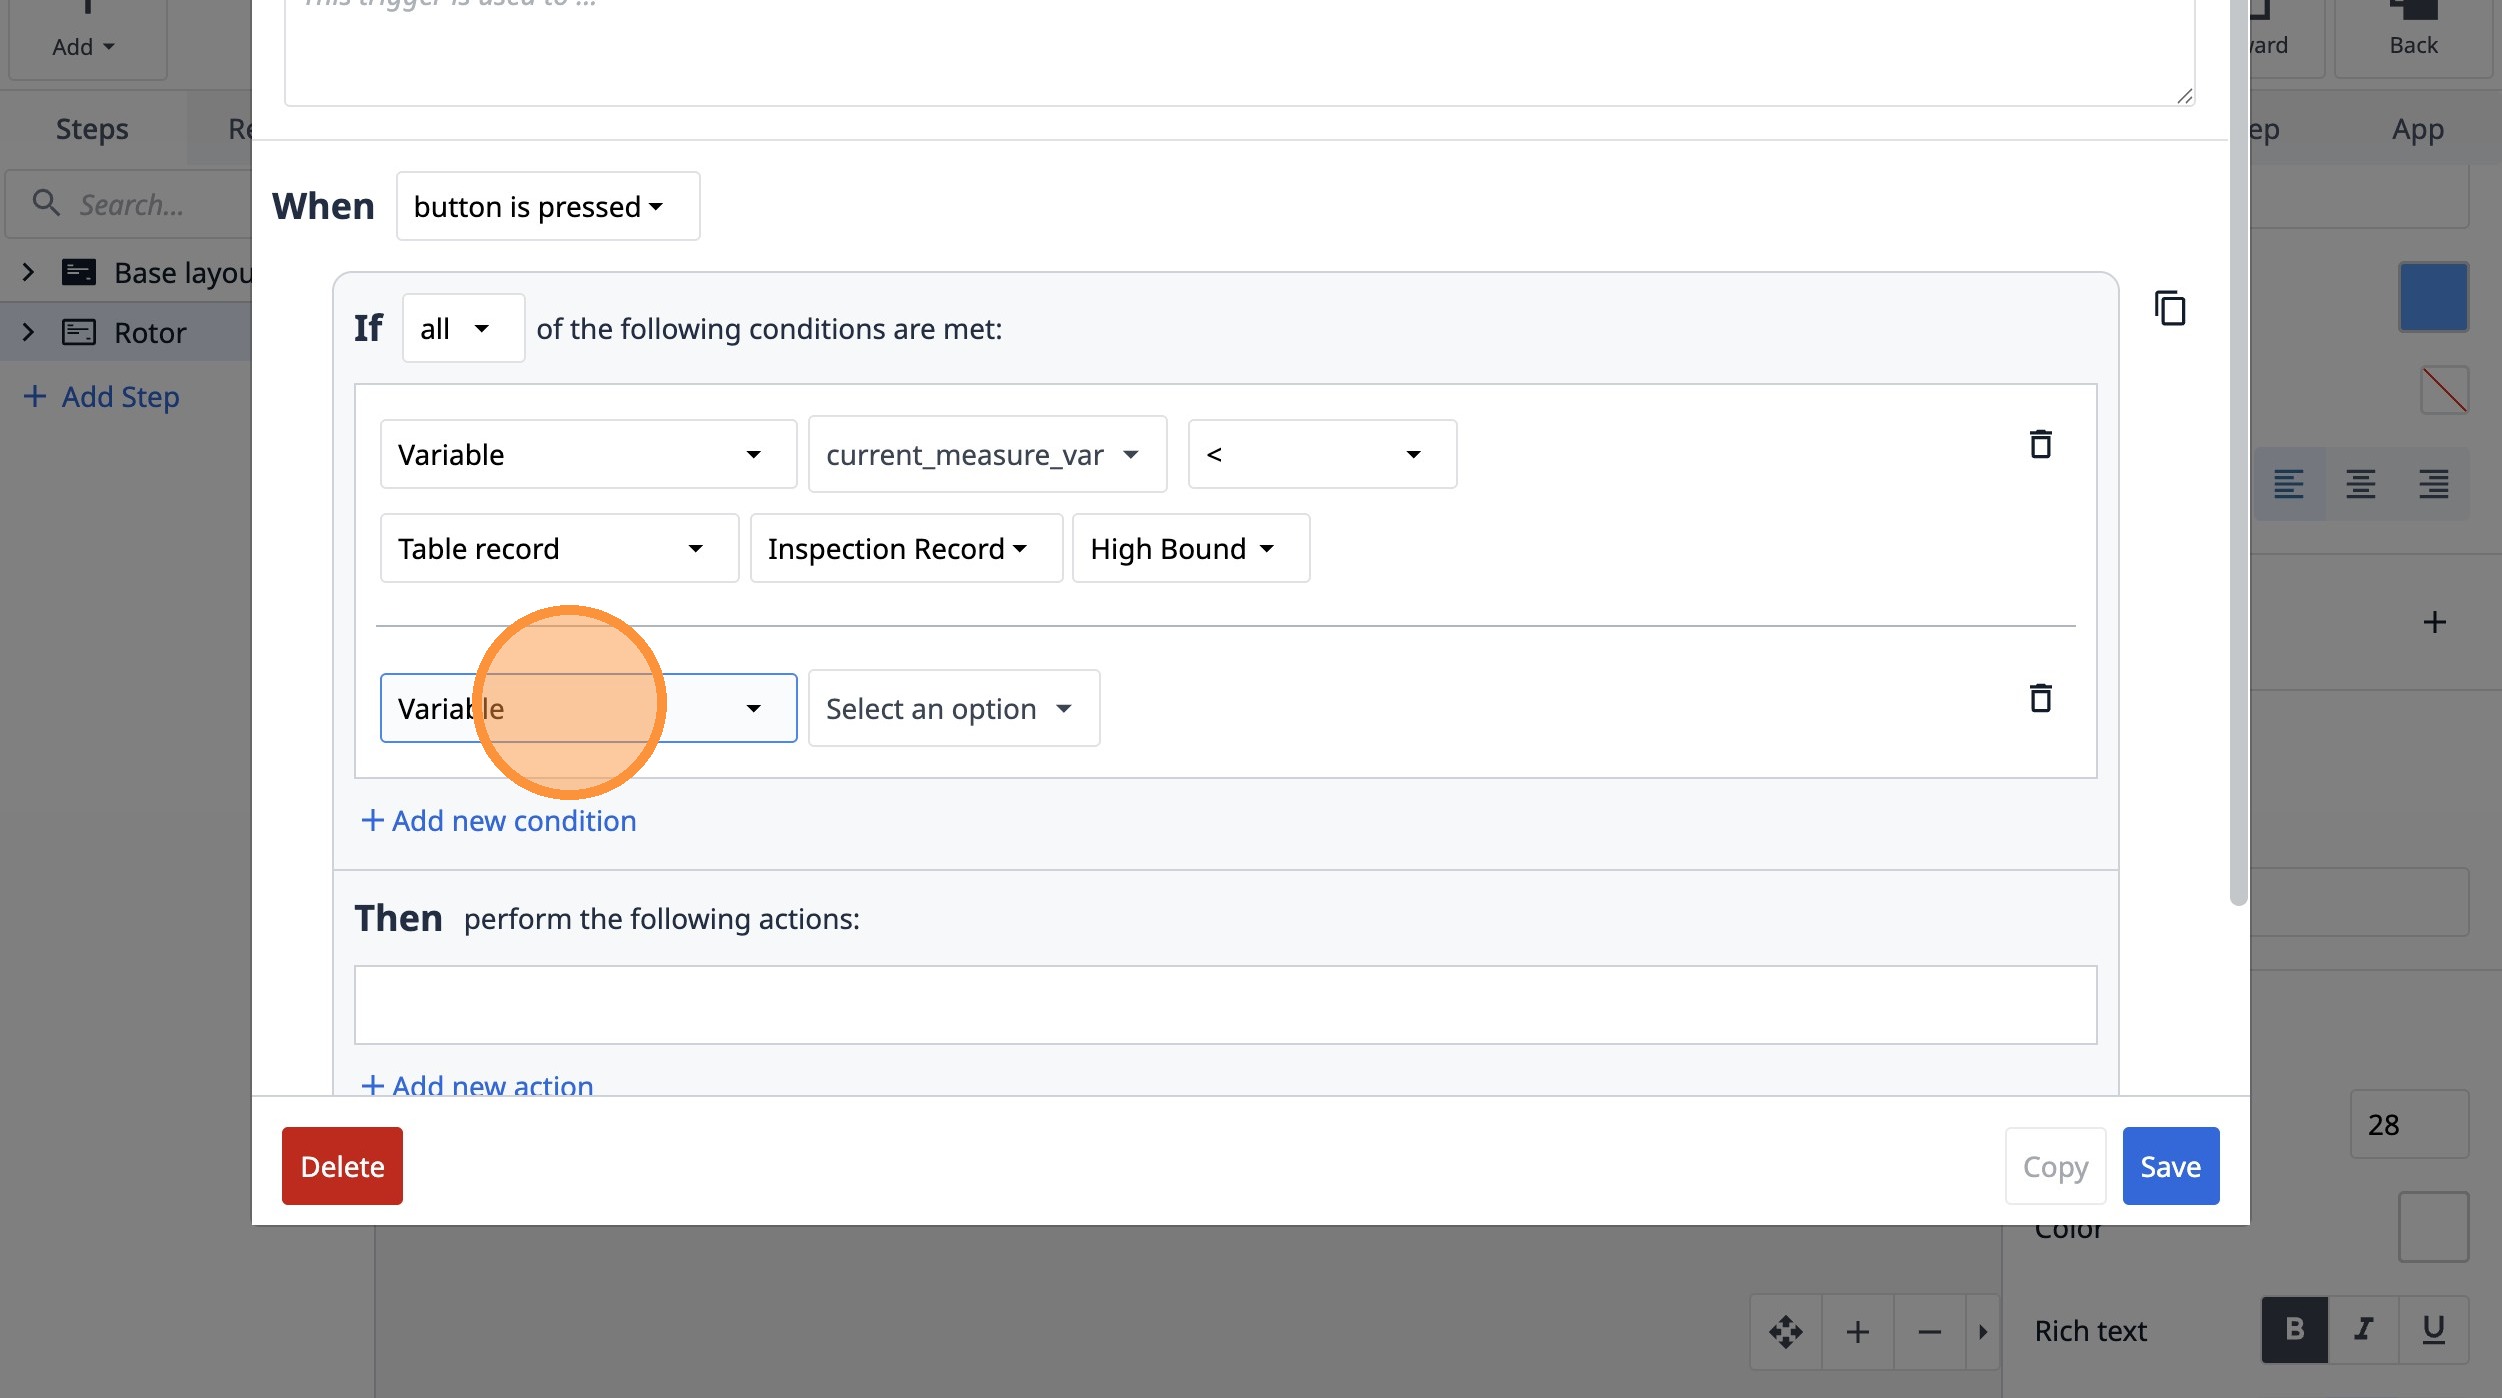
71. Select the "Variable" option.
72. Click "Select an option"
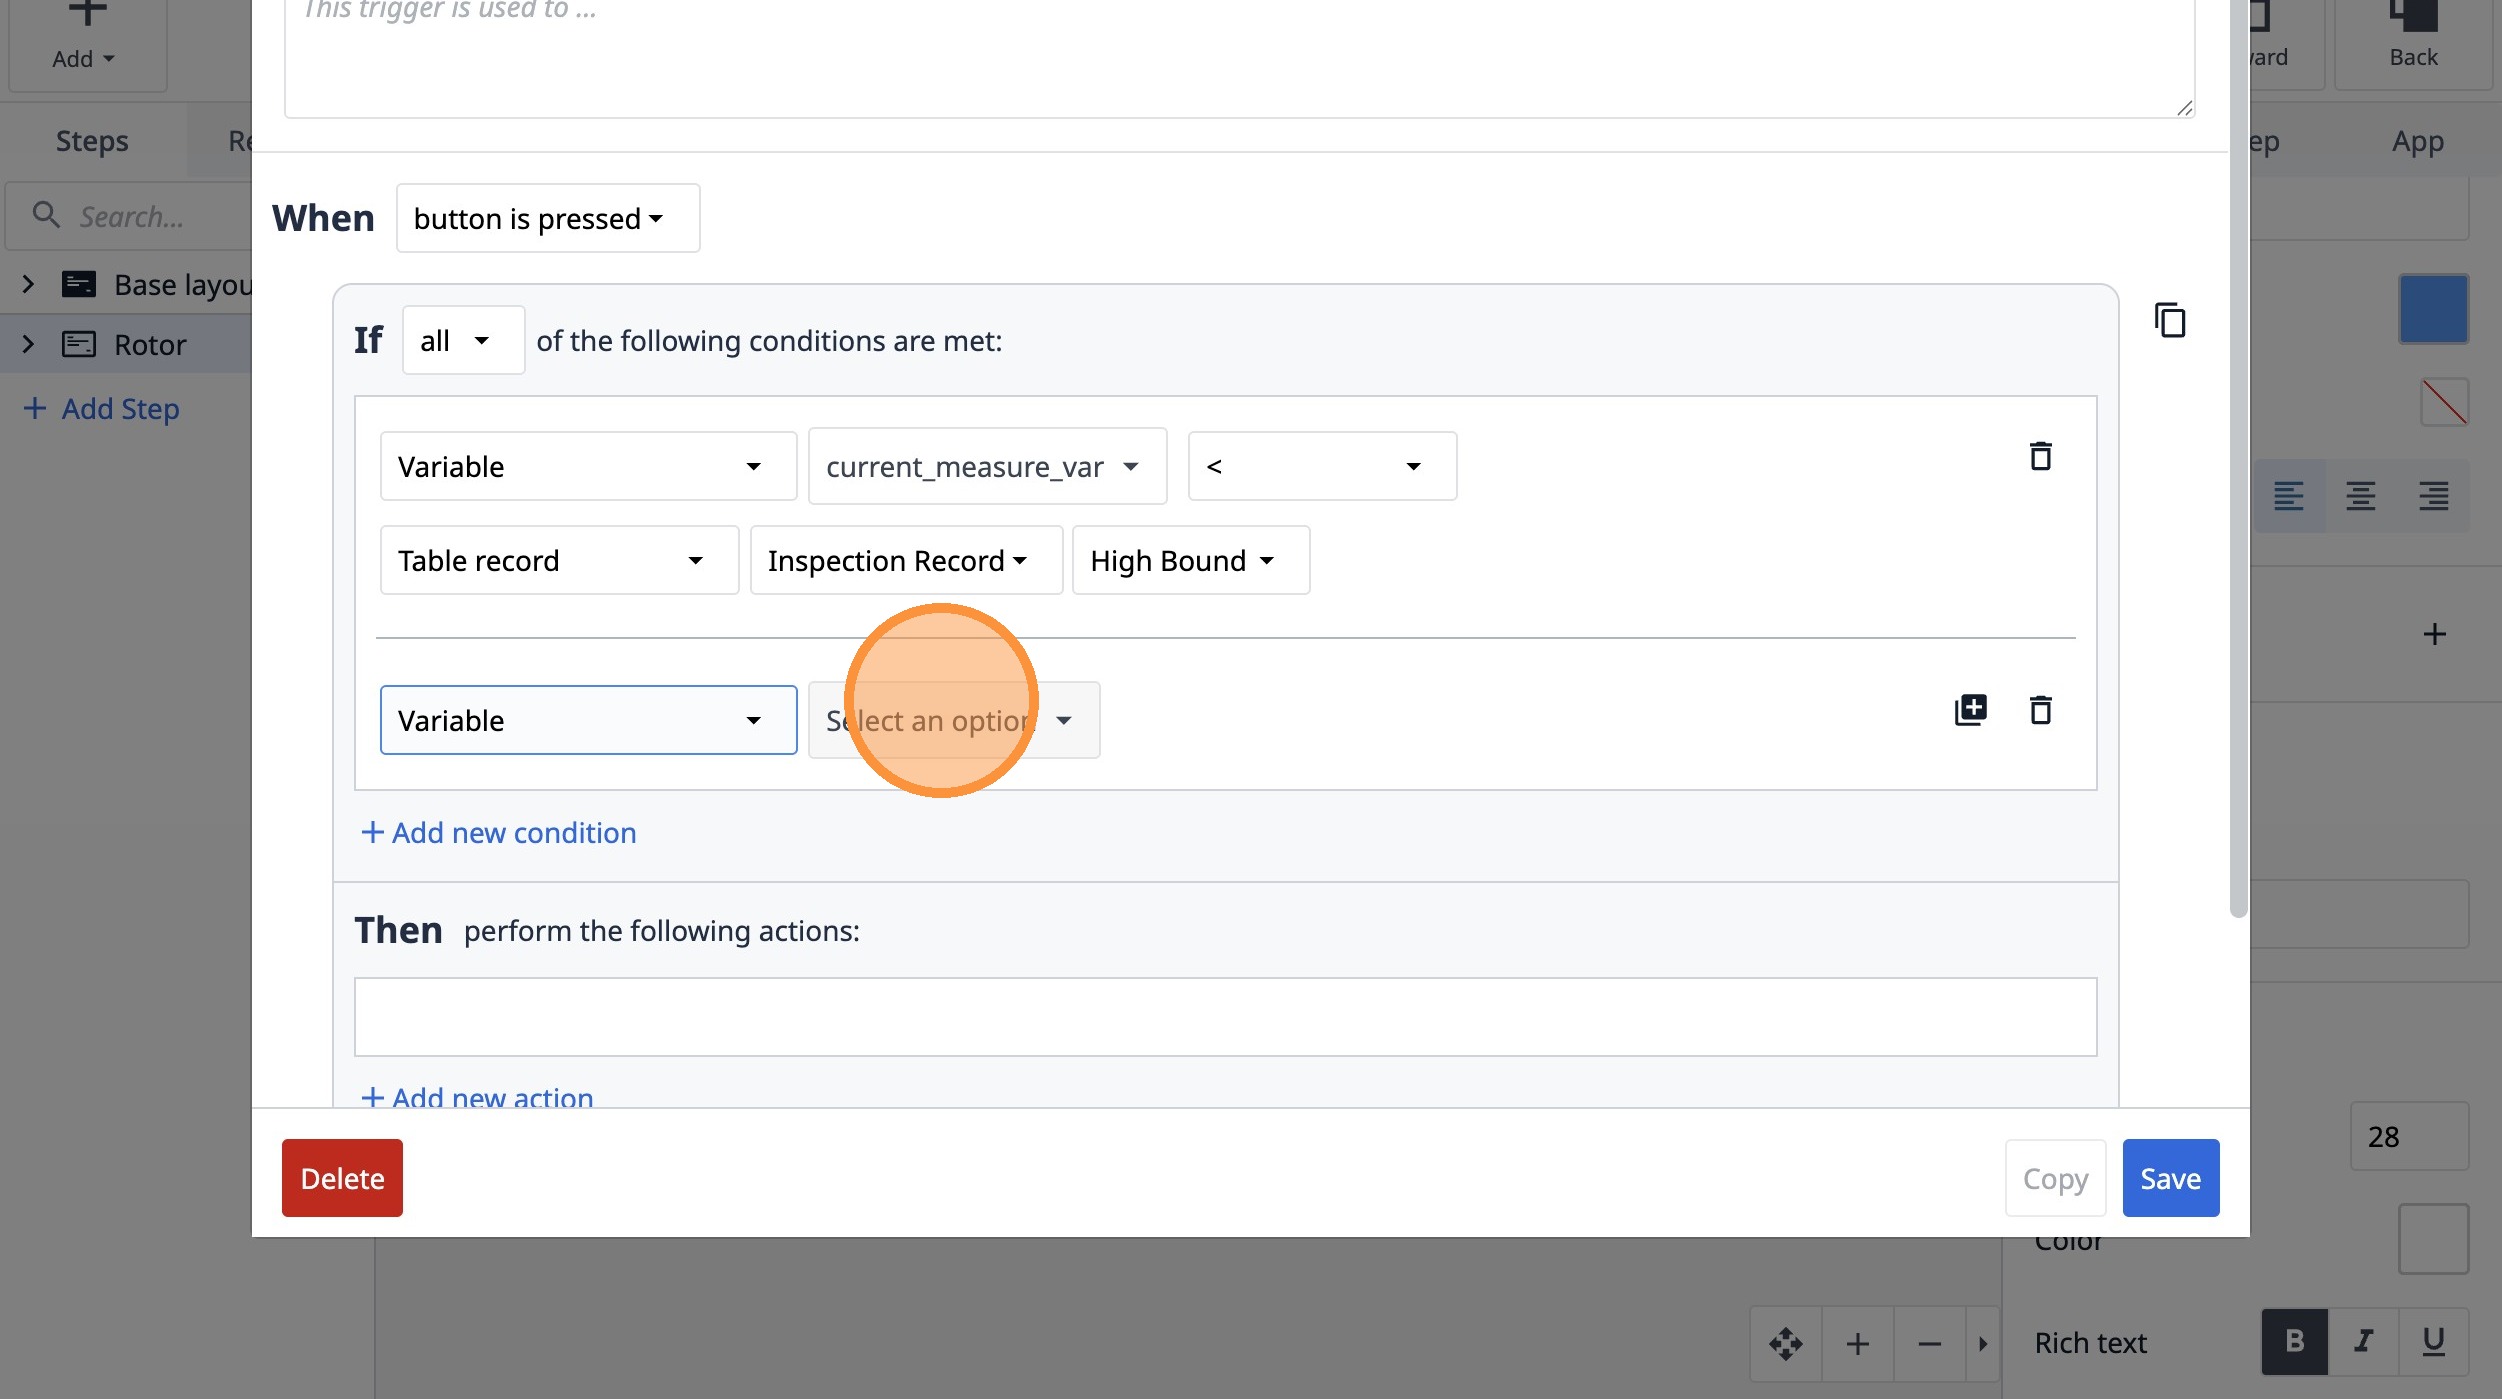
73. Click "current_measure_var"
74. Select the ">" option.
75. Select the "Table record" option.
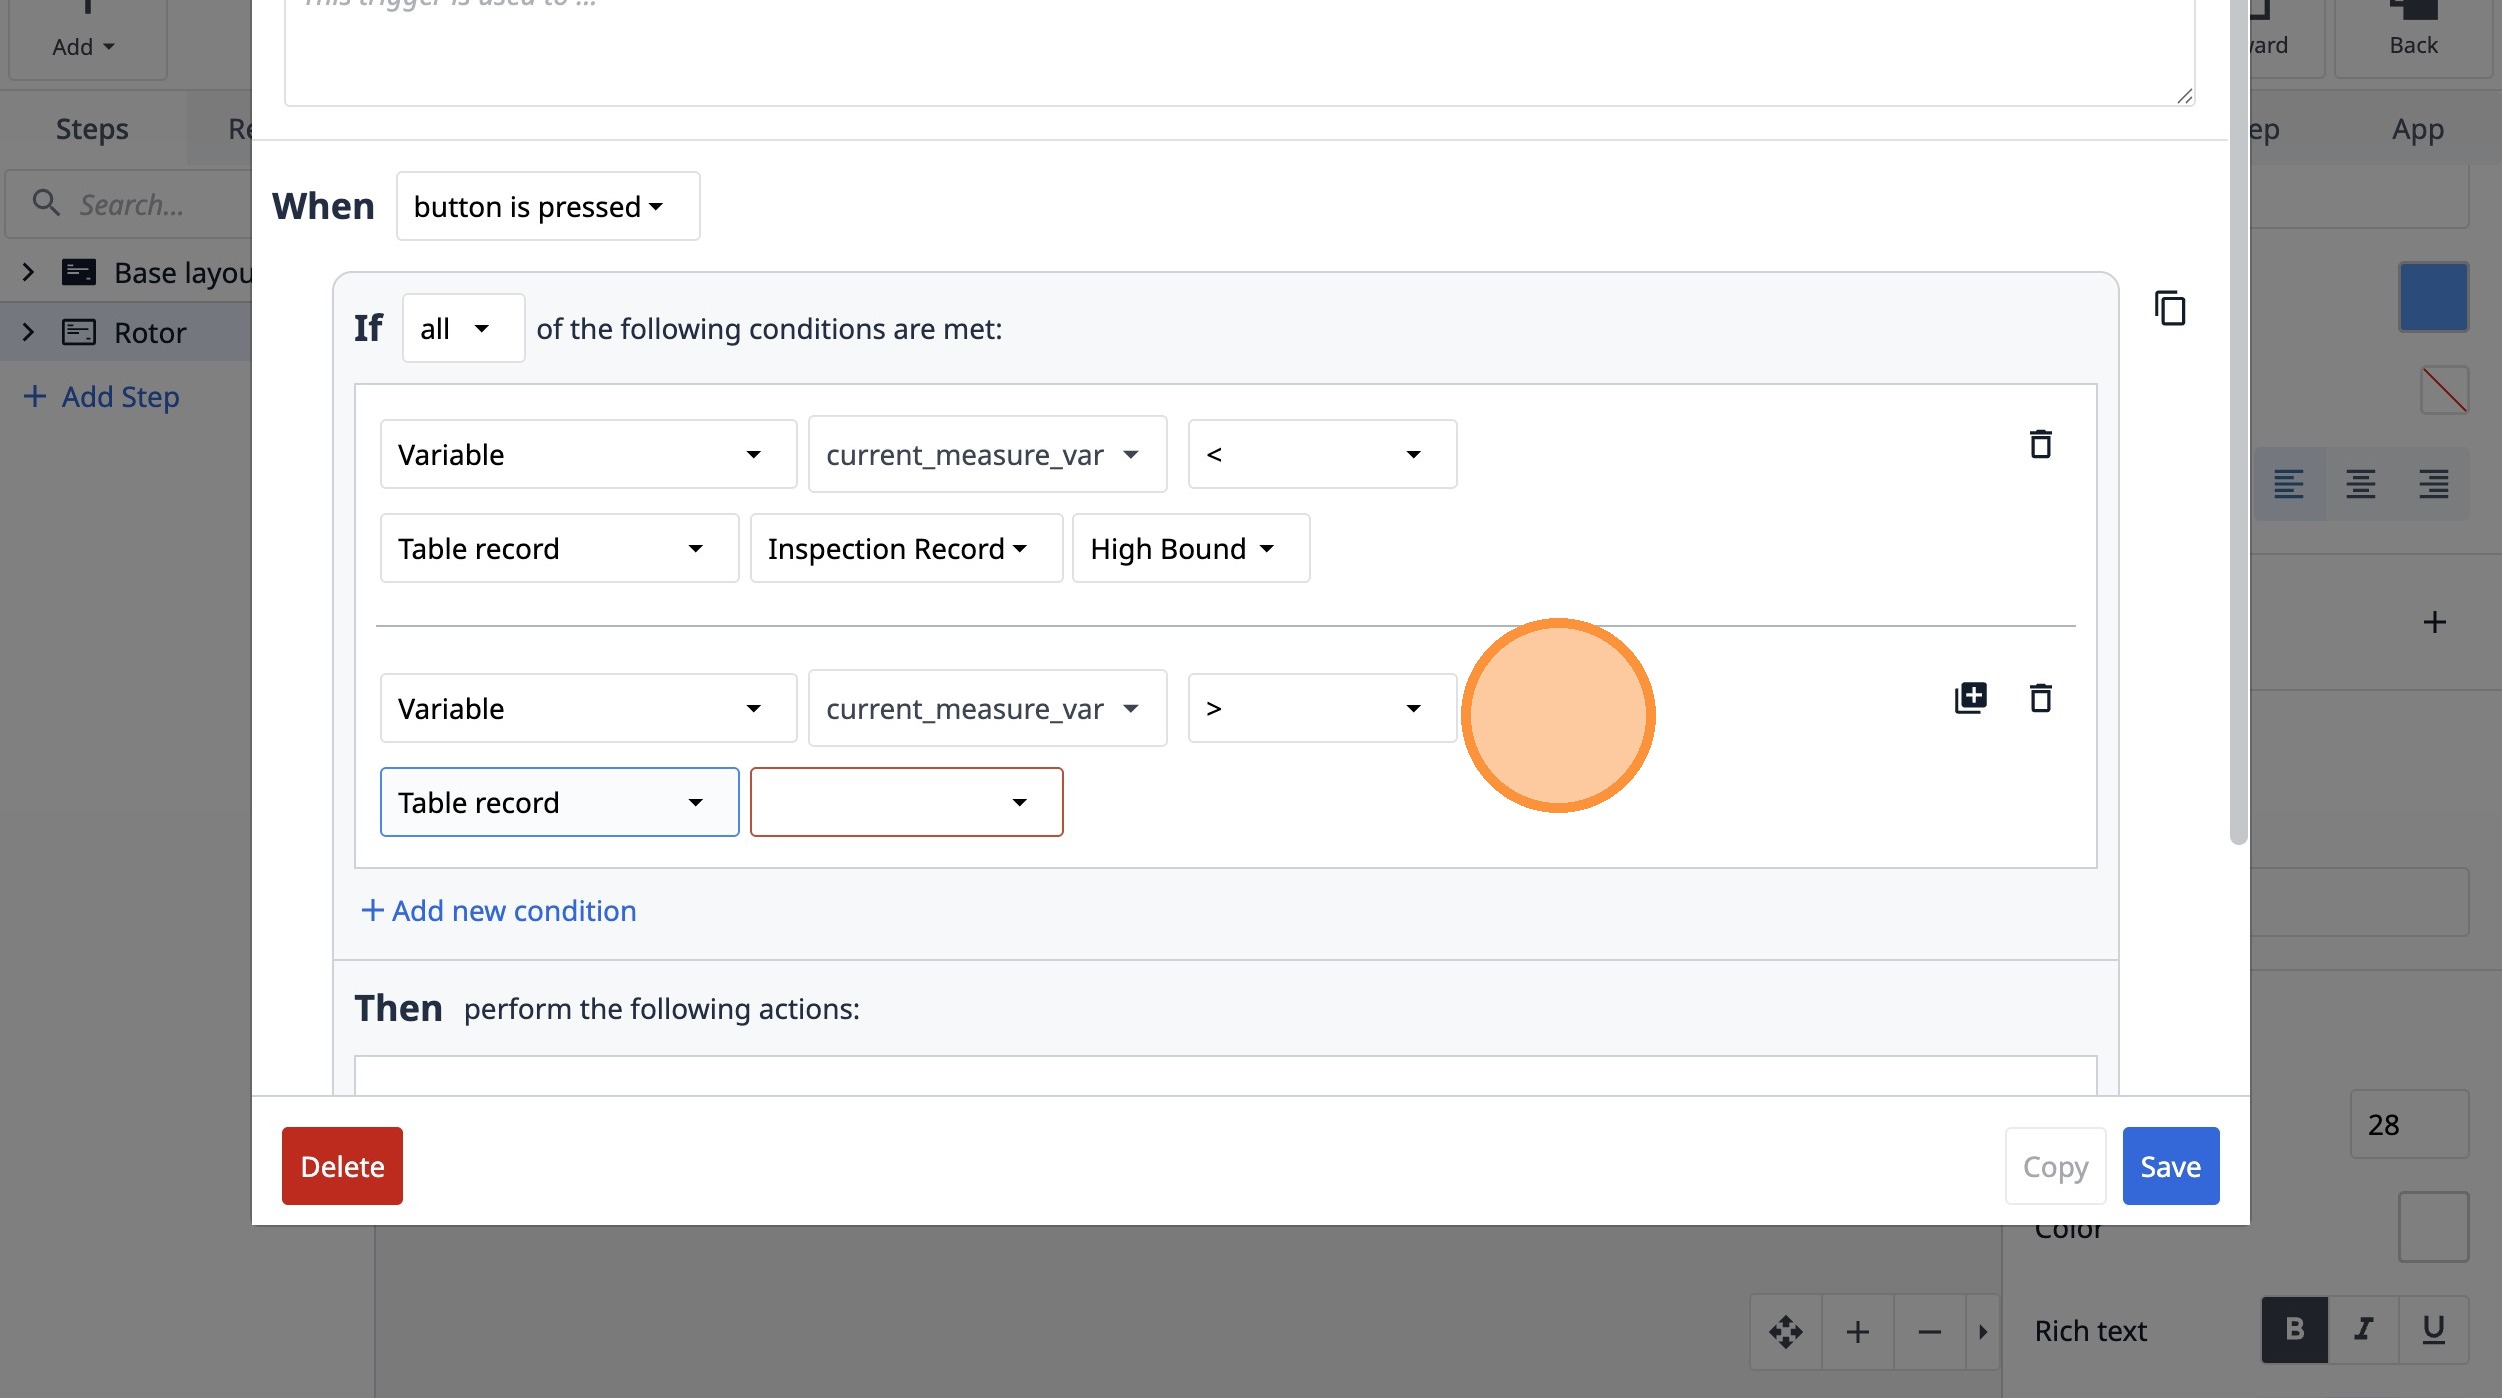
76. Select the "8EtdAFFx4RL9r7iTX" option.

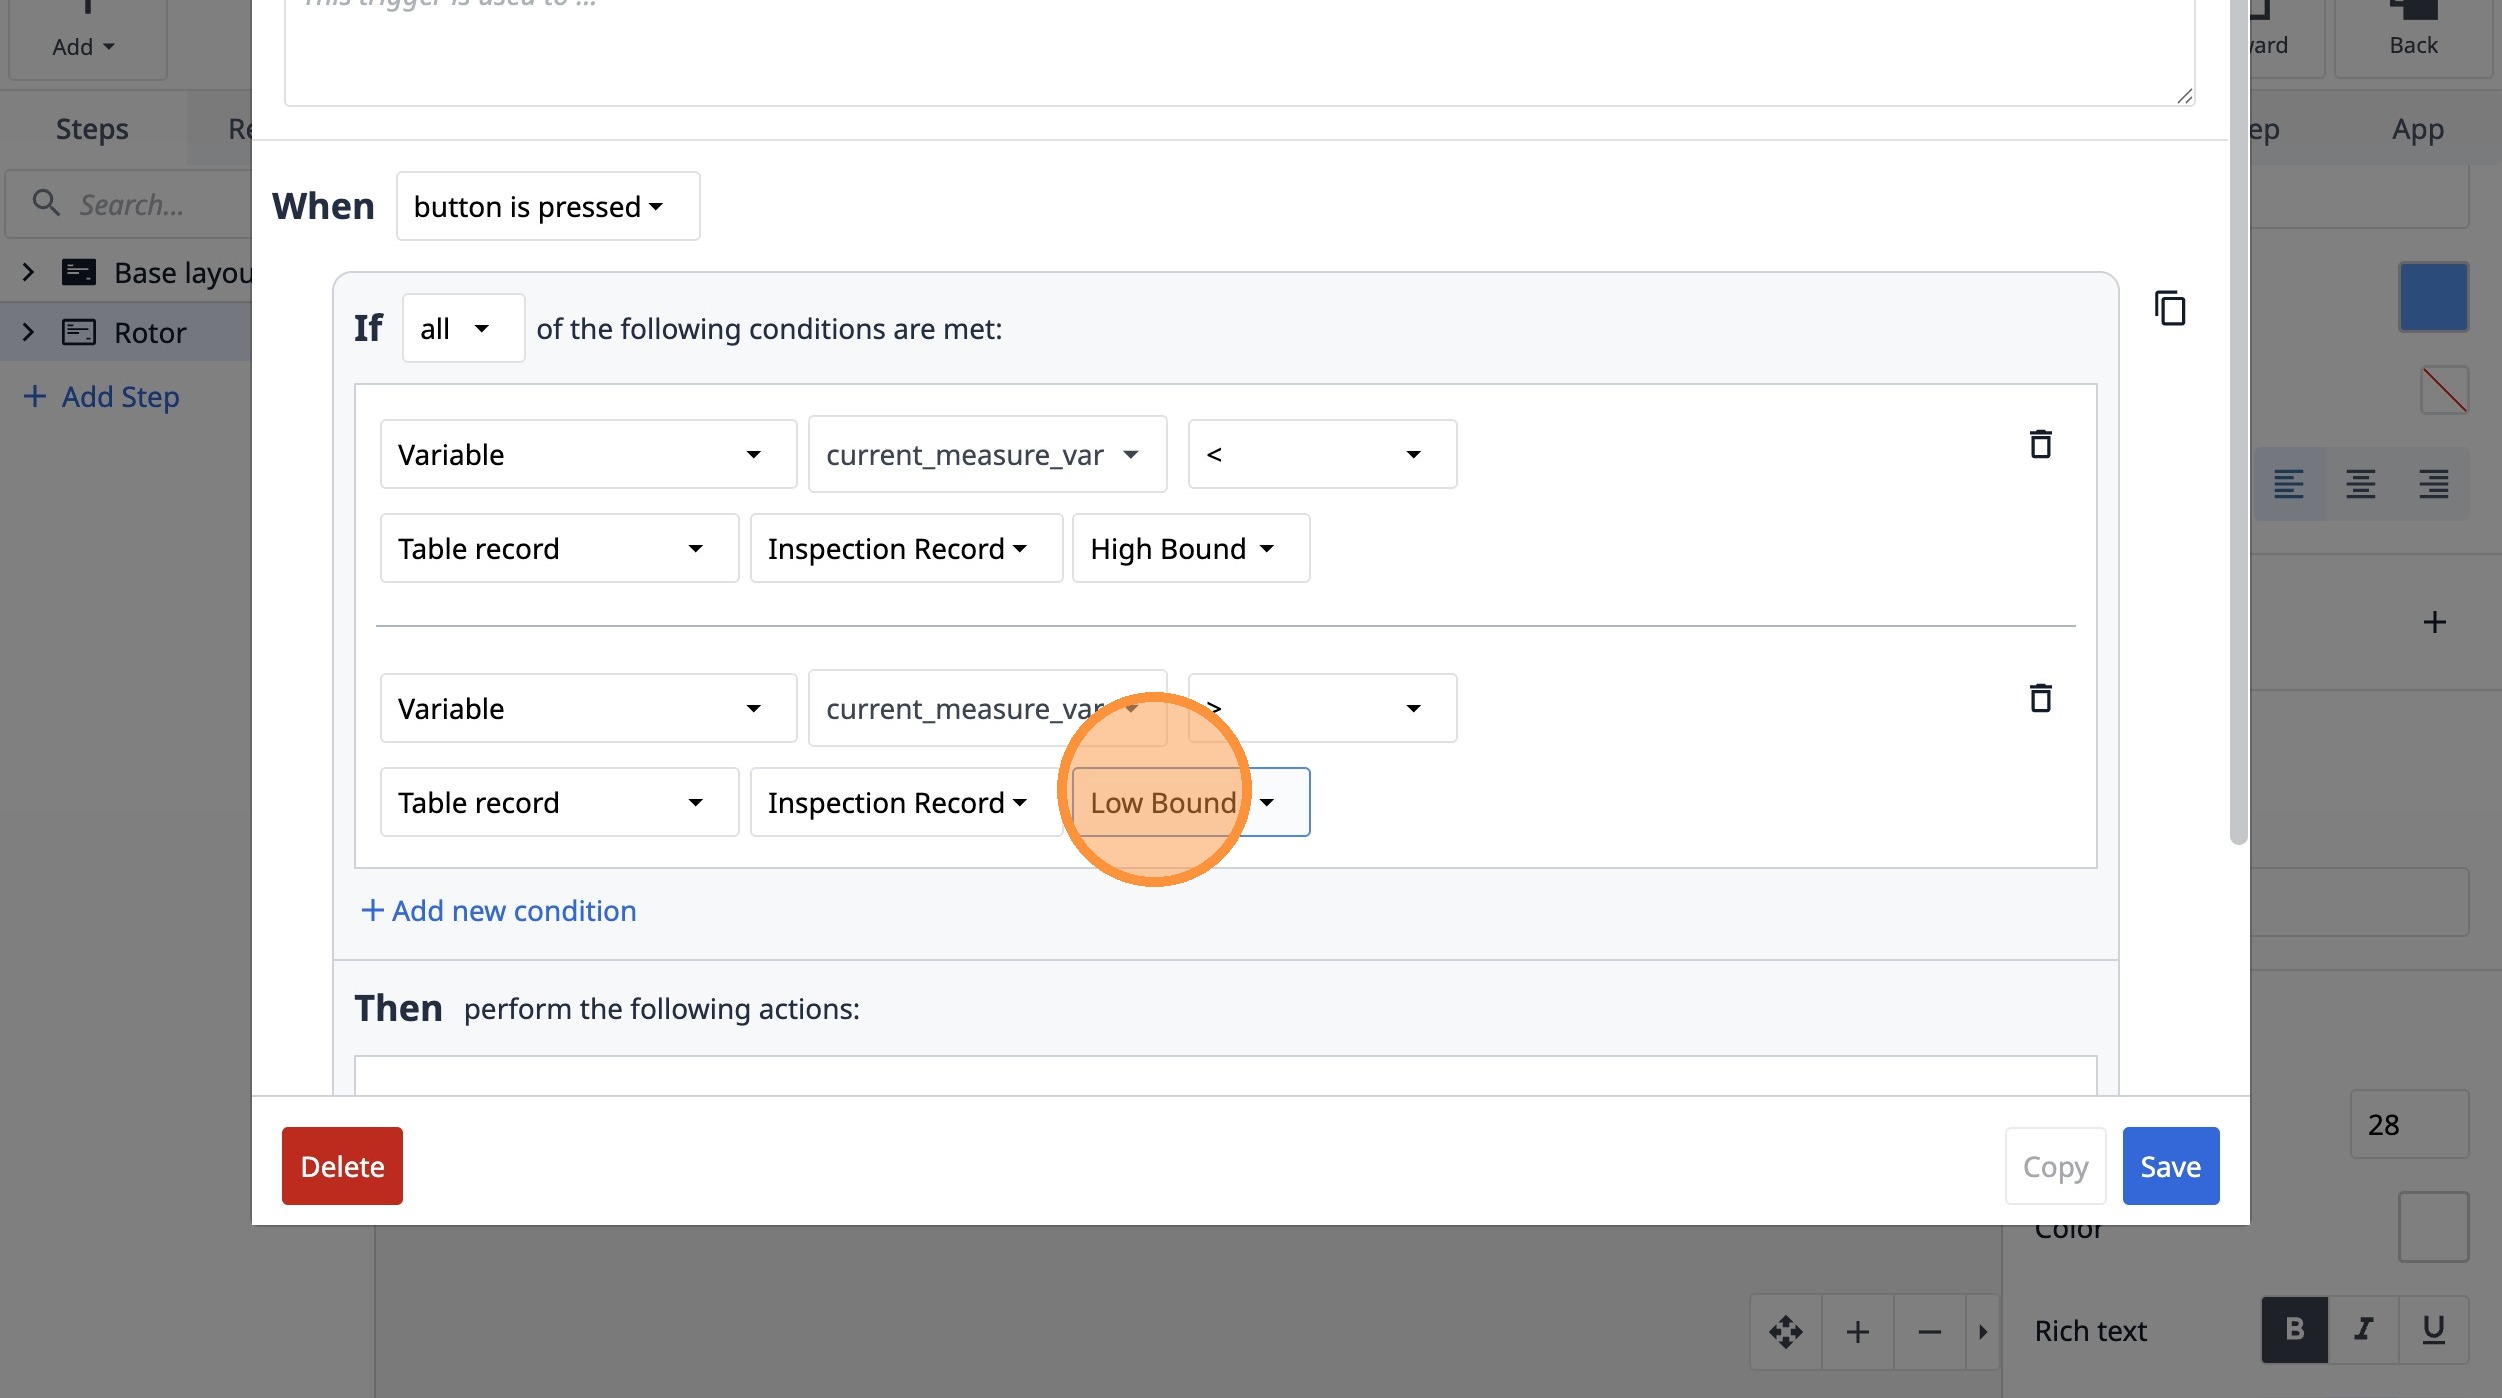
77. Select the "Low Bound" option.
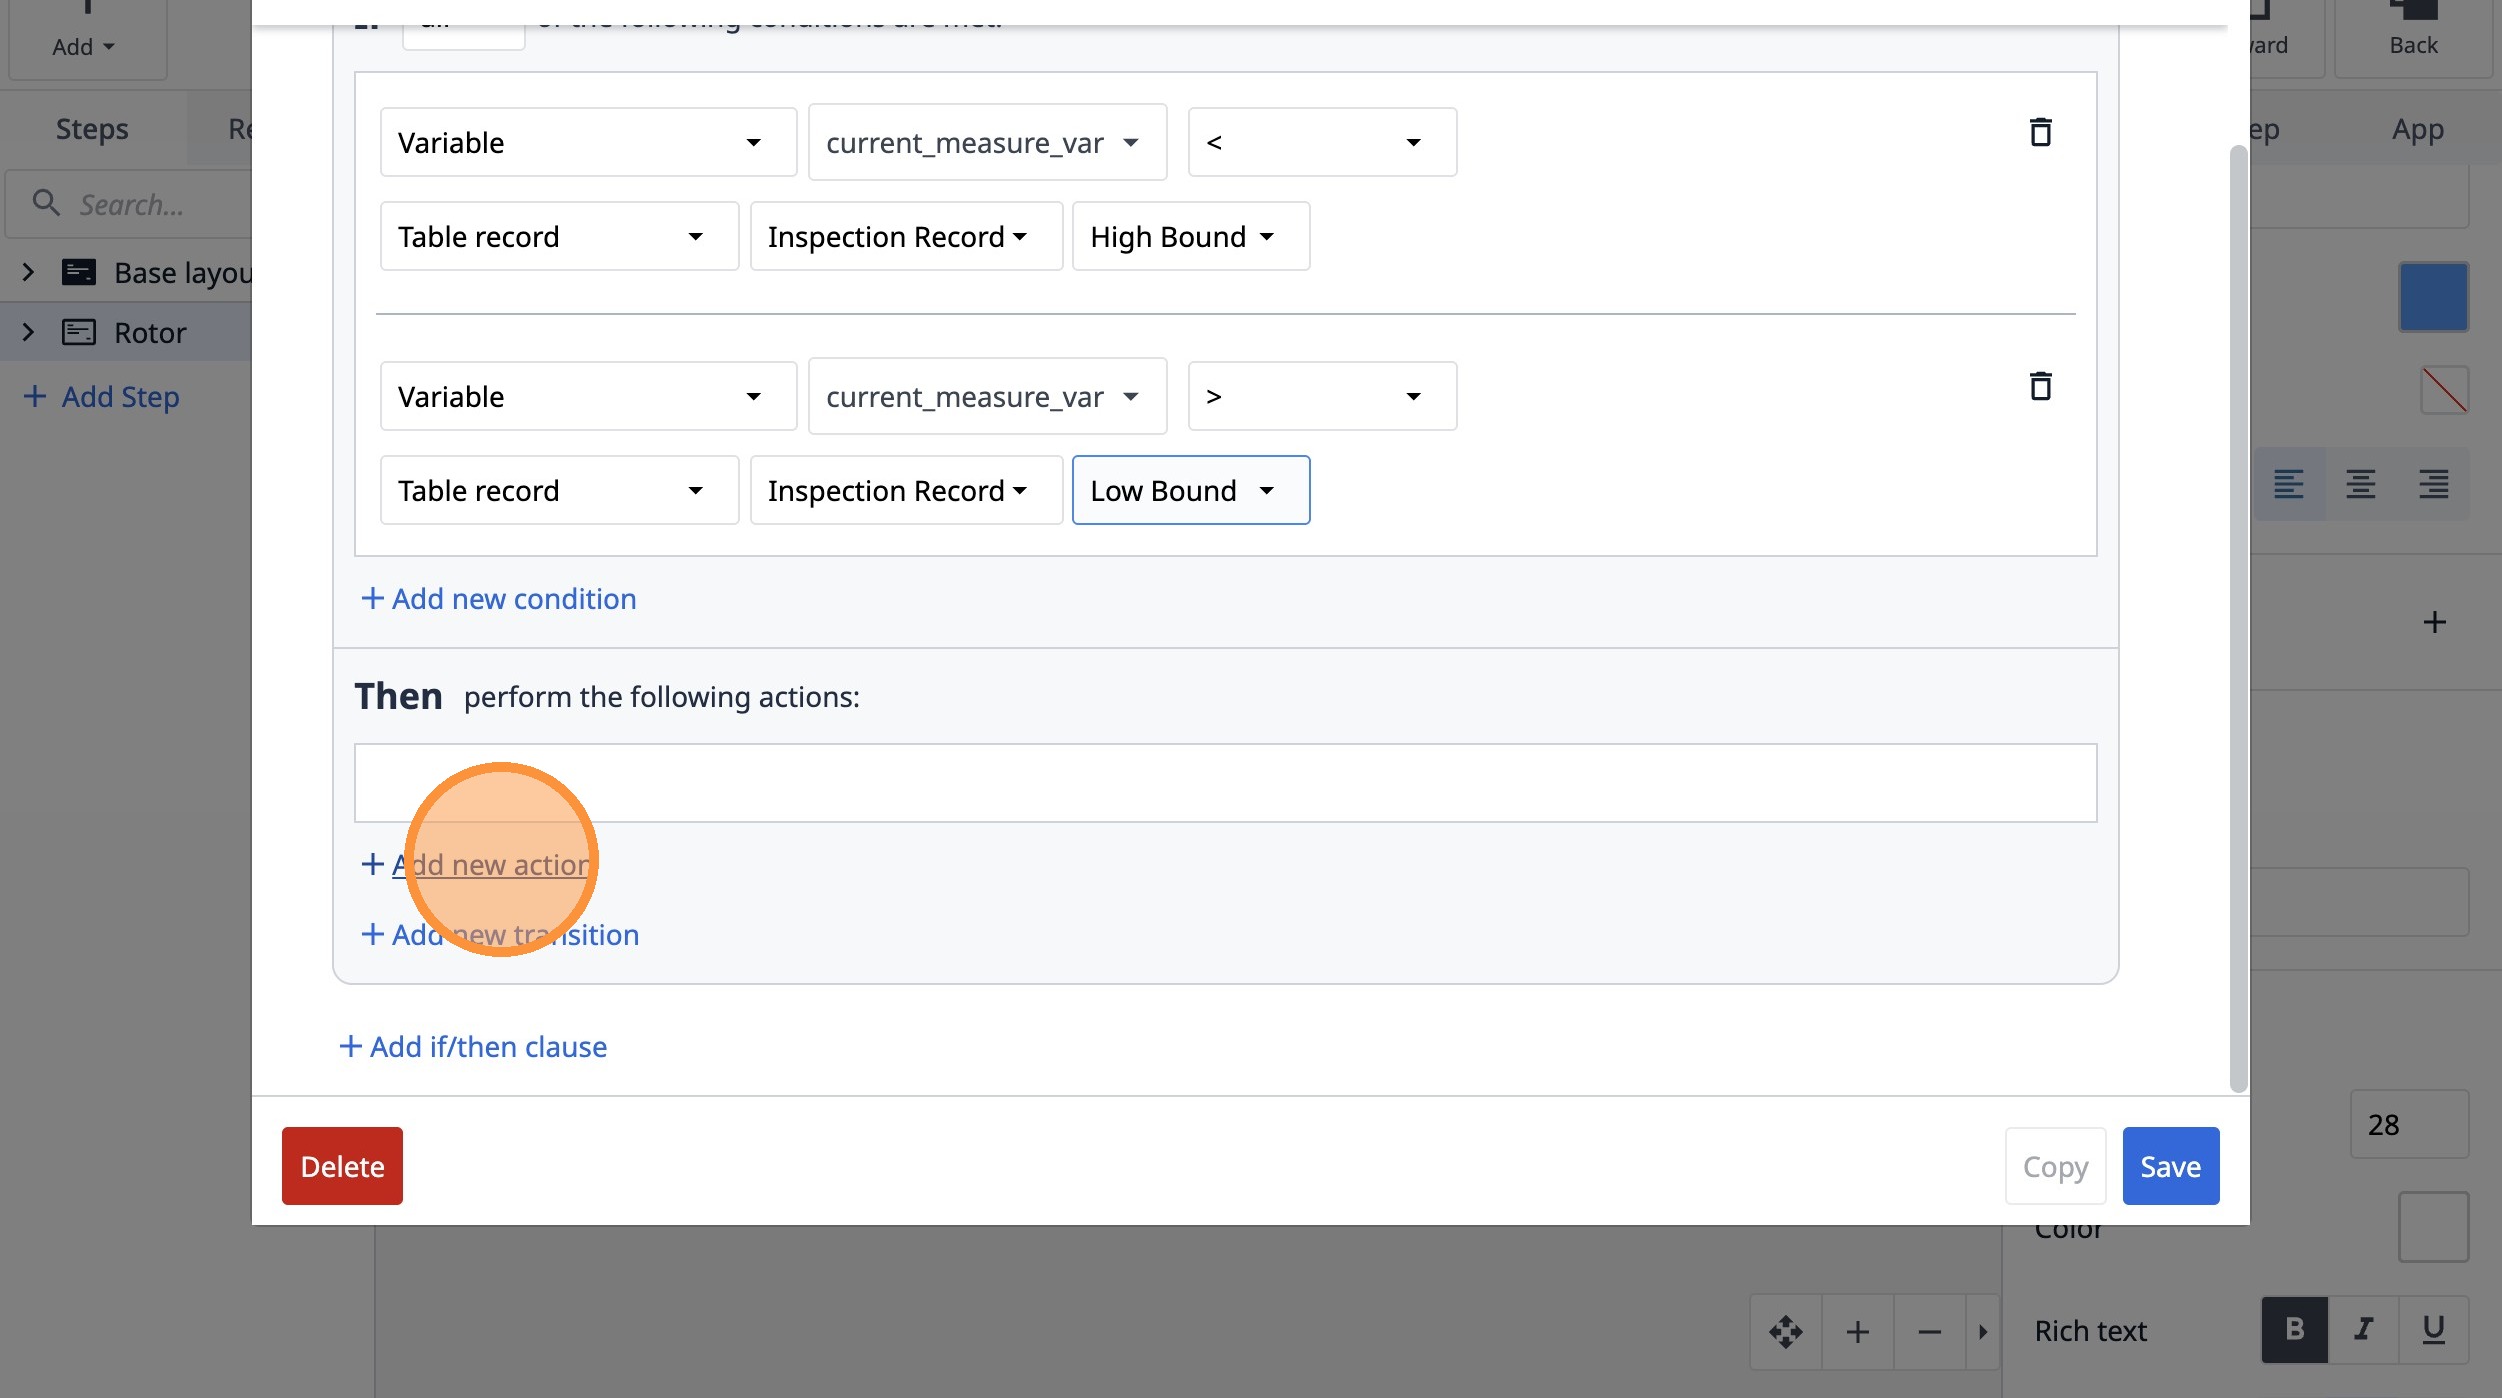
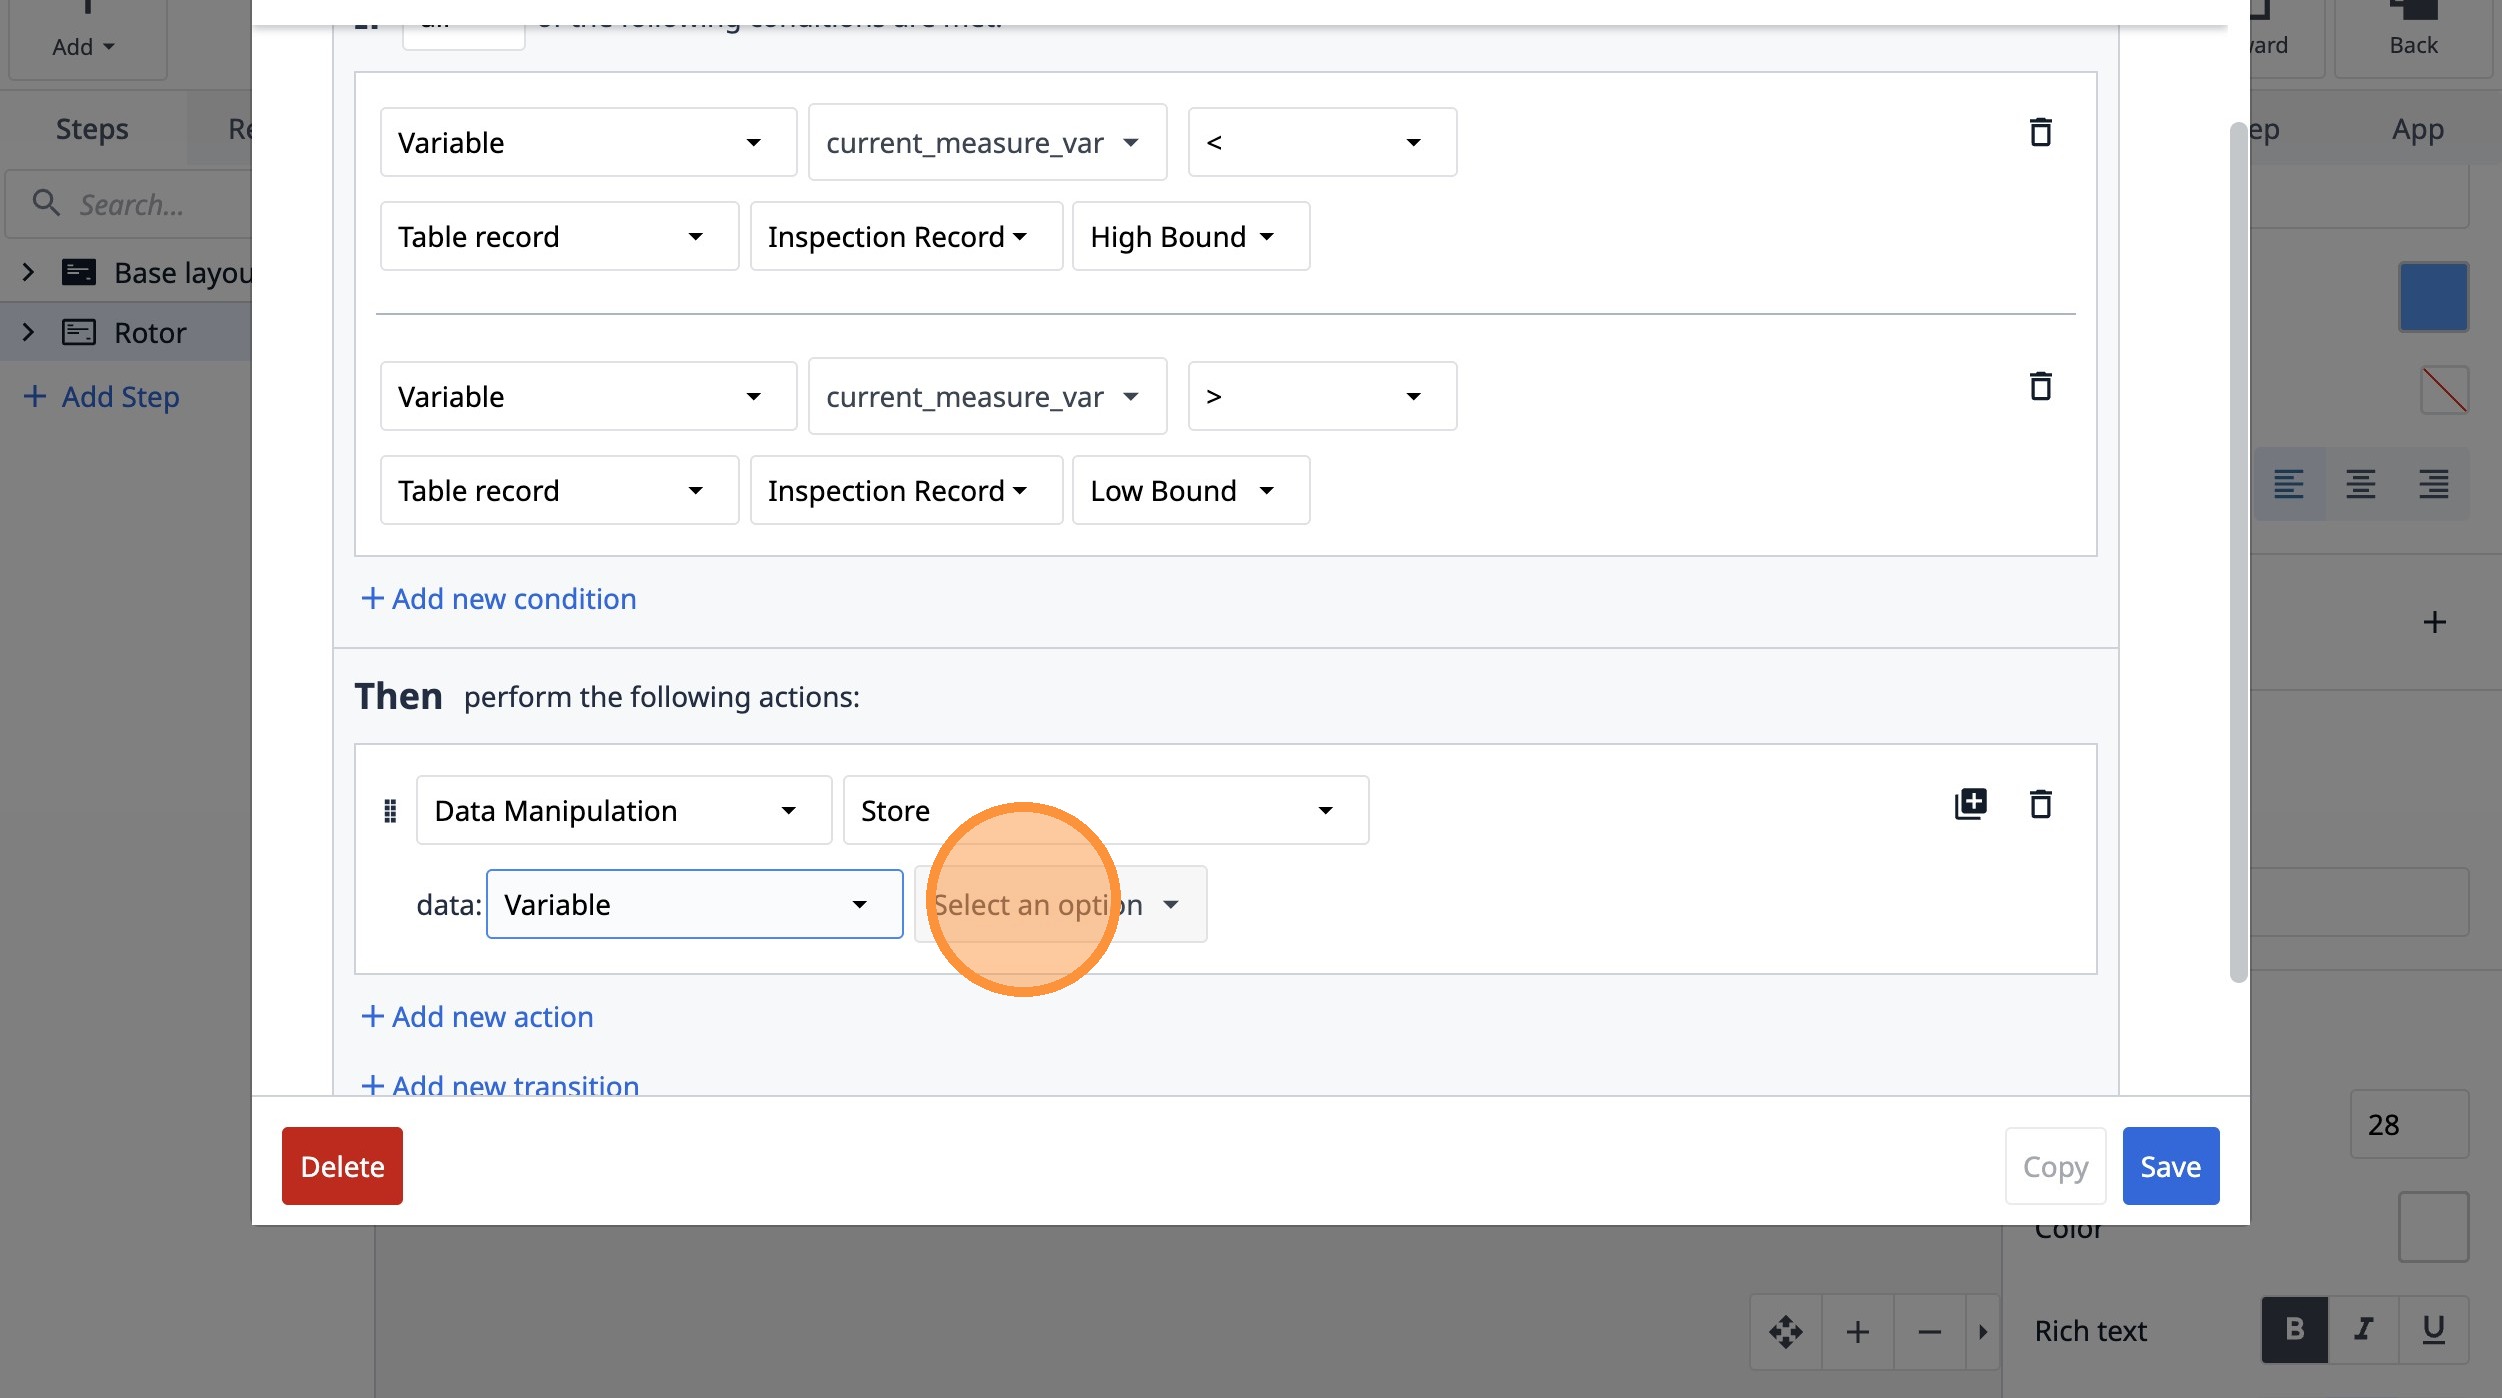
78. Click "Add new action"
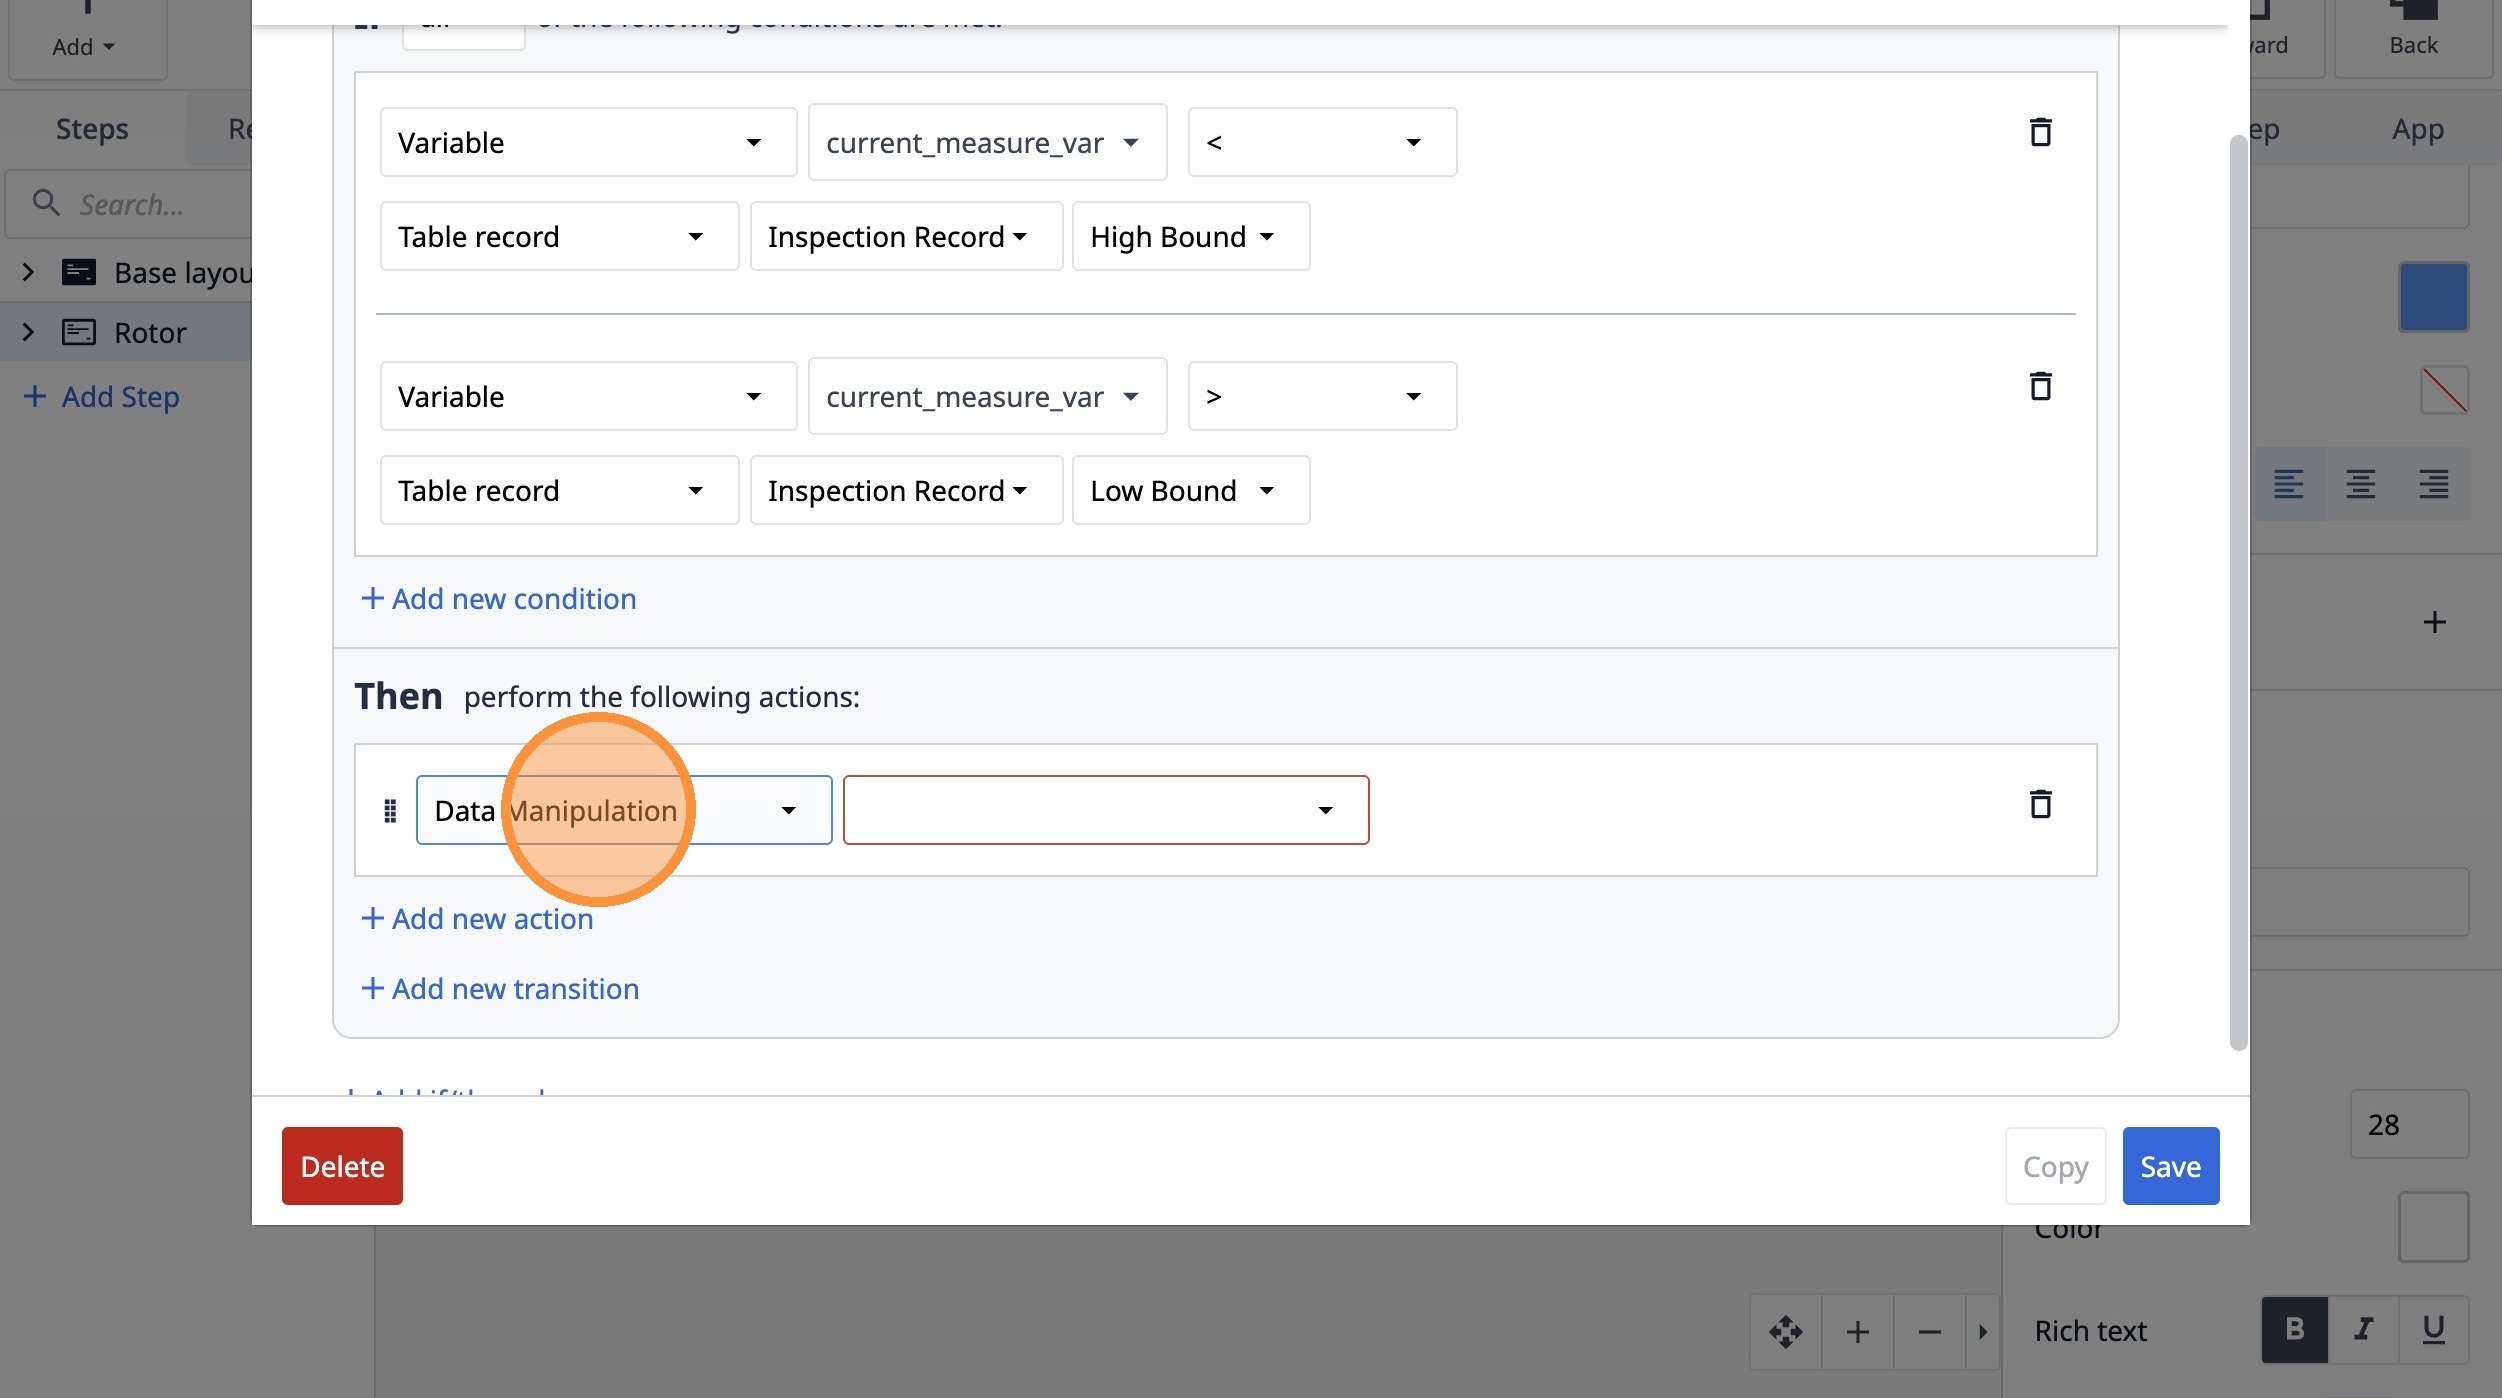
79. Select the "Data Manipulation" option.
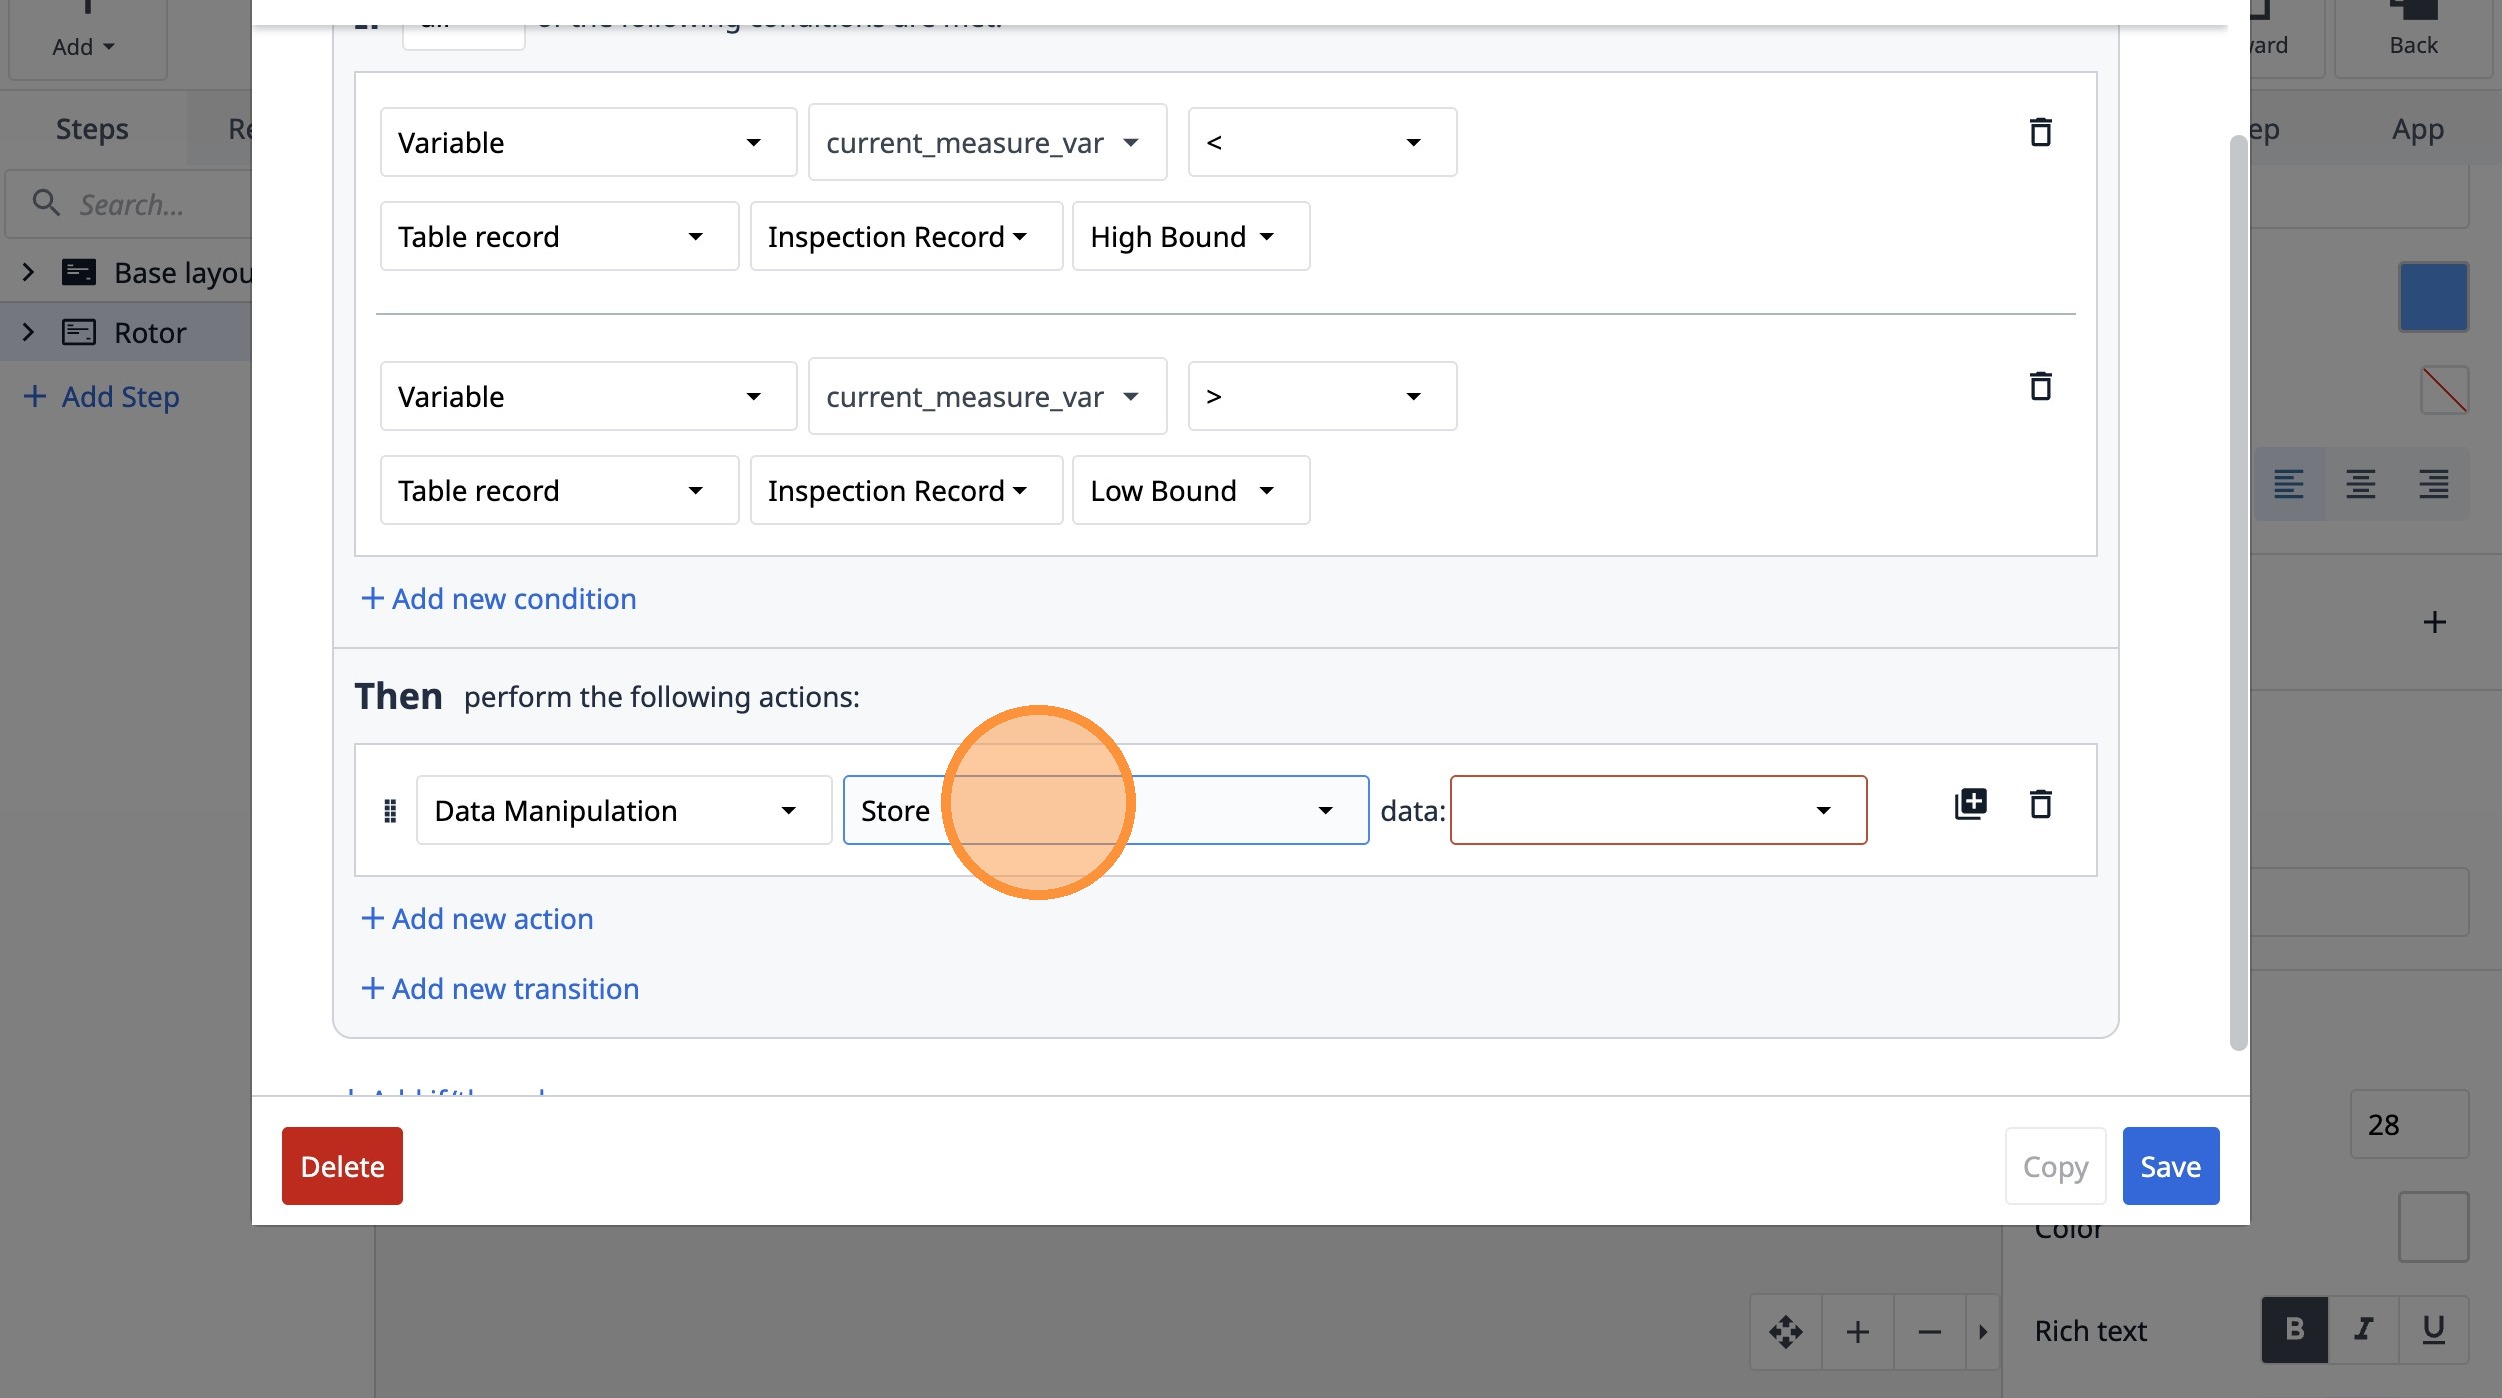
80. Select the "Store" option.
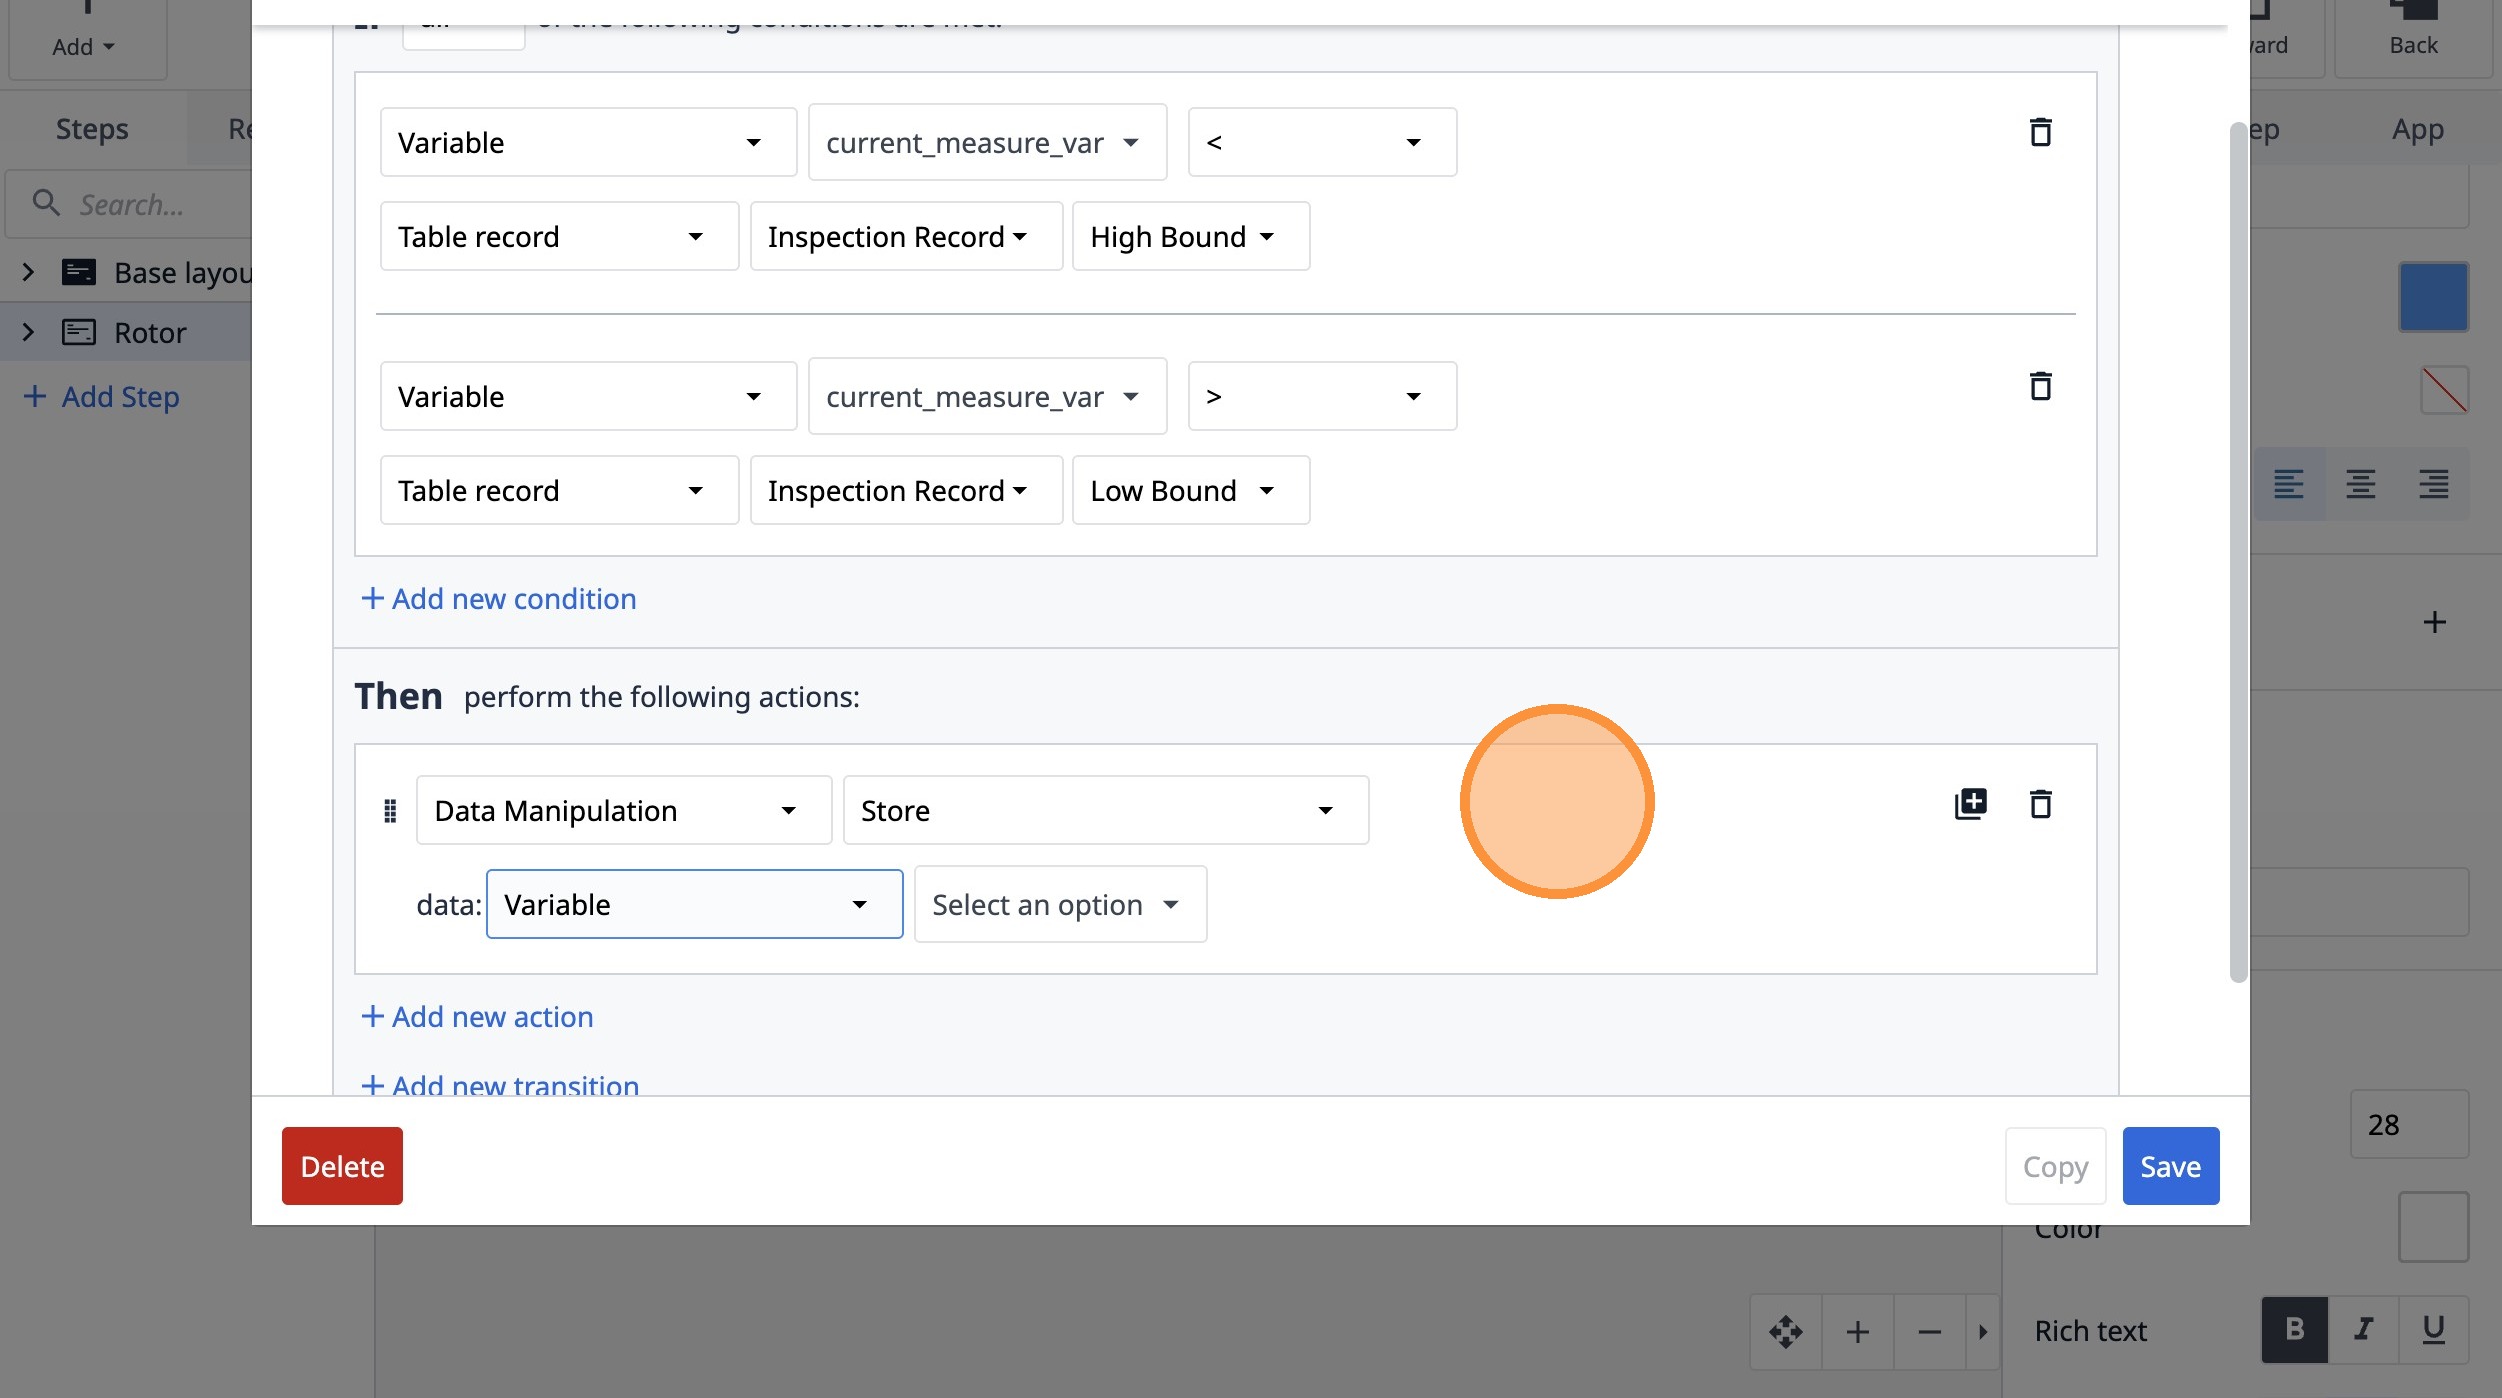
81. Select the "Variable" option.
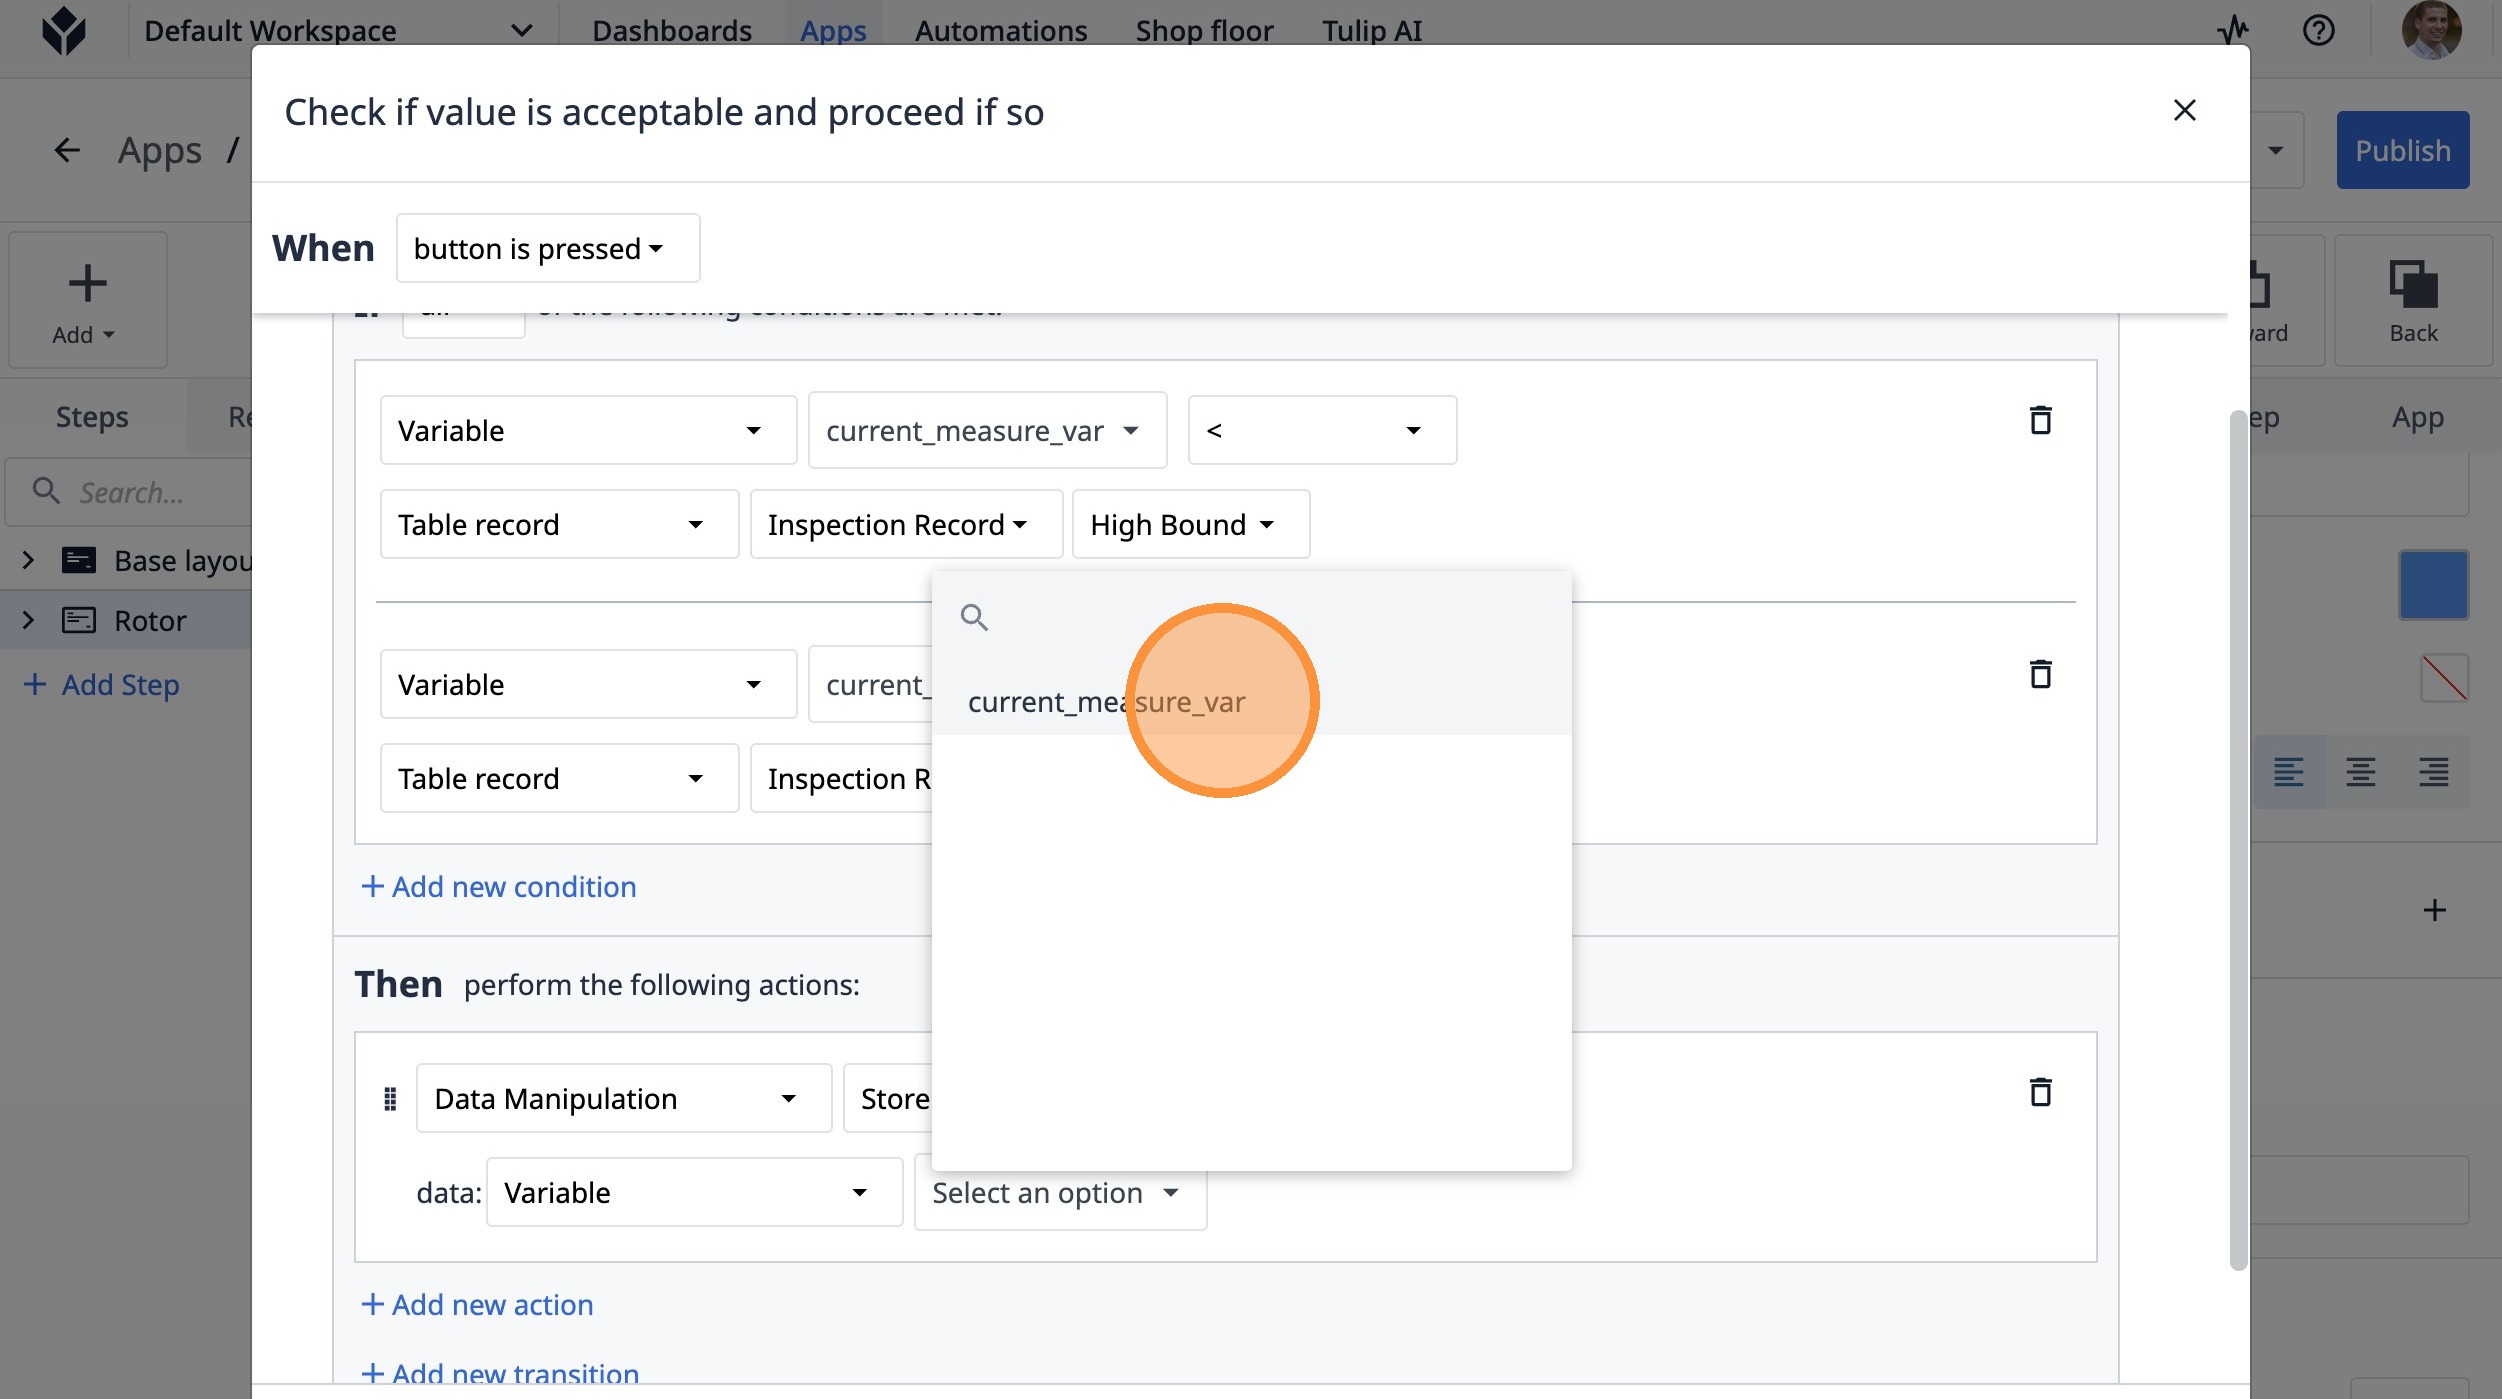
82. Click "Select an option"
83. Click "current_measure_var"
84. Select the "Table record" option.
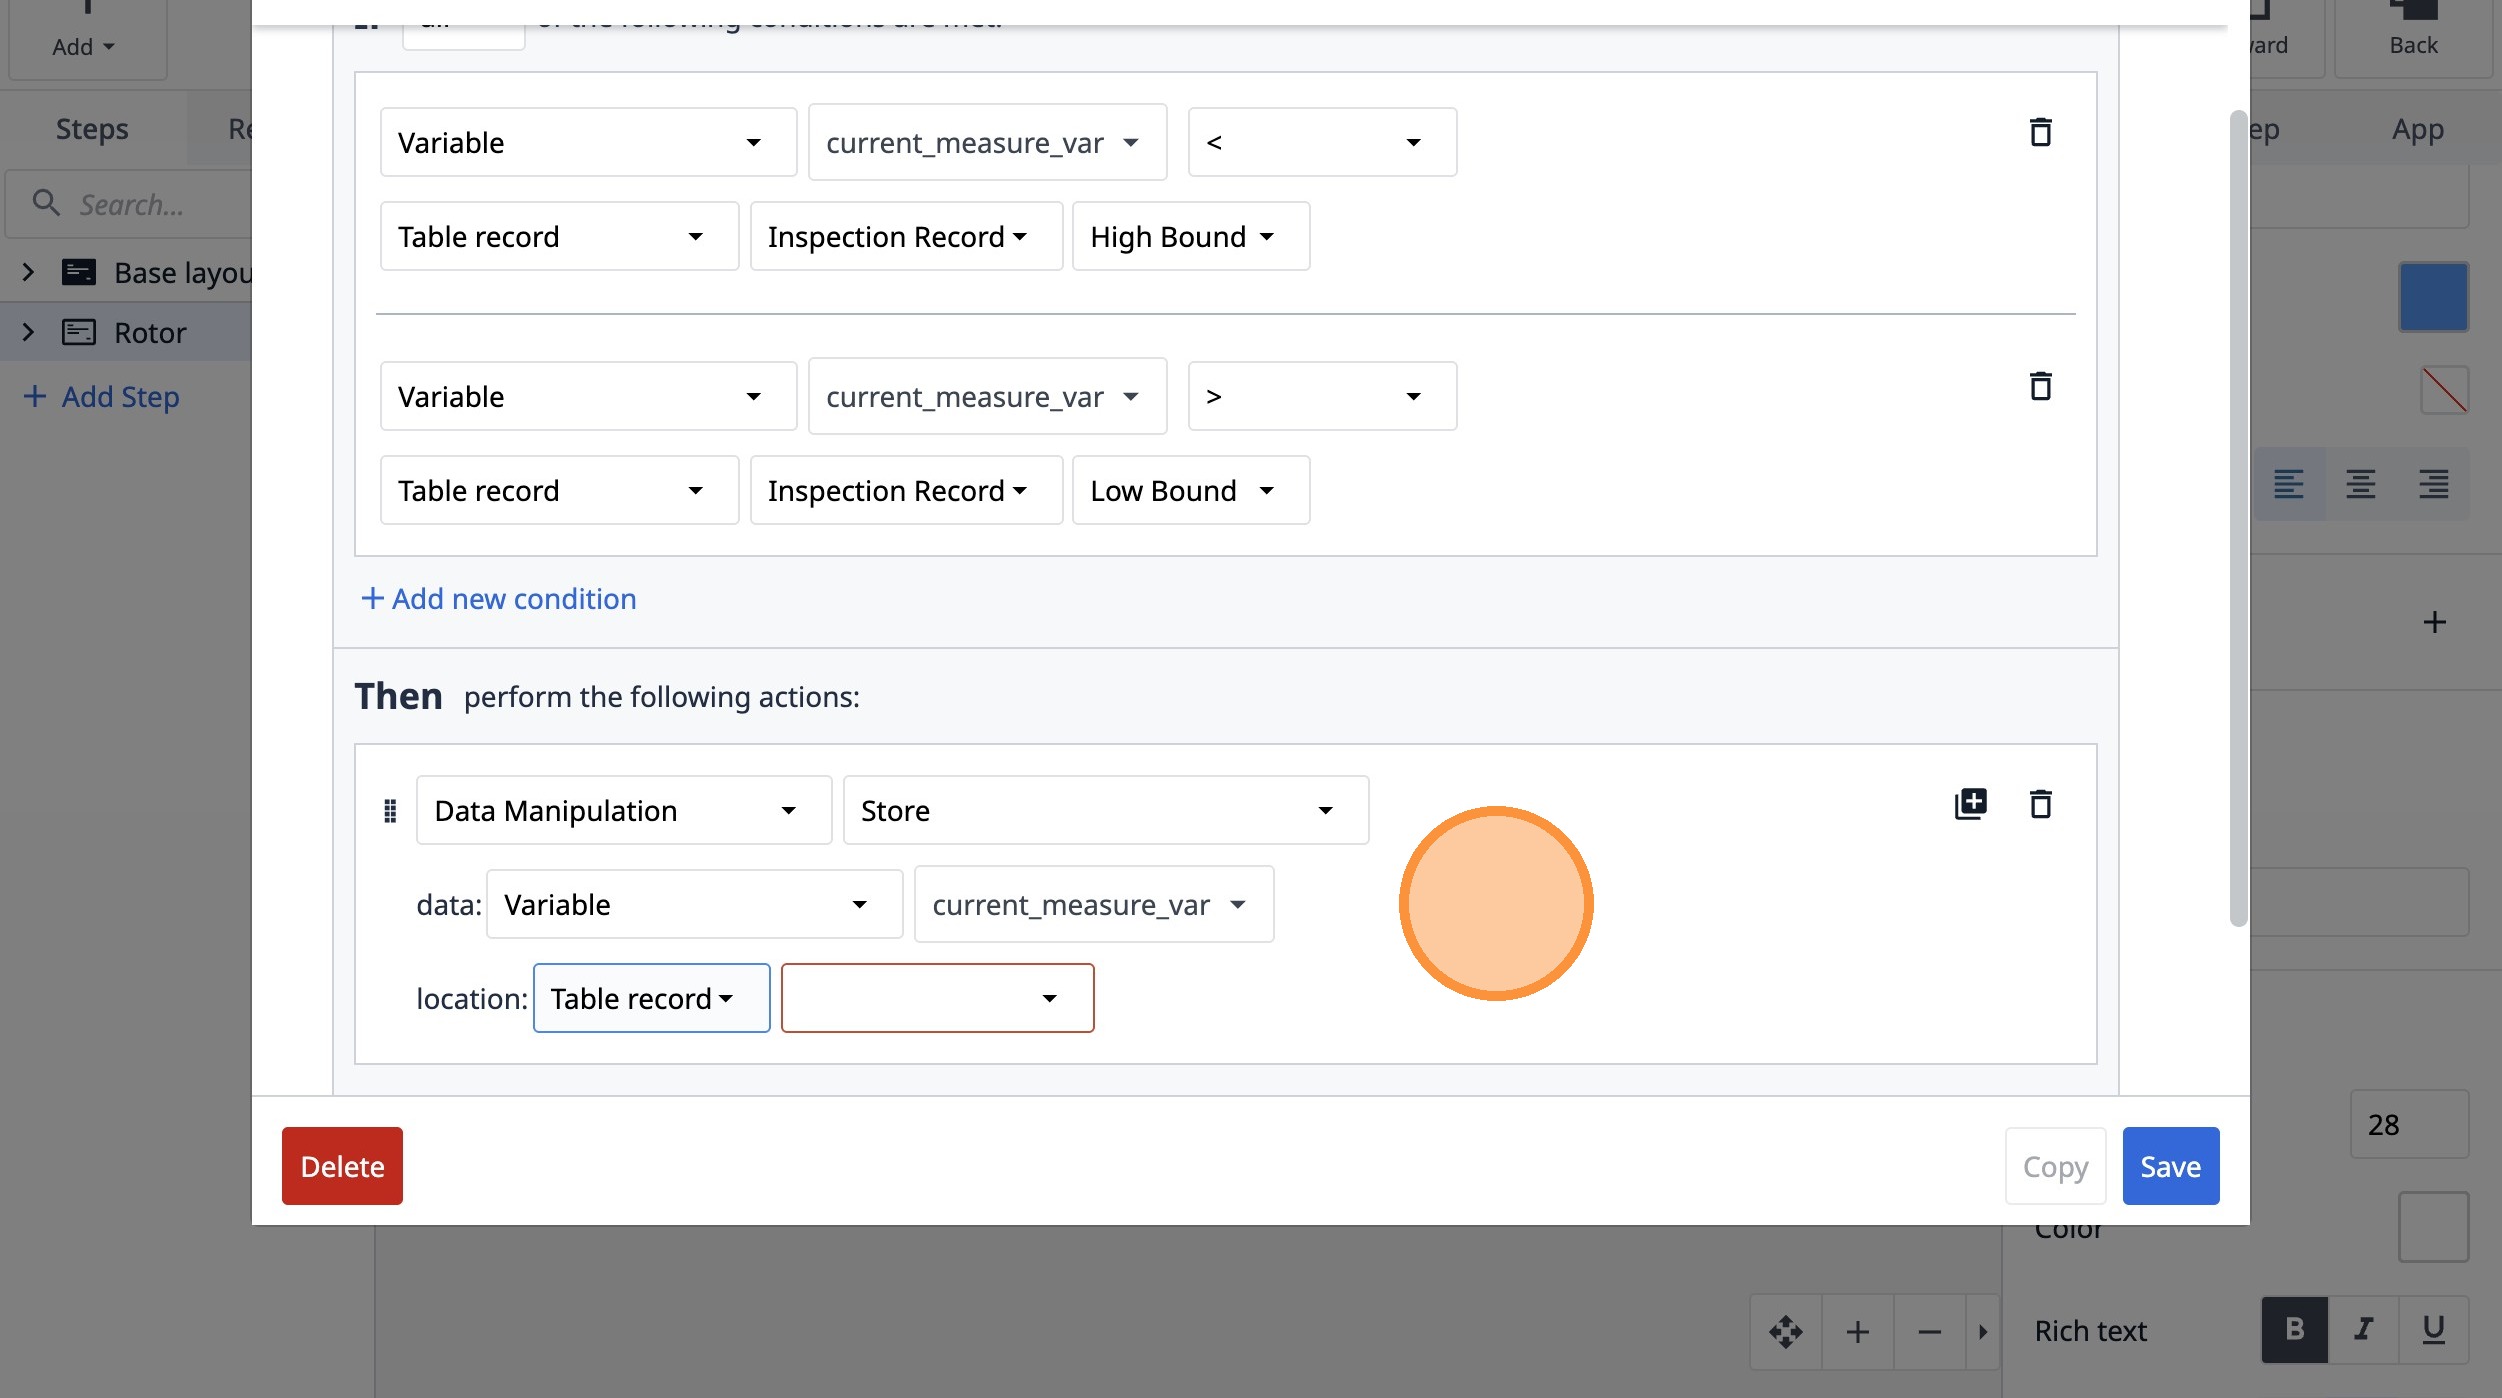
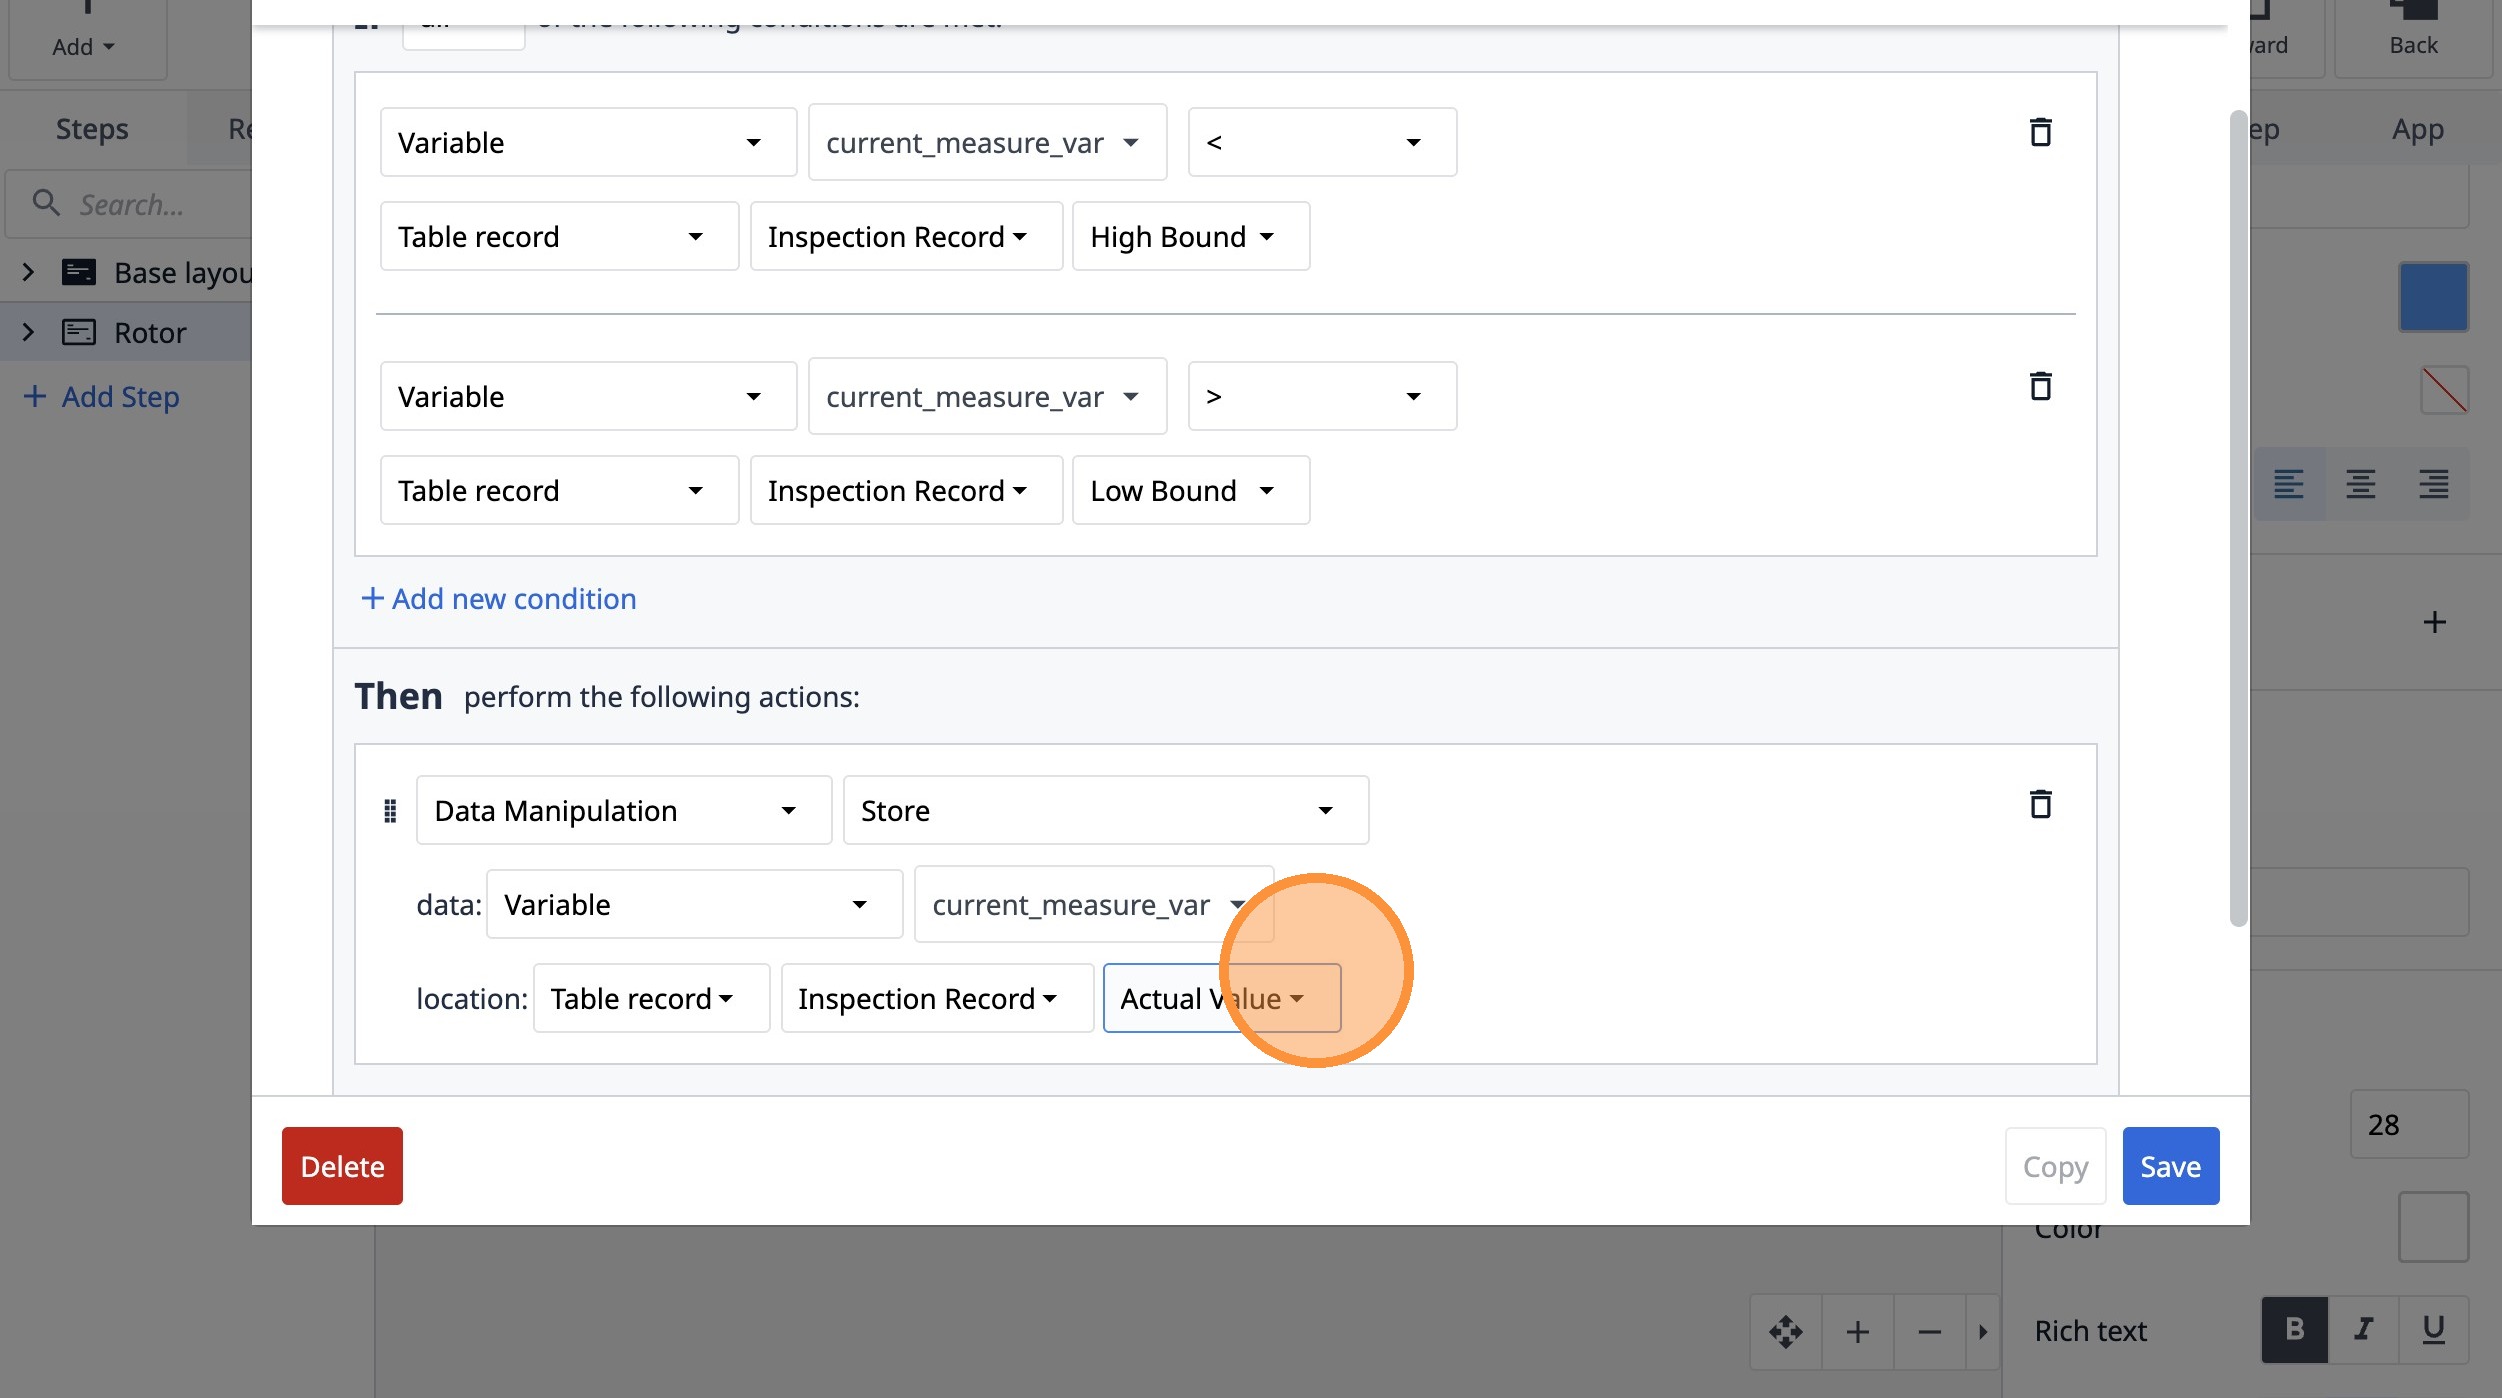
85. Select the "yqRsH7KkZxJXP7hyA" option.

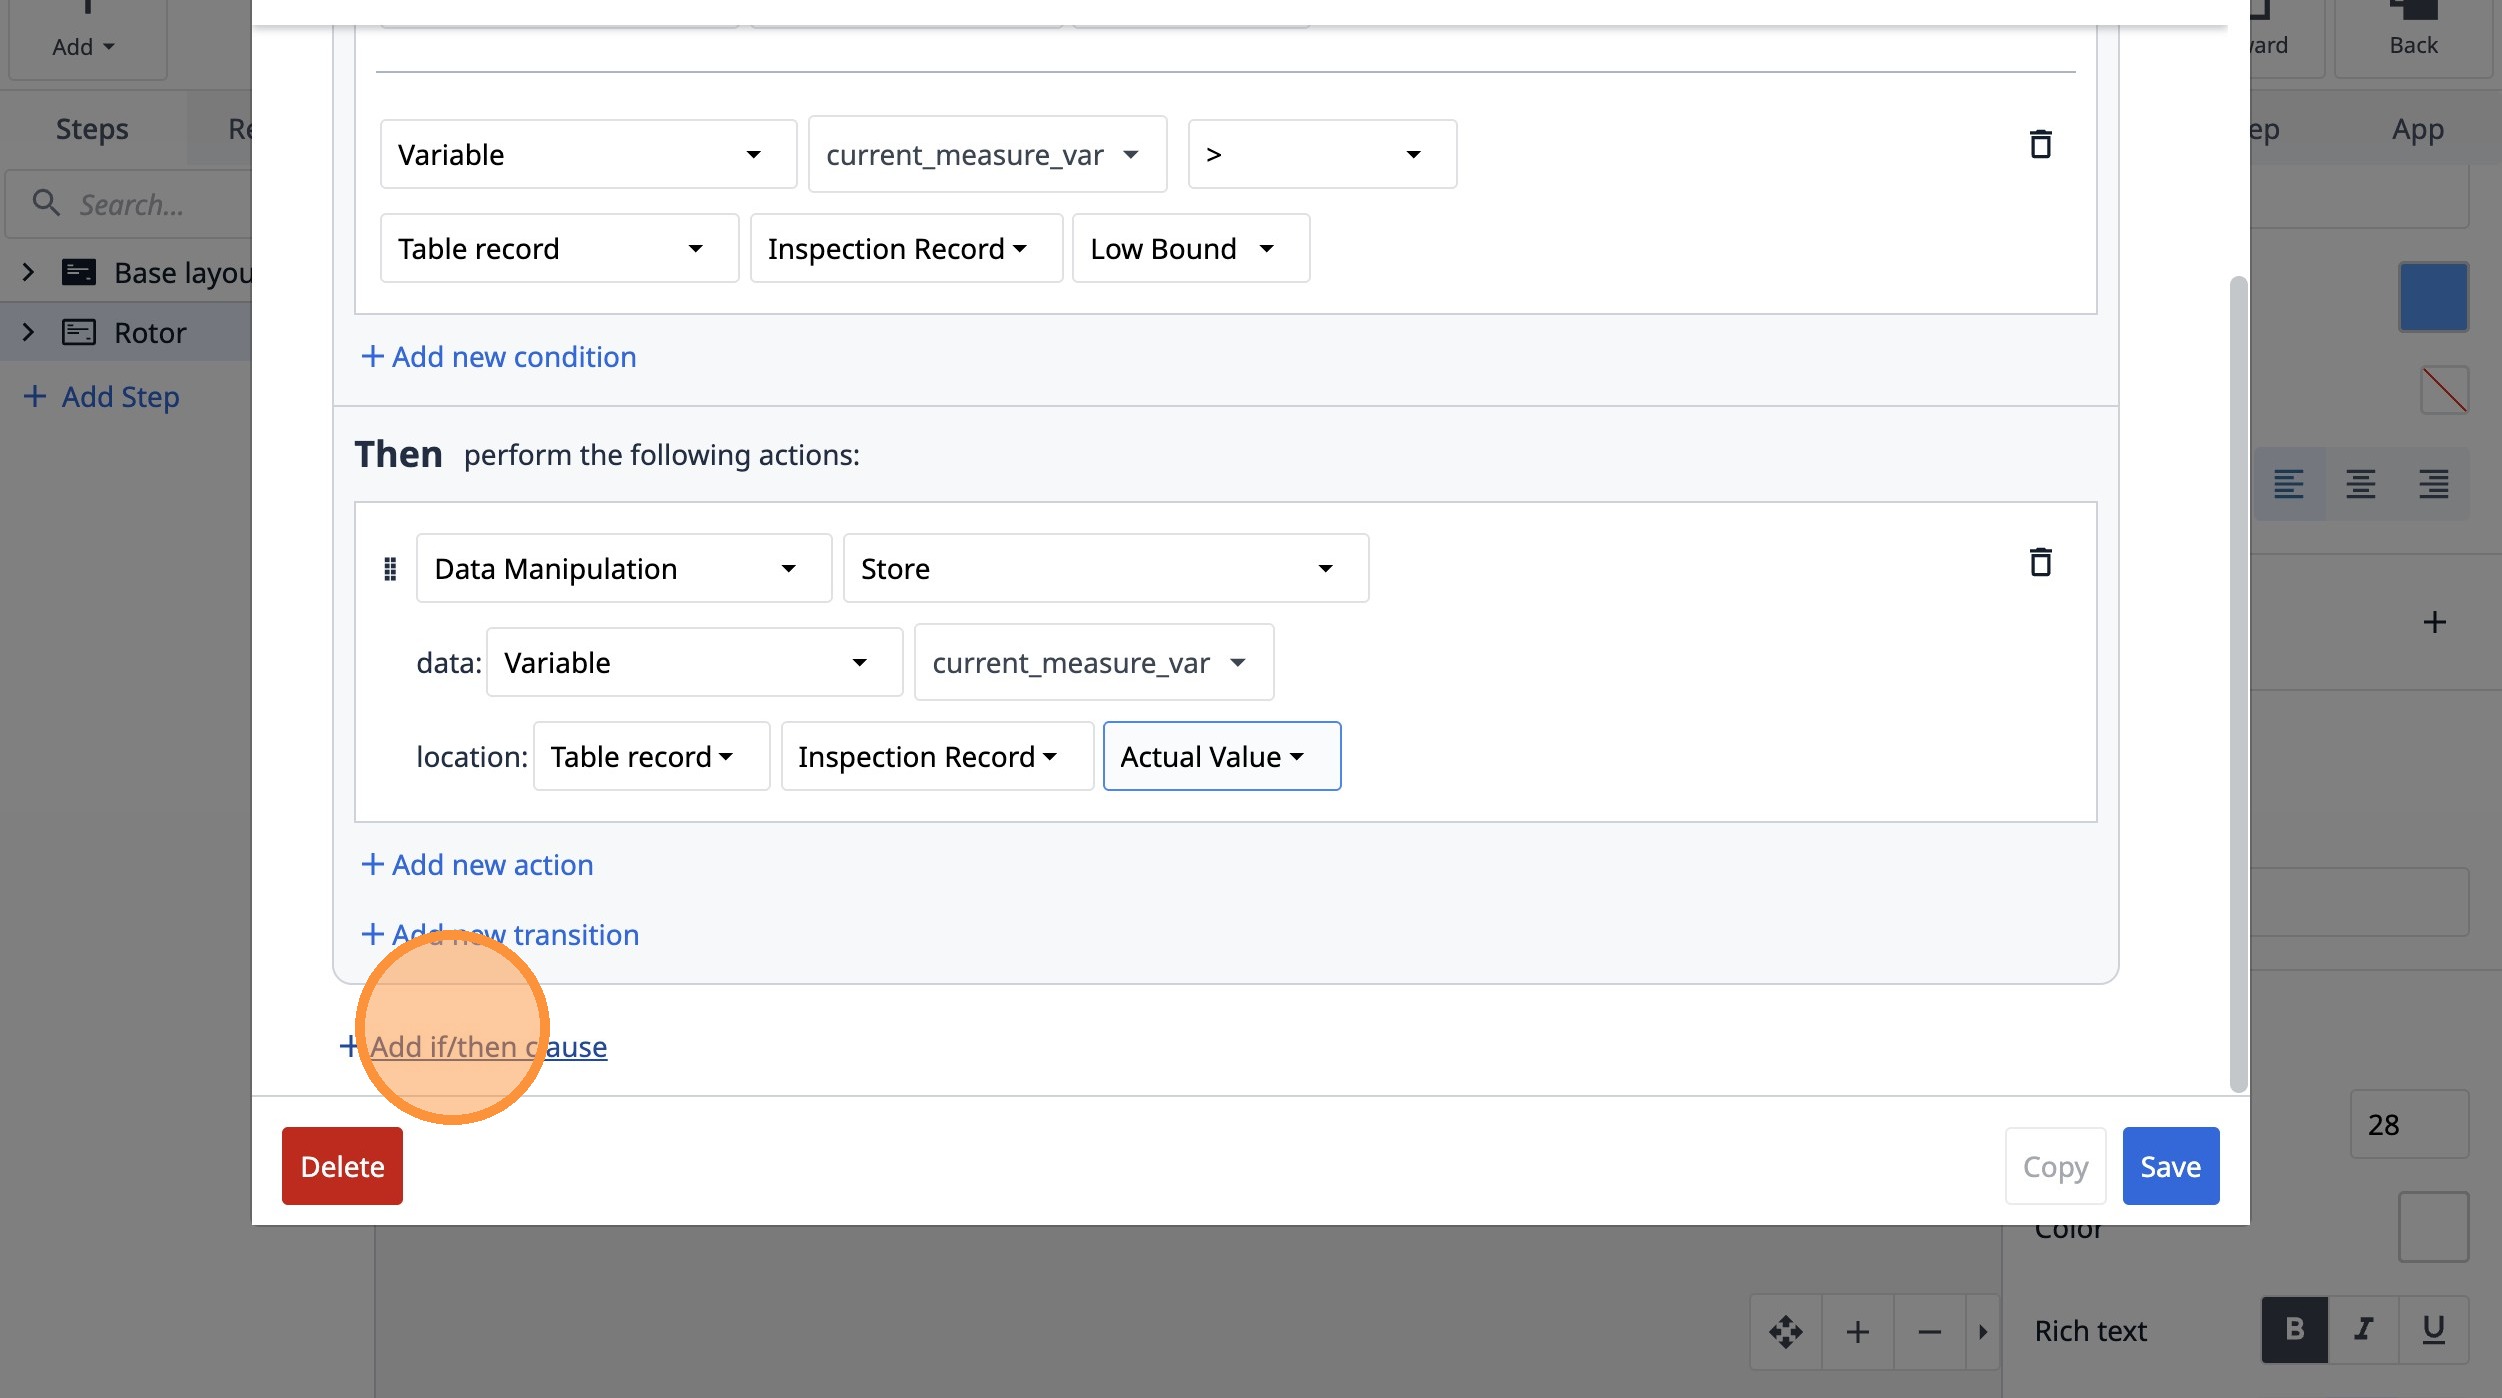
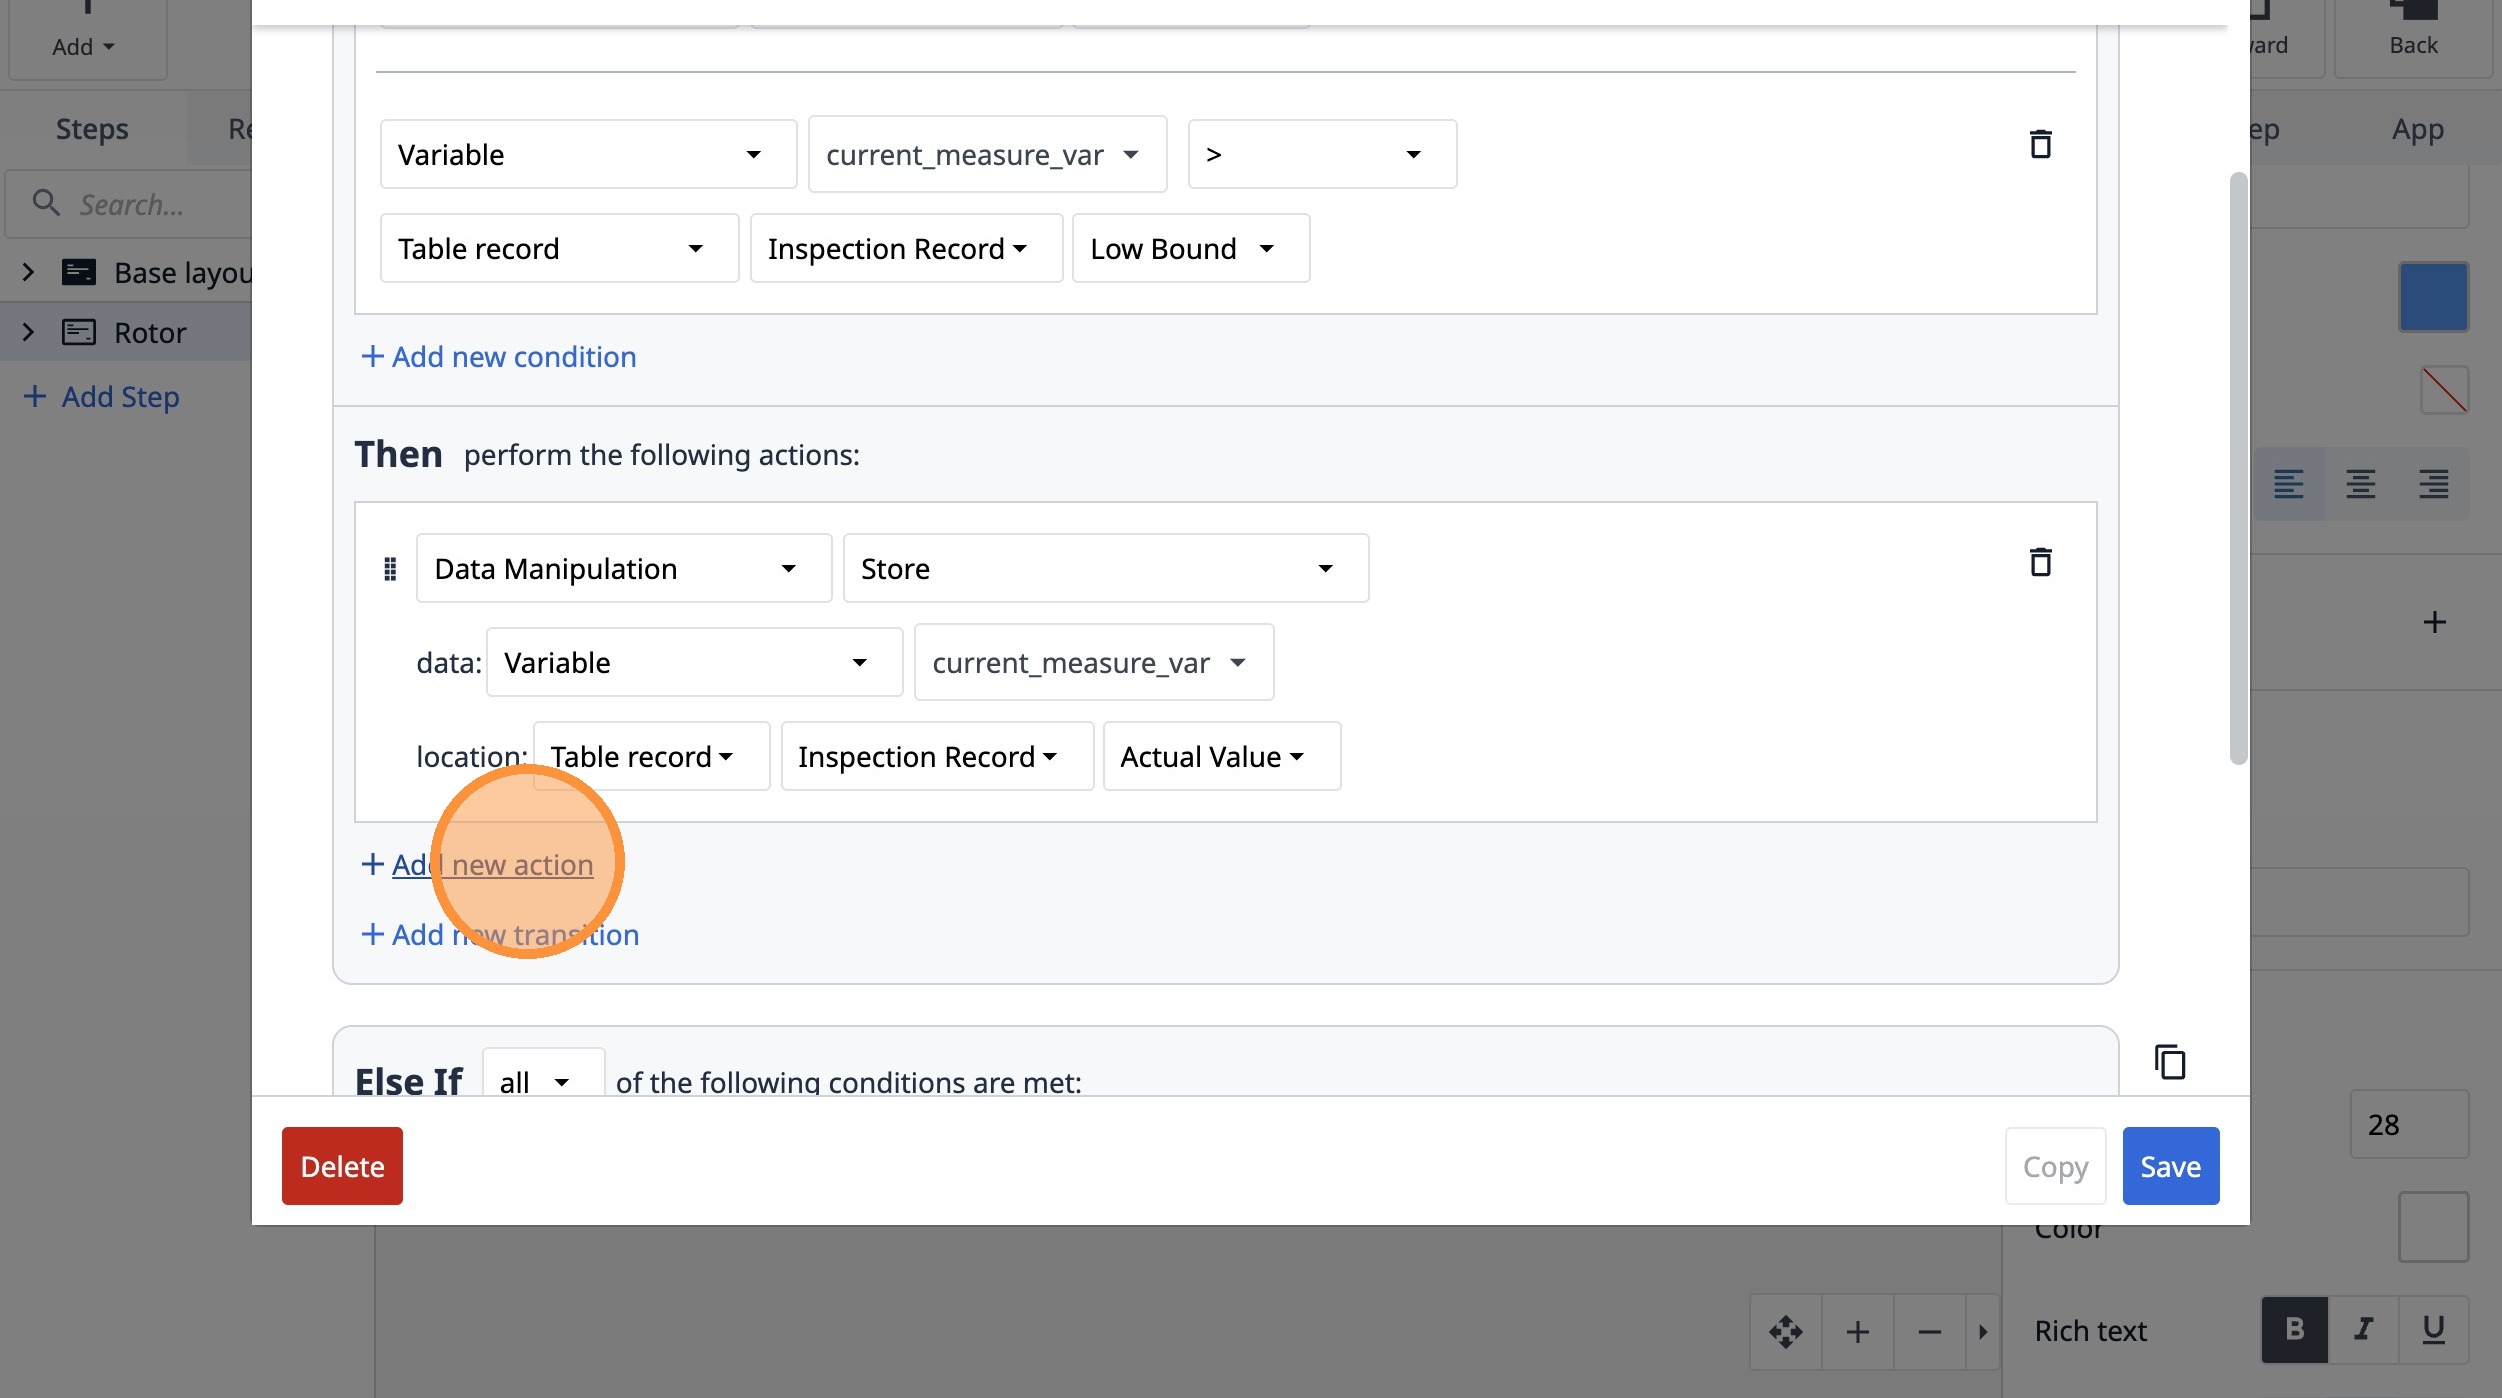
86. Select the "Actual Value" option.
87. Click "Add if/then clause"
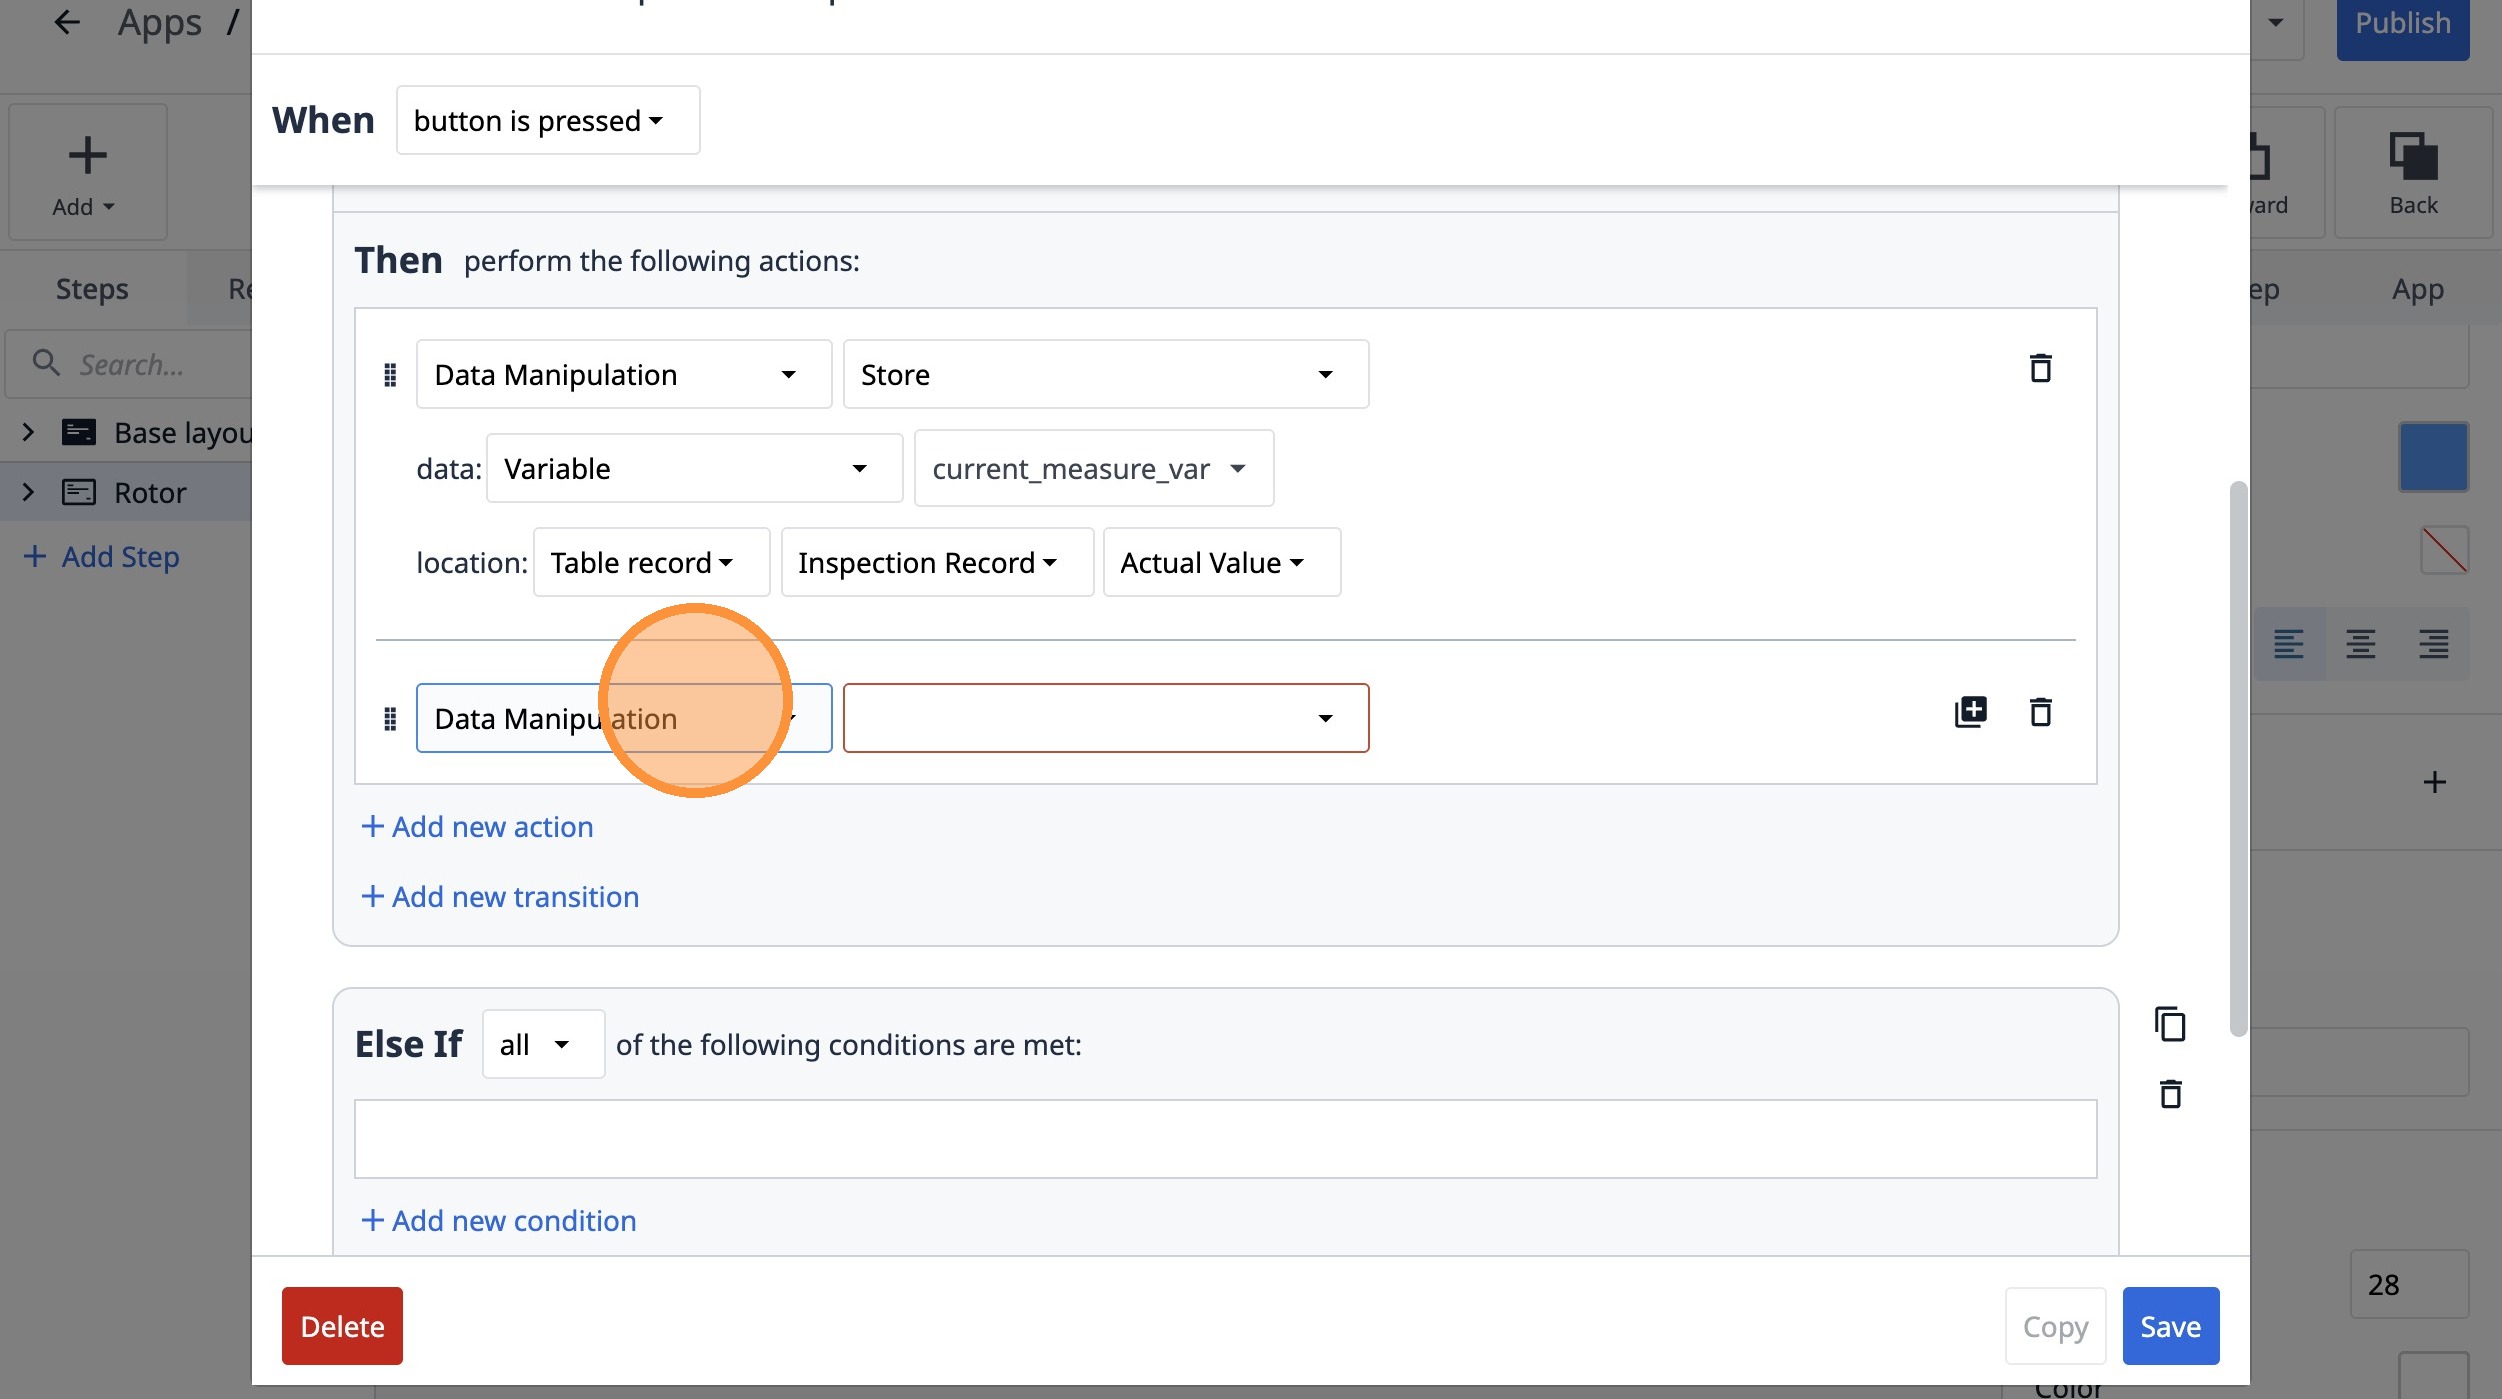
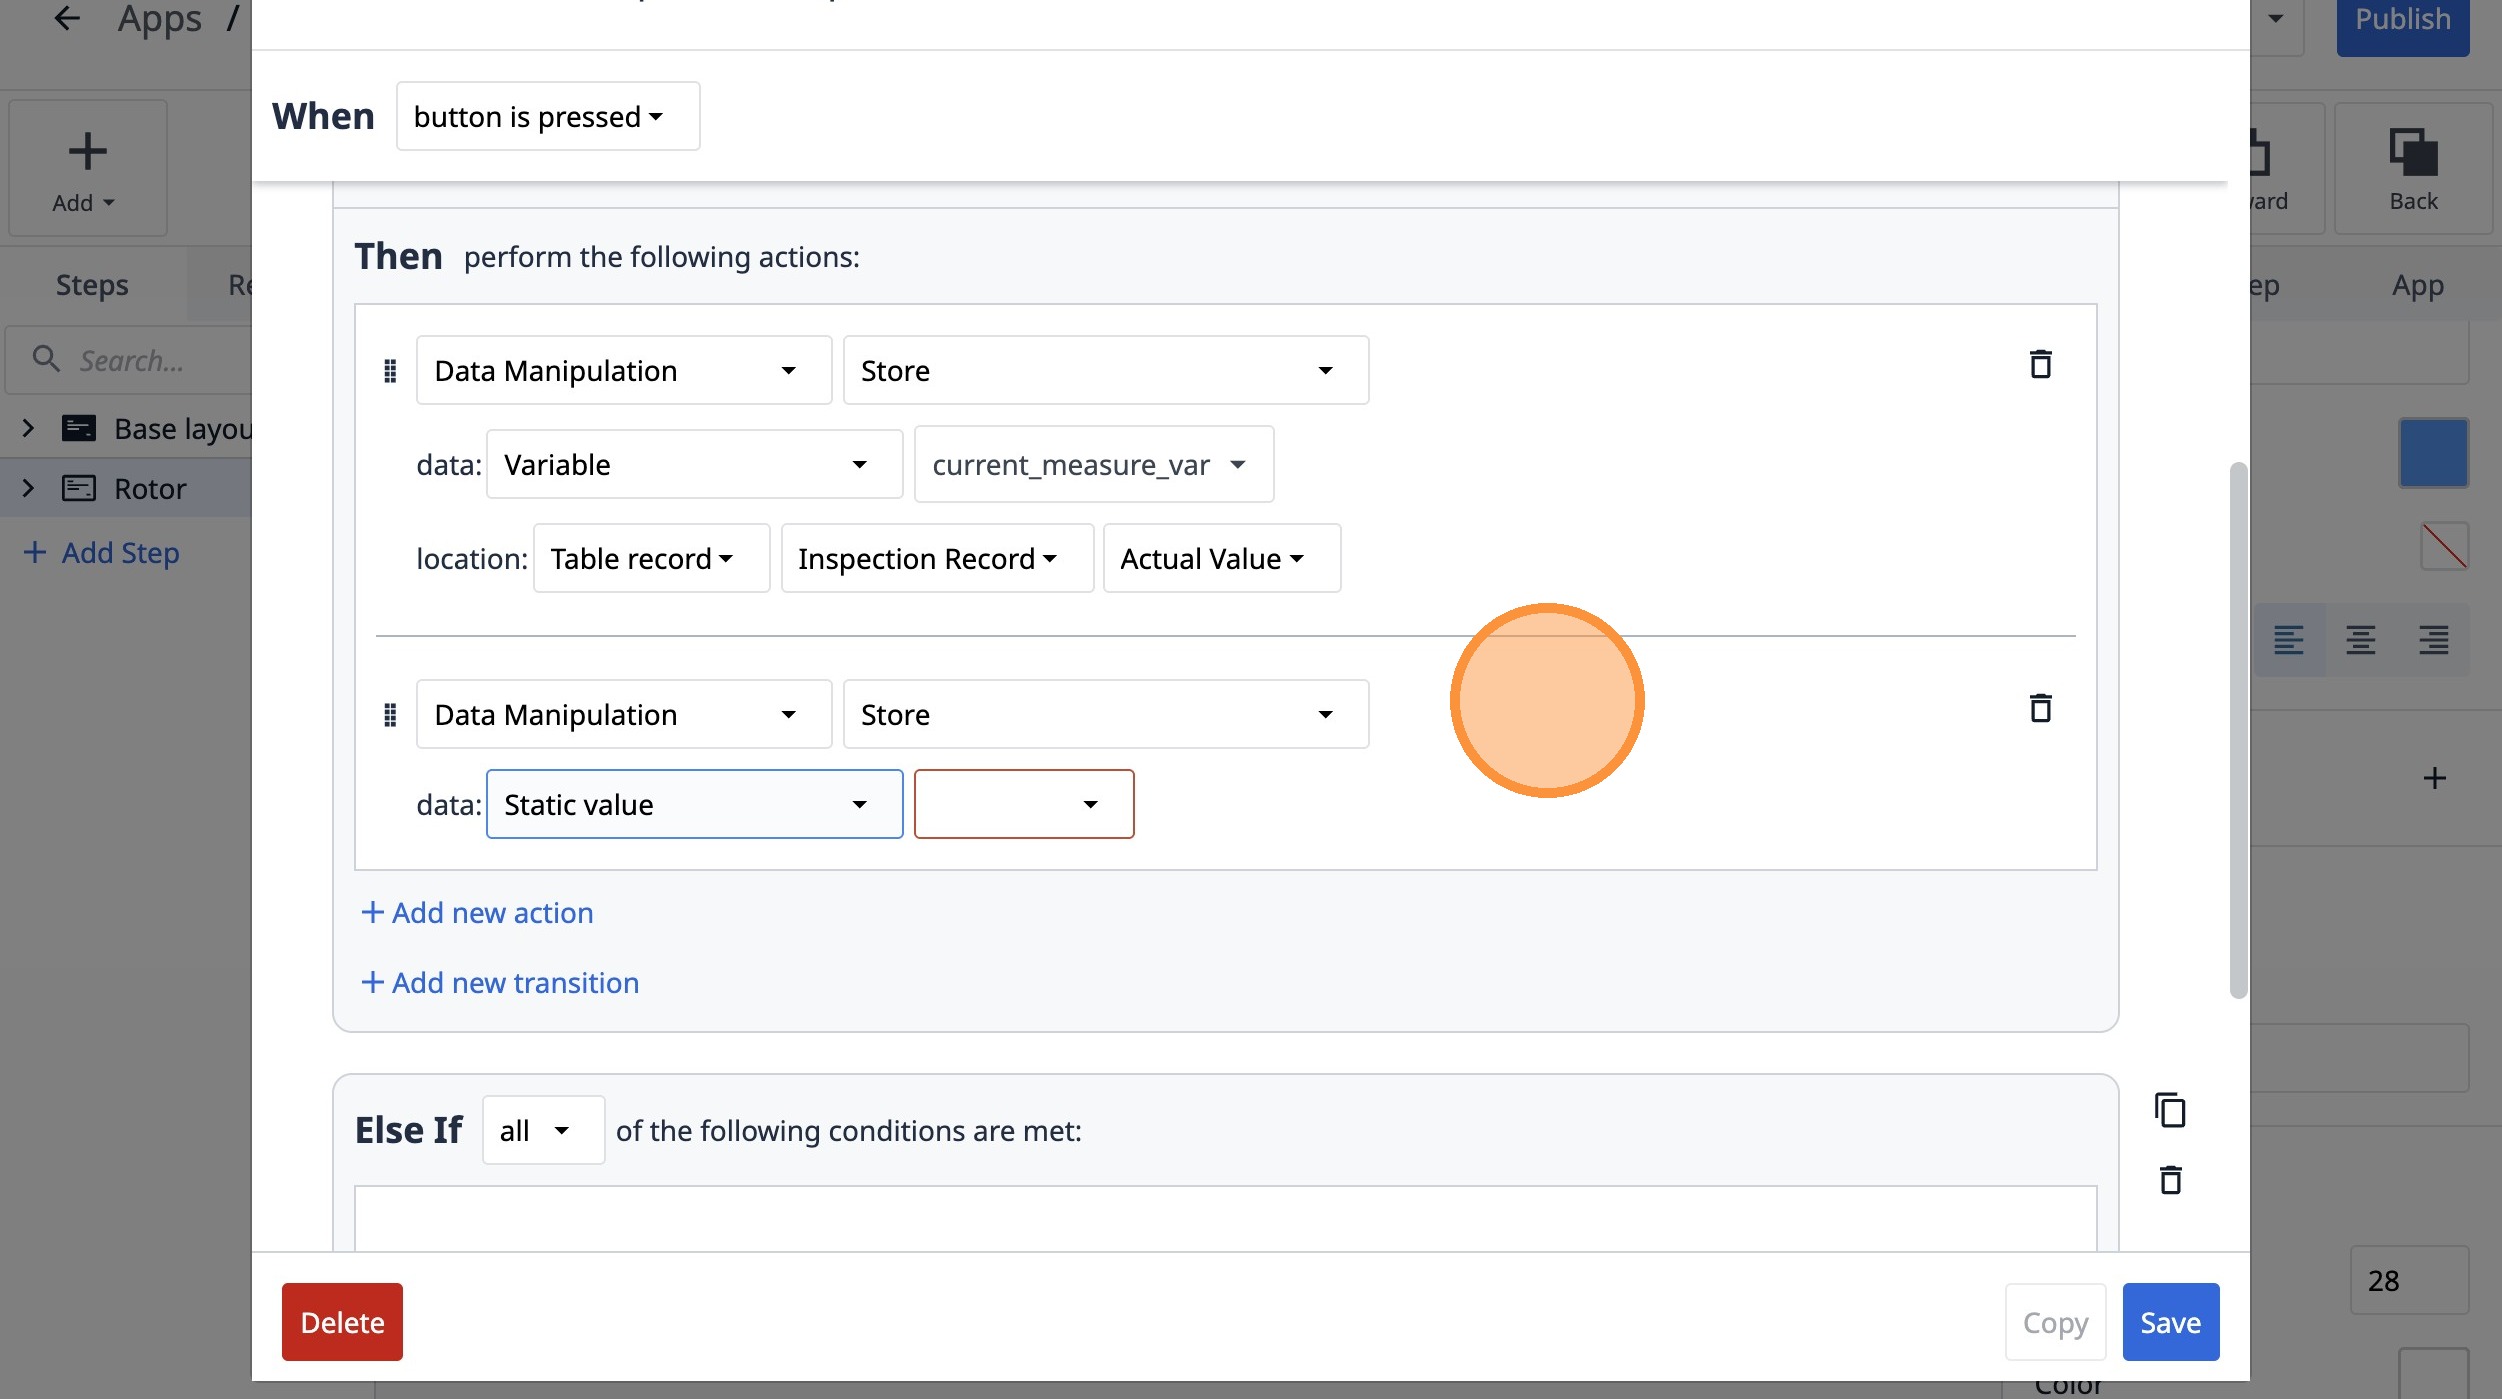
88. Click "Add new action"
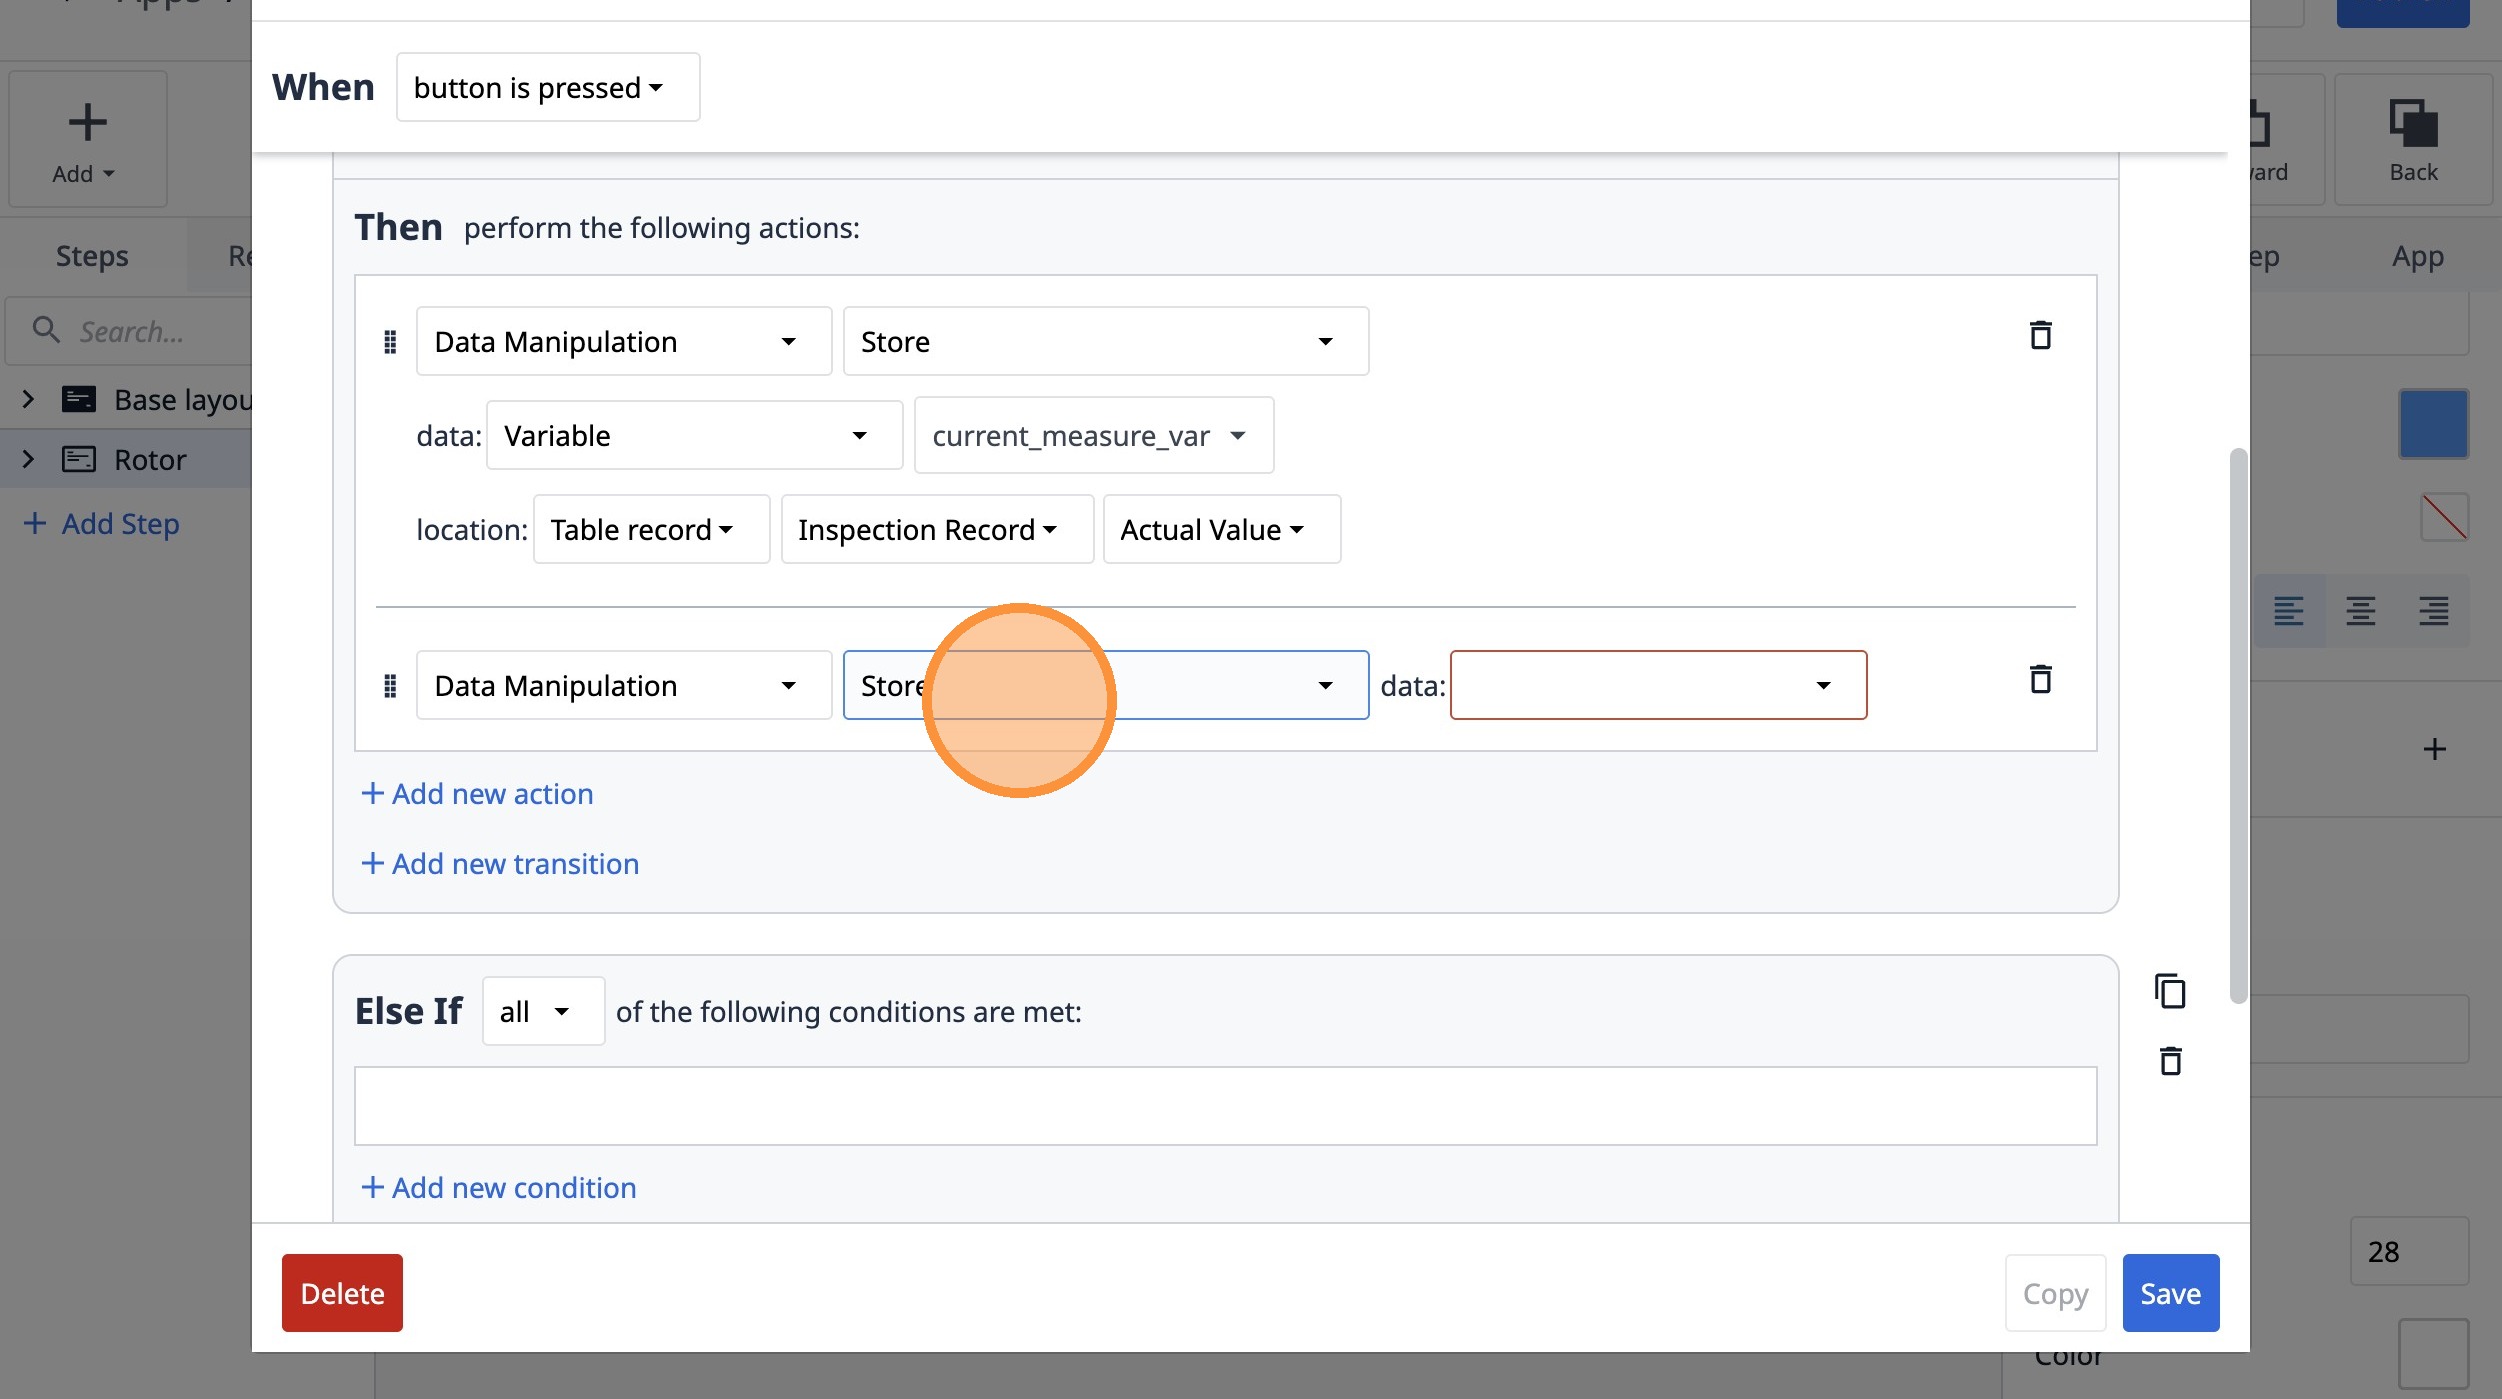
89. Select the "Data Manipulation" option.
90. Select the "Store" option.
91. Select the "Static value" option.
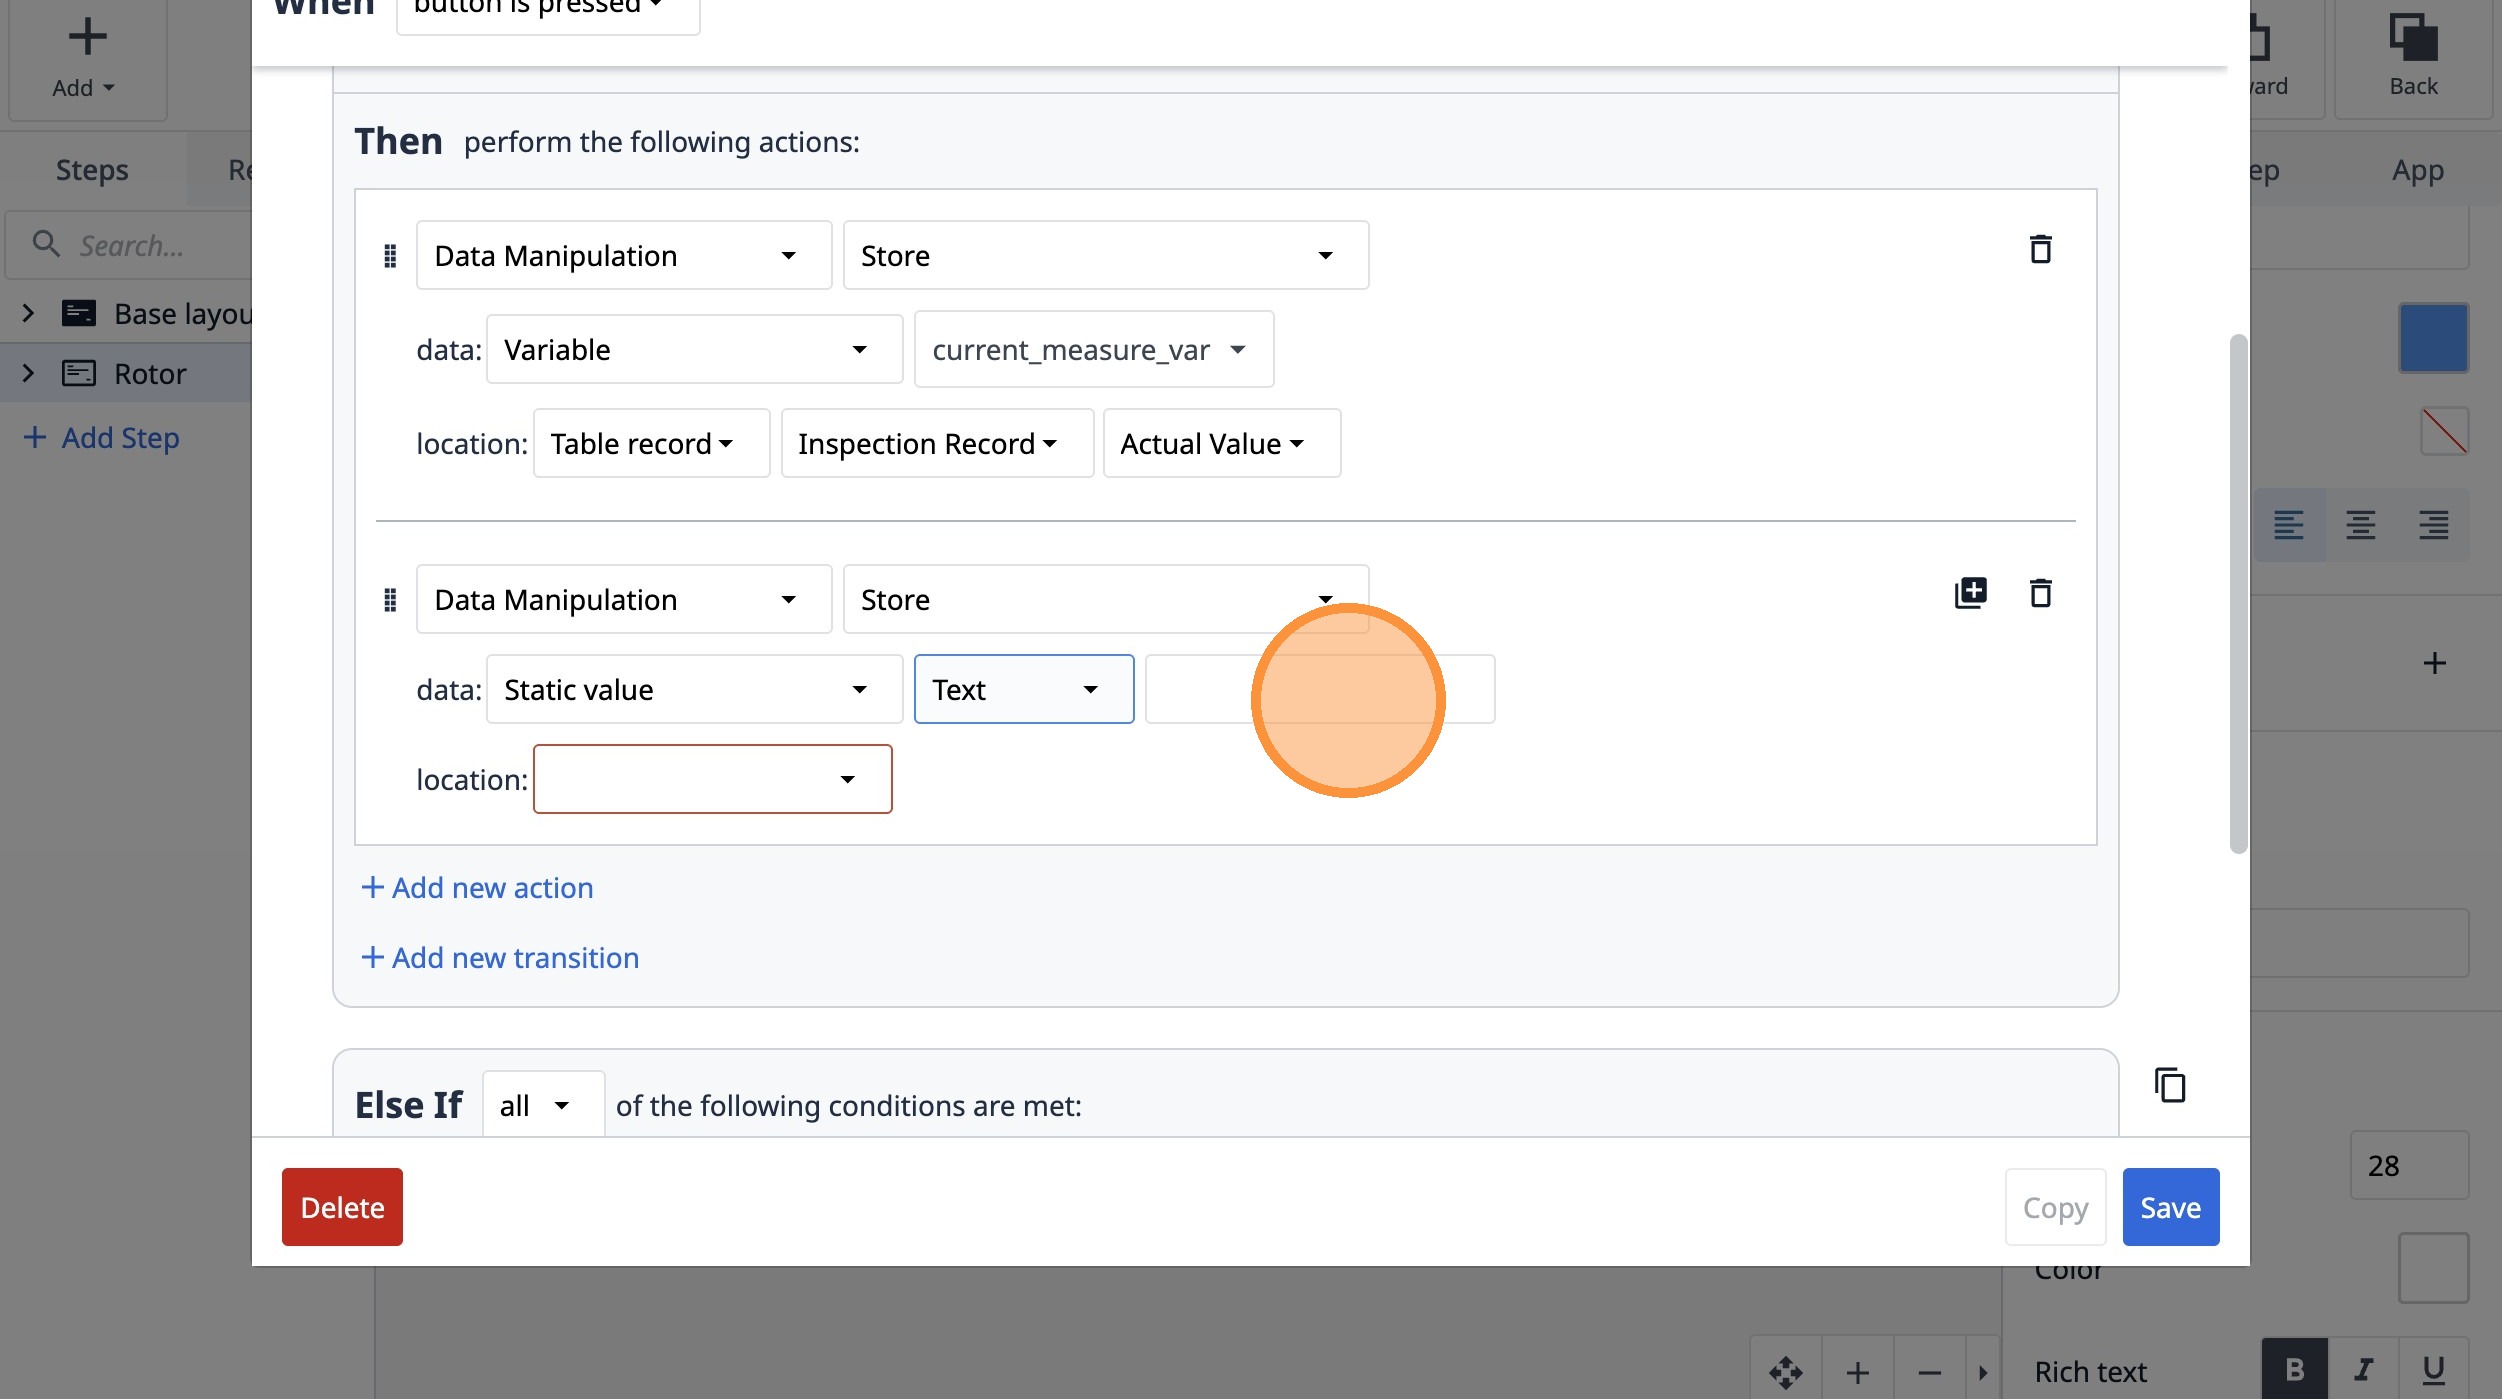
92. Select the "Text" option.
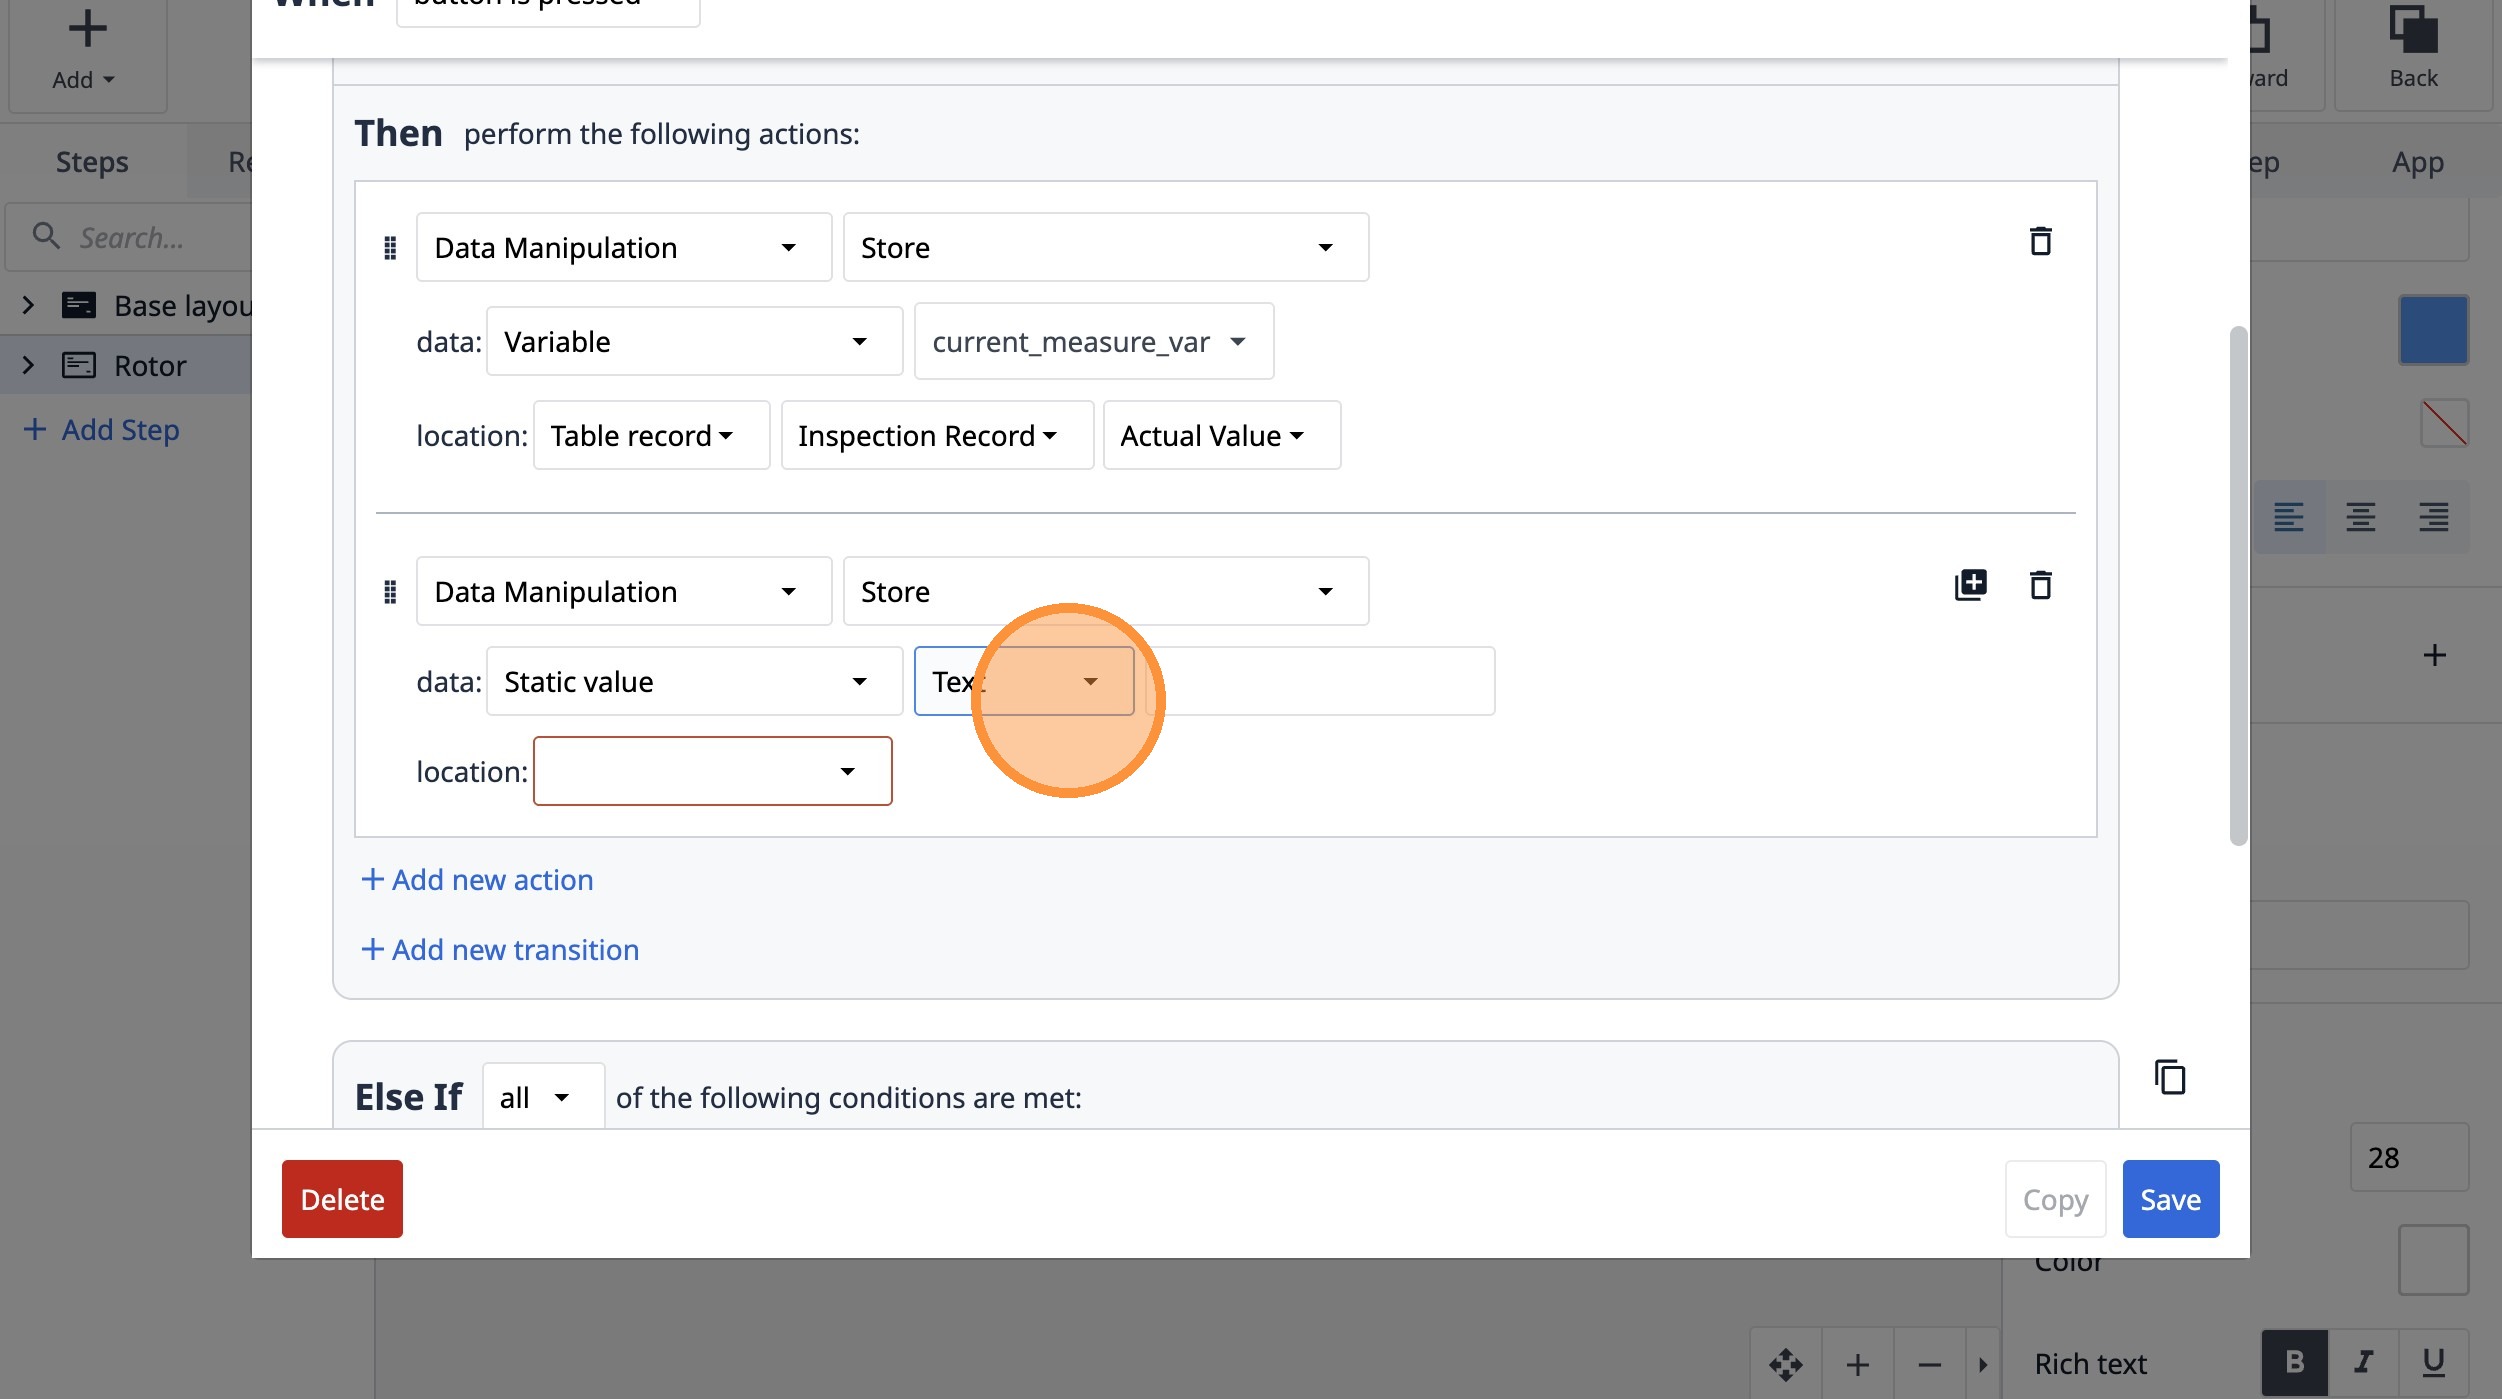
93. Click this text field.
94. Type "CLOSED"
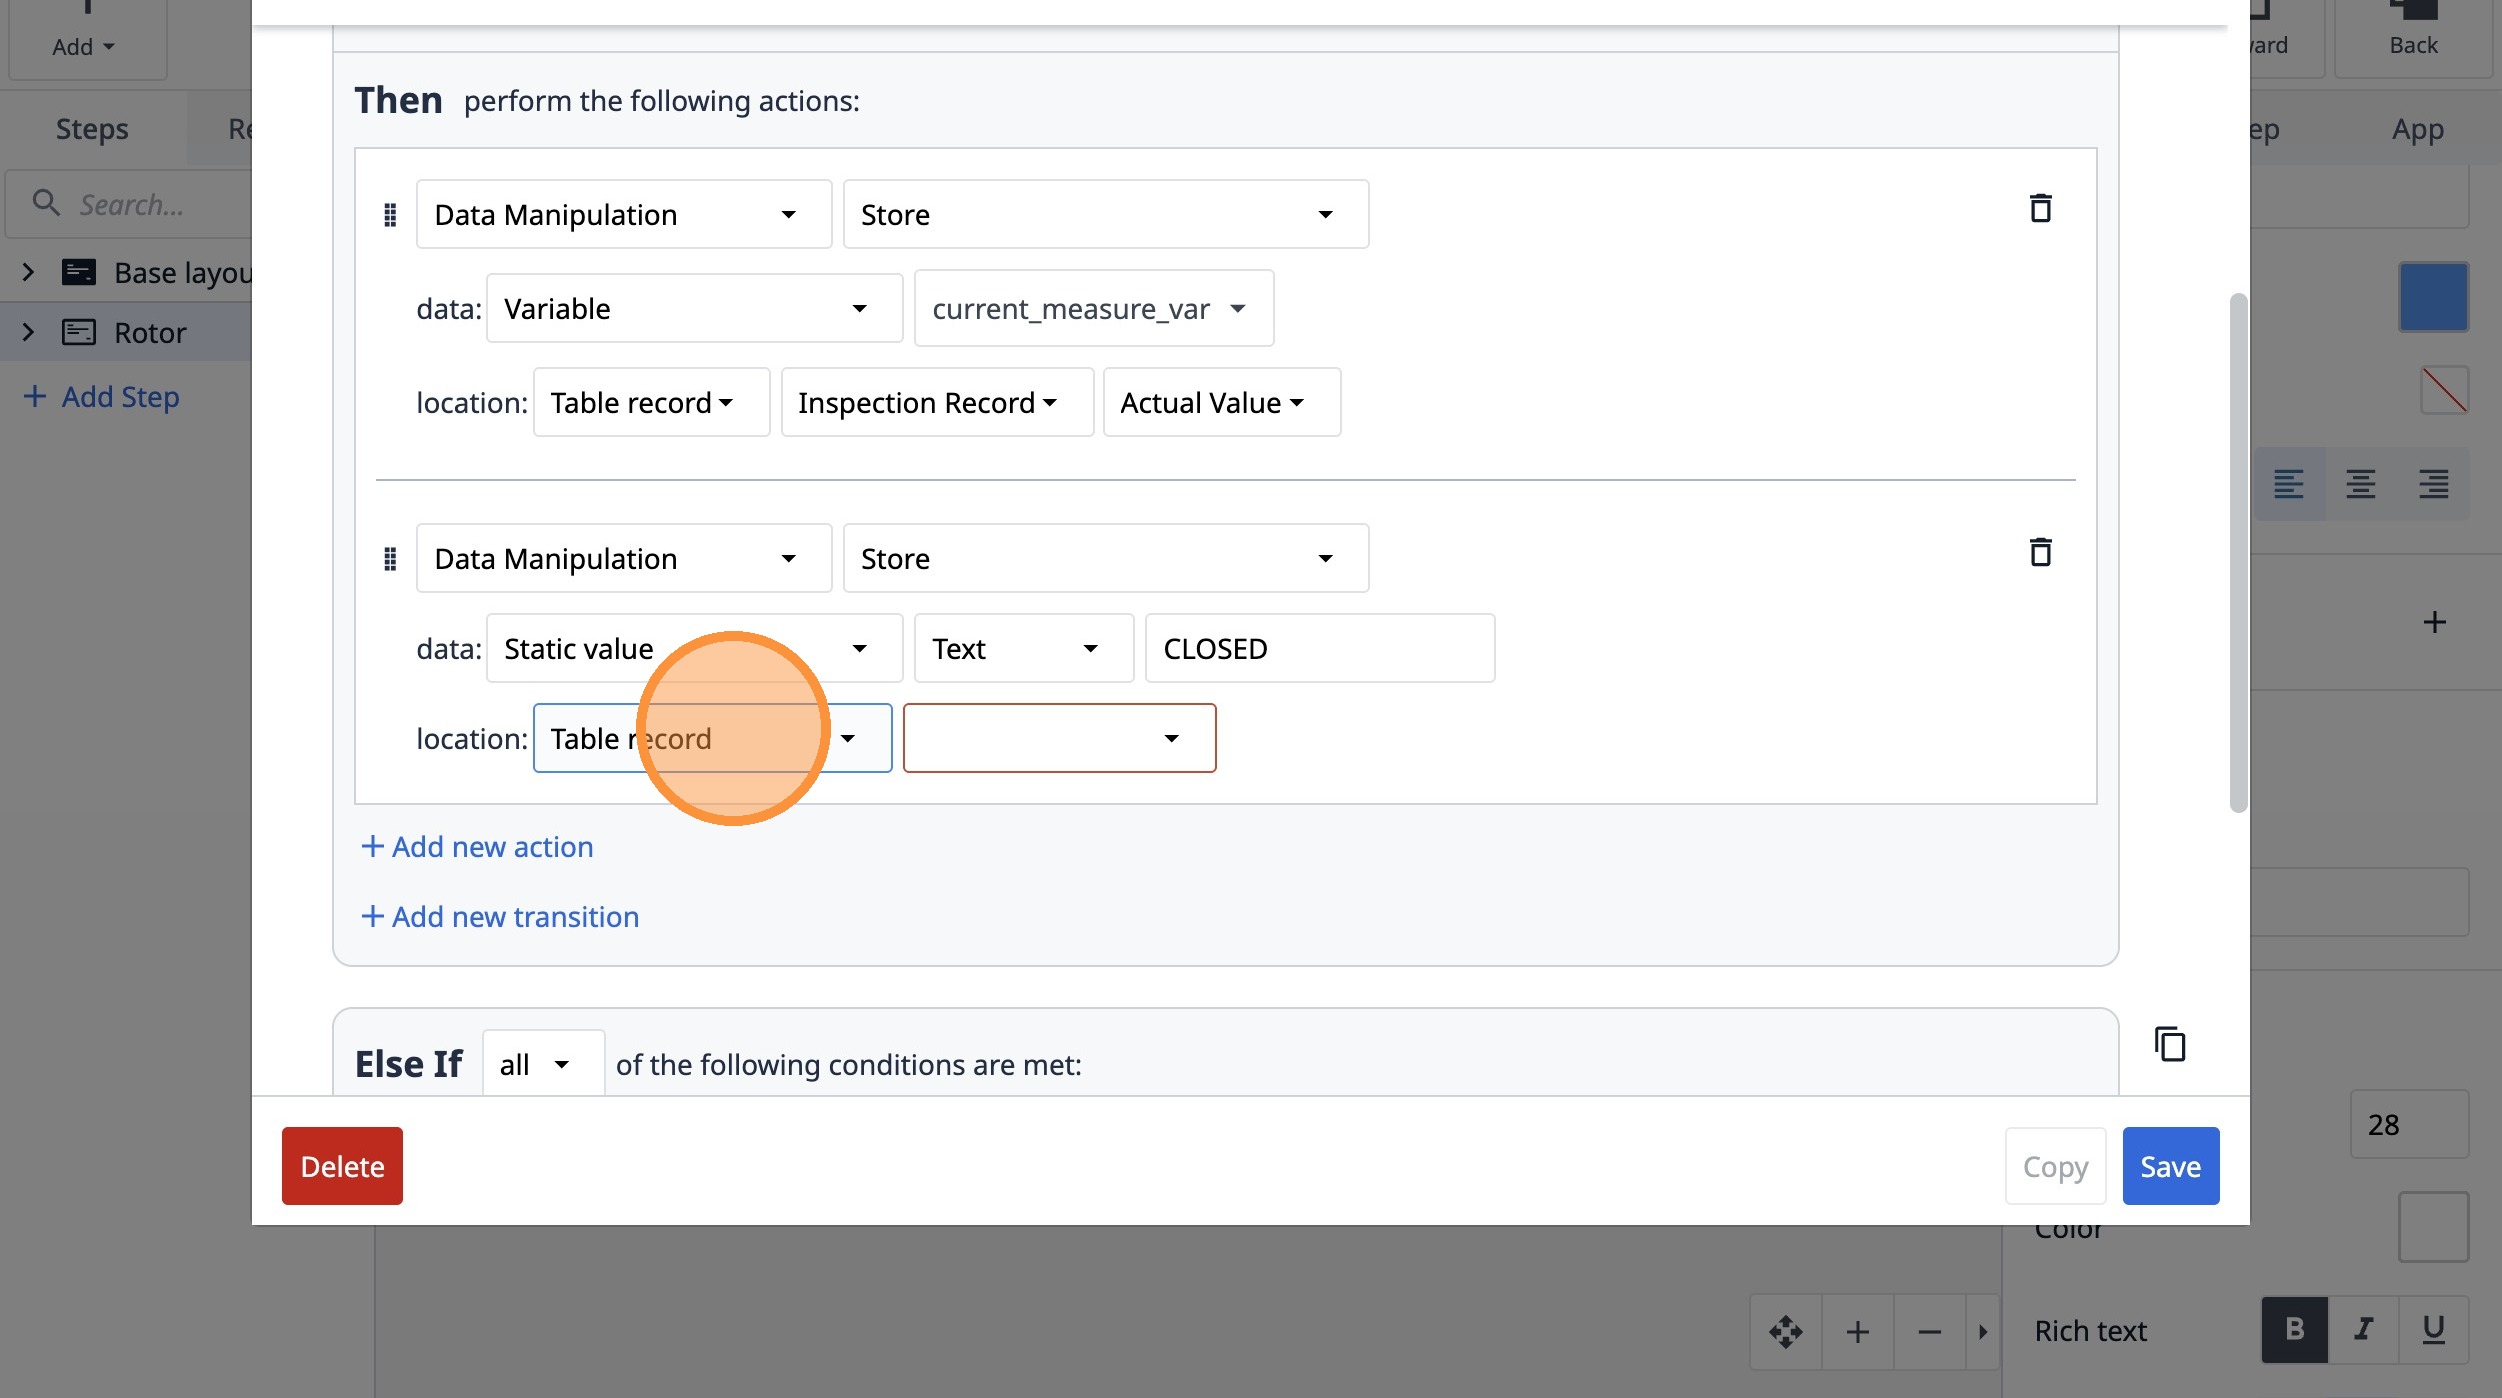
95. Click "AIAppArraysCapture App ScreenshotCopy to ClipboardData ManipulationLogout Current UserOpen File or FolderOpen LinkPlay SoundPlayer MenuPrint Ste..."
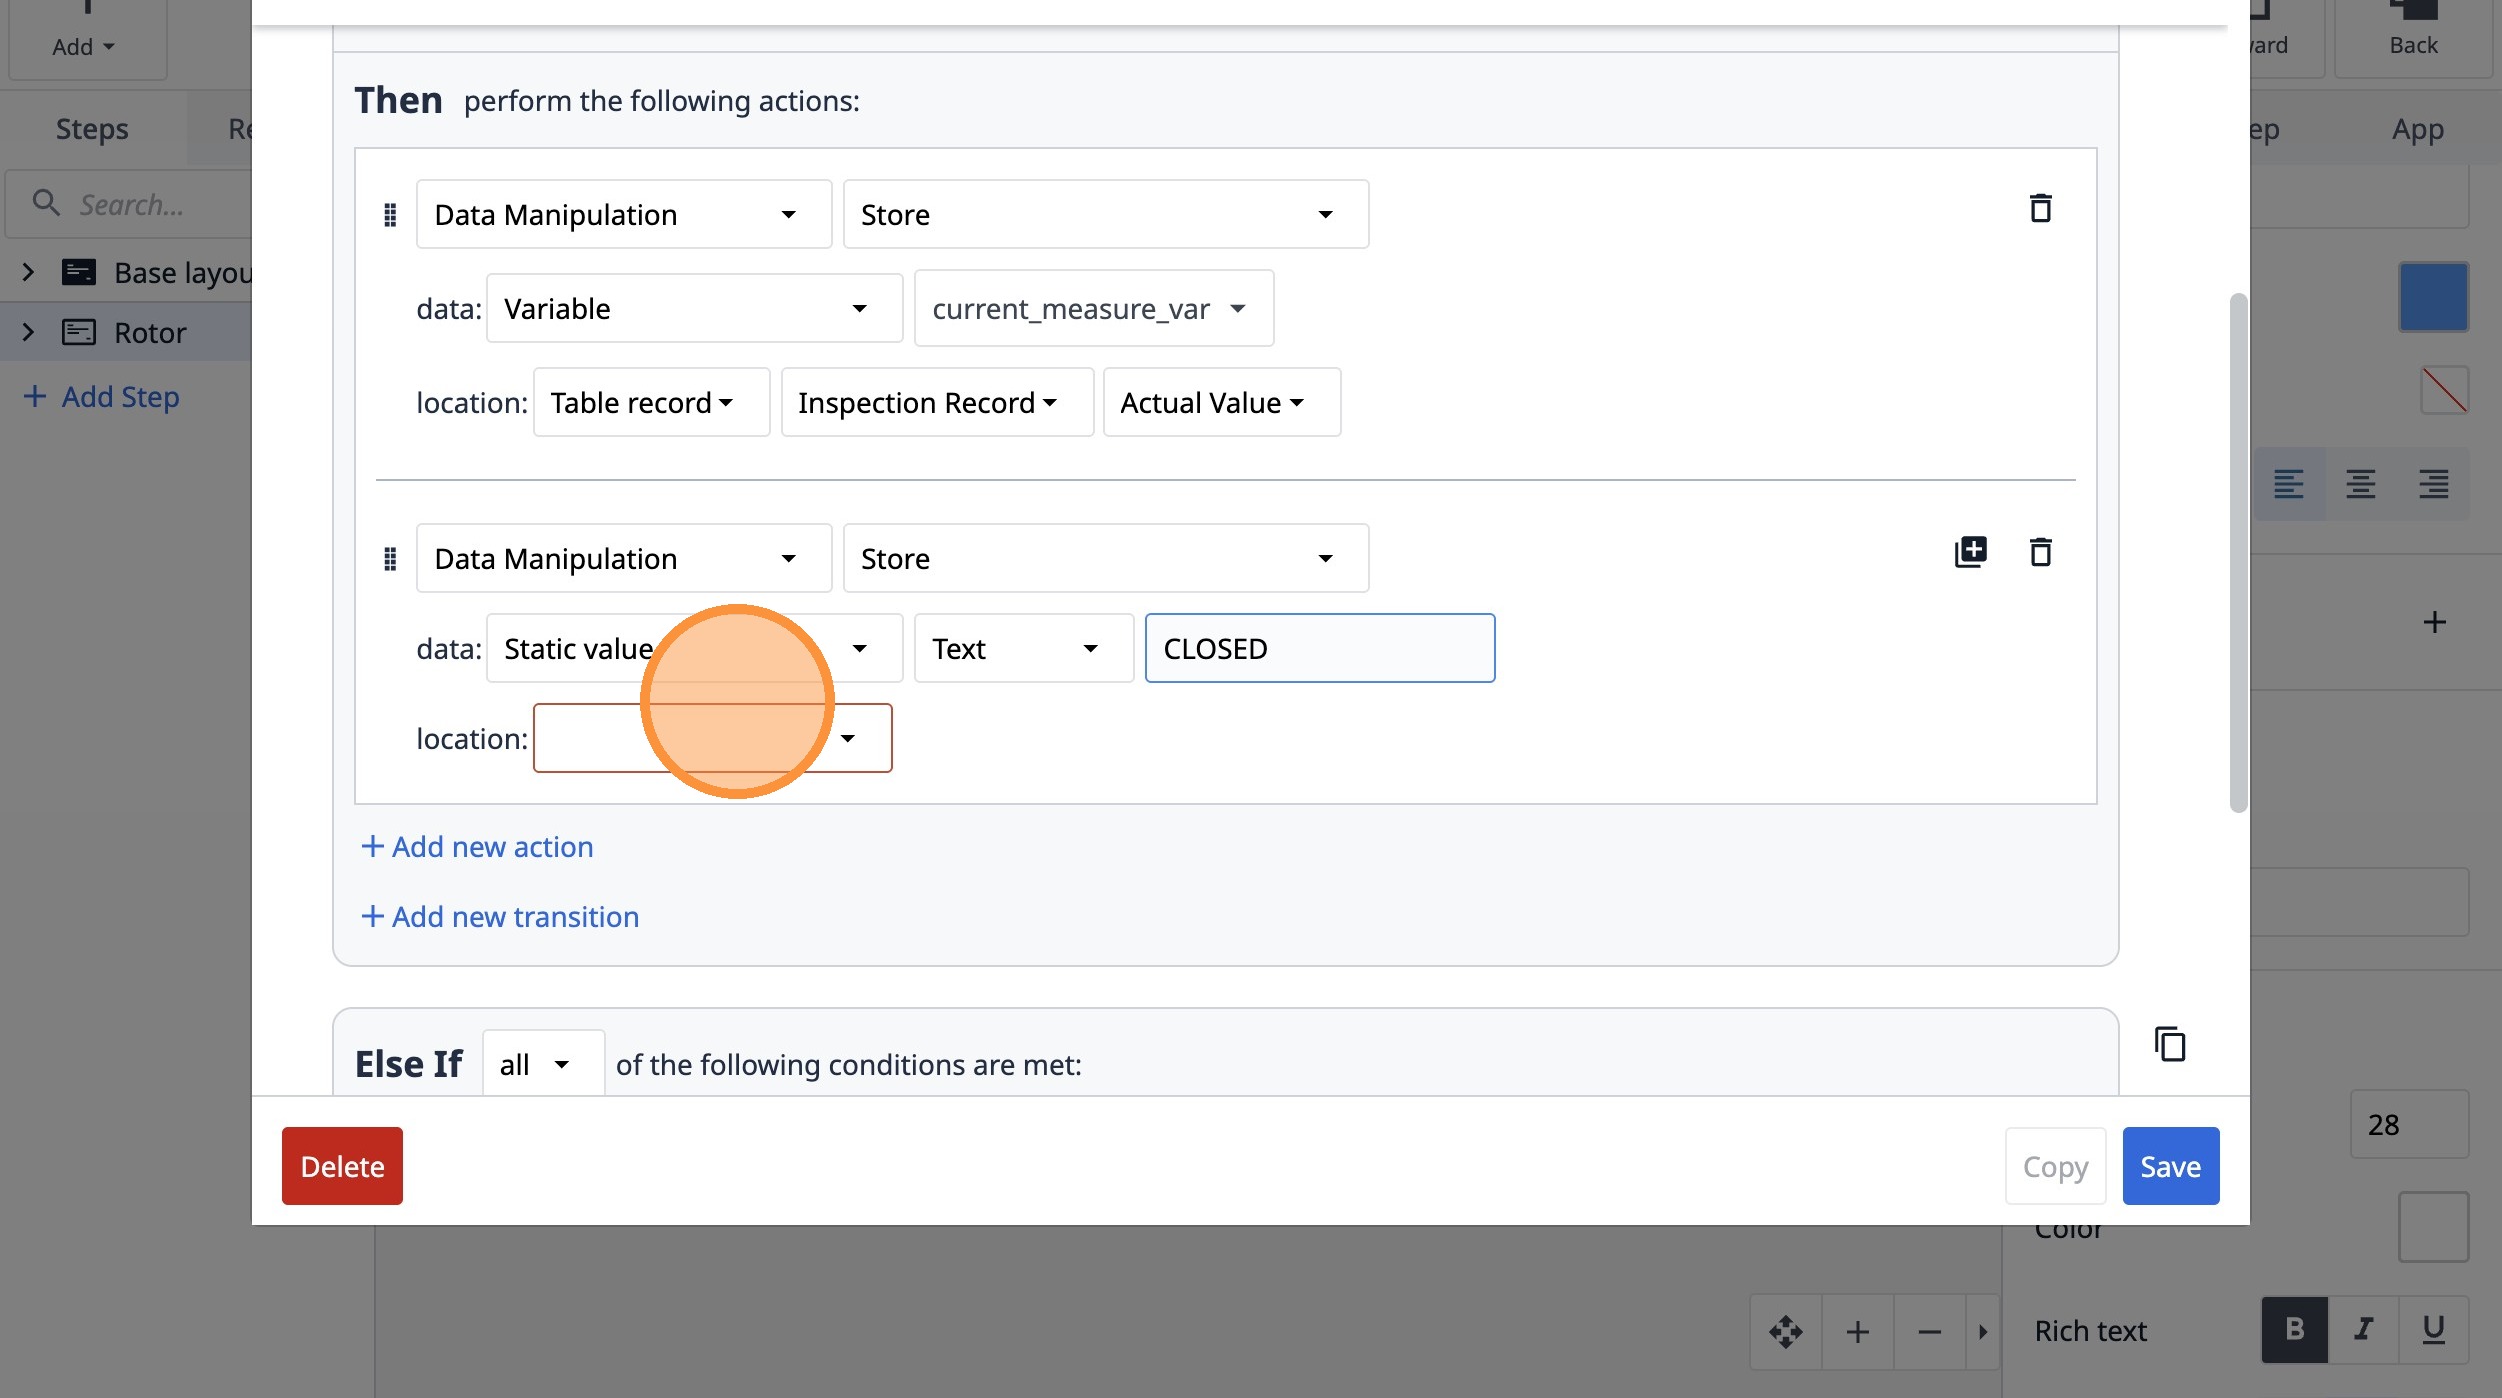
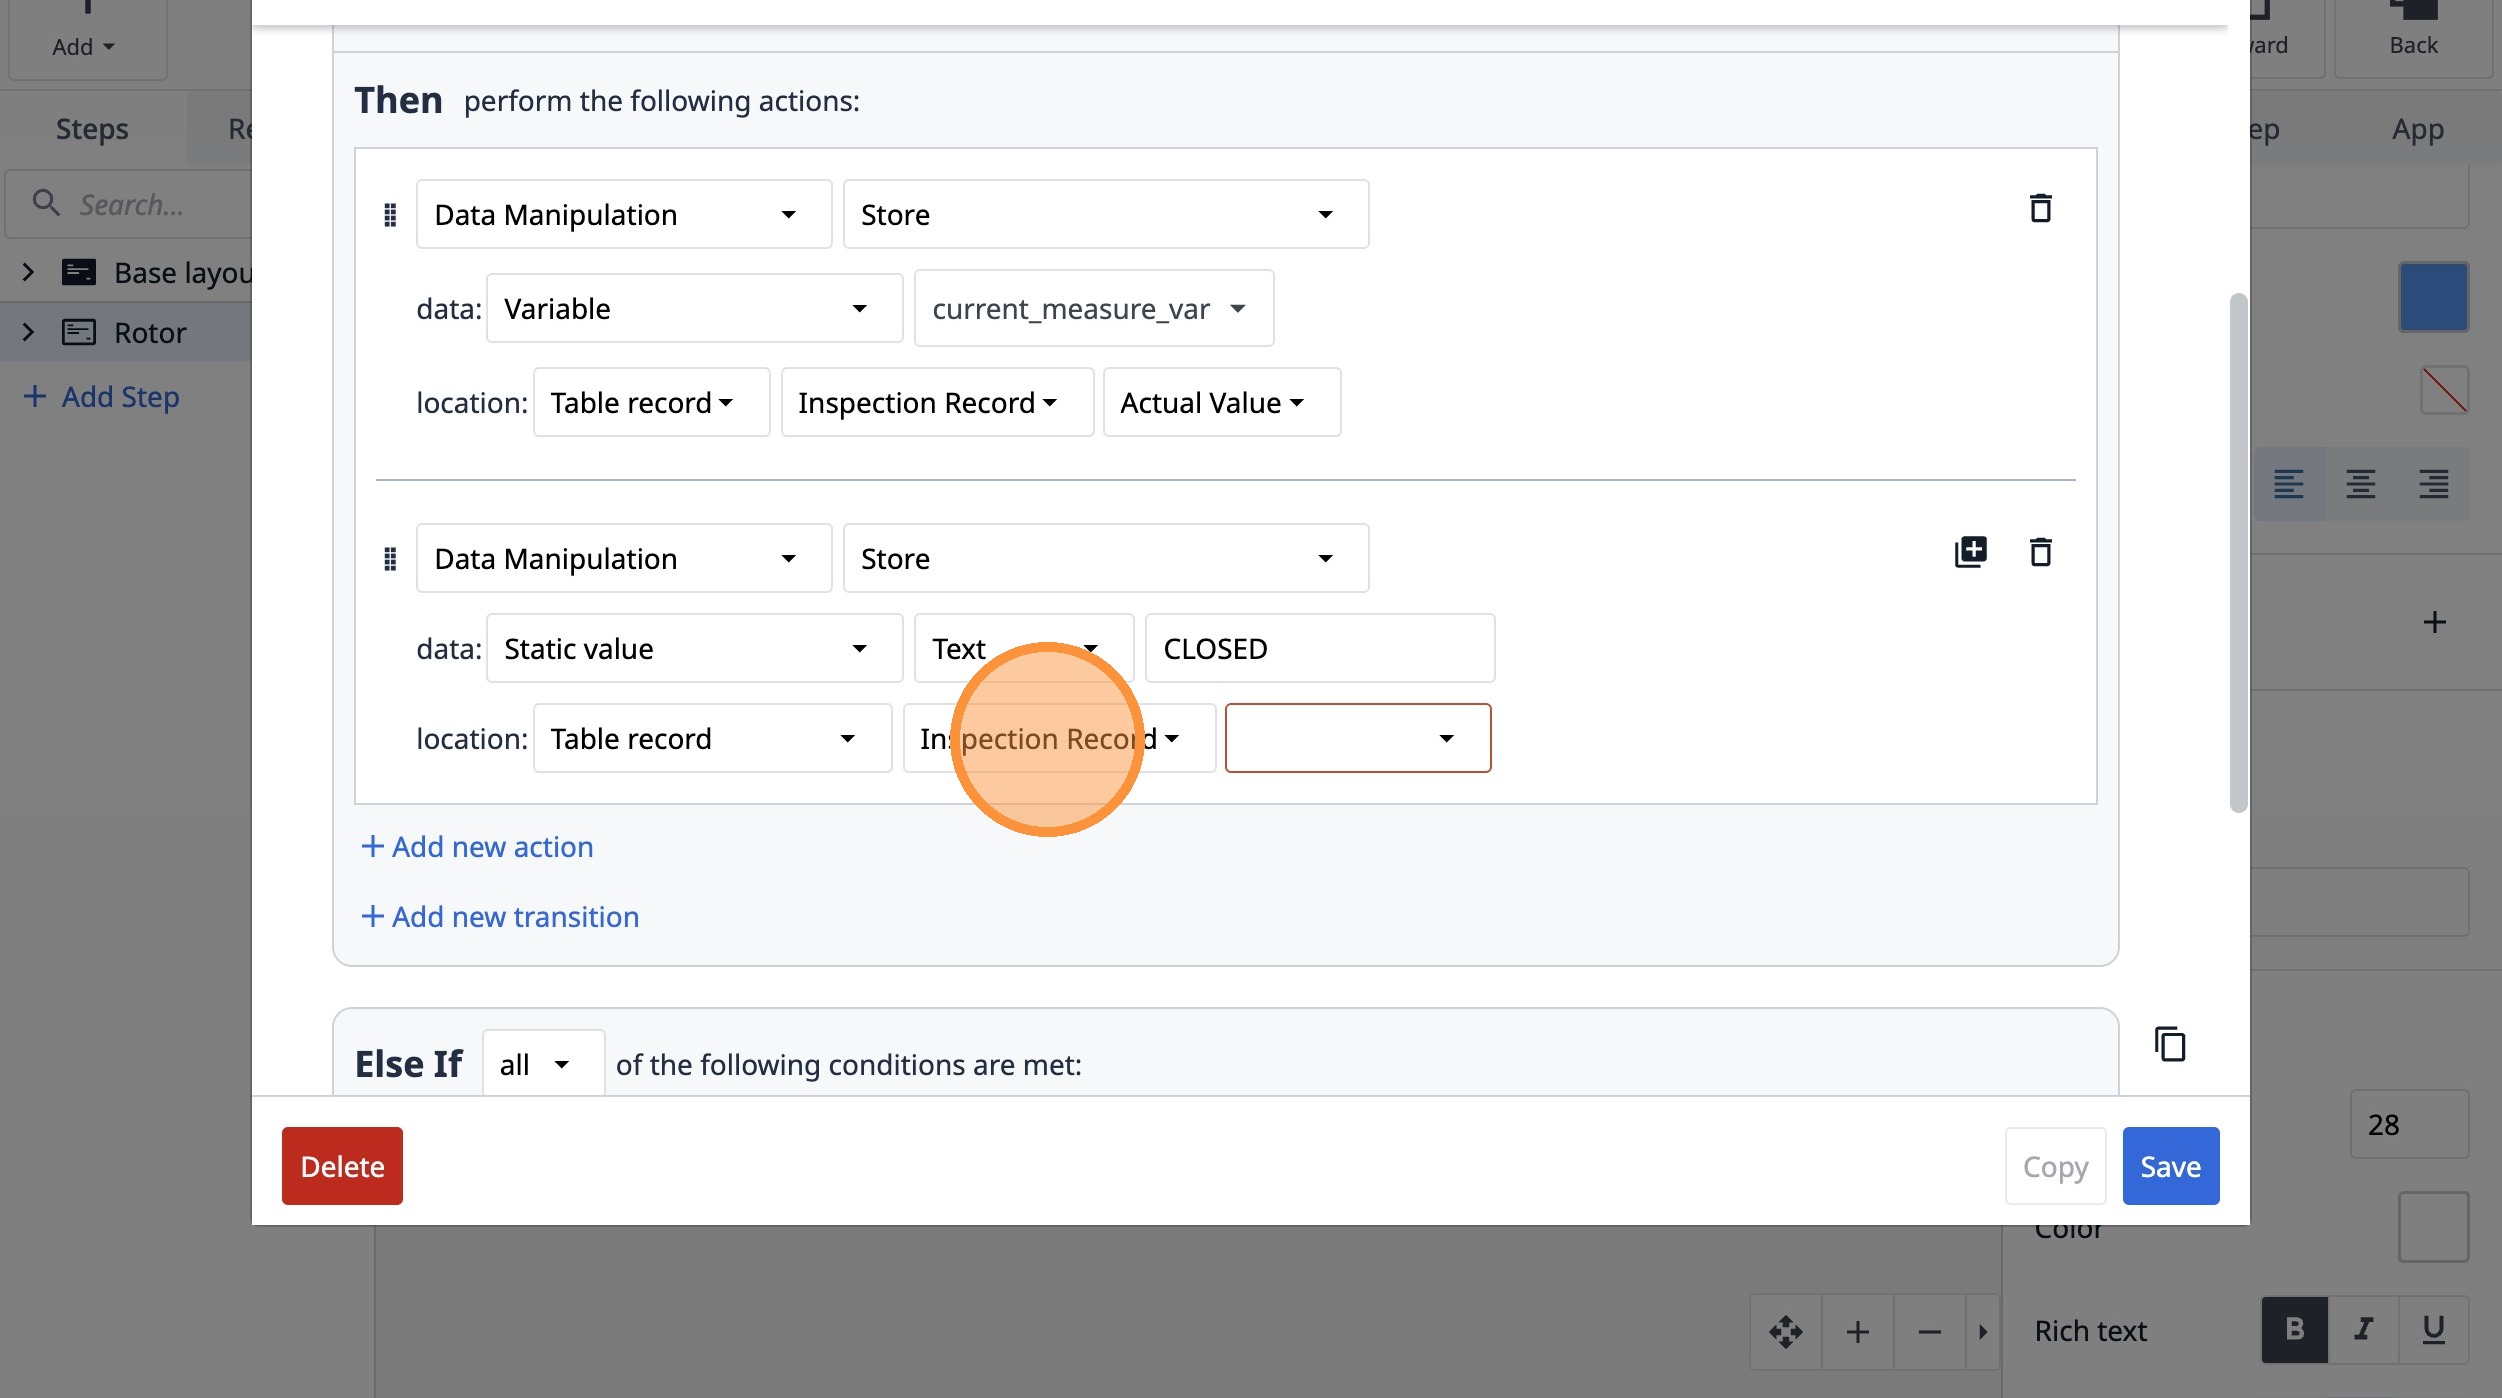
96. Select the "Table record" option.
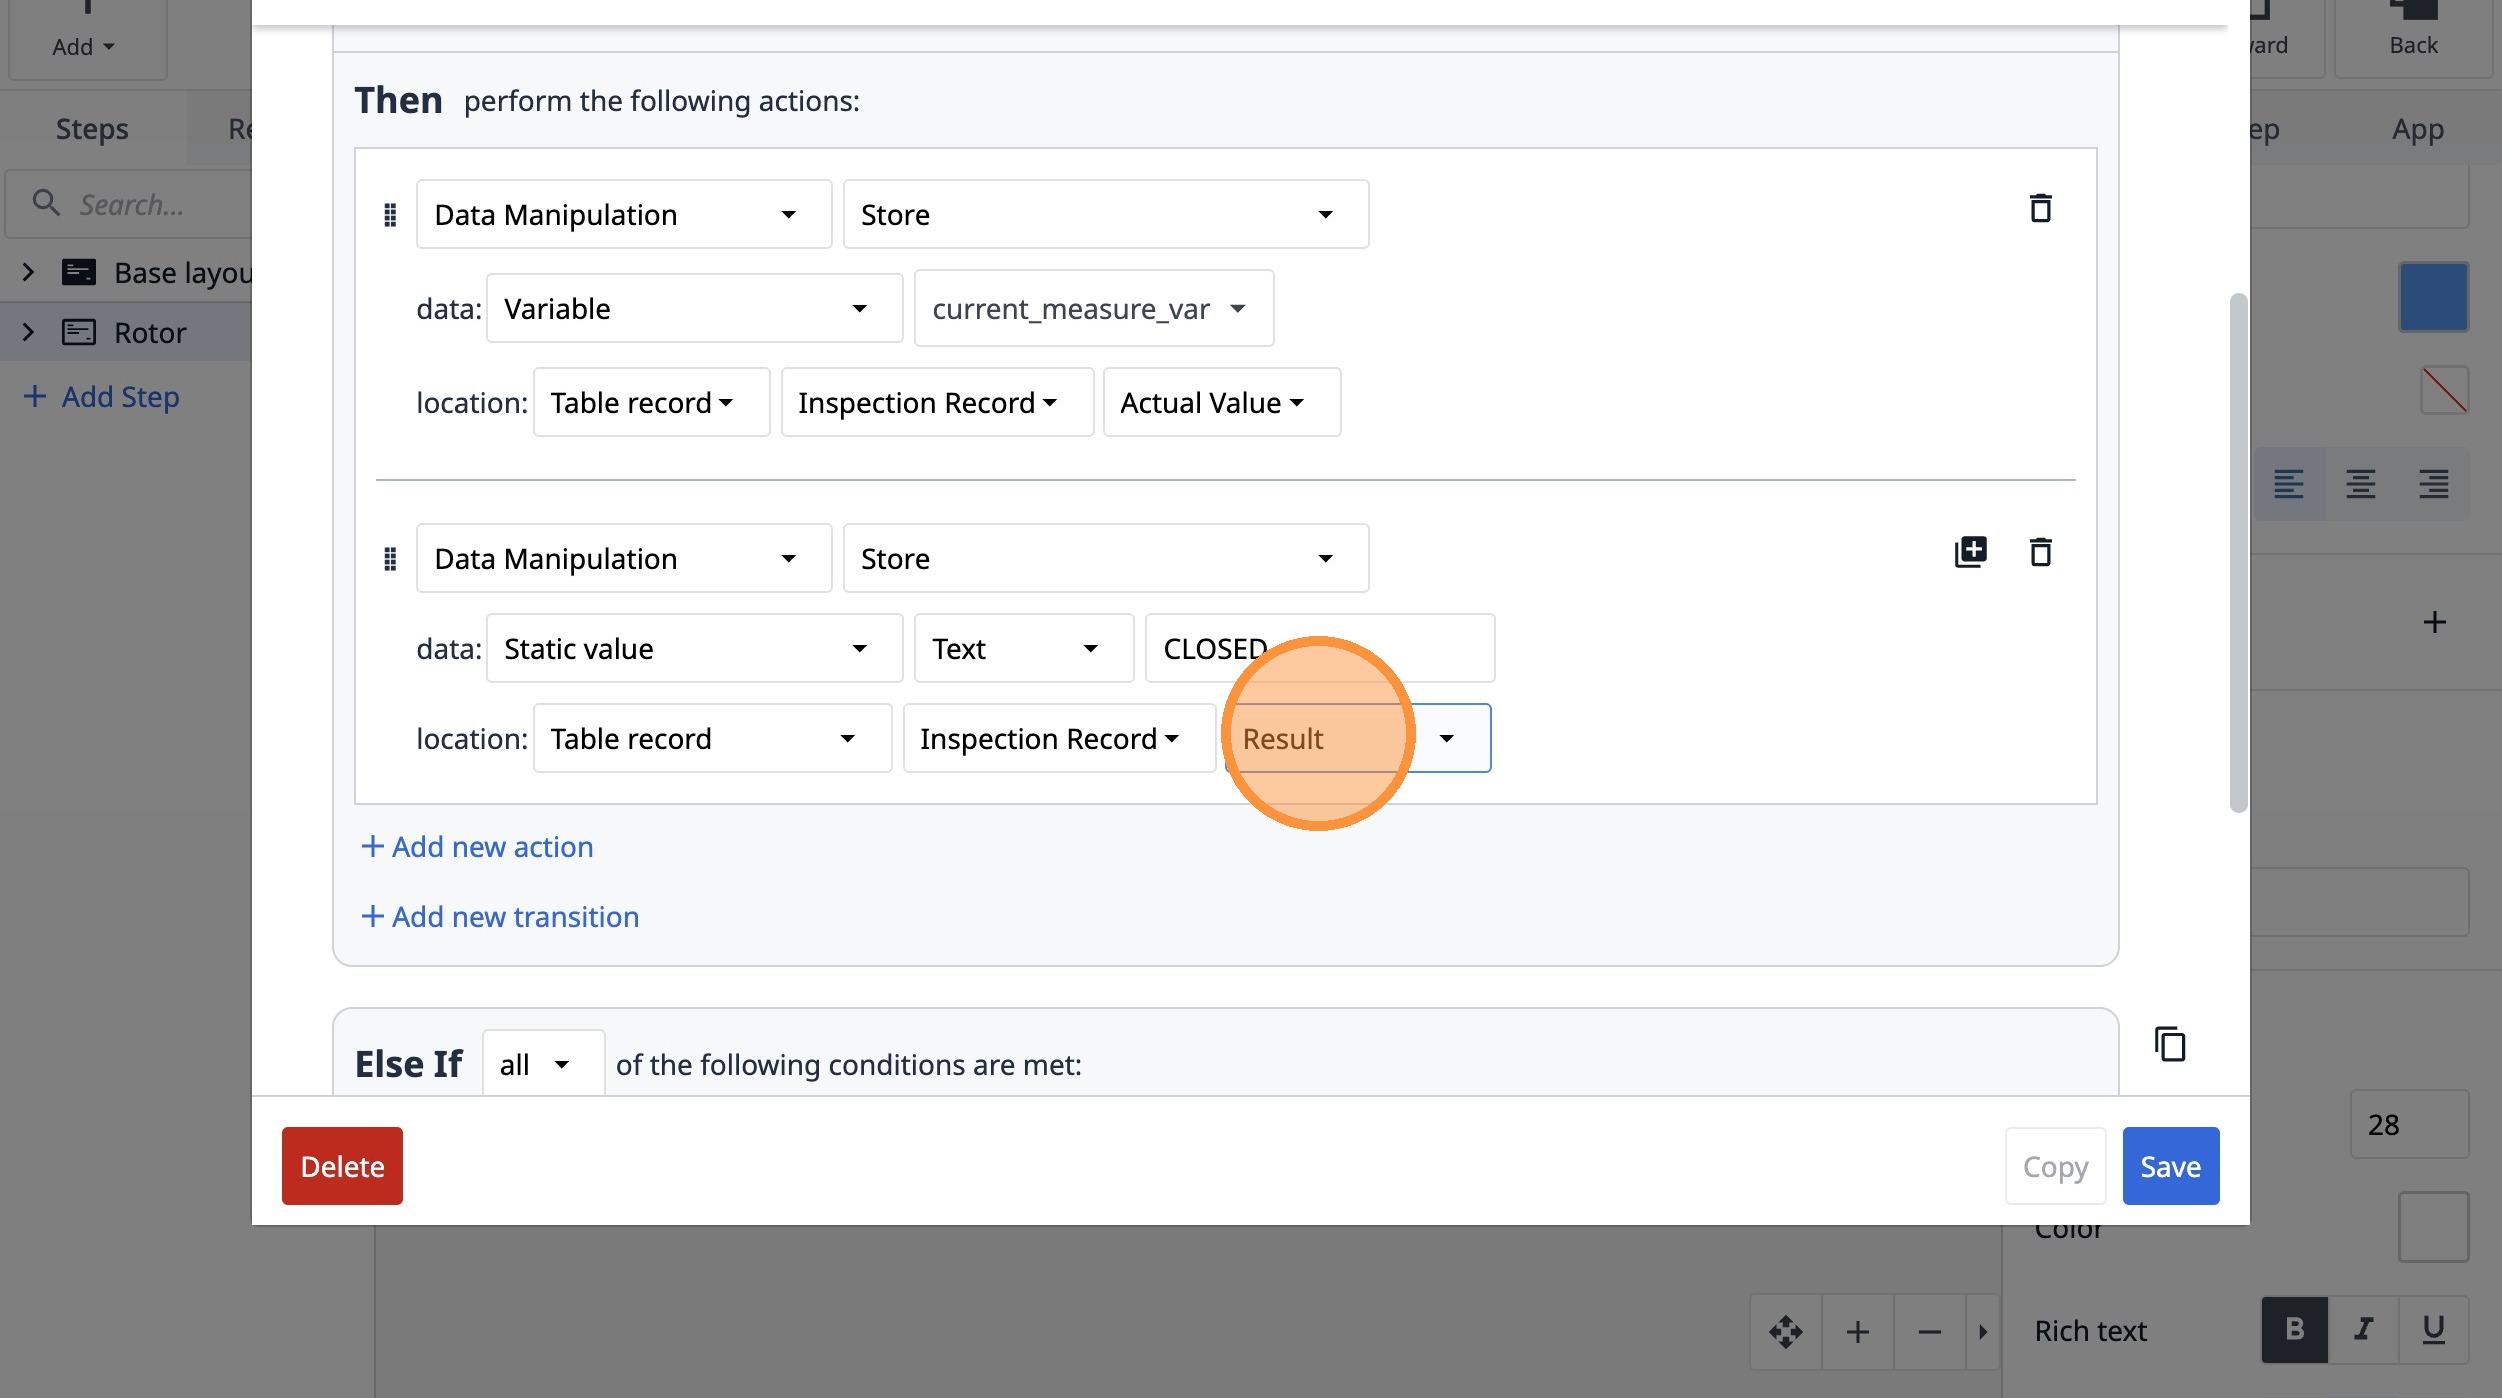
97. Select the "E8CHu4nttEjRPfTKC" option.
98. Select the "Result" option.
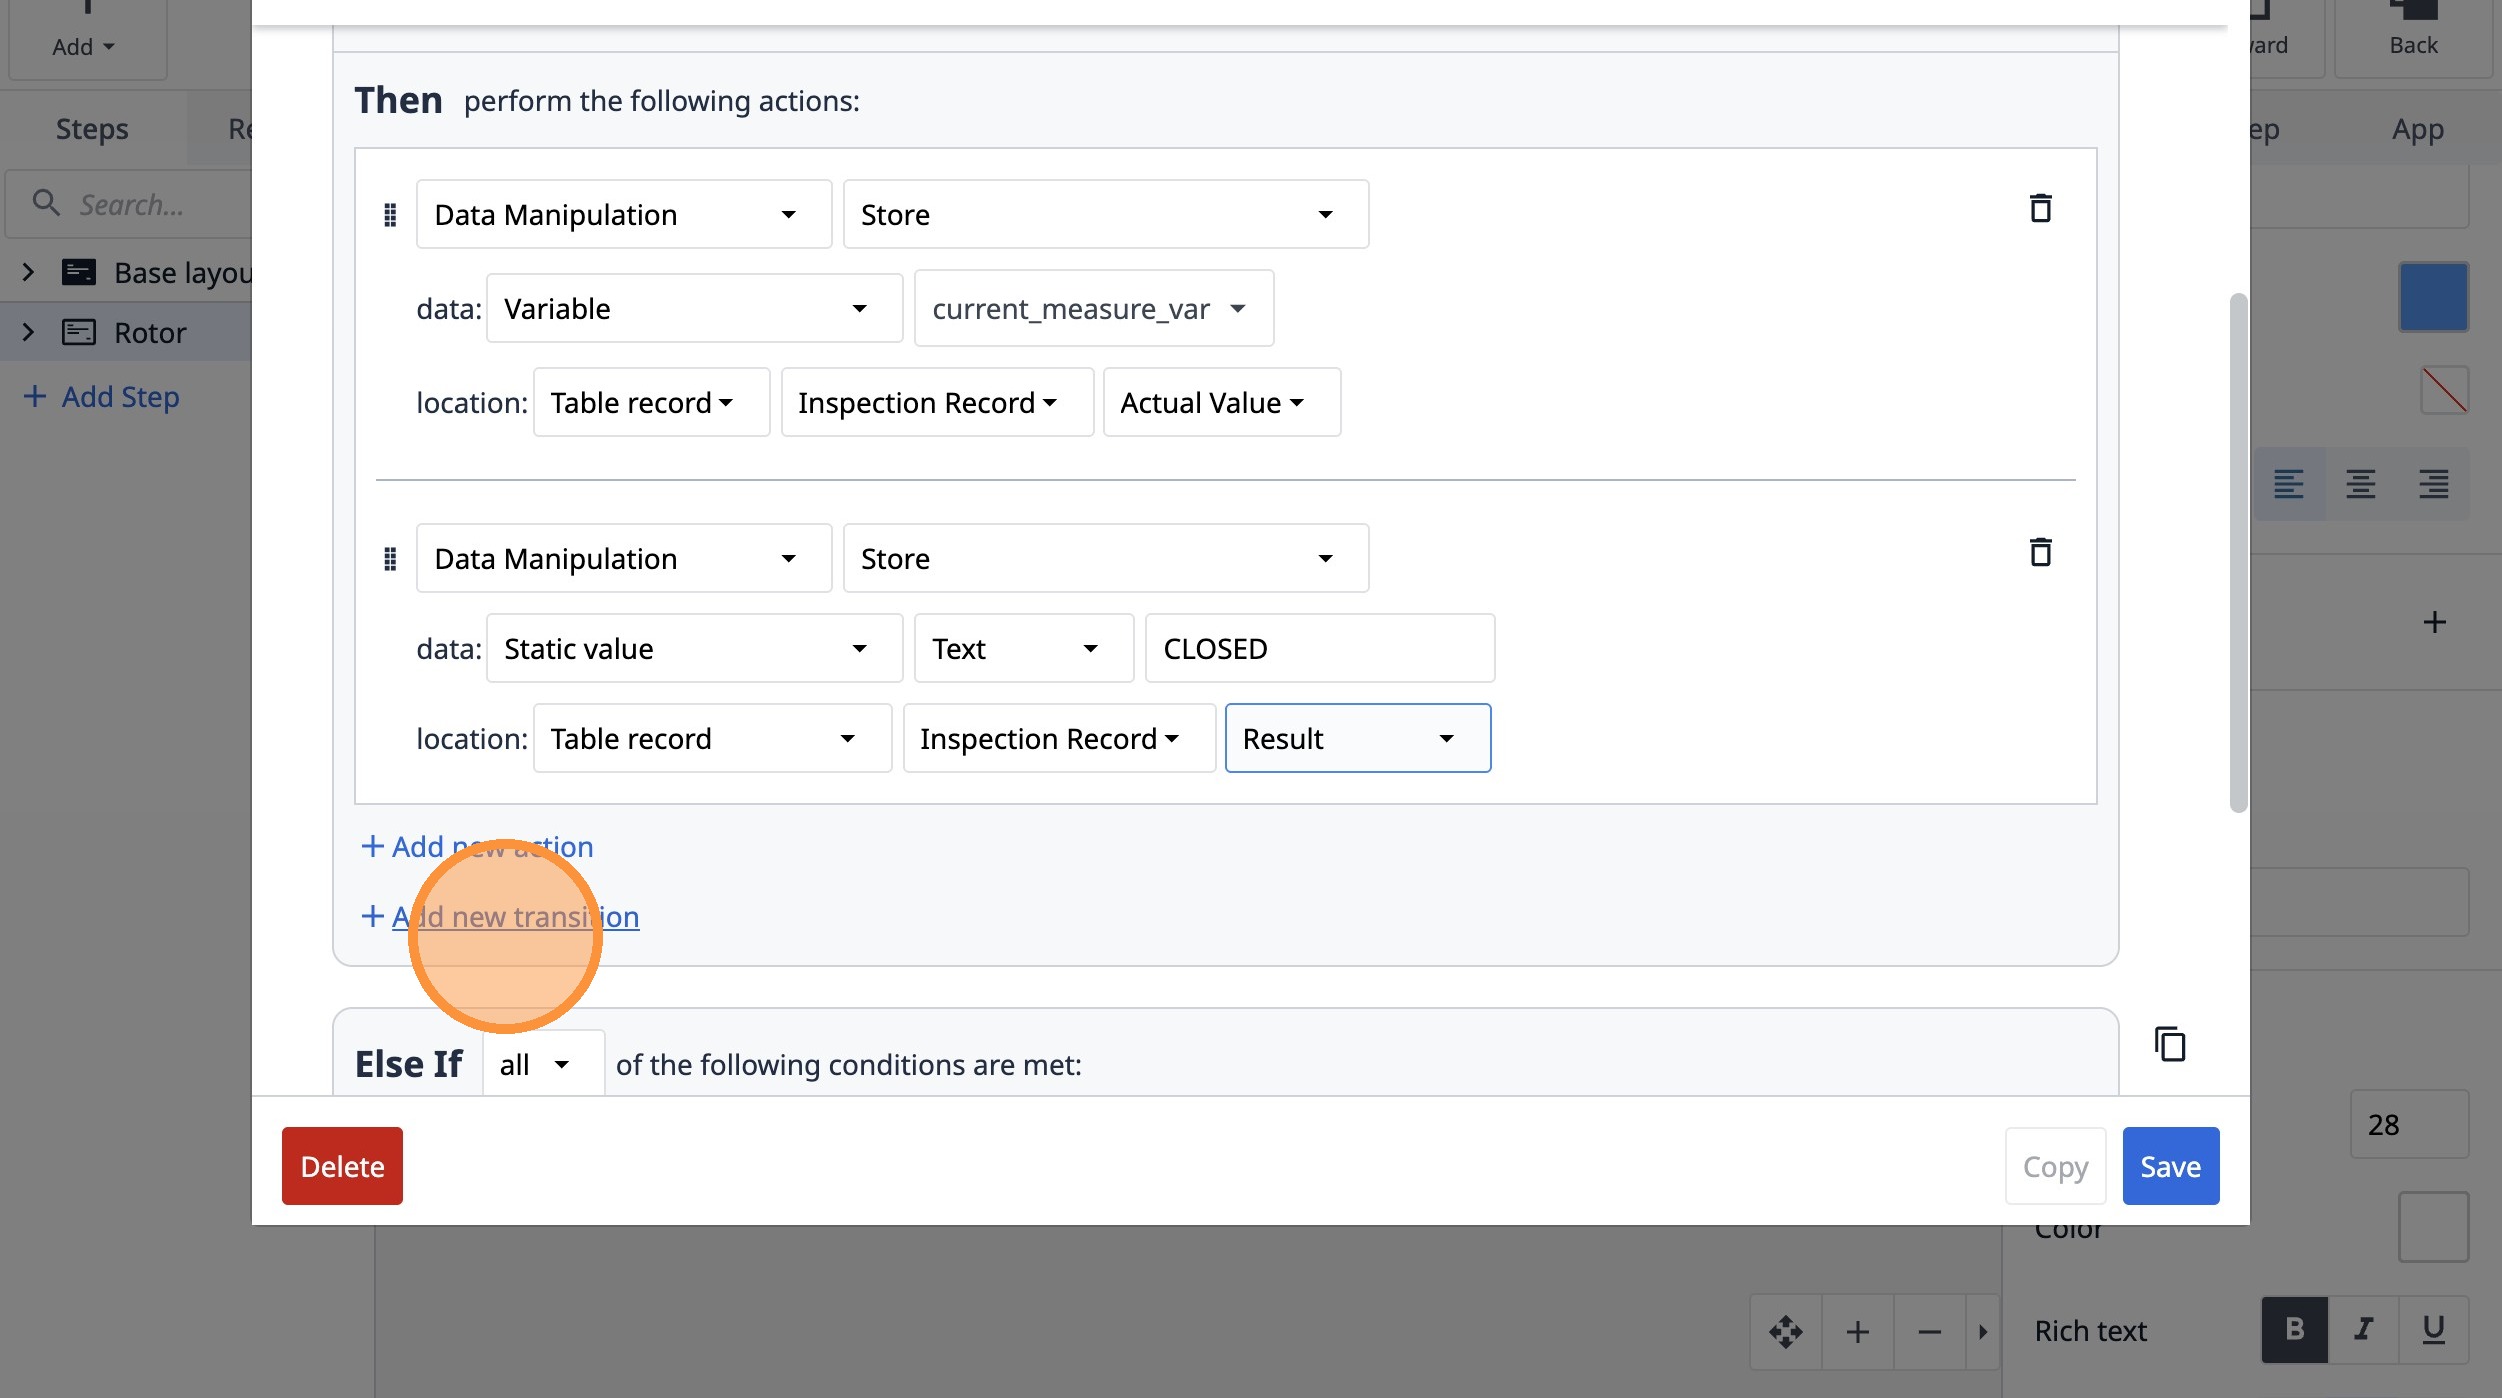
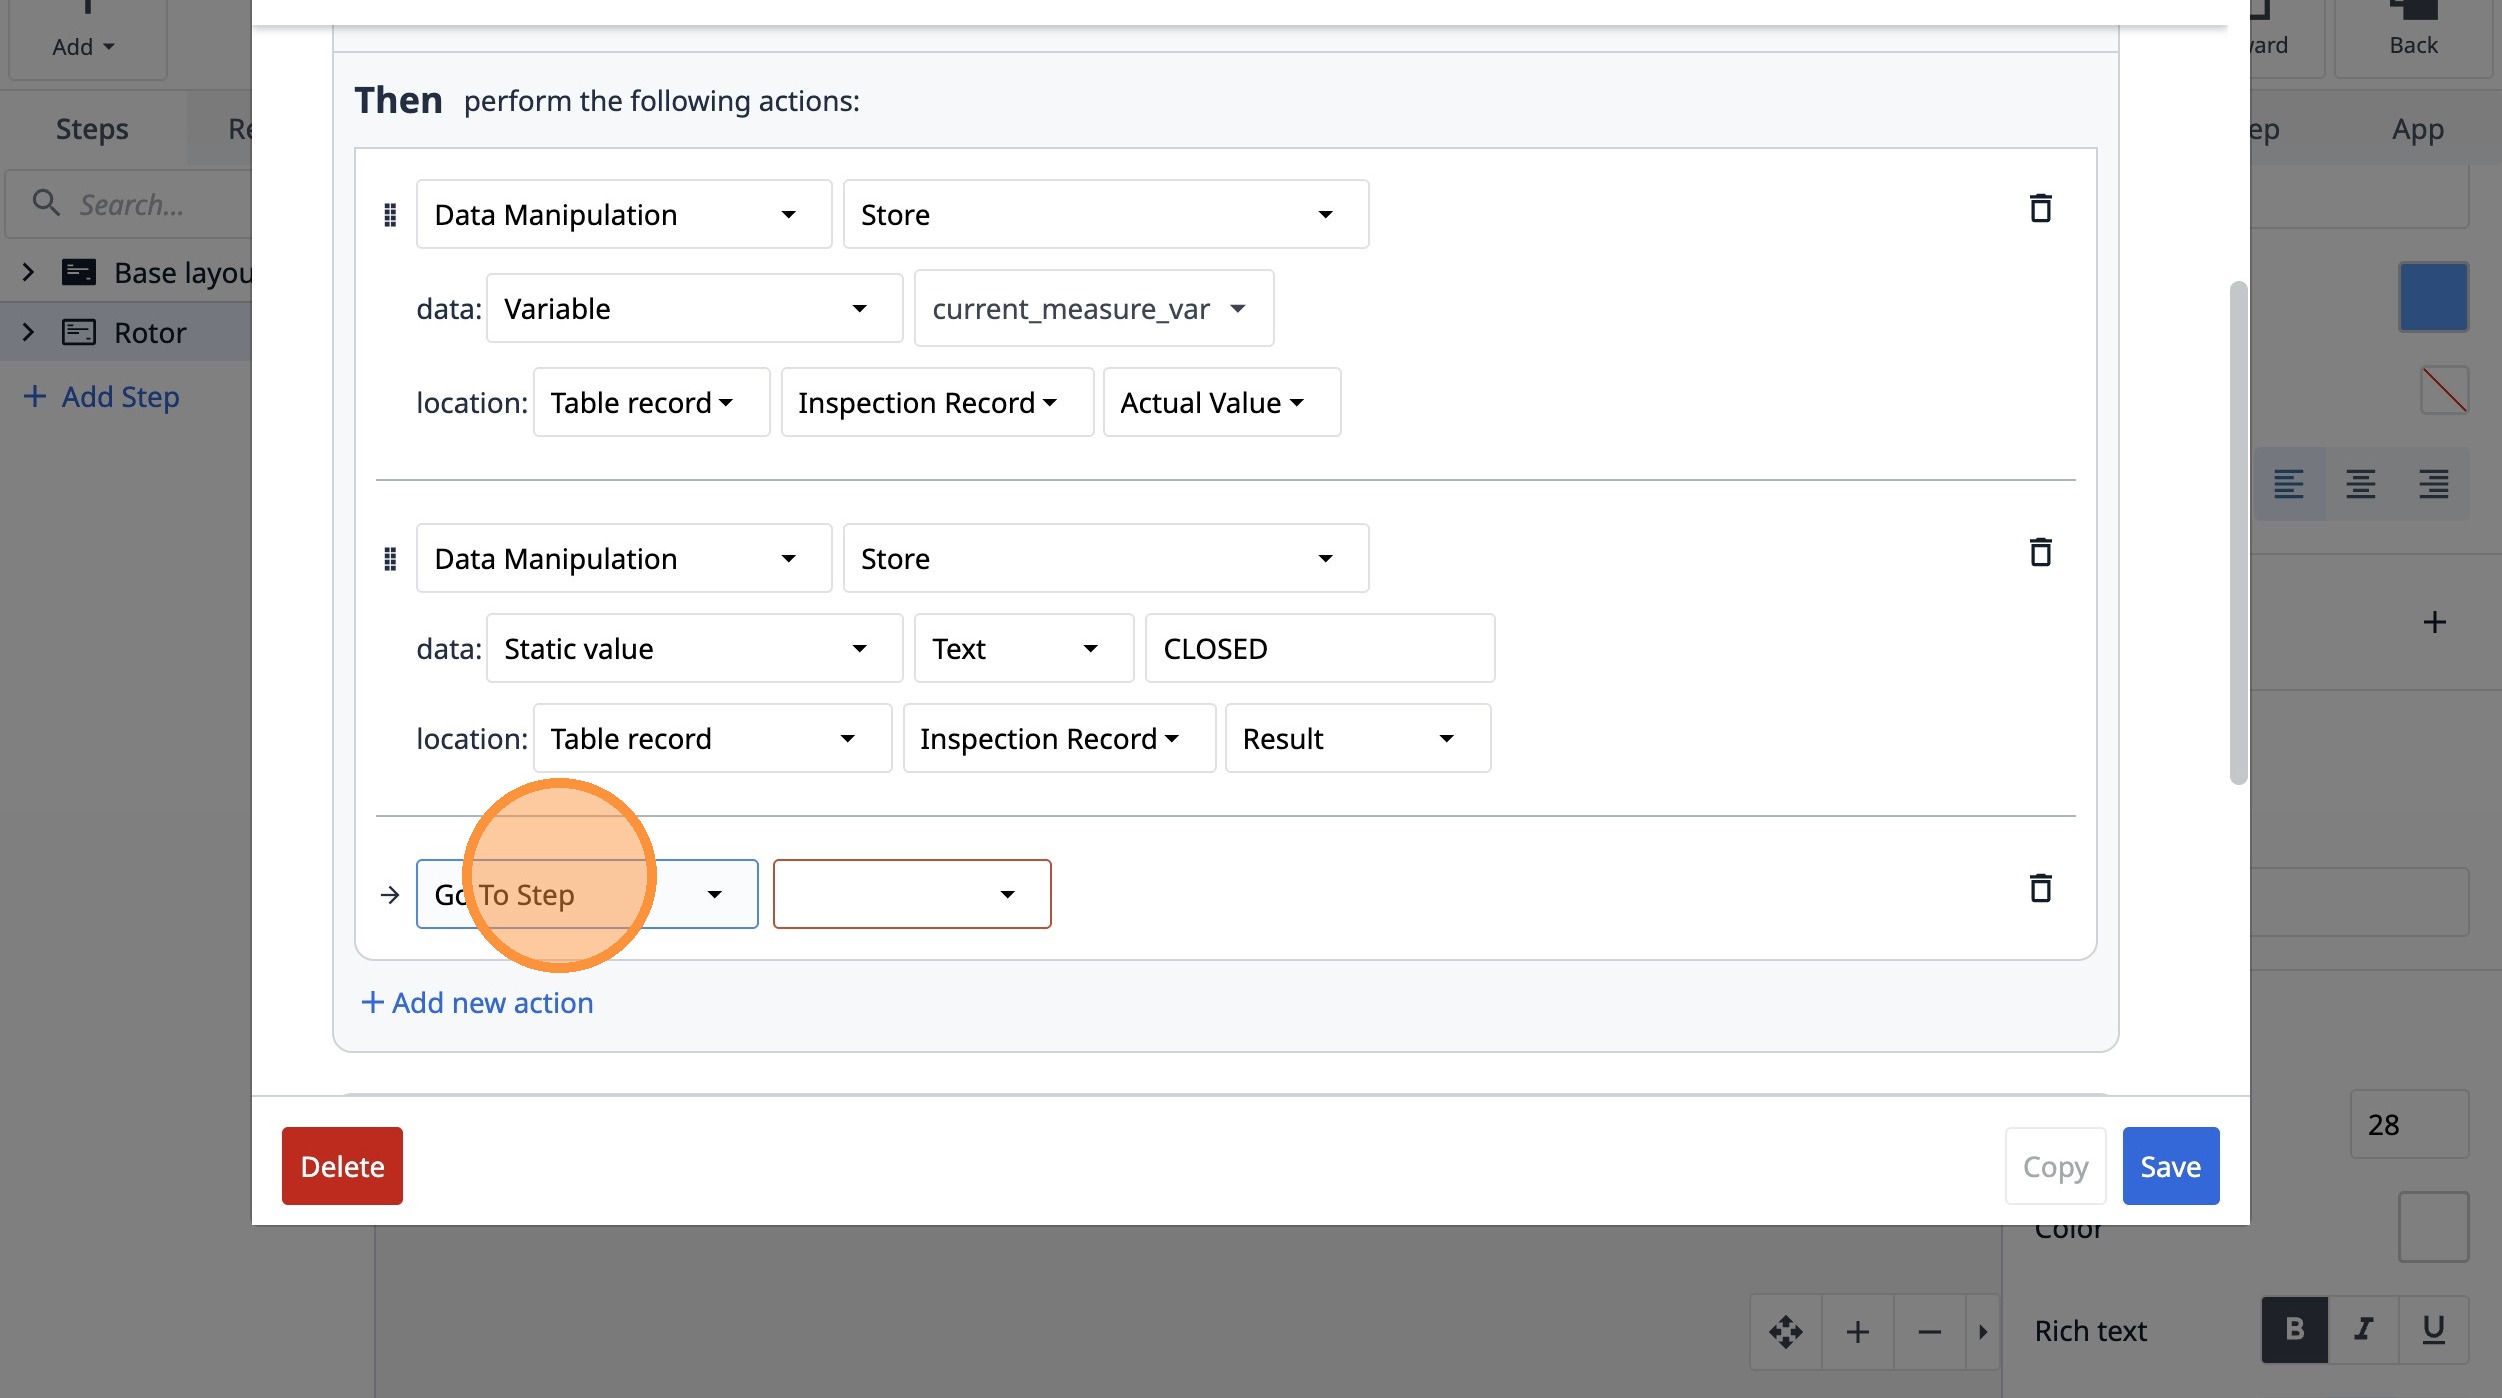
99. Click "Add new transition"
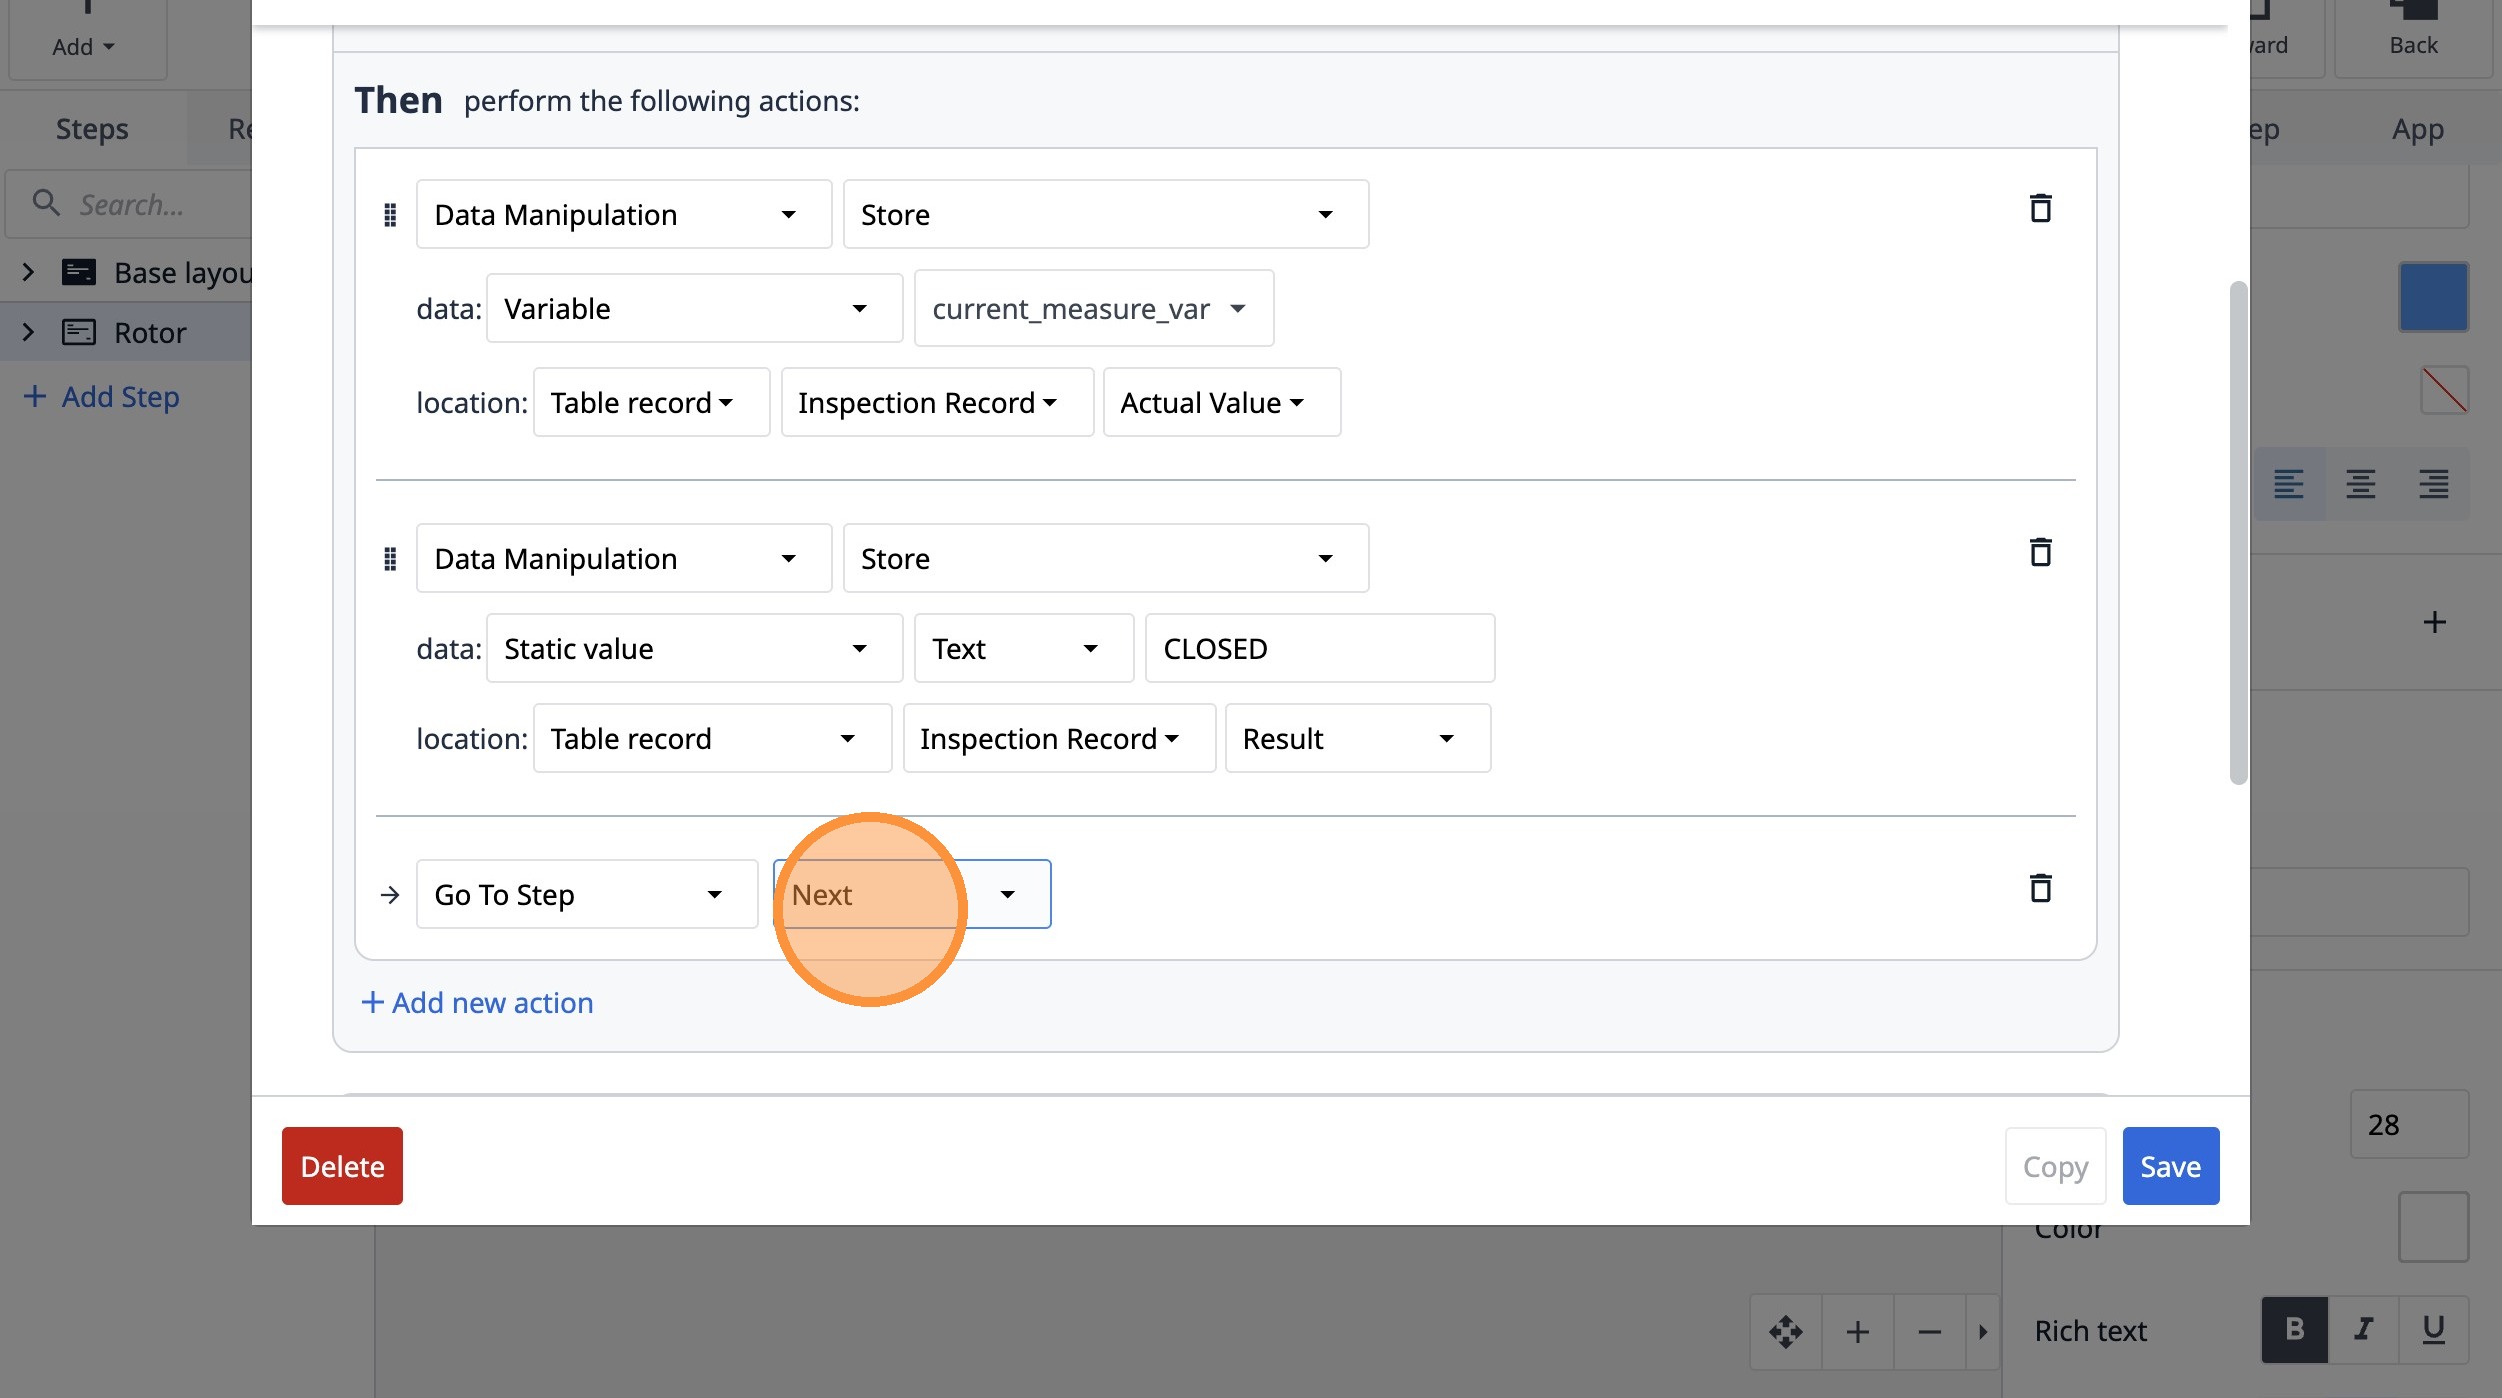
100. Select the "Go To Step" option.
101. Select the "Next" option.
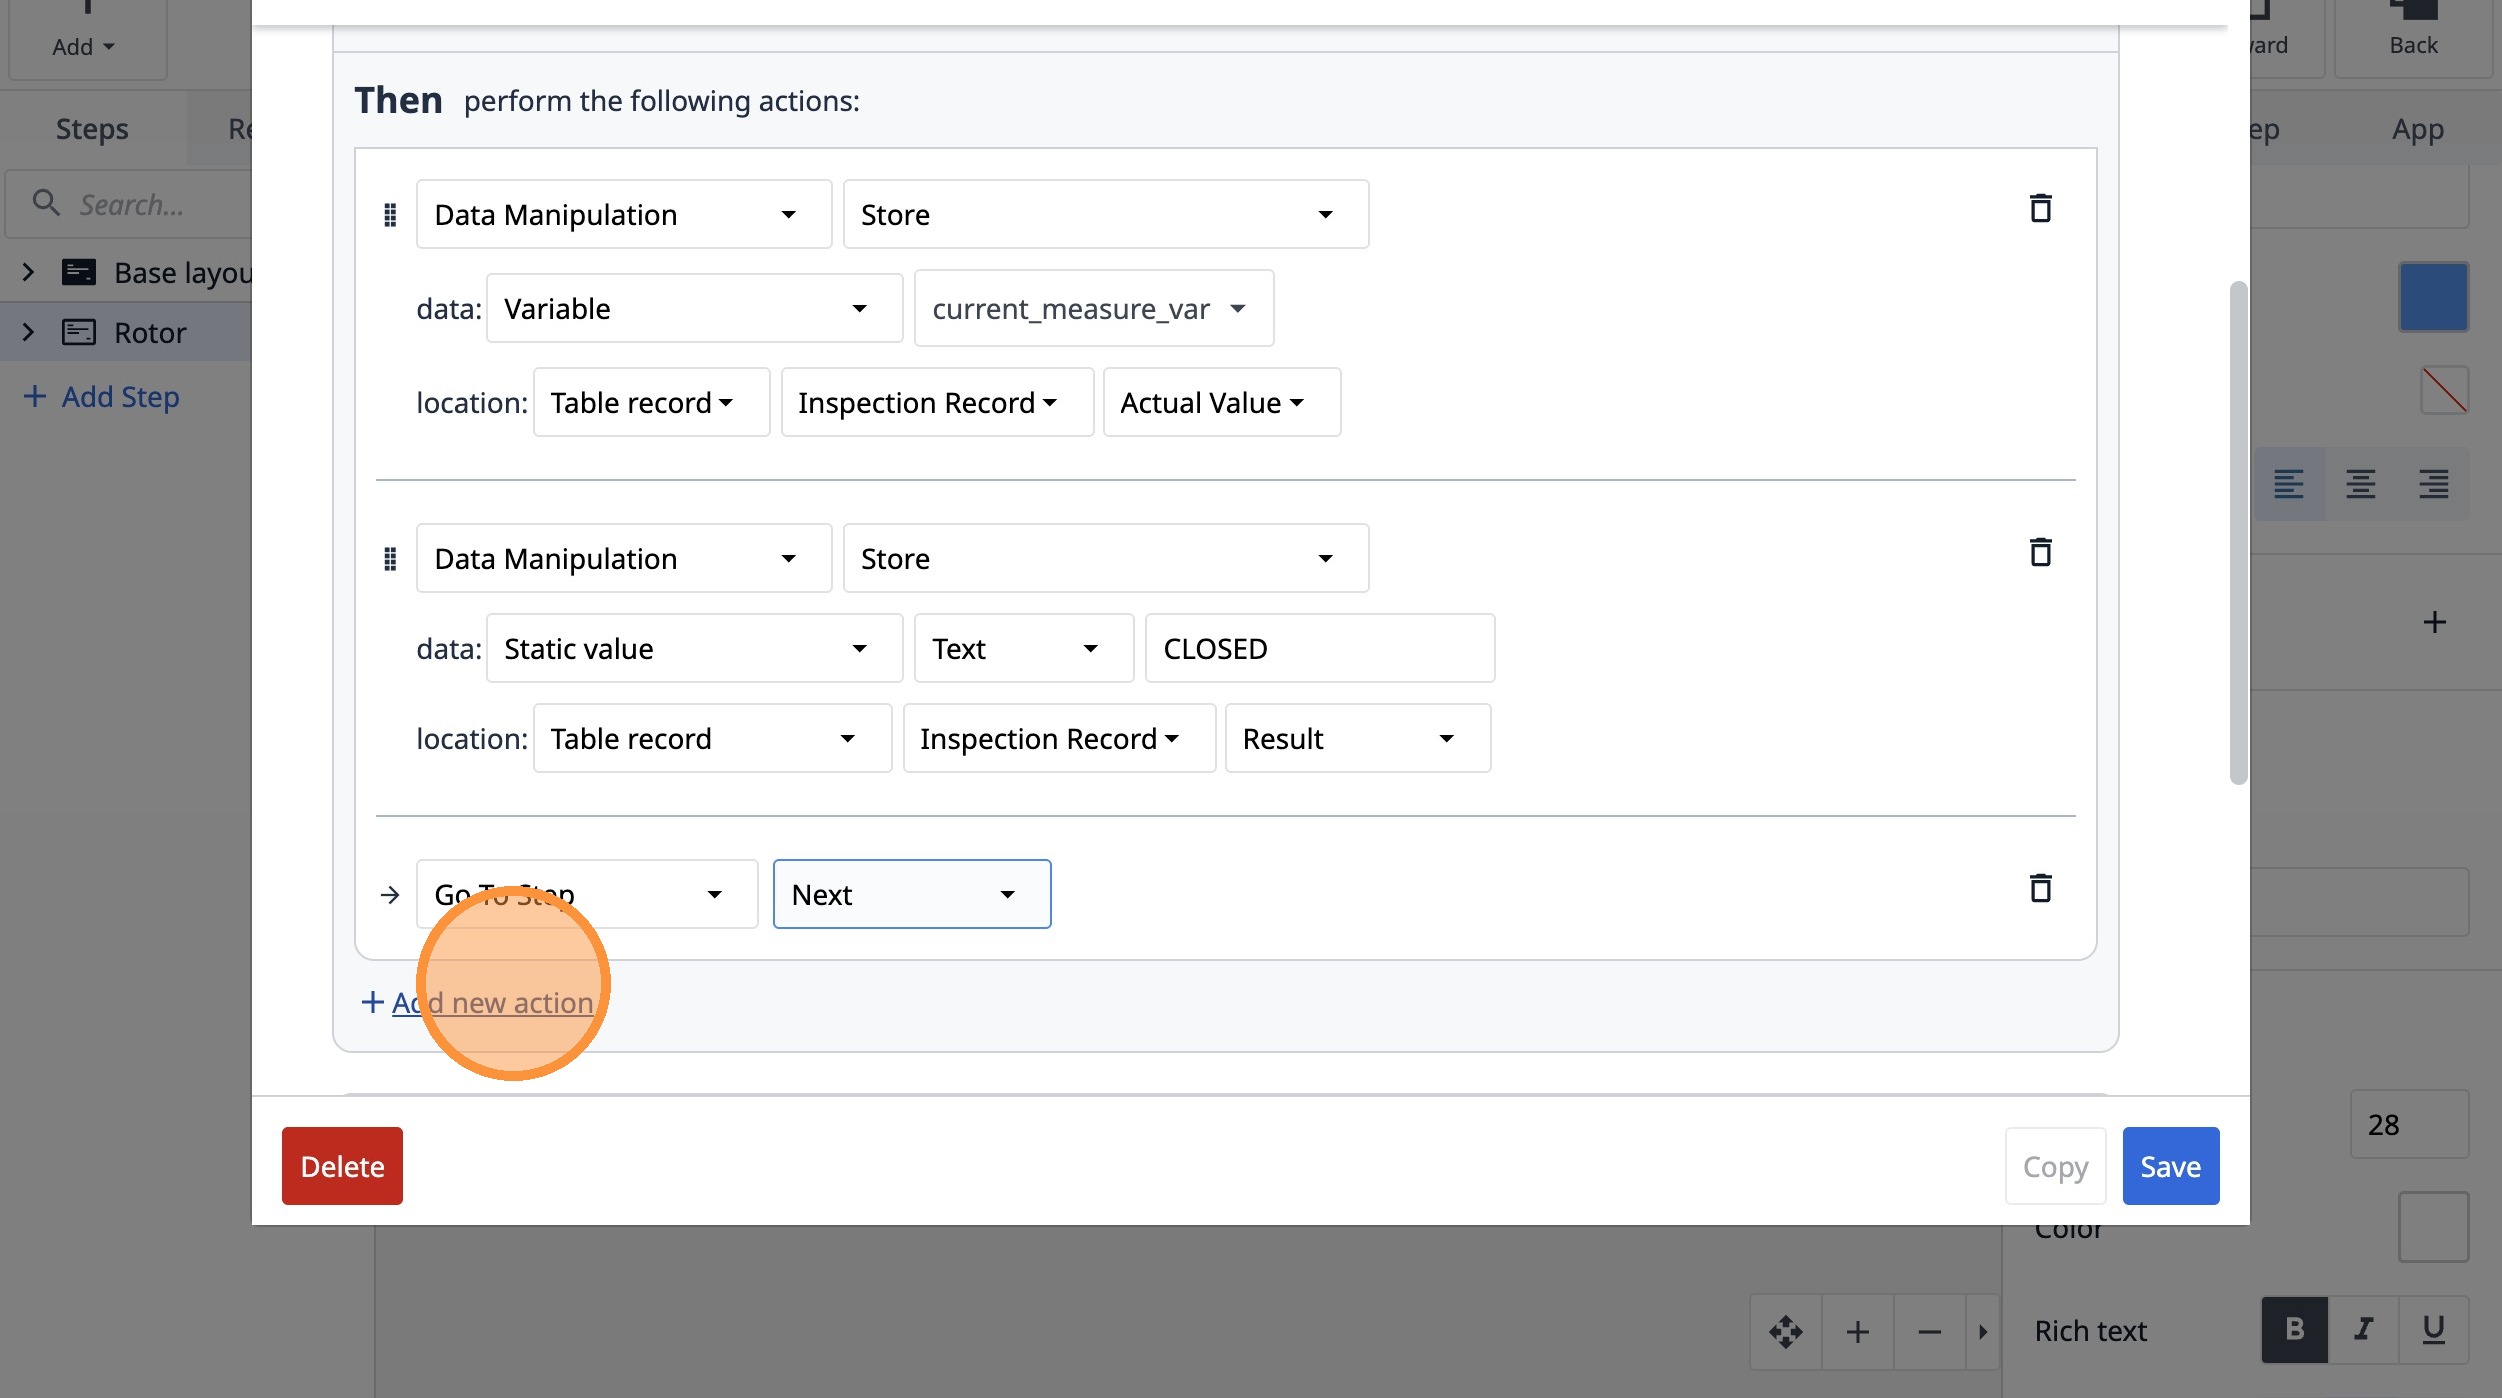
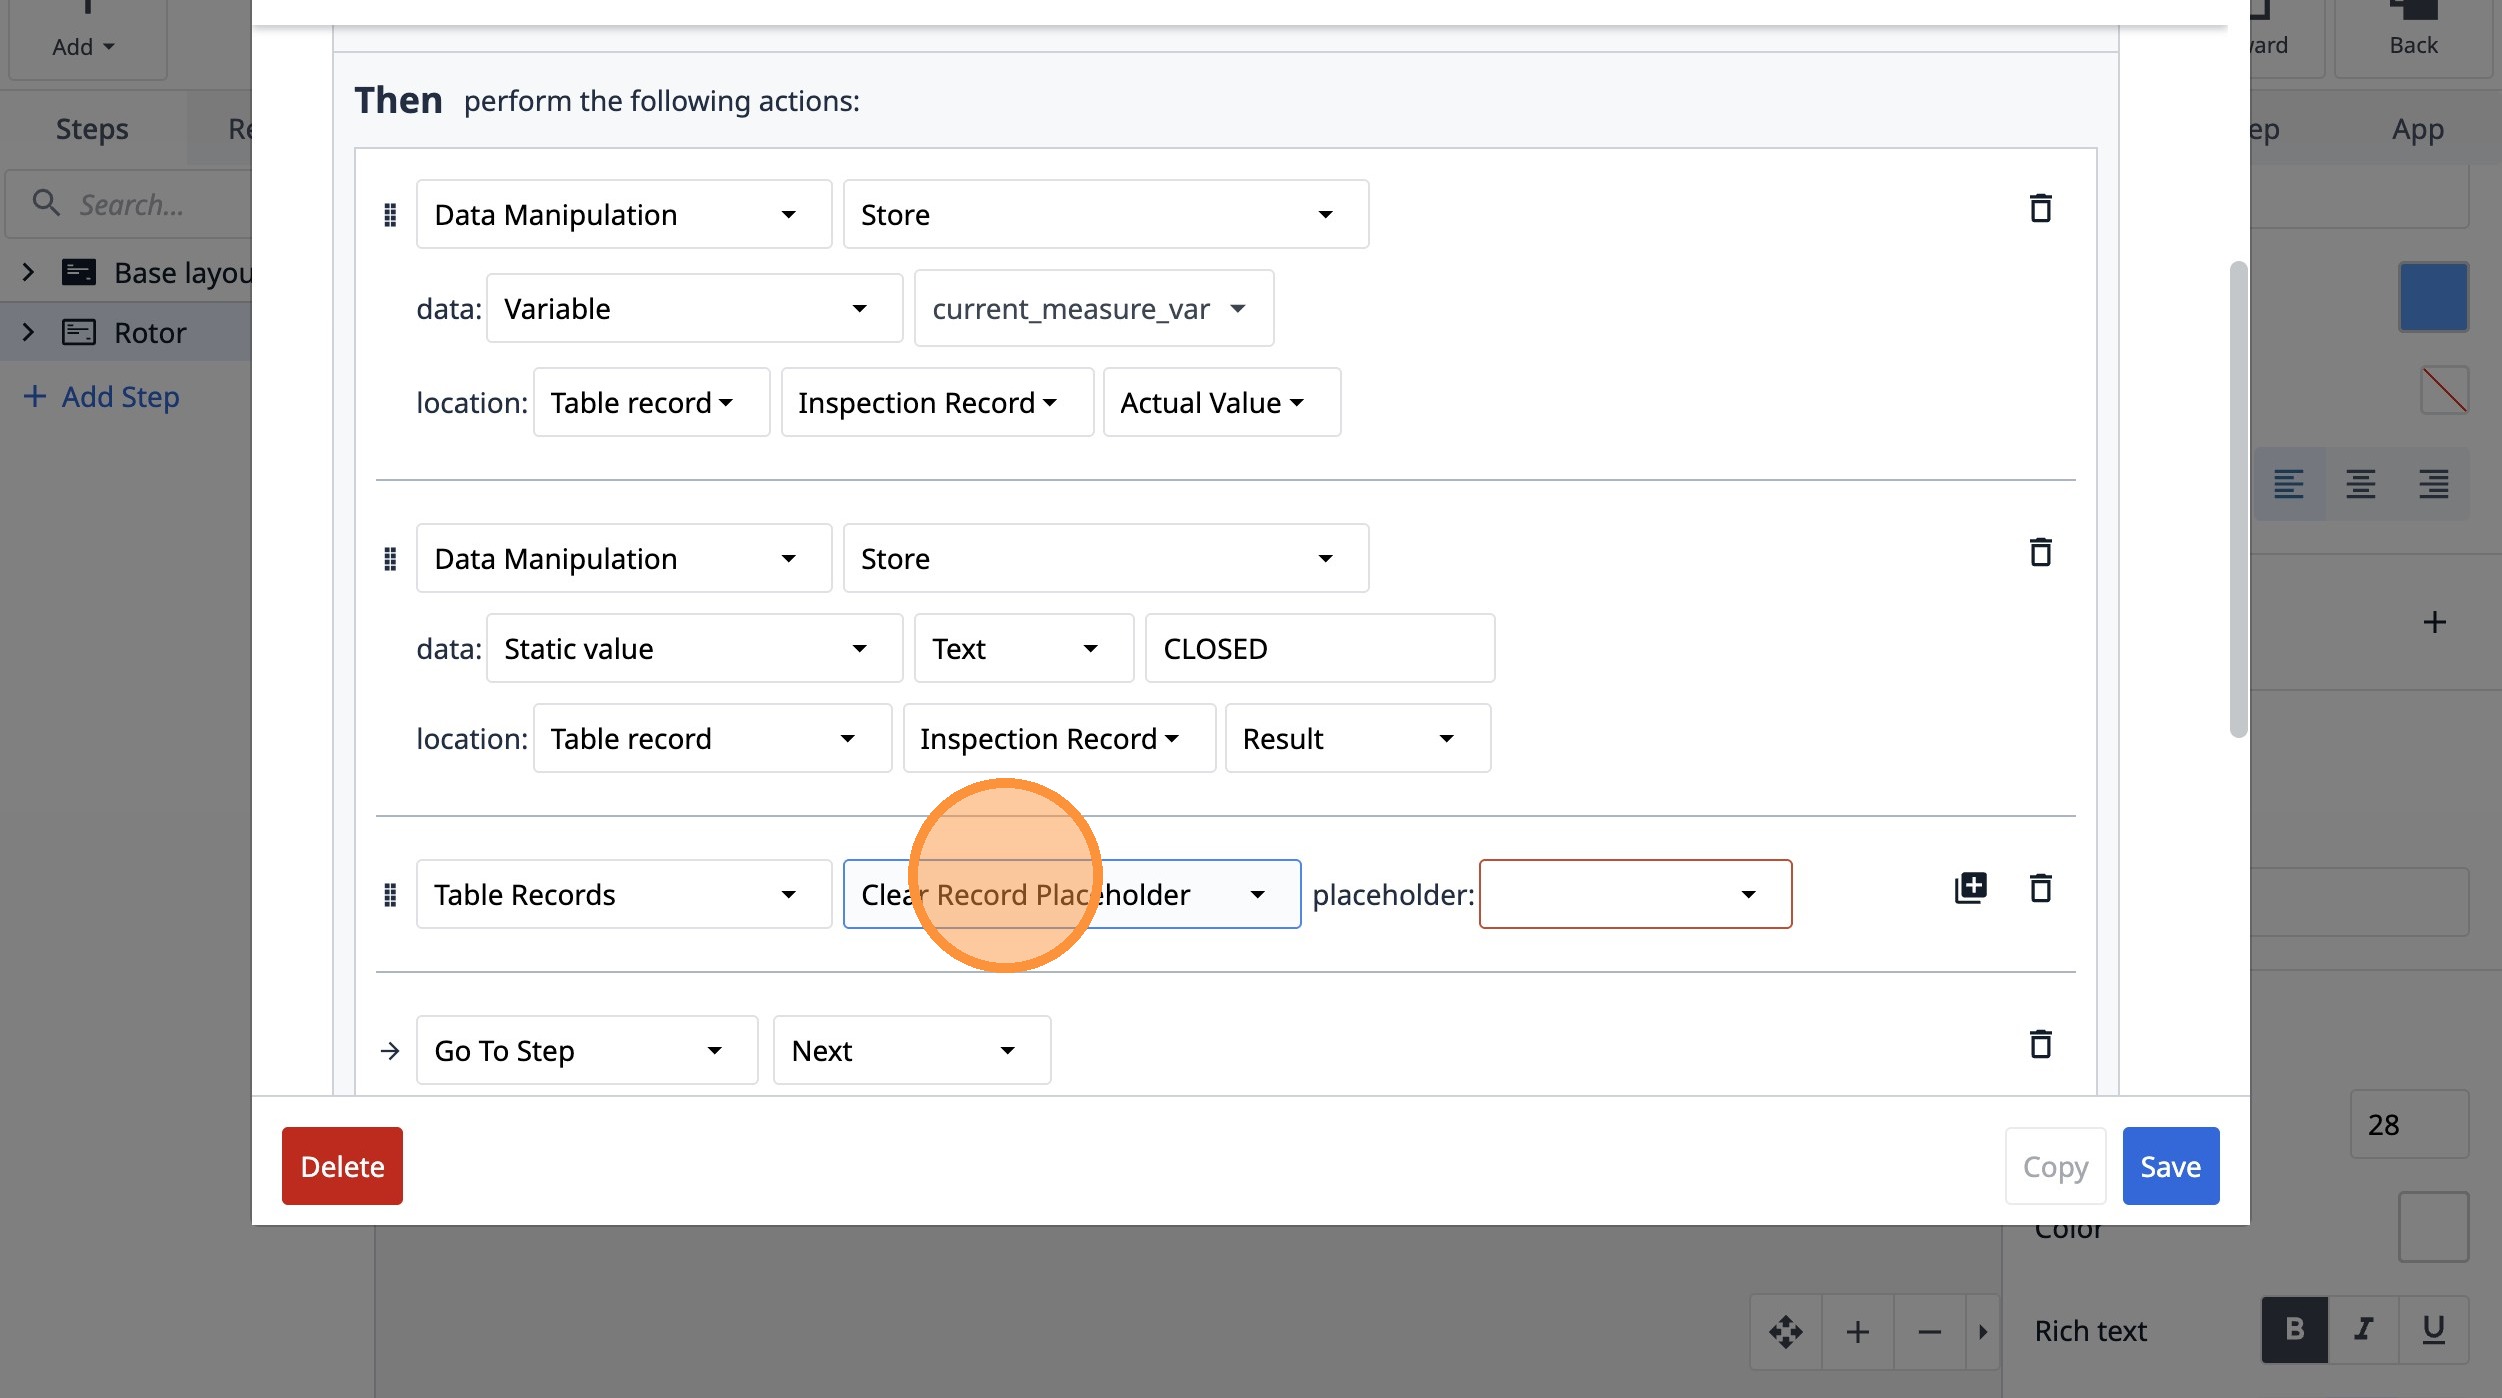
102. Click "Add new action"
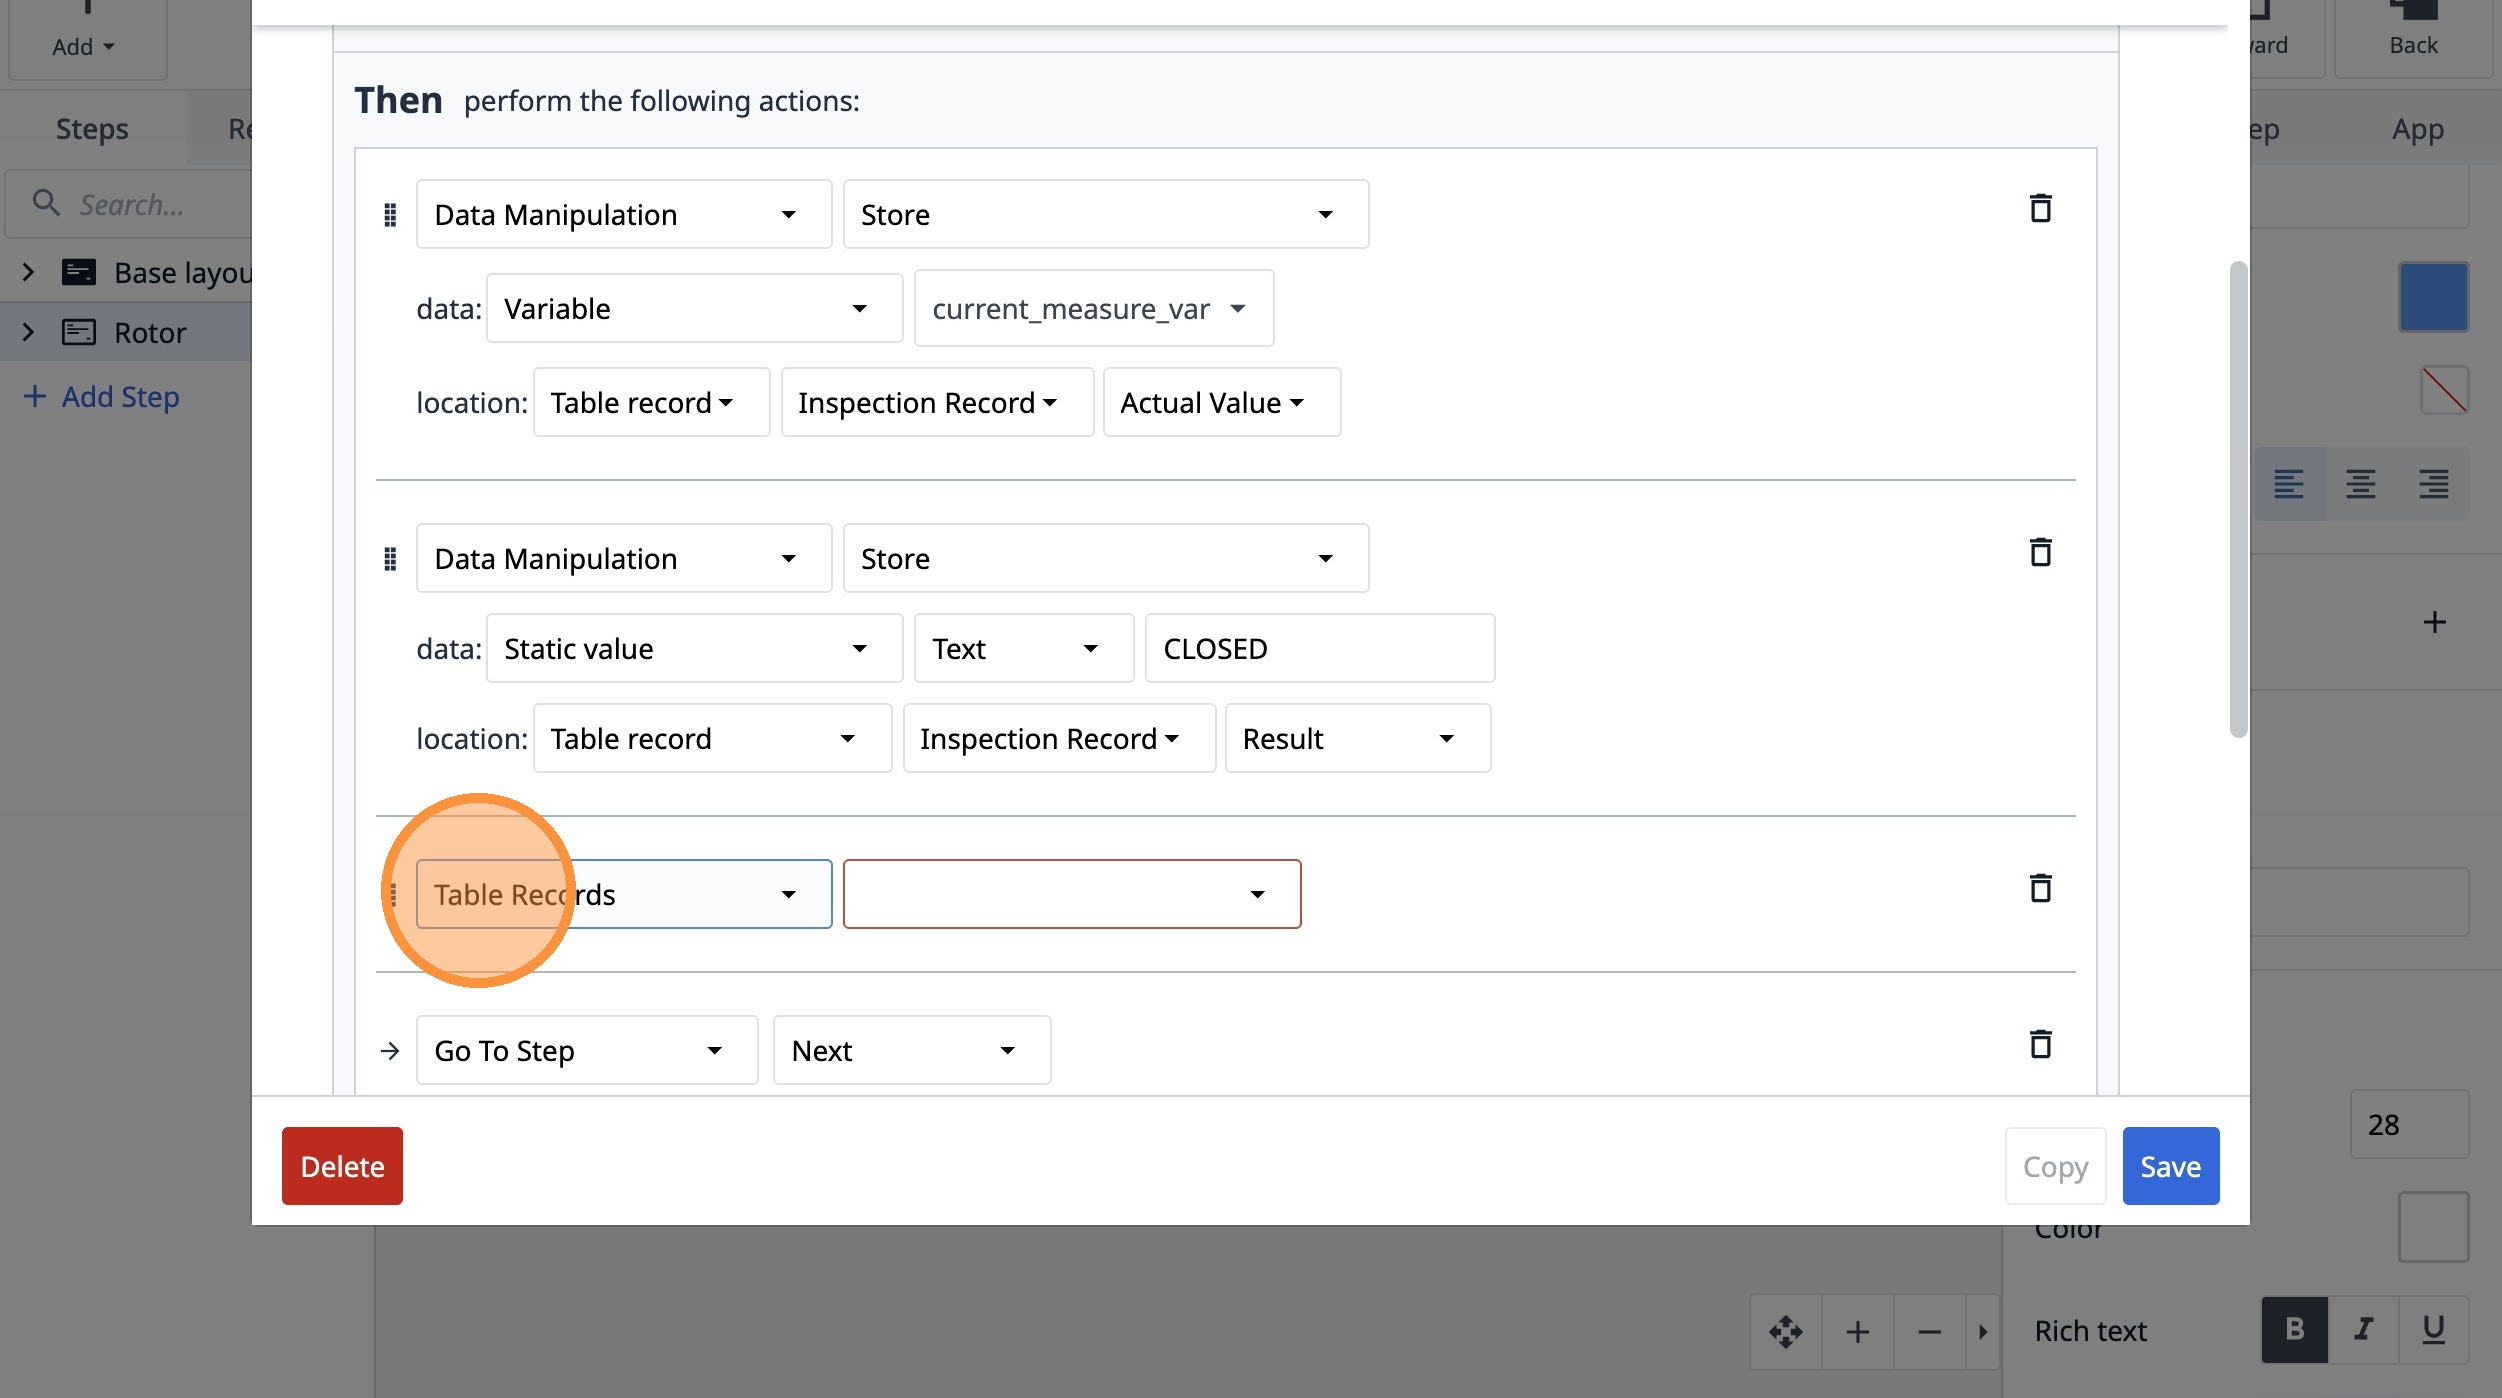
103. Select the "Table Records" option.
104. Select the "Clear Record Placeholder" option.
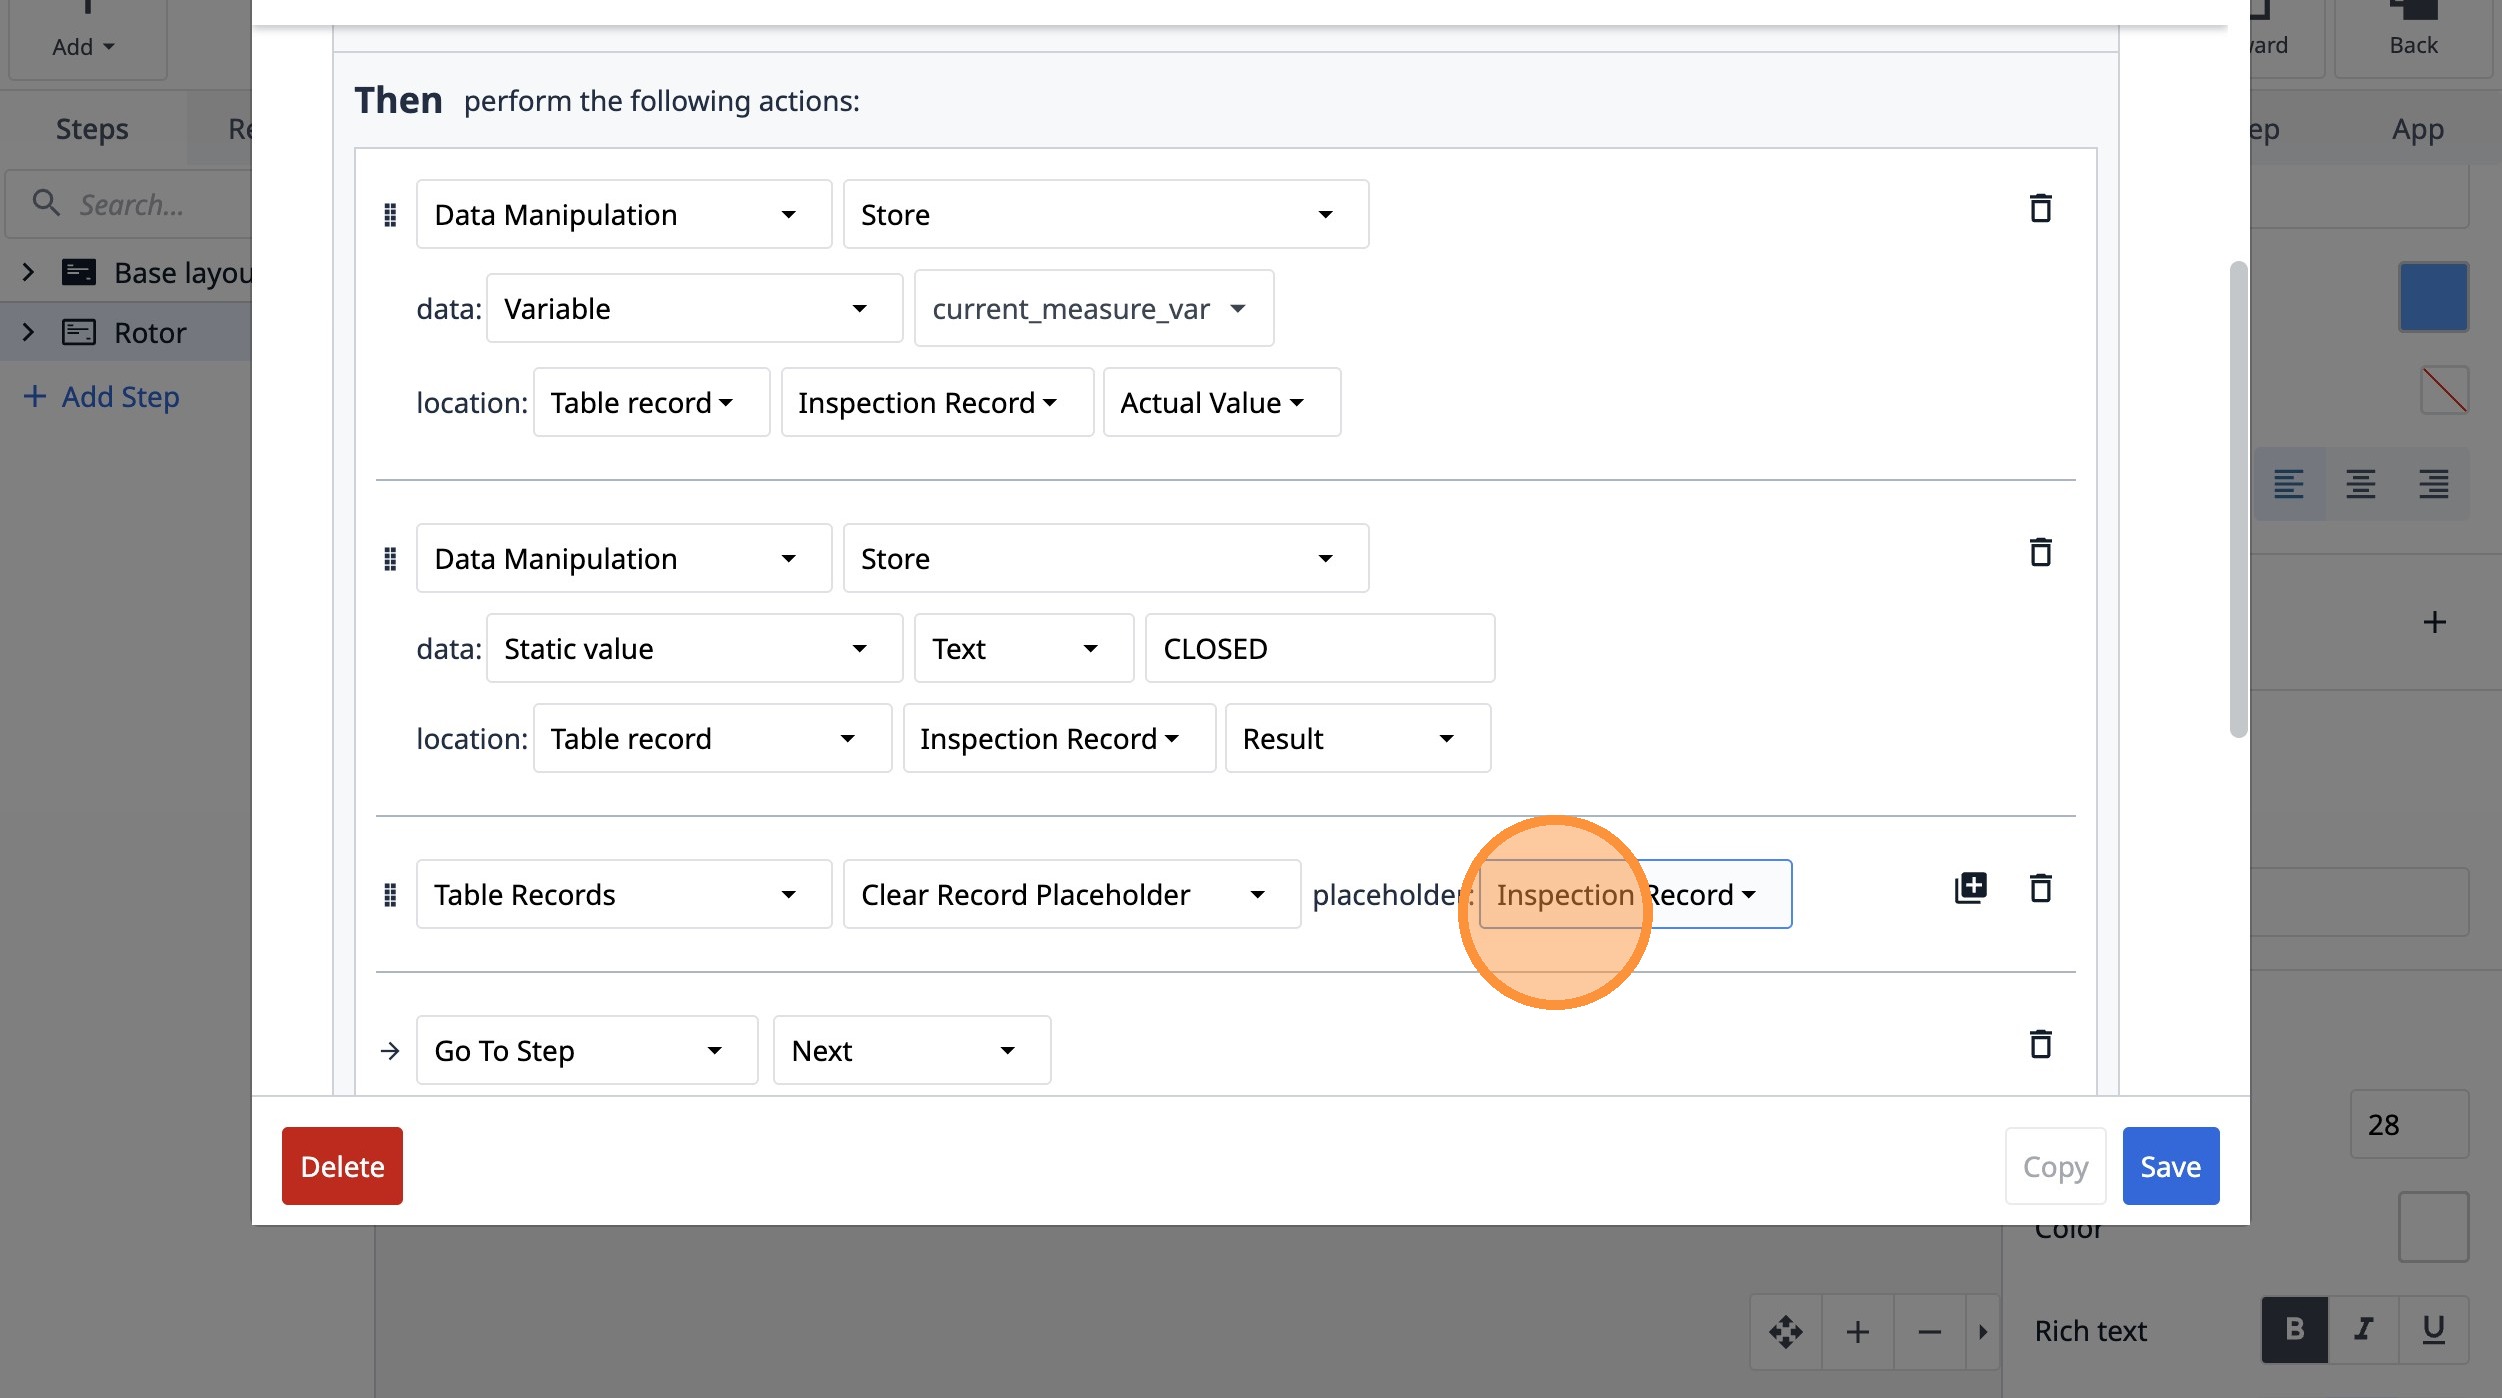
105. Select the "Inspection Record" option.
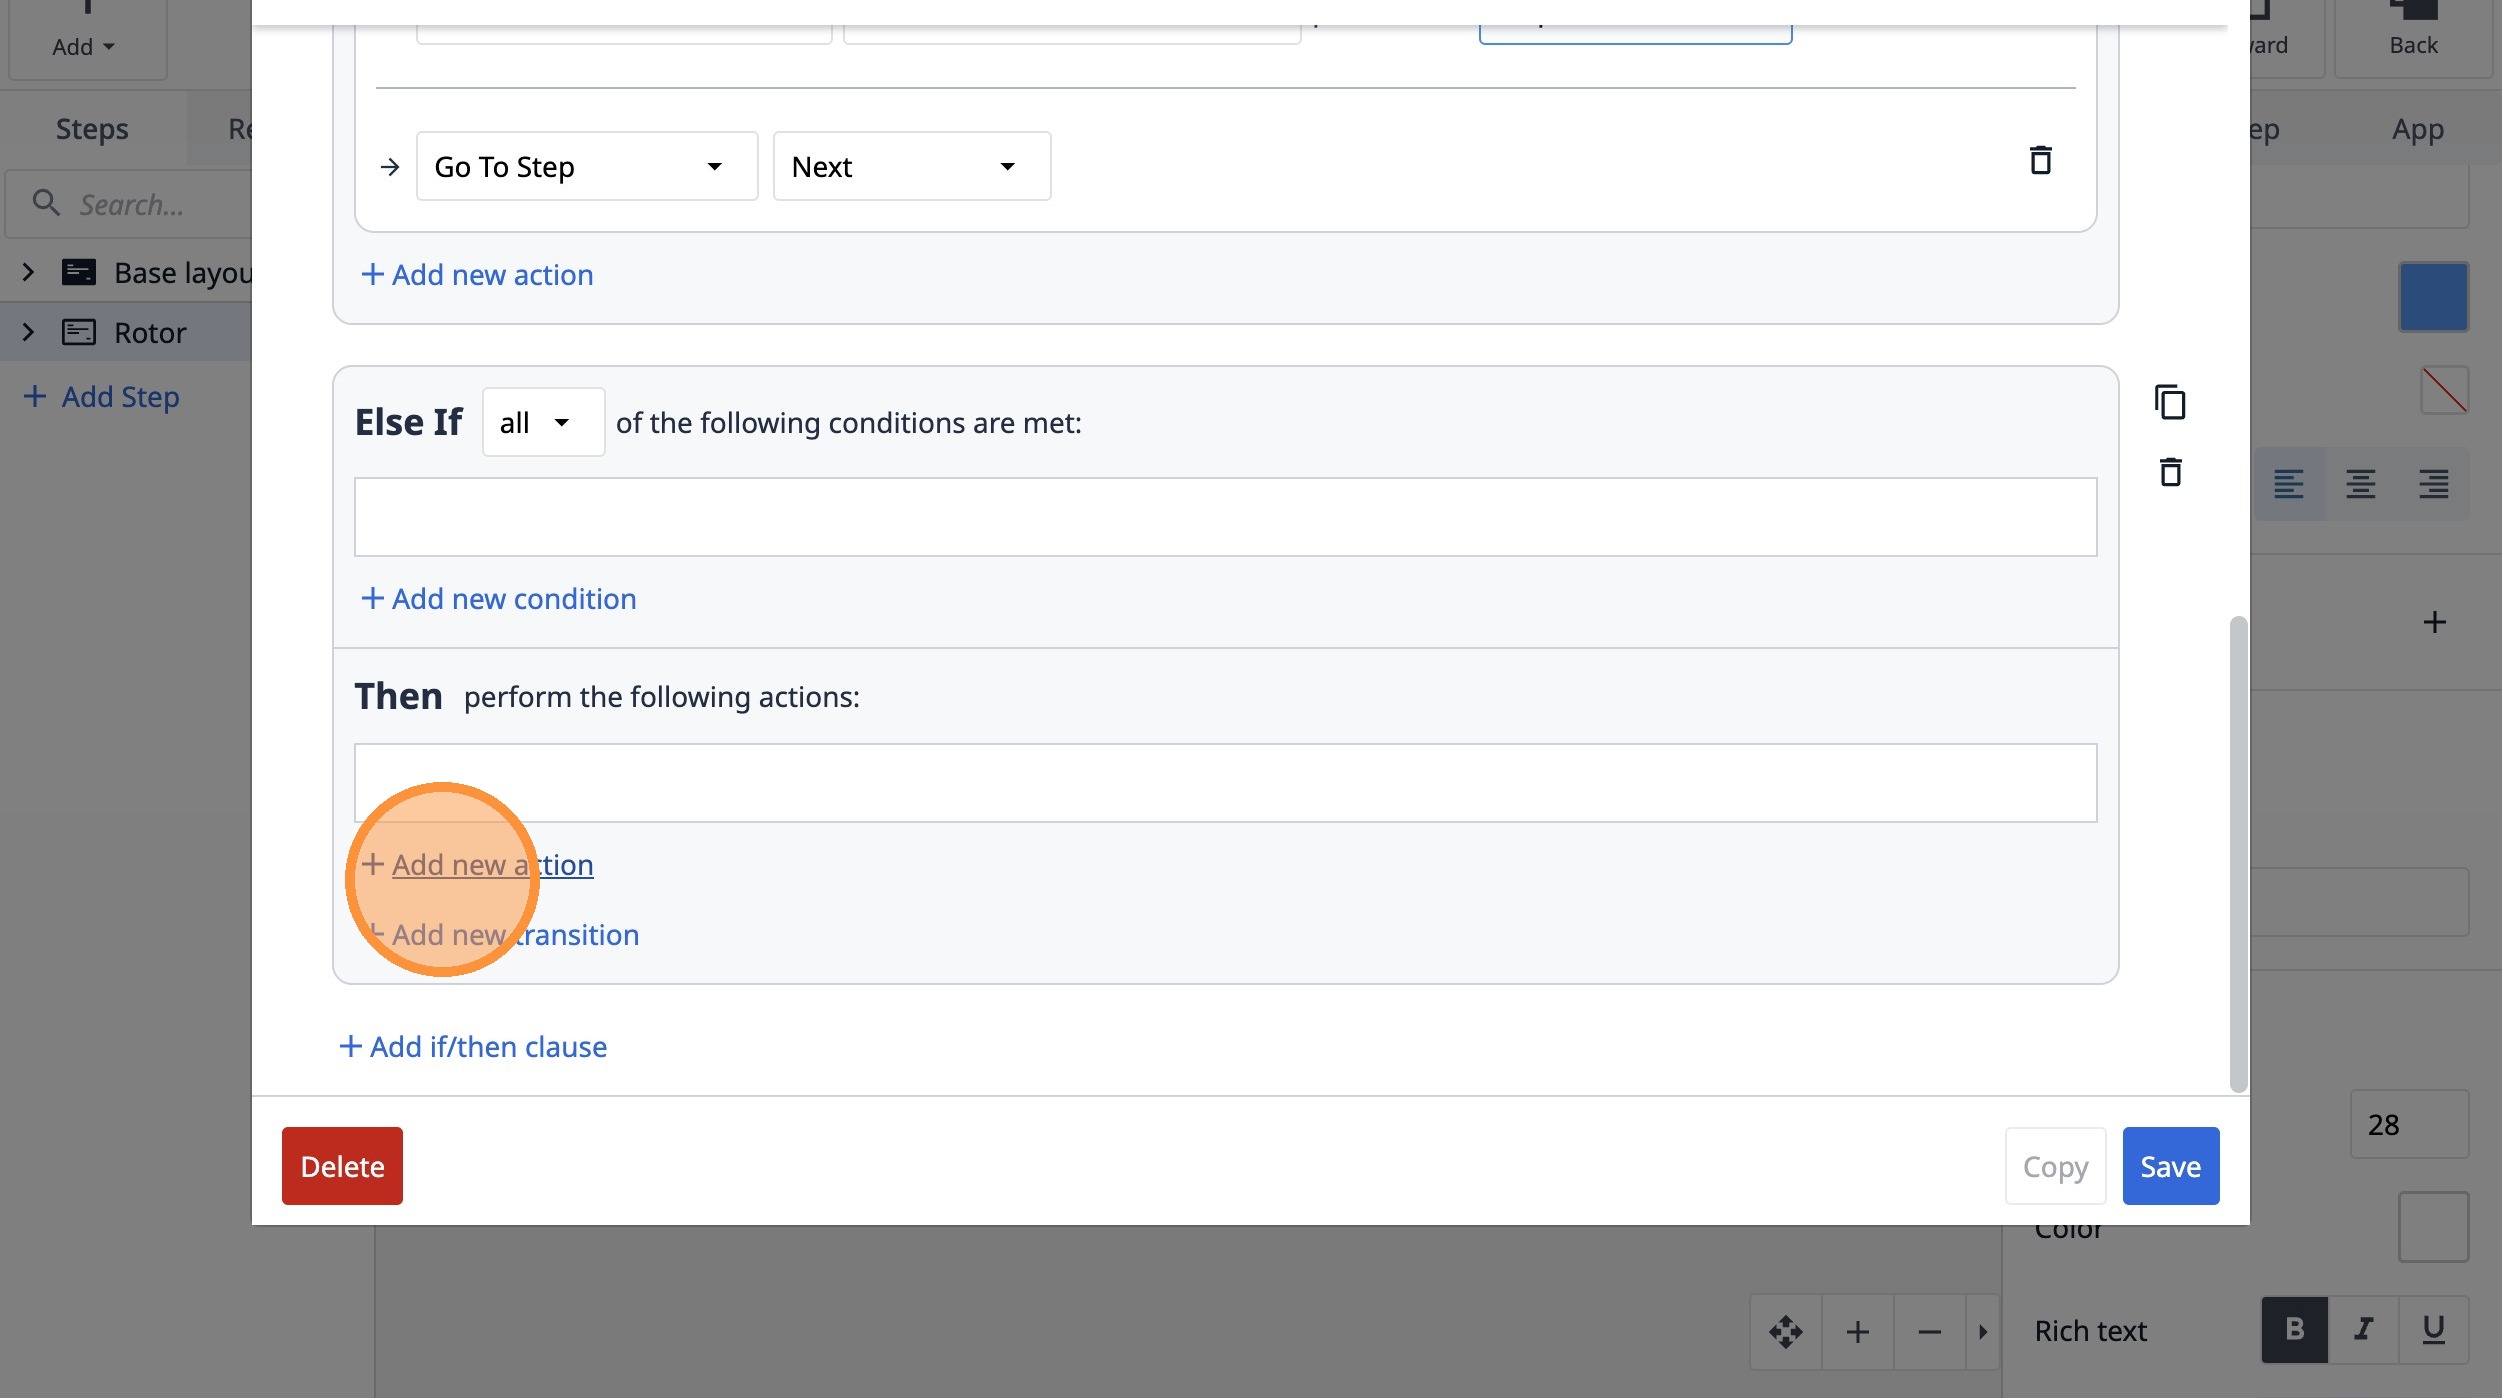
106. Click "Add new action"
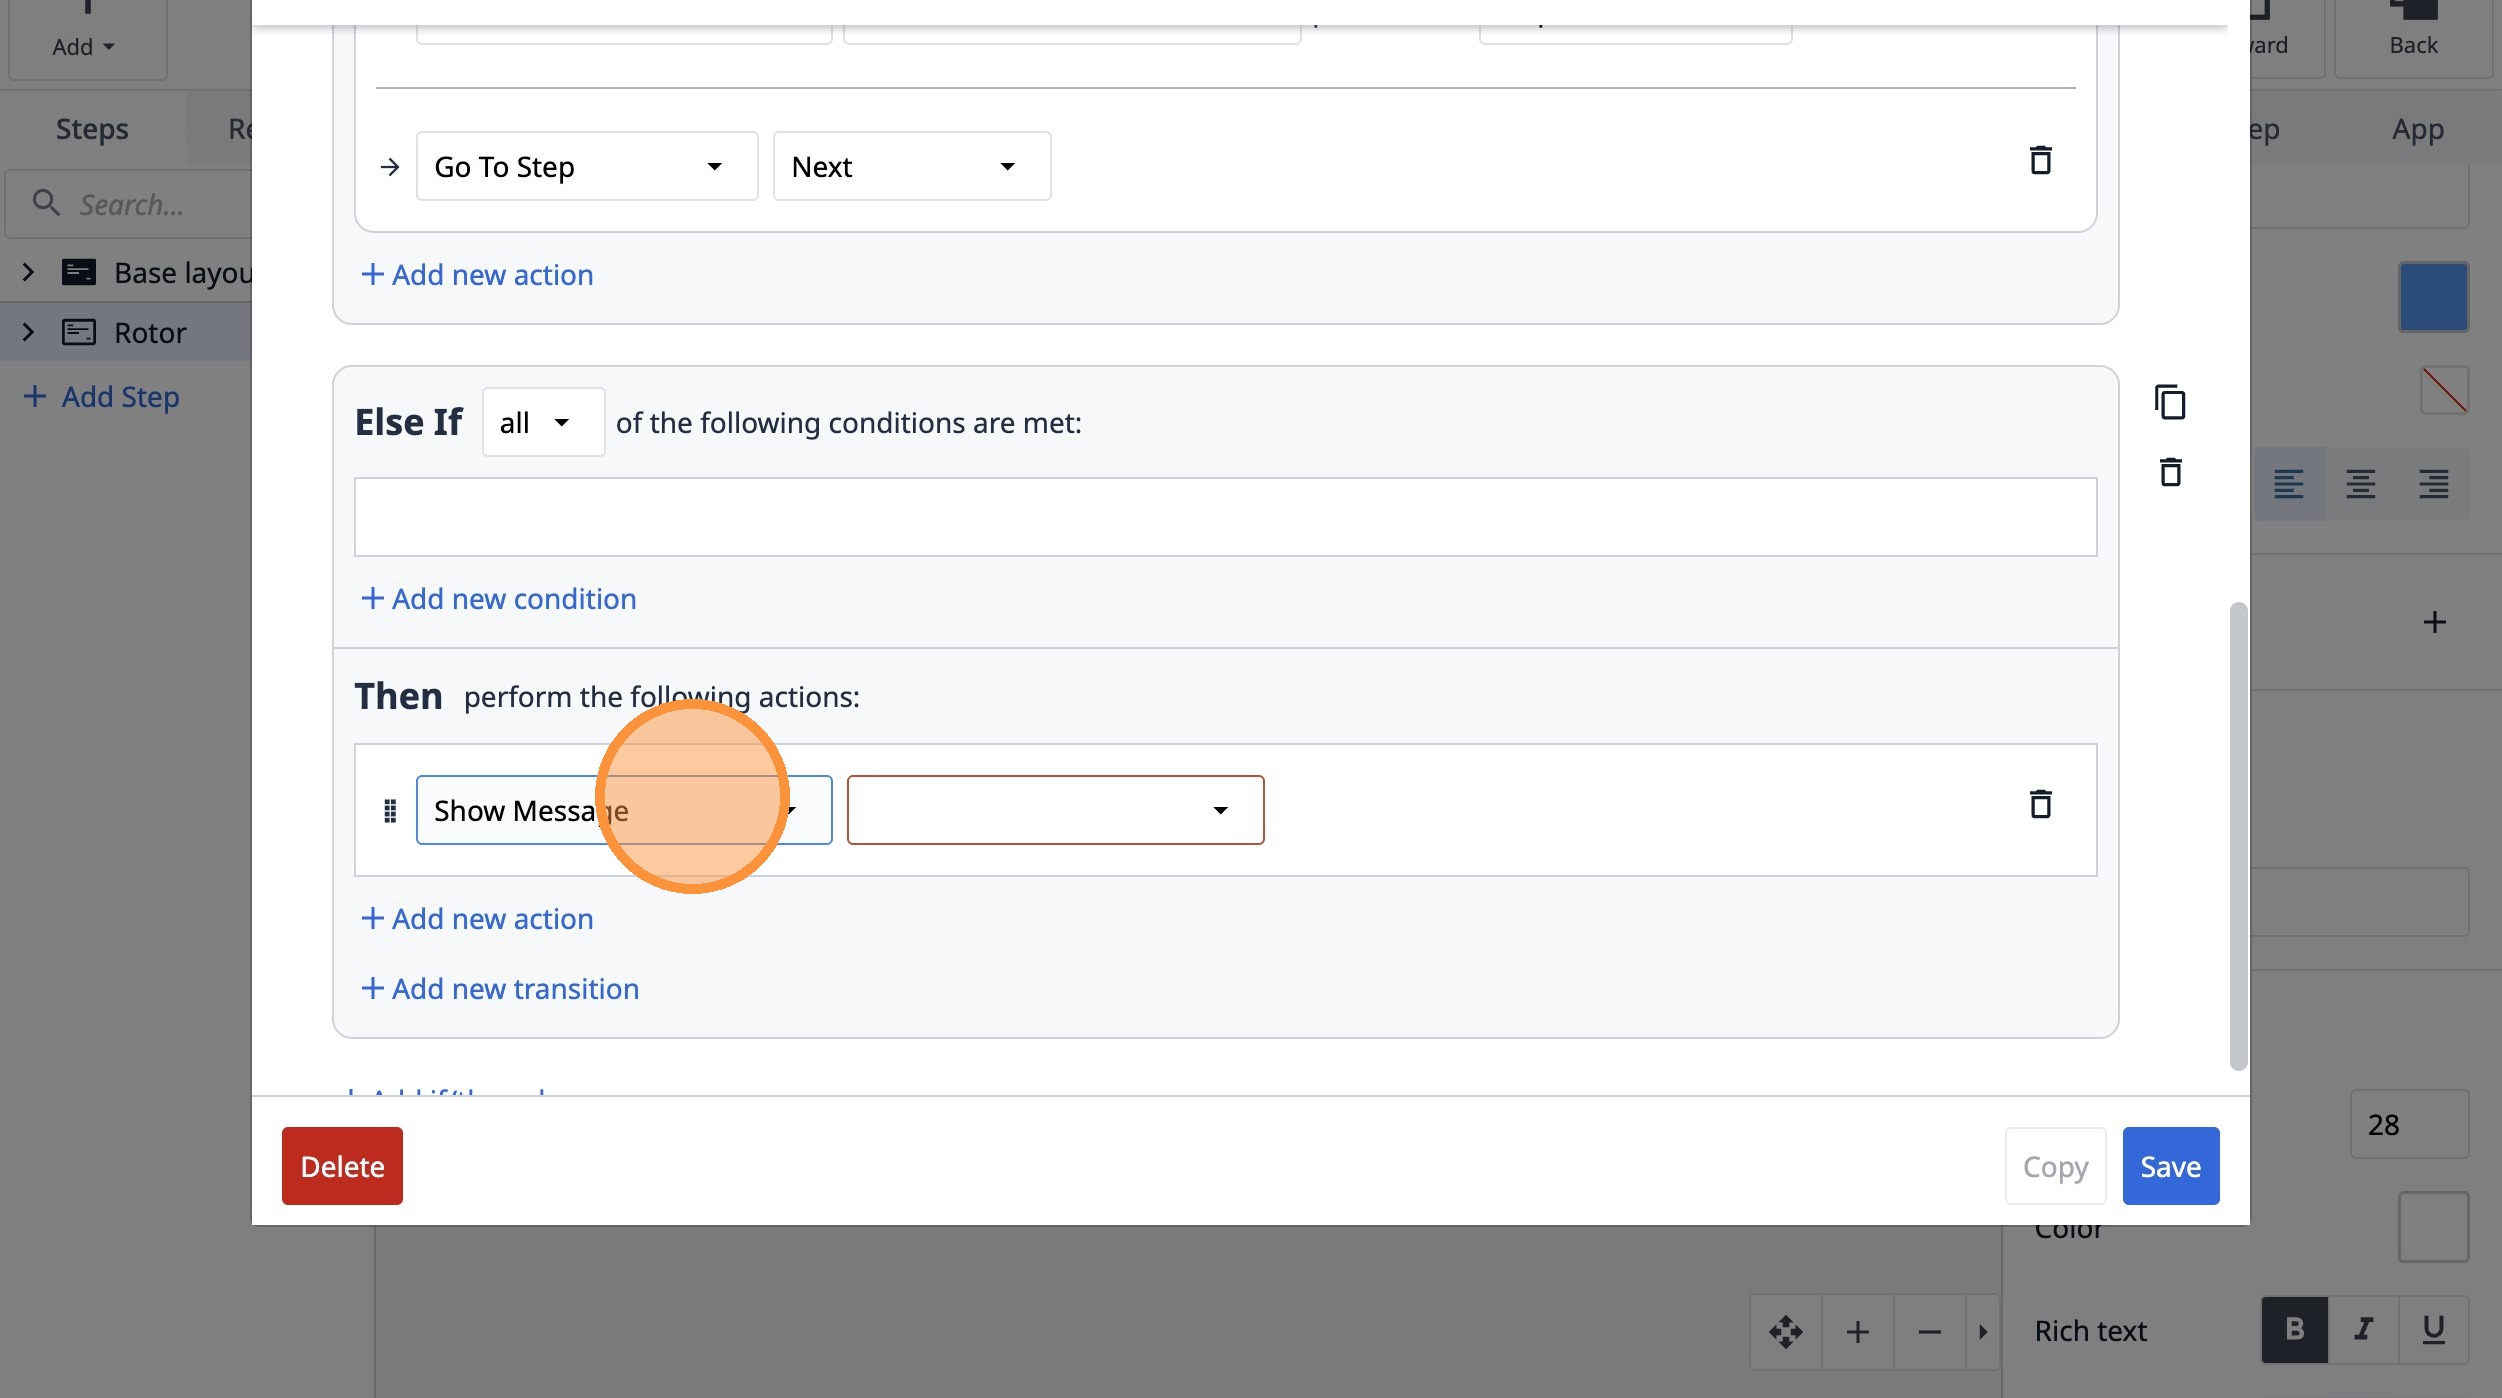
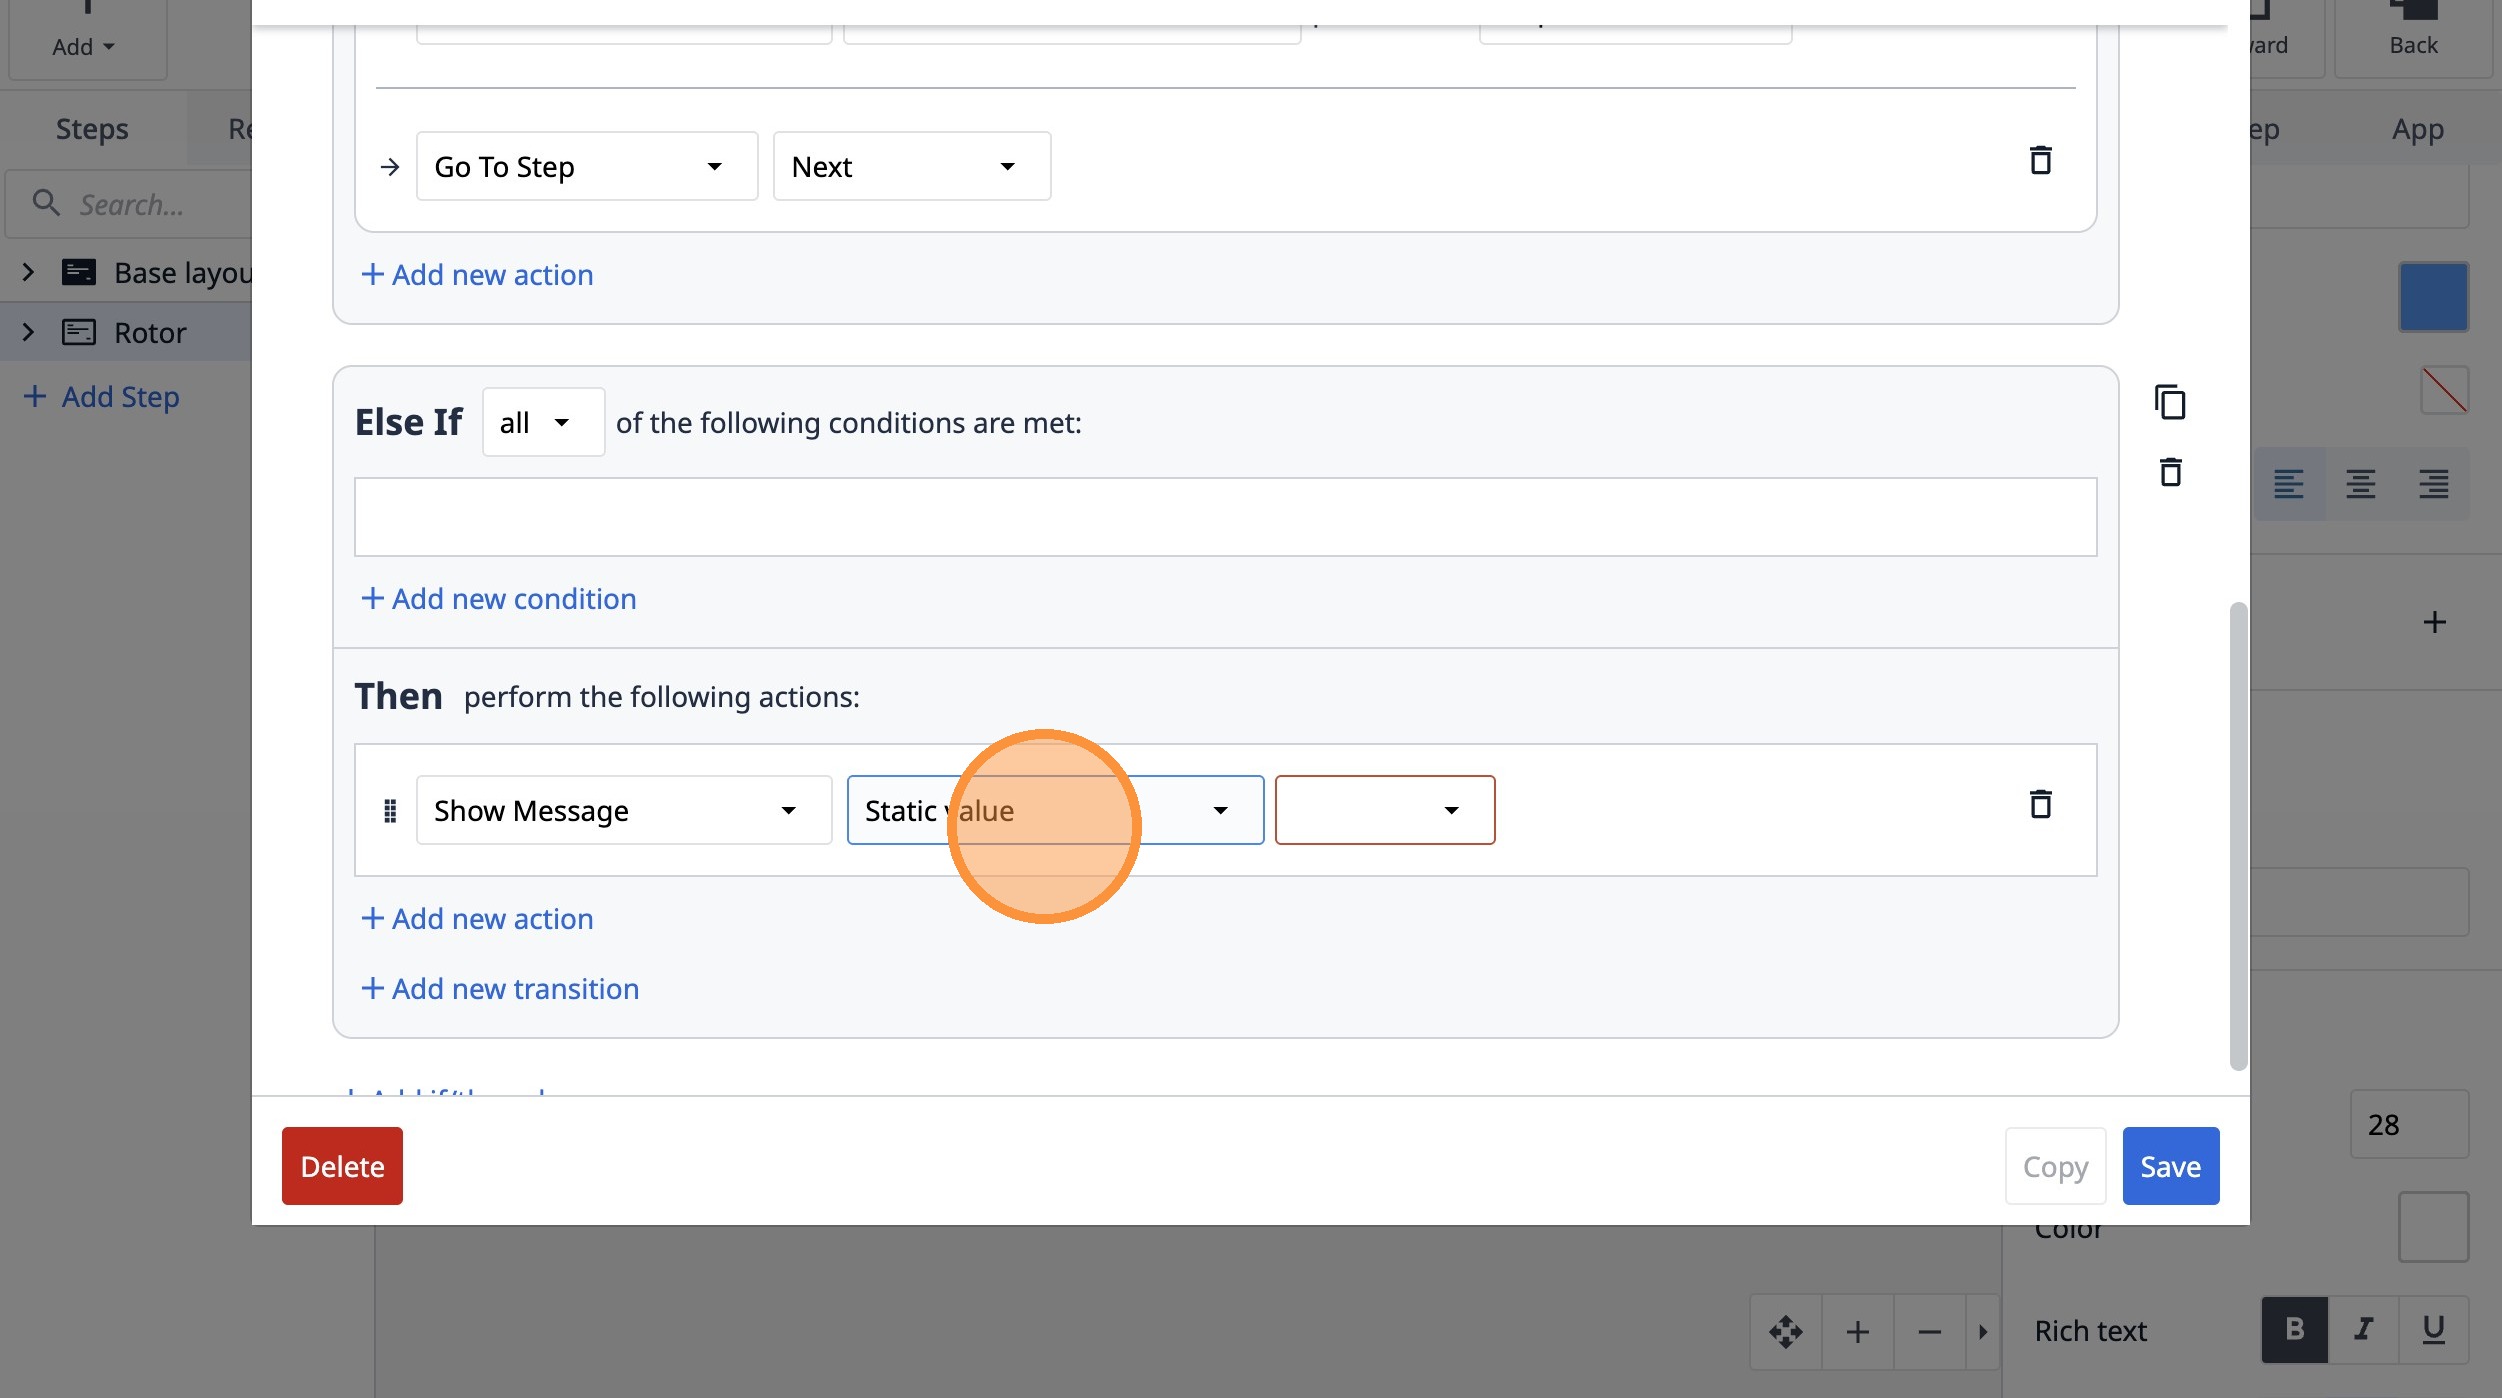
107. Select the "Show Message" option.
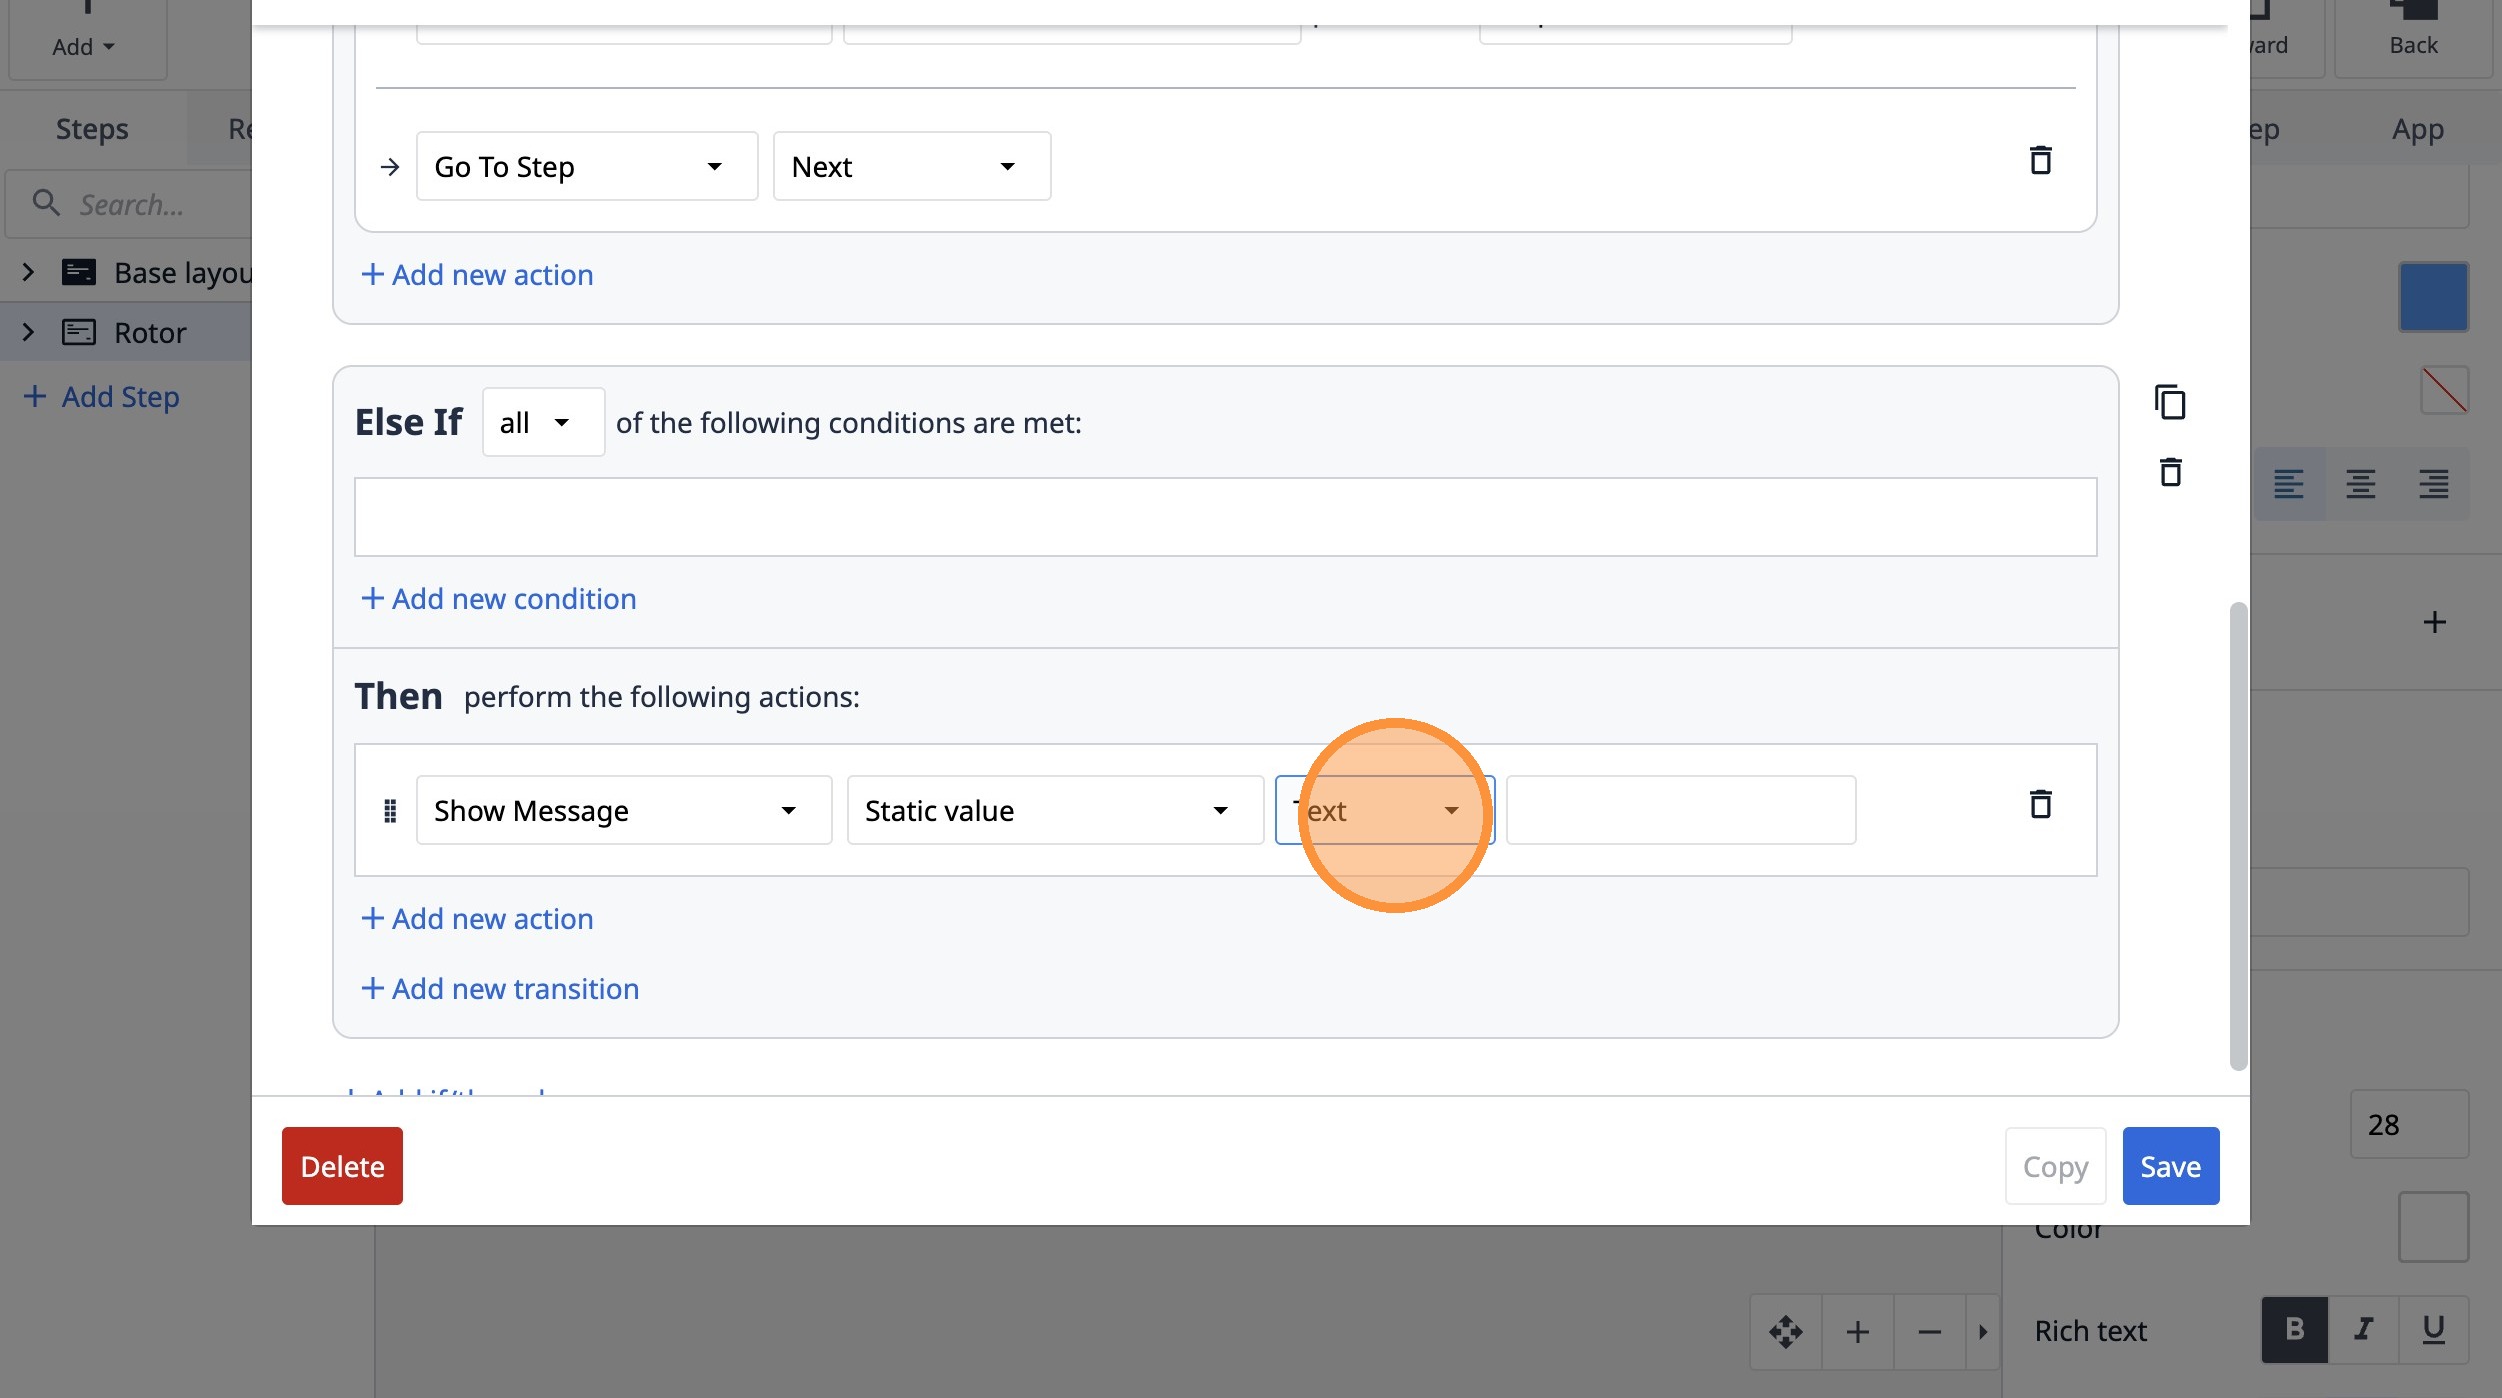
108. Select the "Static value" option.
109. Select the "Text" option.
110. Click this text field.

111. Type "This is not within acceptable bounds"
112. Click "Save"
