Material Loading and Receiving
- 22 Apr 2024
- 4 Minutes to read
- Contributors


- Print
Material Loading and Receiving
- Updated on 22 Apr 2024
- 4 Minutes to read
- Contributors
- Print
Article Summary
Share feedback
Thanks for sharing your feedback!
To download the app, visit: Library
This article is a guide for app configuration that includes a functional breakdown of steps and ideas for connecting to other apps.
The Material Loading and Receiving app is a part of Tulip’s composable MES Inventory app suite. You can use it individually or in combination with other applications.
The aim of this app is to facilitate users in tracking and handling newly received materials. This application can streamline handling and documenting newly arrived materials inside the warehouse by reducing manual data entry and administrative overhead. This allows staff to focus on more value-added tasks.
Usage and Value Creation
This app optimizes operational efficiency by facilitating real-time tracking of trucks and materials upon arrival, minimising errors and delays. It ensures accurate inventory management, enhances visibility into incoming shipments, and provides traceability features for quality control and compliance. Furthermore, the app offers valuable data-driven insights, empowering warehouse managers to make informed decisions and continuously improve workflow efficiency.
Tulip Tables in the app
All the applications in the Composable MES app suite use common tables.
The main Tulip tables used in this application are Equipment & Assets and Locations. The former is used to store all relevant information for different types of equipment and assets (in this case, shipment information), while the latter helps in identifying Gates in the warehouse where material can be unloaded.
(Physical Artifact) Equipment & Assets
- ID: Unique identifier for items
- Name: The name of the asset, device, or equipment
- Desription: A short description of the device, asset, or equipment
- Status: This is the status or current condition of the asset, device, or equipment
- Location: The current physical location of the device, equipment, or asset. It could be a station ID, a location ID, or any arbitrary indication of a location (area, cell, unit, etc).
- Type: The Type of device, asset, or equipment
- Last Calibration: The last date that a periodic review for acceptance was completed
- Calibration Cadence (sec): The duration between scheduled maintenance activity or periodic review for acceptance
- Container image:
- Asset Image:
- User:
(Physical Artifact) Locations
- ID: The unique identification of the locations.
- Location Area: A grouping of locations or the next level of location hierarchy. This could include a station ID, a location ID, or any other specified marker of a location.
- Bin Number: Unique Bin number associated with the Location
- Light Kit Number: An integer value associated with the Tulip light kit
- Type: This is a categorization of locations for filtering or sorting by type
- Status: Set of statuses for the locations.
Configuration and customization
In-app help
As with all applications in the Composable MES app suite, the Material Loading and Receiving app includes in-app help as well. These are short descriptions of the Required setup steps and App builder tips to support further customization. After downloading the app make sure to read these instructions and then delete them before running the application.

Tables that provide data input
To use the application, there's no need to populate any of the previously mentioned tables, as locations can be created within the app itself.
Other configuration needs
- On the Truck Arrival step, make sure to create actual Gate locations before attempting to select any of them.
- You also need to configure your shipment statuses throughout the application in each step, according to your specific processes.
Customization options
- In the Truck Arrival step, you can configure the source of the single select widget to utilize another aggregation, a list variable, or a static set of data.
App Structure
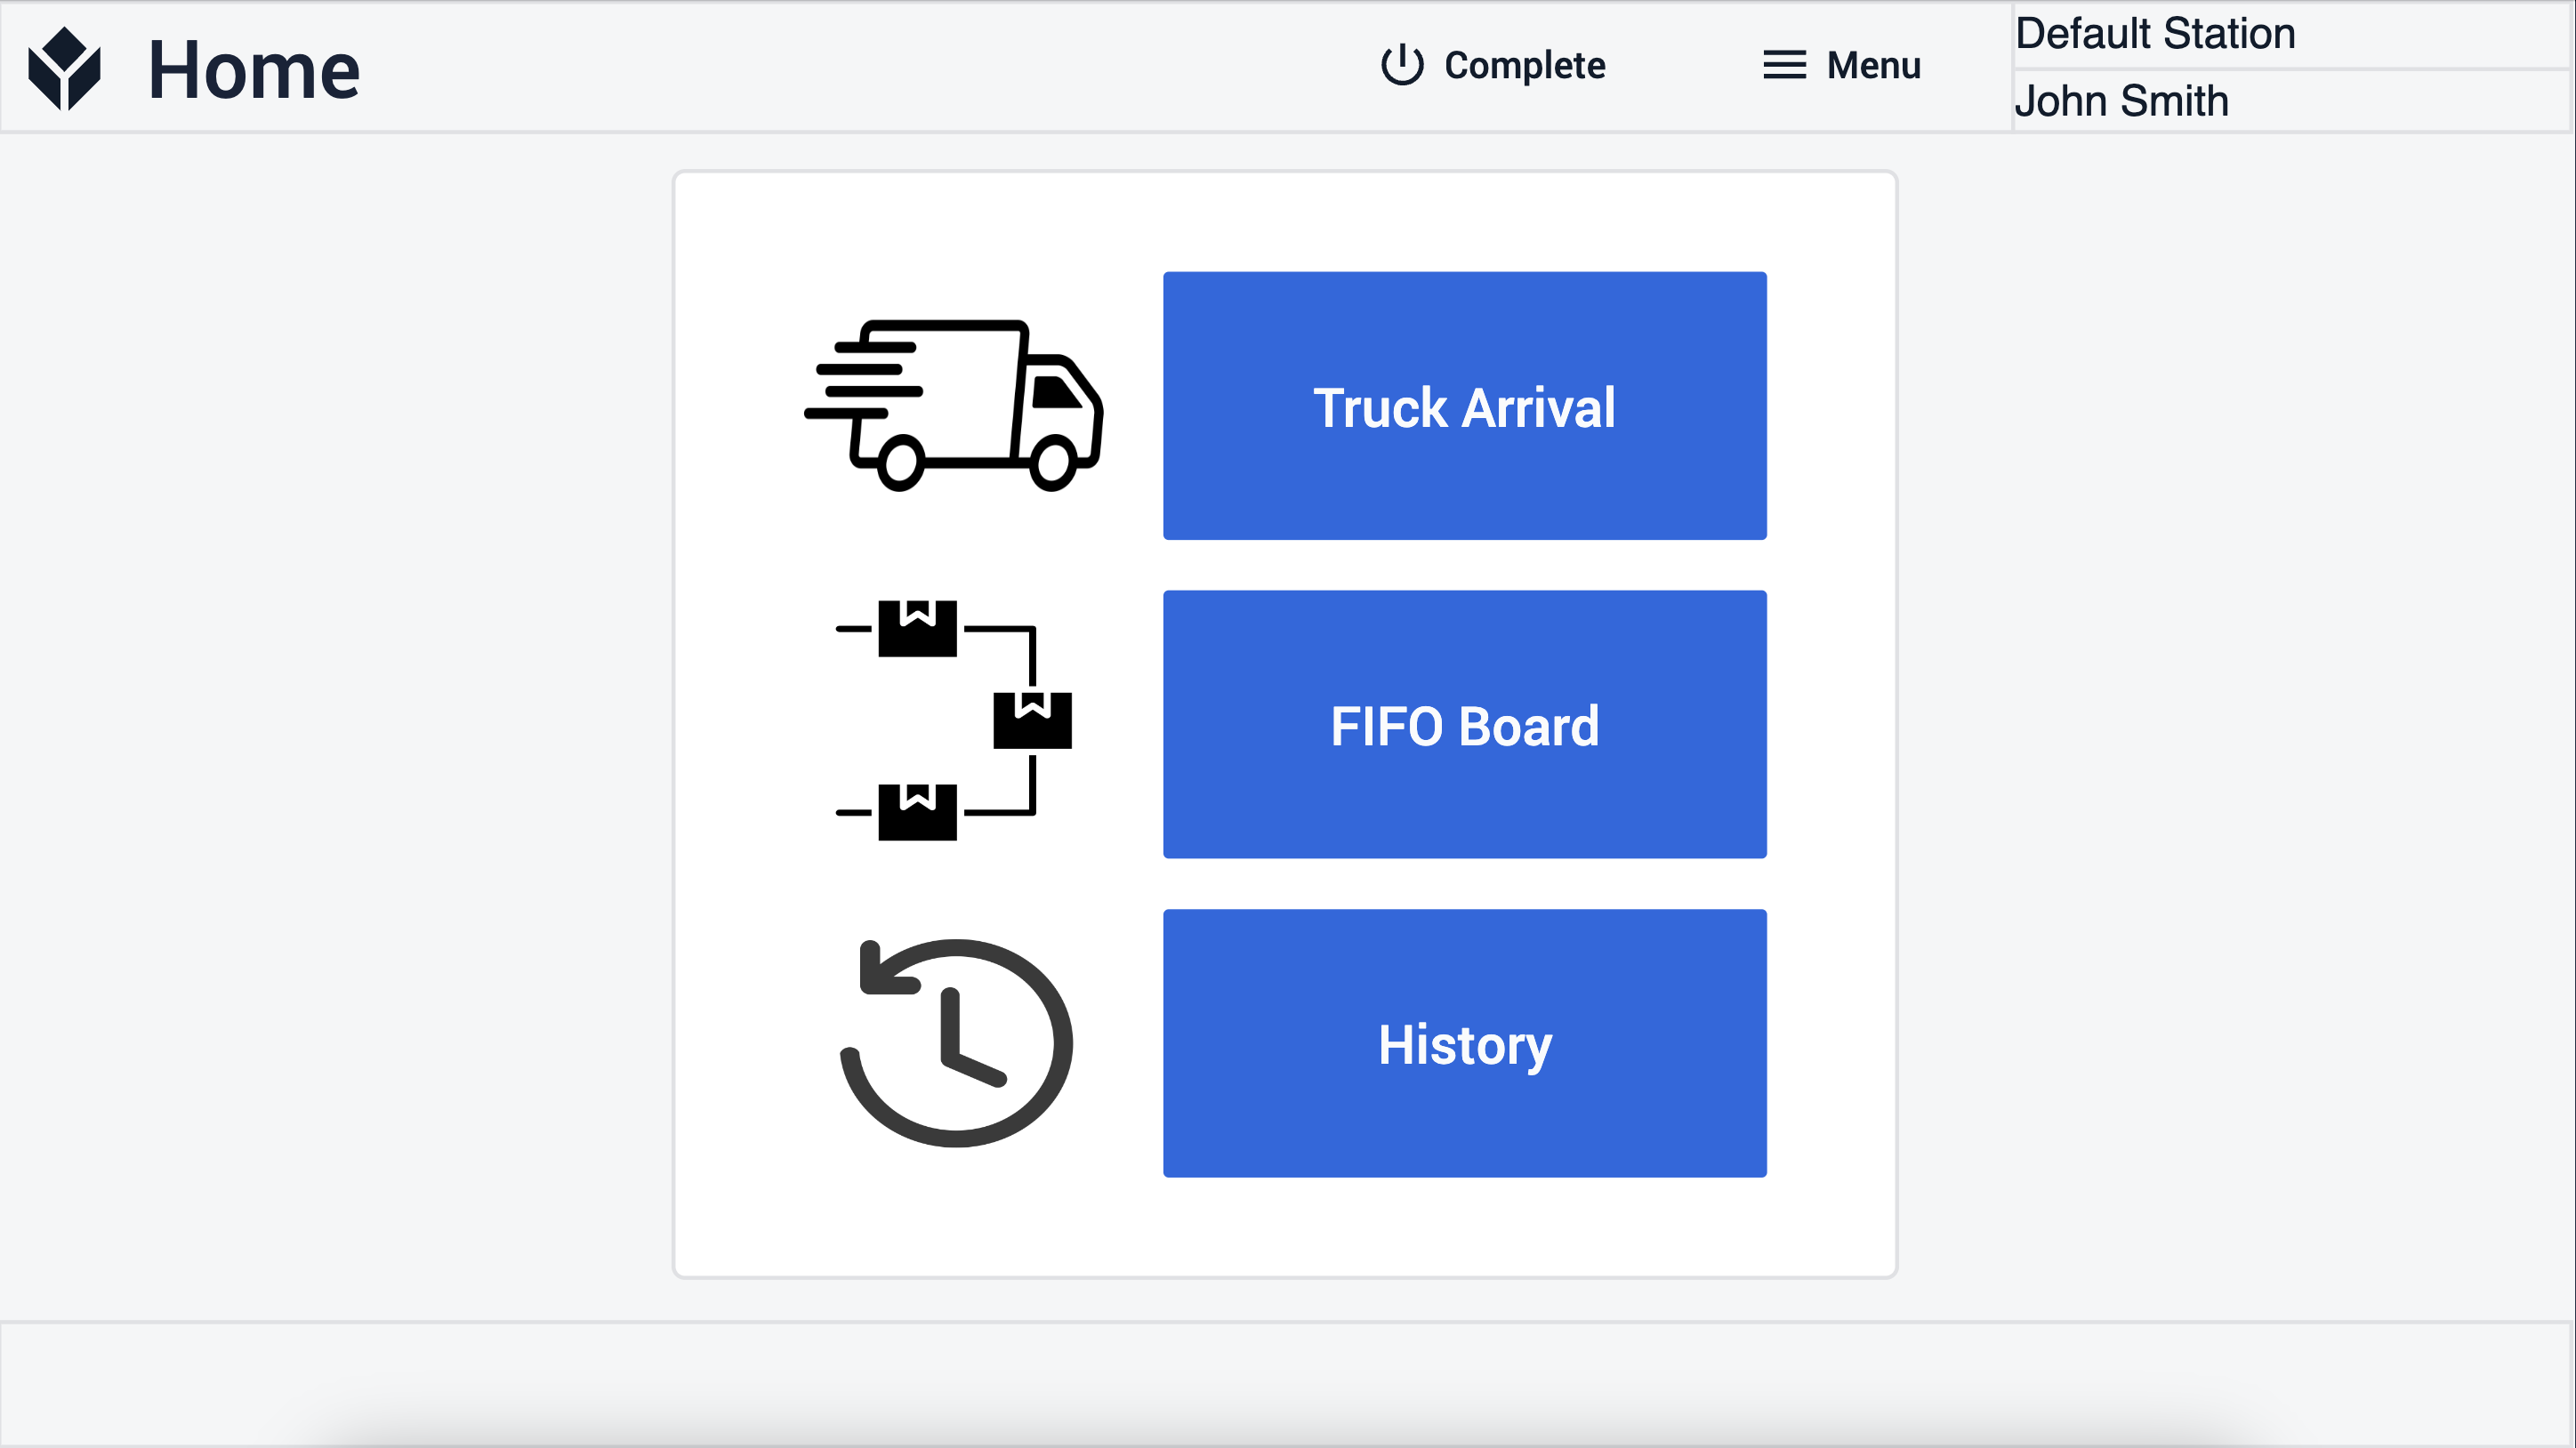
The app functionality is quite straightforward. Upon initiating the app, you are greeted with a menu presenting three primary functionalities of the app: Truck Arrival, FIFO Board, and History.
When you selects Truck Arrival, the app navigates to a step with the same name where you can log newly arrived trucks.
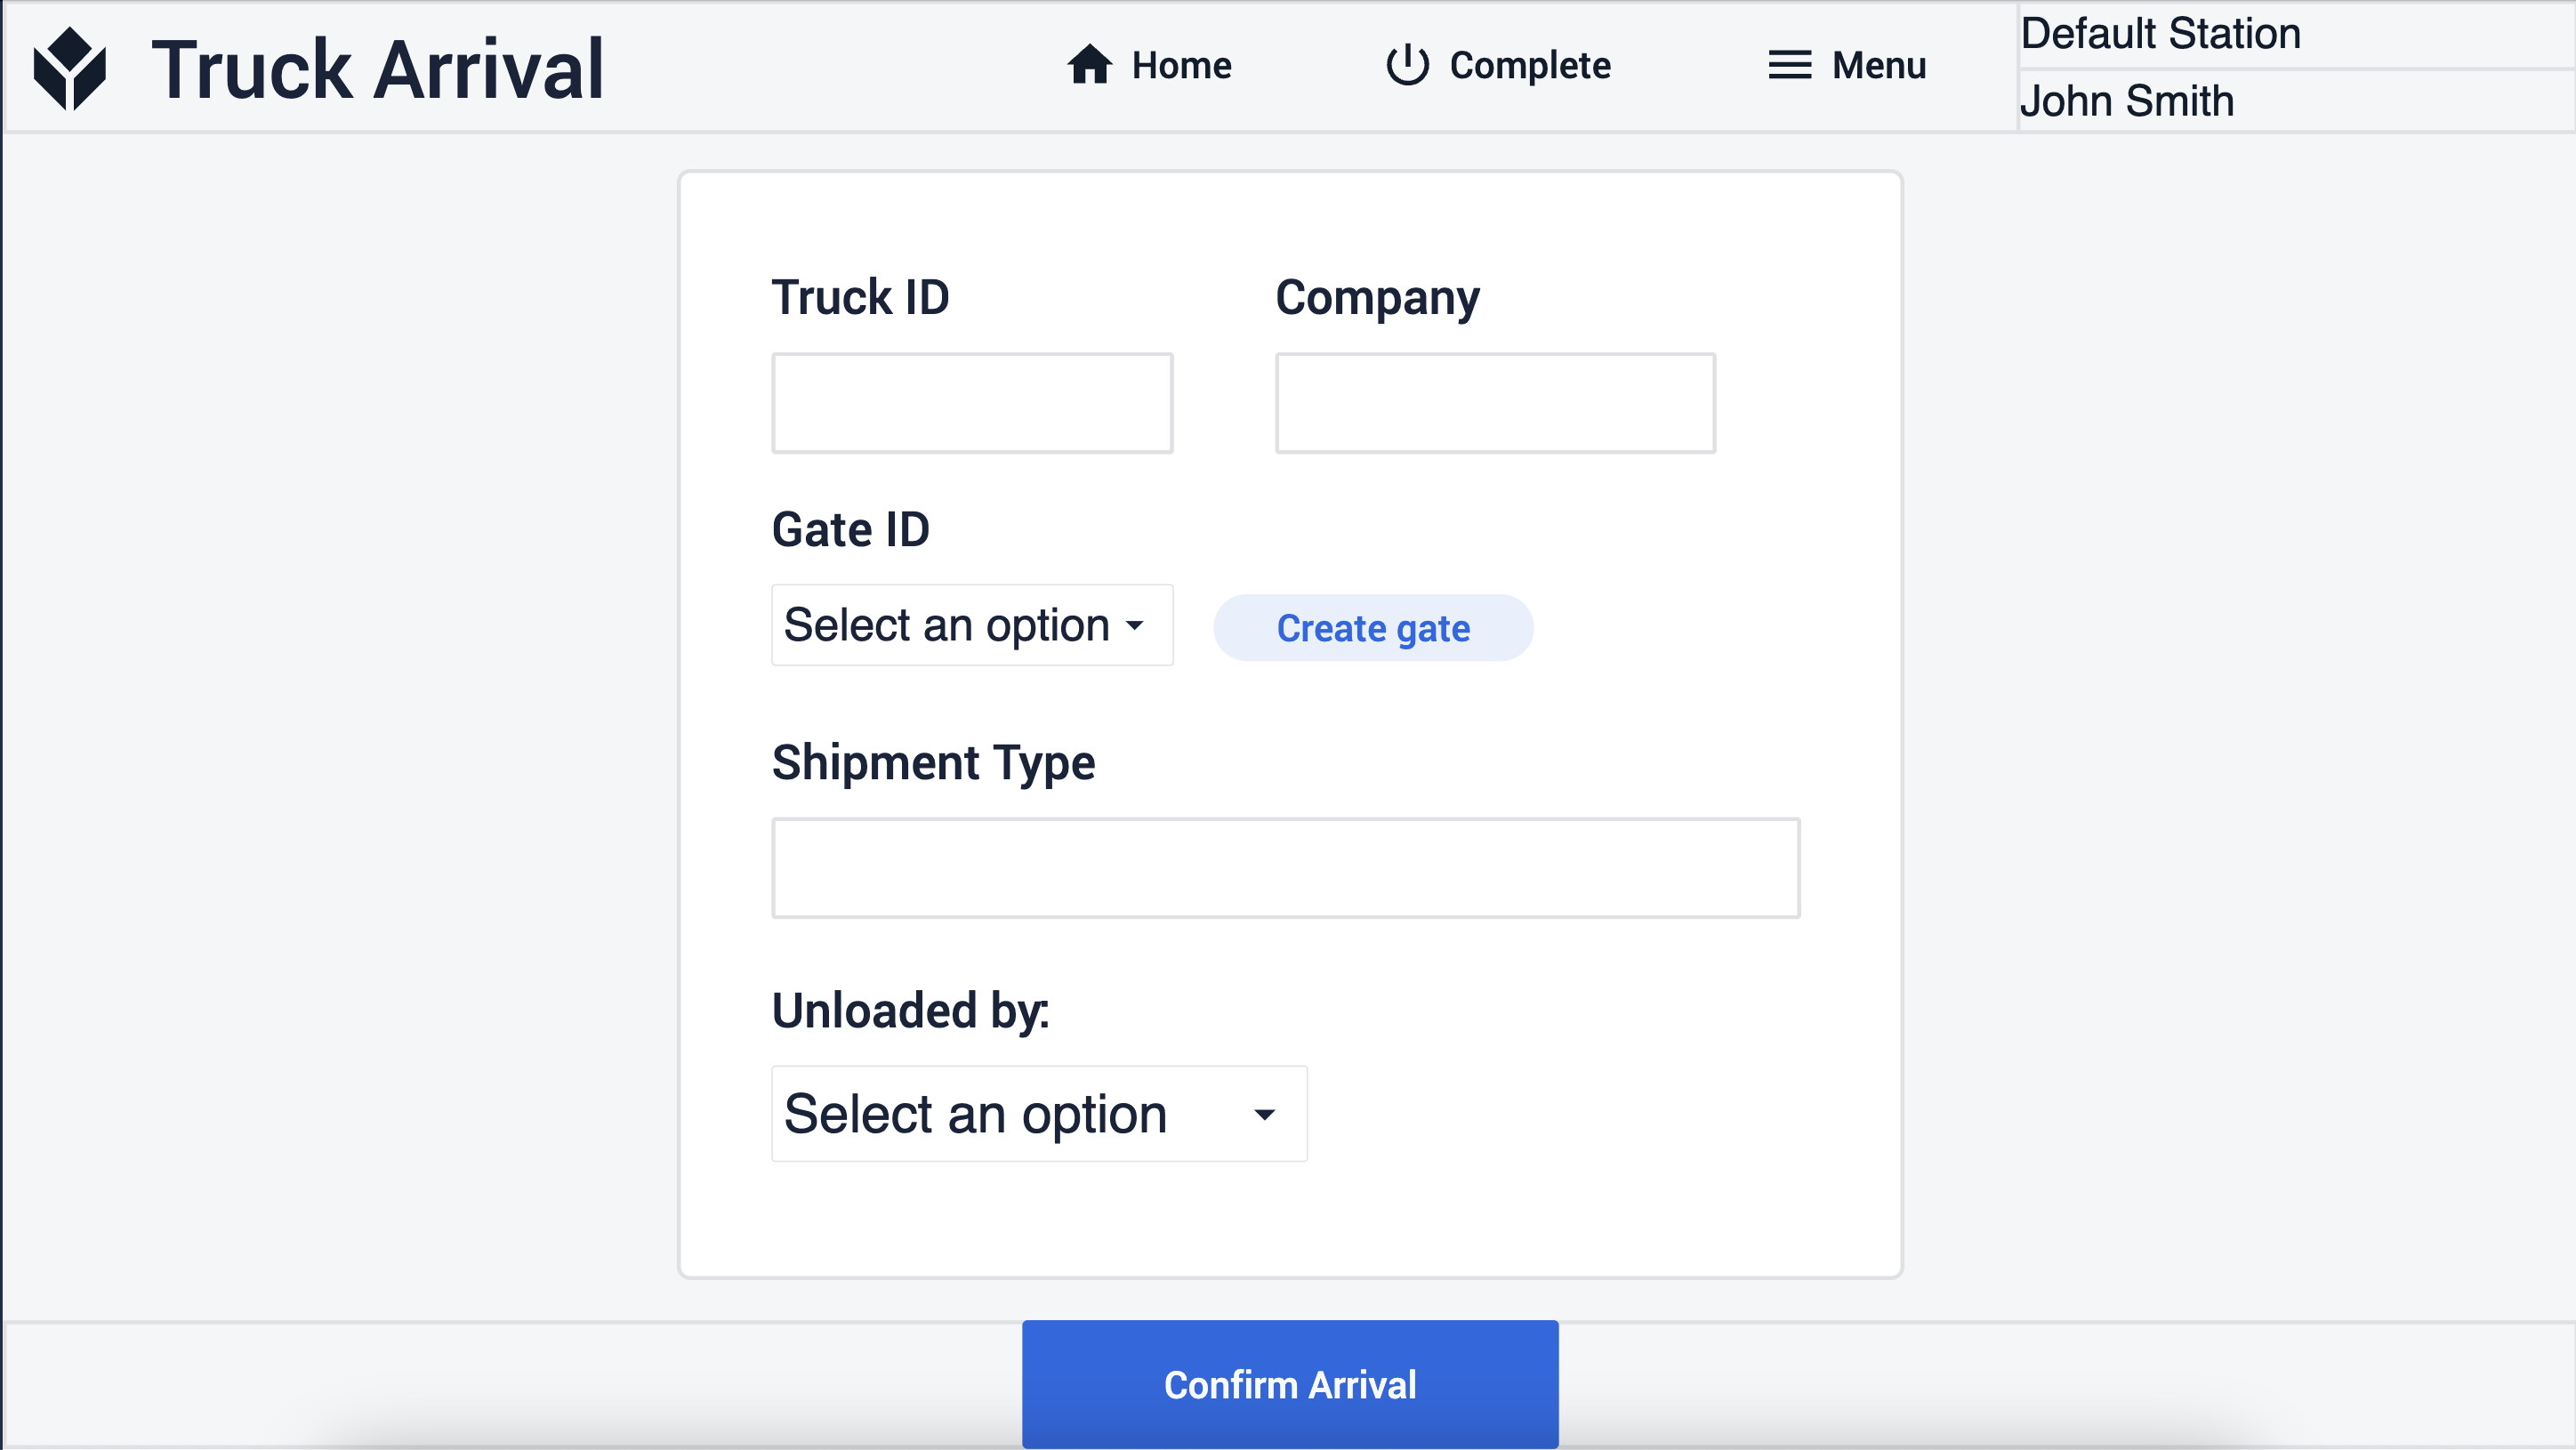
Here, you can also create new gates by clicking on the Create Gate button, which redirects you to the Add New Gate step.
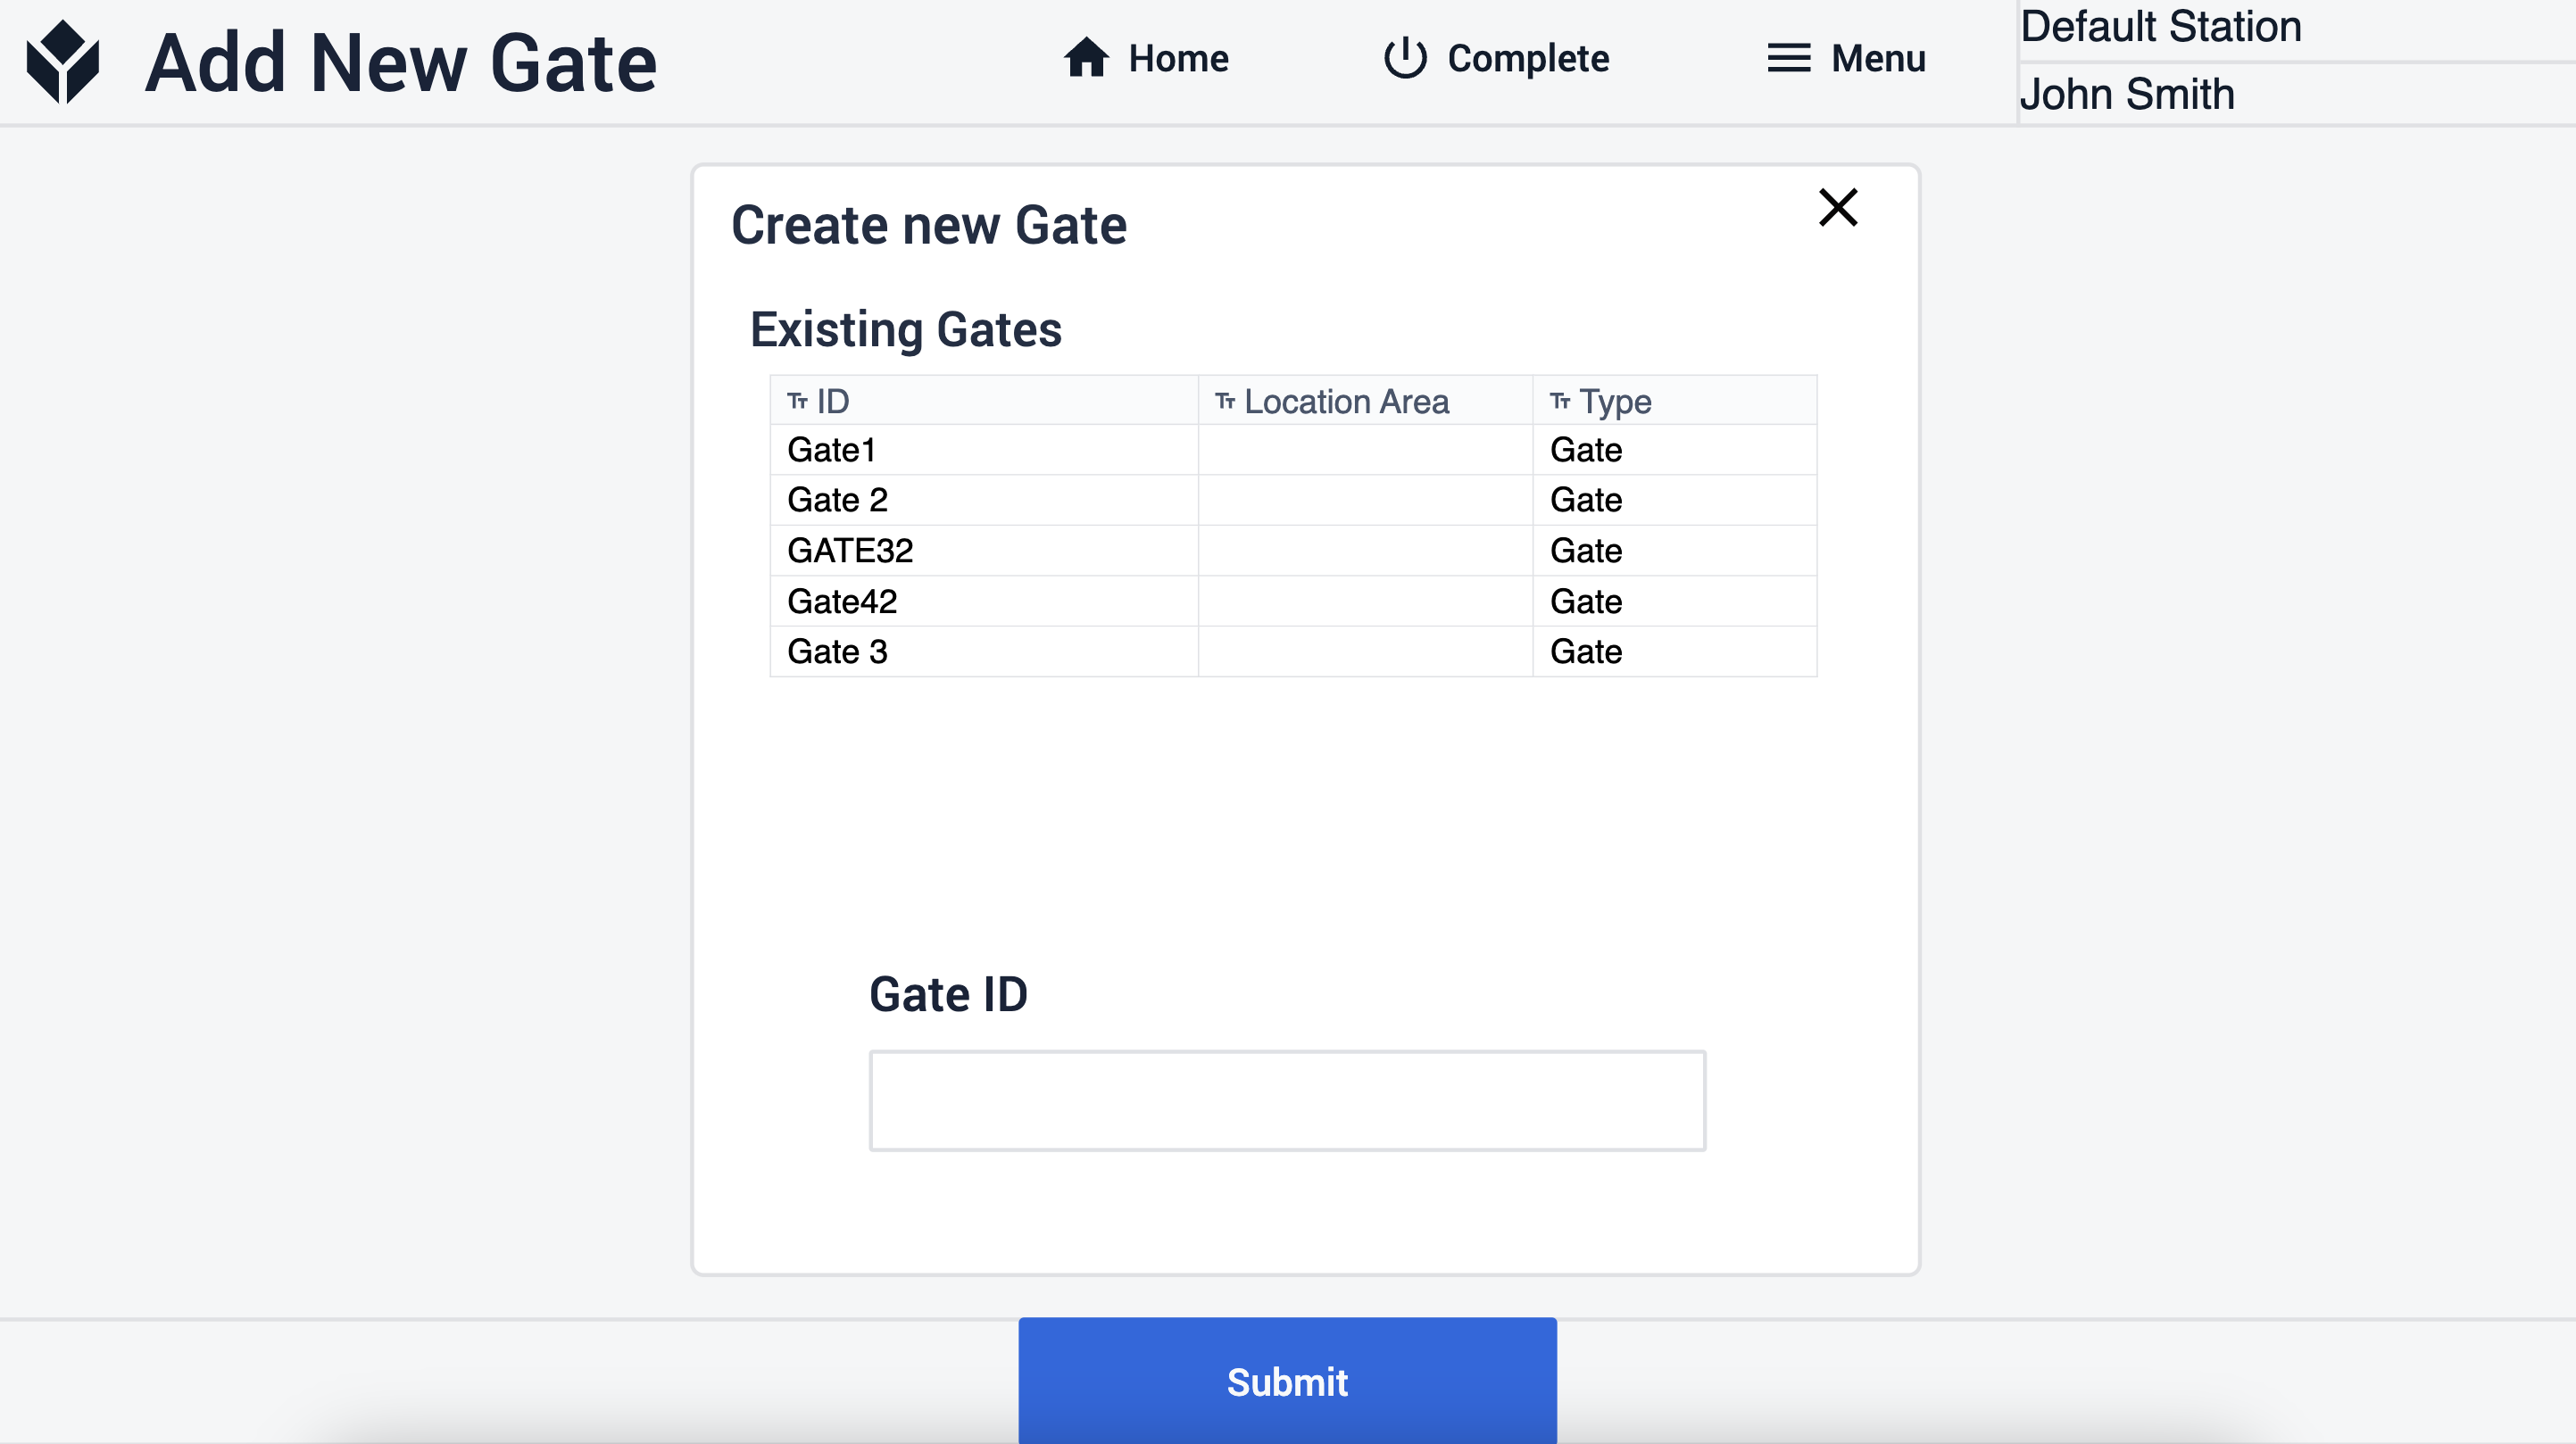
This step displays all existing gates, and you can create a new one by inputting the gate ID and clicking on the Submit button. Post submission, the app navigates back to the Truck Arrival step.
If all required fields are filled out on the Truck Arrival step, you can click on the Confirm Arrival button, which will navigate you to the Upload Image step.
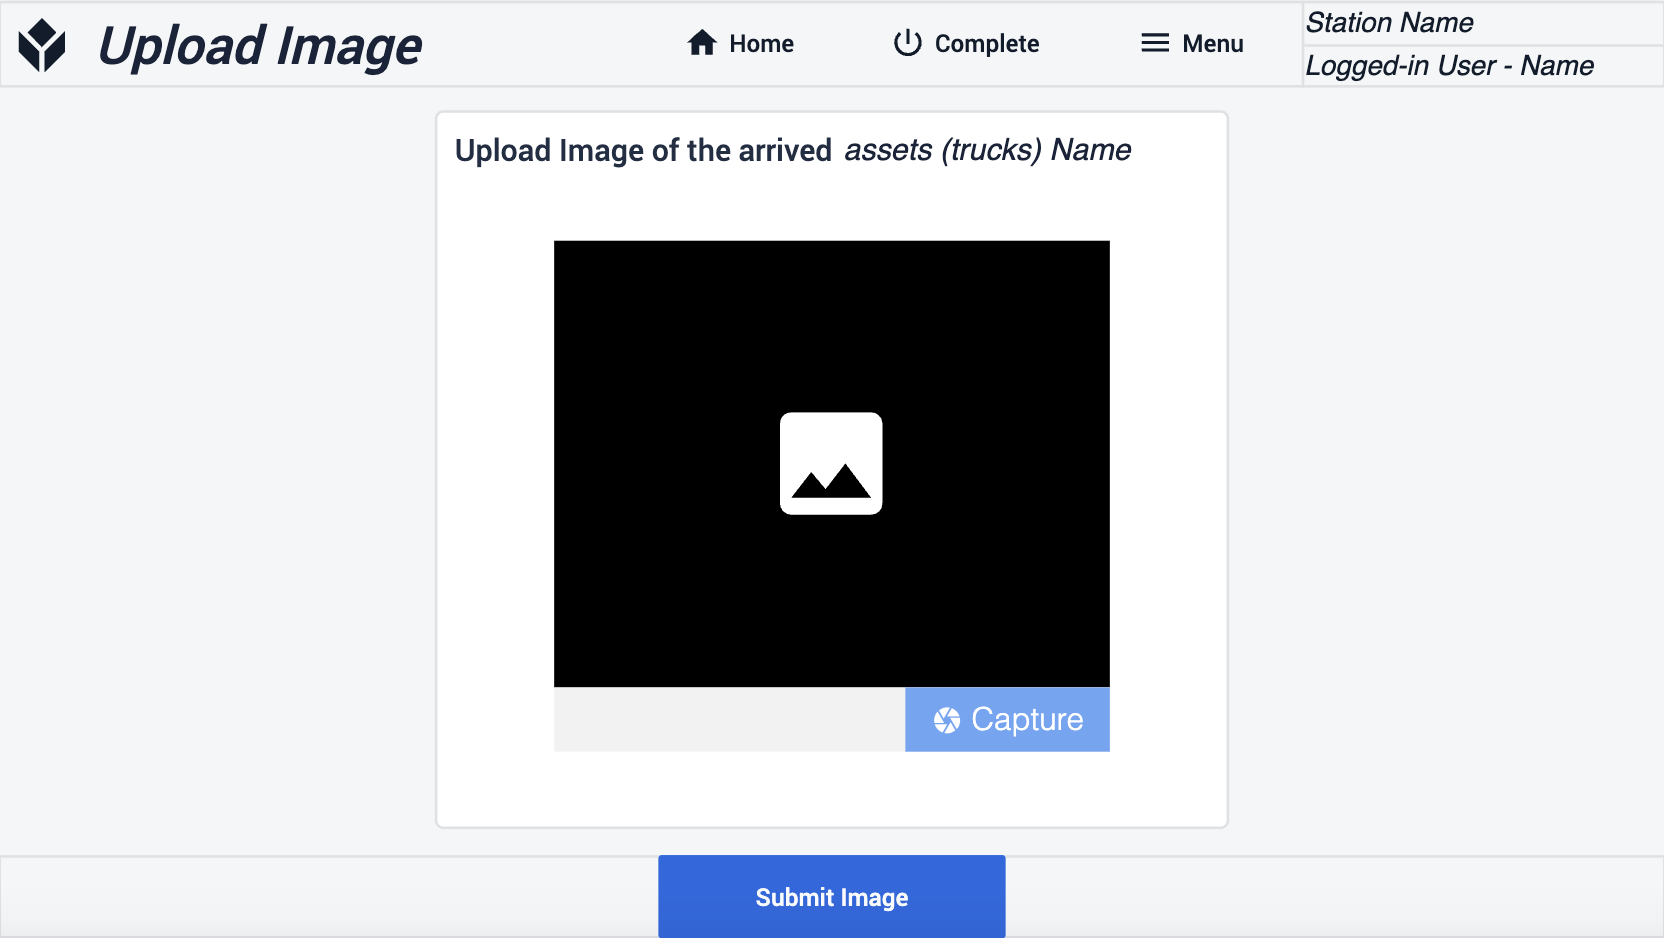
Here, you can upload an image representing the arrived assets. Once you click the Submit Image button, the app takes you back to the Home step.
If you selects the FIFO Board button, the app navigates to a corresponding step where you can view all arrived assets in a FIFO sequence.
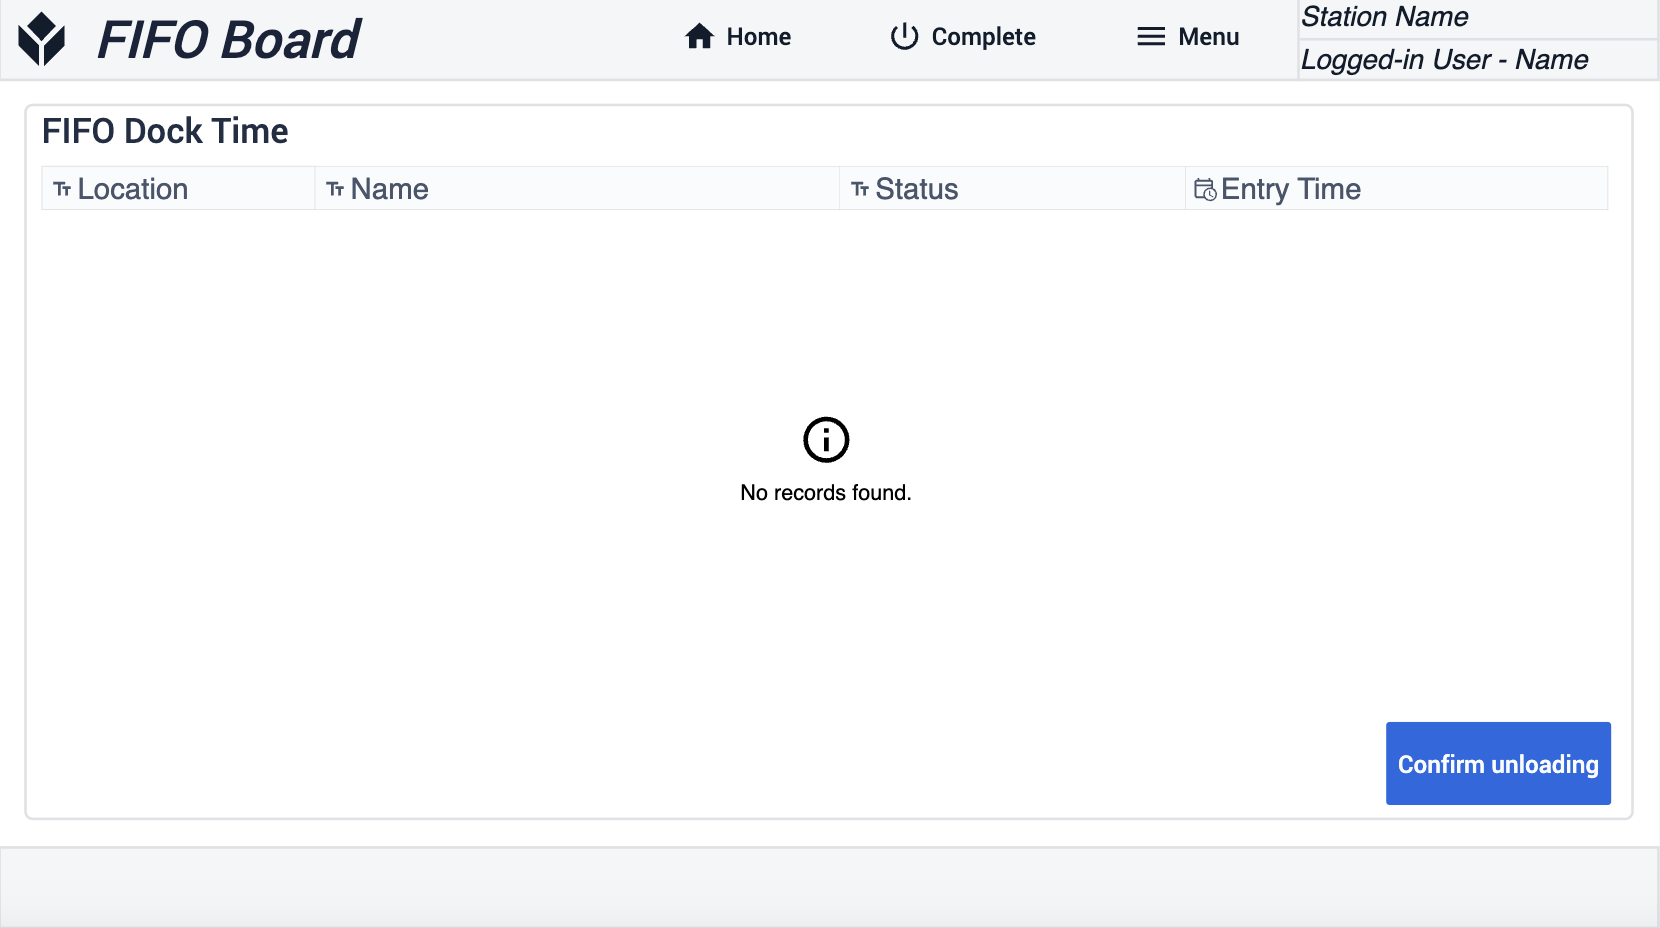
If you select an asset and click on the Confirm Unloading button, the app navigates you to the Unload Confirmation step. Here, you can add an image of the unloaded asset.
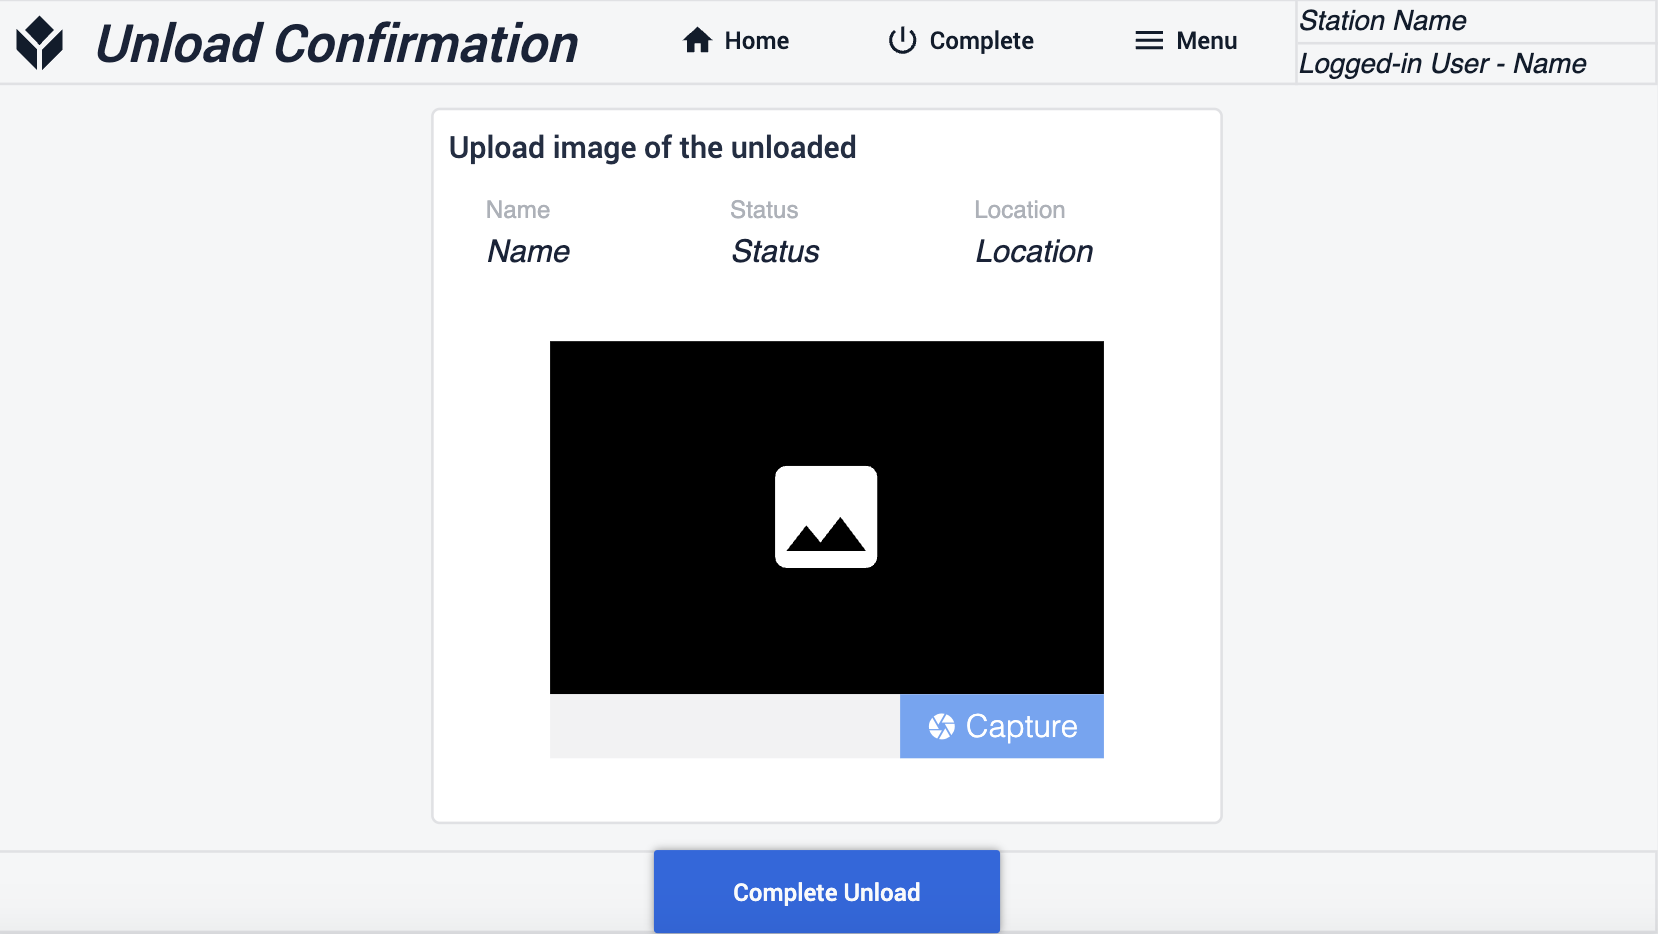
Upon clicking on the Submit Image button, the app saves the image and navigates back to the FIFO board.
During the unloading process, the app changes the asset status sequentially. At the Truck Arrival step, when creating a new arrival log, the status is set as Arrived. At the Upload Image step, after clicking on the Submit Image button, the status changes to Unloading. Finally, at the Unload Confirmation step, the app alters the status to Complete once the user clicks on the Complete Unload button.
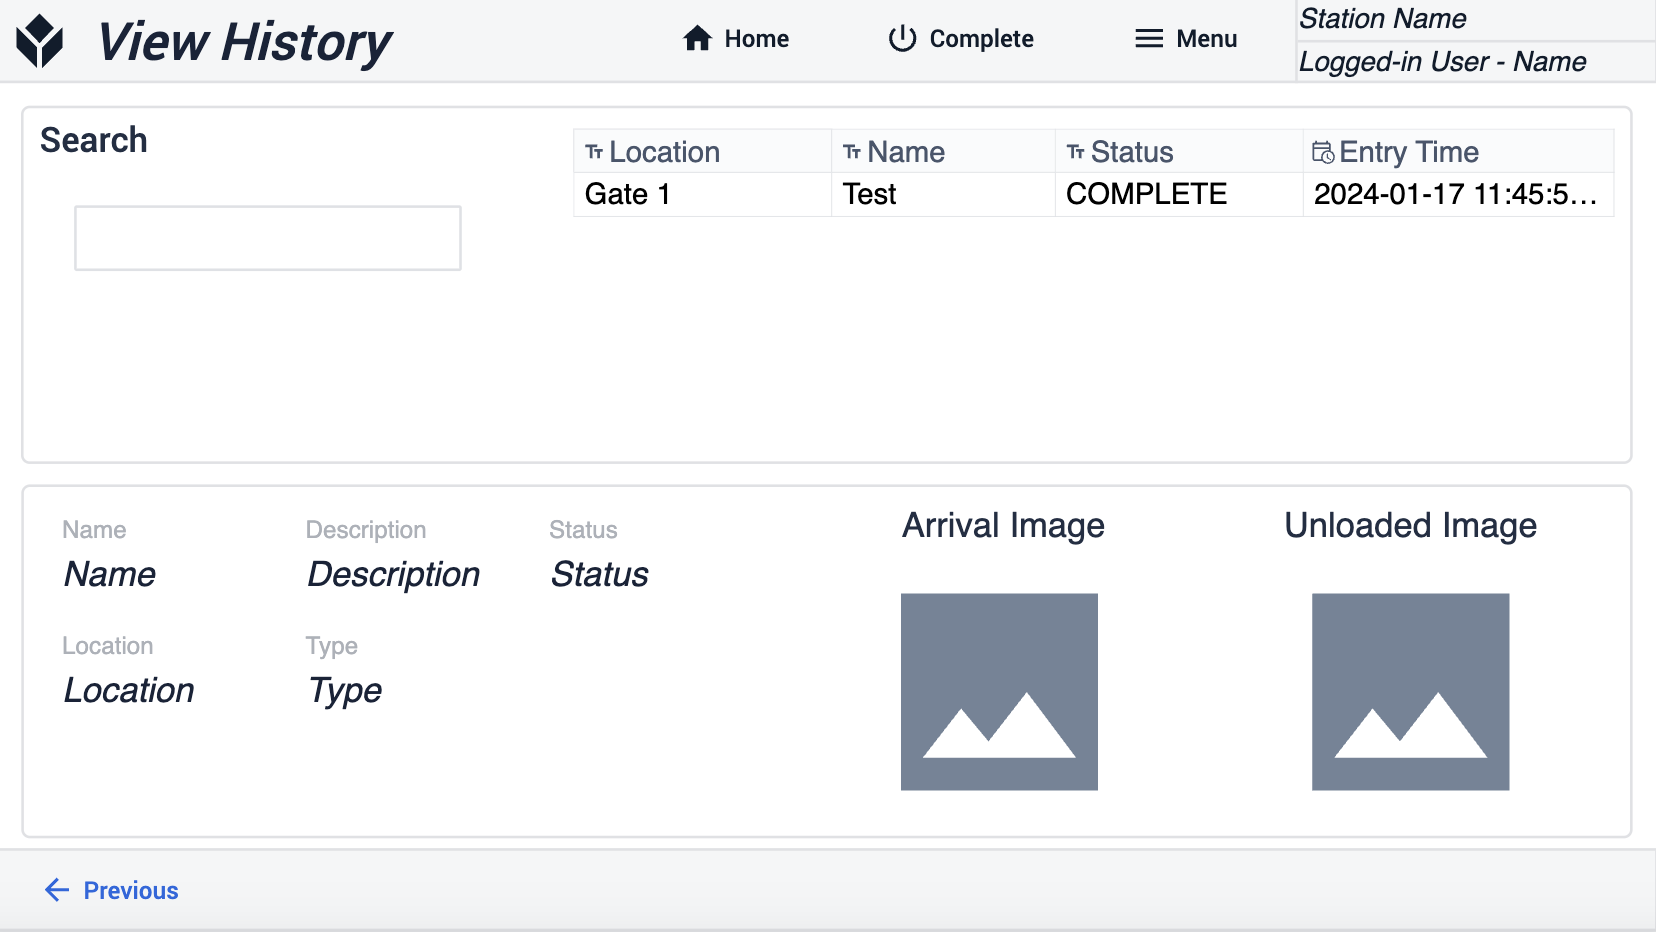
On the View History step, you can access information related to past arrivals. You also have the option to search within this data. When you select a row within the table, the corresponding information will be displayed beneath it.
Extended App Connections
This app is only connected with other cMES apps through human interactions.
Further Reading
Was this article helpful?