
With the custom user roles feature, you can mix and match from 75+ permissions to create the perfect User Roles for your enterprise needs.
Users on Enterprise plans.
Tulip provides 13 existing user roles that you can assign. A custom user role combines permissions from various parts of the platform to more granularly assign the right level of access. Creating your own roles enables robust access control policies with simplicity and flexibility.
How it Works
Only account owners can create/edit custom user roles.
You can customize user roles with specific permissions in the following areas:
- Analytics
- Apps
- Automations
- Connectors
- Machines
- Player
- Shop Floor
- Tables
- Vision

Workspaces Consideration
Any custom roles you create are available globally across any Workspace. Any roles assigned, however, apply only to that workspace. You must assign roles to users for each workspace.
You might have users with different permissions in separate workspaces. With global workspace assets, such as Edge Devices, users have their highest permission of access. This means that if a user has limited access in one workspace and full access in another, they will have full access to an asset used in both workspaces.
How to Use Custom User Roles
To view any custom user roles, navigate to the Users page in the Account Settings page of your instance. Click Roles.
You can view and search through roles using the search bar and filter buttons at the top of the list.

Tulip roles are the available roles that already exist in your Instance.
Custom roles are the custom roles you create.
Create
- Click + Create Role.
- Choose to either duplicate and modify an existing role or create a new role from scratch.
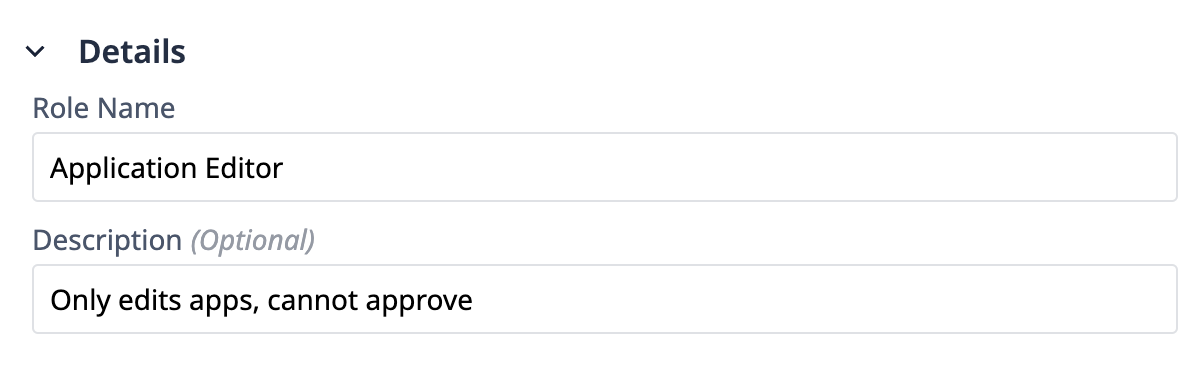
- Fill in the Role Name and Description fields.
The role name should be unique and identifiable.
- Select the level of access for each area of Tulip using the drop down categories.
- Click Save.
Assign
- Navigate to the Users page.
- Select a user from the list.
- Within the workspace configuration for the user, select the user role you’d like to assign.
Edit
When you edit a custom user role, it will instantly change permissions of all users with that user role.
- Navigate to the Roles page.
- Click on the role you want to edit.
- Click the pencil icon in the top right.
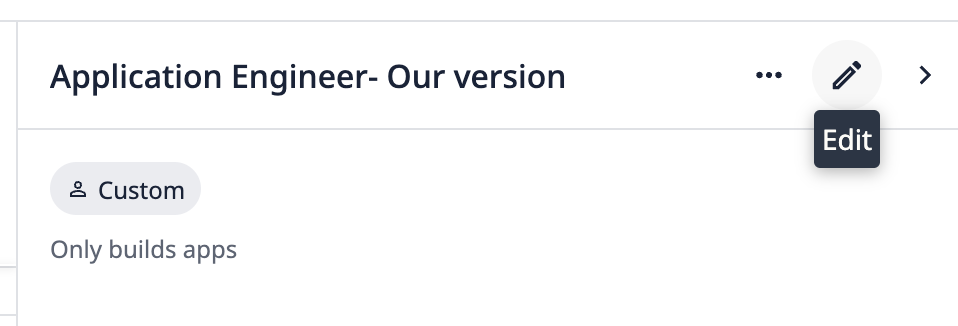
- Make any changes to fields or permissions.
- Click Save.
Archive
- Navigate to the Roles page.
- Click on the role you want to edit.
- Click the three-dot-menu in the top right. Select Archive.
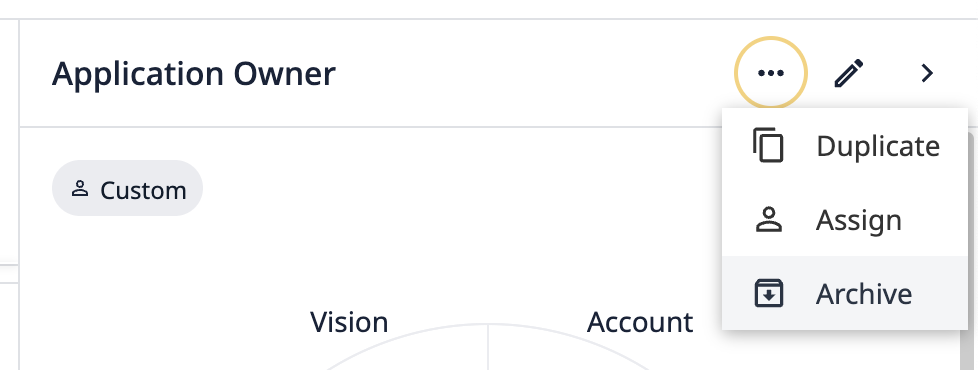
- On the confirmation modal, click Archive.
To view any archived roles, navigate to the Roles page and click the three-dot-menu at the top right. Select View archived roles.add
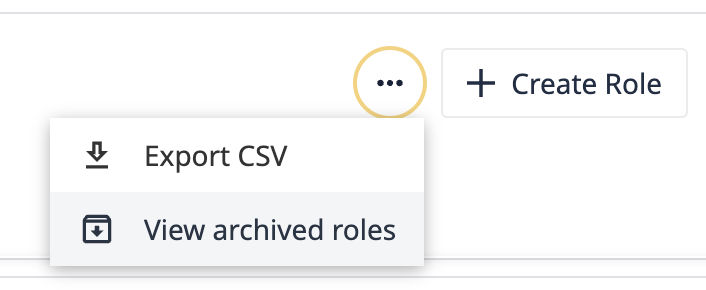
To restore an archived role, hover over a role and then click the restore button.
Custom Role Scenarios
I want to control costs and avoid driving up our bill.
When you pay for certain assets created in your instance, you want to limit permissions to only necessary users.
Here’s a list of features that affect pricing based on creation or usage:
- Stations
- Automations
- Machine monitoring
- Vision
Create roles with limited or view only access to these features to ensure that your costs don’t spike.
I want to secure production data.
If you’re particularly concerned with data security, users who can create, edit, and delete Table Records pose a significant risk. Create a custom user role that restricts table access to view only or limited for users who don’t need to write to tables. This ensures that only the right people have access to precious data and limits unwarranted altering.
Compatibility with External IDPs
Custom User Roles can be assigned via SAML. They are not compatible with LDAP.
.gif)