There are three ways to add Images to an app:
- Copy and paste from your computer's clipboard in Chrome
- Manually upload from your desktop
- Use an image URL
Copy and paste an image
You can copy and paste images into apps using CTRL+C and CTRL+V on Windows, and CMD+C and CMD+V on Mac.
Upload an image
Image widget
-
Navigate to the Step in the app.
-
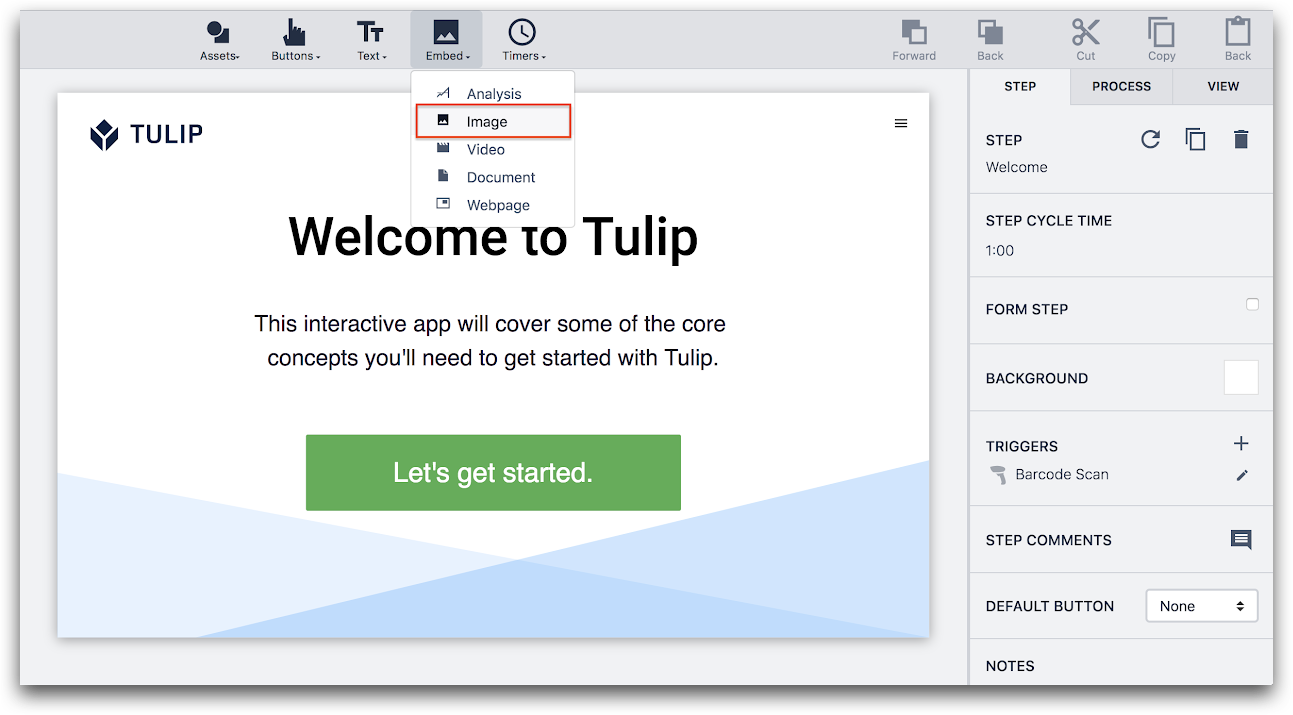
Click Embed in the Toolbar and select Image from the dropdown.
- In the Widget Tab of the Side Pane, configure the Datasource to Static Value.
- Paste the Image URL into the field below or click the upload button to select from your local drive.
Drag image into a step
You can also click and drag images from your local drive and drop them into a step.
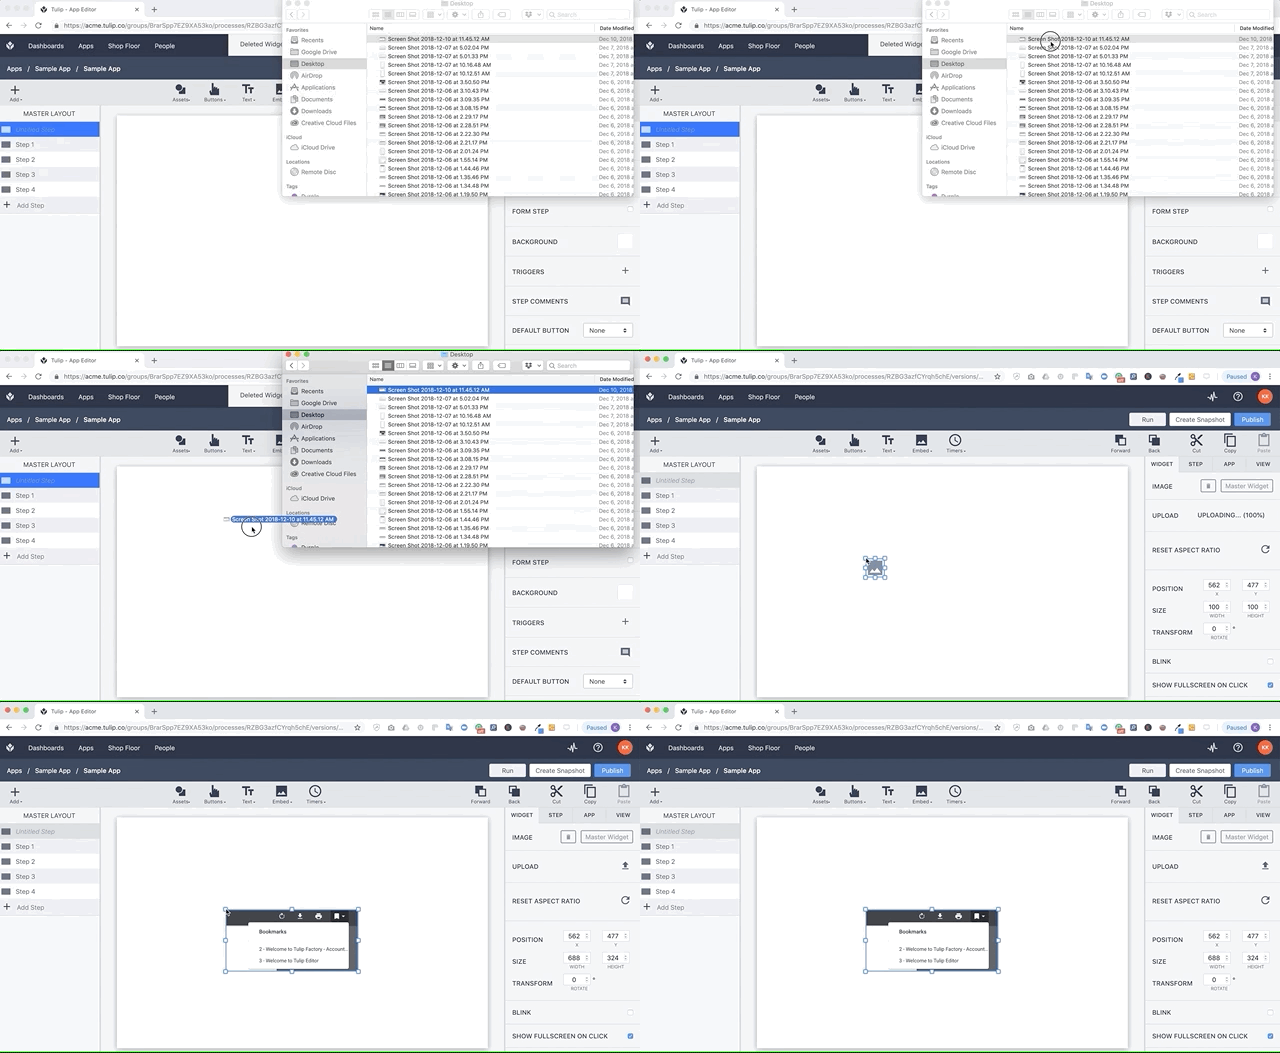
Image URL variable
You can create a variable with type "image" and then store a specific image as a default value. Or, you can update that Variable with a new image in the Trigger Editor.
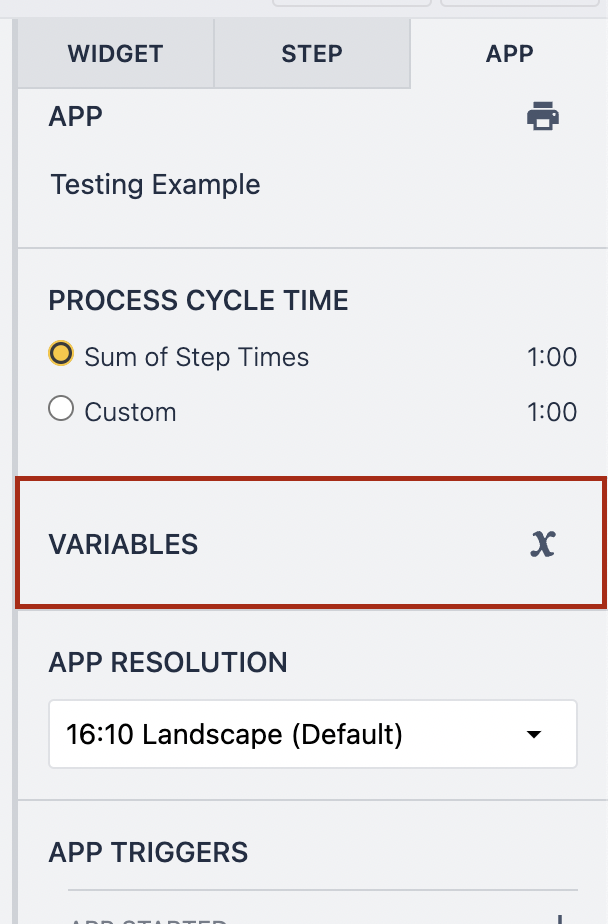
- In the Side Pane, click the App tab and click X next to Variables.
-
Click + Create variable.
-
Name the variable "testimage" and select Image URL as the type.
-
Click the Upload icon under Default Value.

You can update this image via a Trigger. Use "Data Manipulation" --> "Store" to add a new image URL or upload an image to this variable.
Style and add triggers to an image
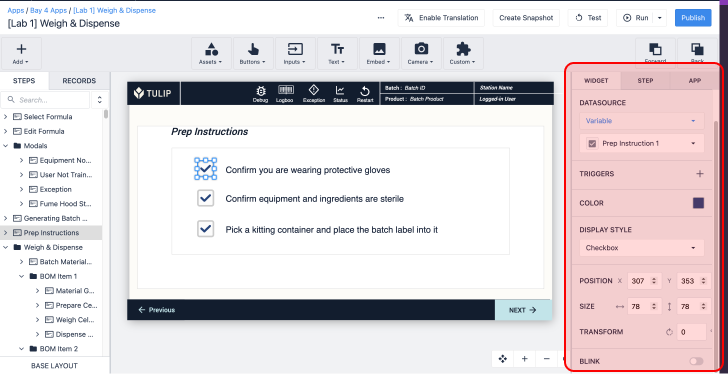
You can edit the following properties of images after they are uploaded to Tulip in the Side Pane on the right side of the screen:
- Image sizing
- Rotation
- Drop shadow
- Border
- Blinking
You can also add a trigger to an image or show a fullscreen version of it when clicked. Use the Click Actions menu in the side pane after selecting the image.
Technical Details of Image Support
Tulip supports the following image formats:
| Maximum file size | |
|---|---|
| PNG | 20 MB |
| JPEG | 20 MB |
| GIF | 5 MB |
| SVG | 5 MG |
JPEG and PNG will be automatically resized to 1920 x 1200 at maximum.
Did you find what you were looking for?
You can also head to community.tulip.co to post your question or see if others have solved a similar topic!