Sign In File URL Connector
- 13 Oct 2023
- 4 Minutes to read
- Contributors


- Print
Sign In File URL Connector
- Updated on 13 Oct 2023
- 4 Minutes to read
- Contributors
- Print
Article Summary
Share feedback
Thanks for sharing your feedback!
This article will guide you through the process of setting up a sign file URL.
A Sign In File URL Connector enables you to gain access to a private file through Tulip, including the data and information associated with the file. In order to accomplish this, we'll need to create a Sign In API Connector, create and configurte a connector function, and call to the connector function via a trigger in an application.
Create A Sign In API Token
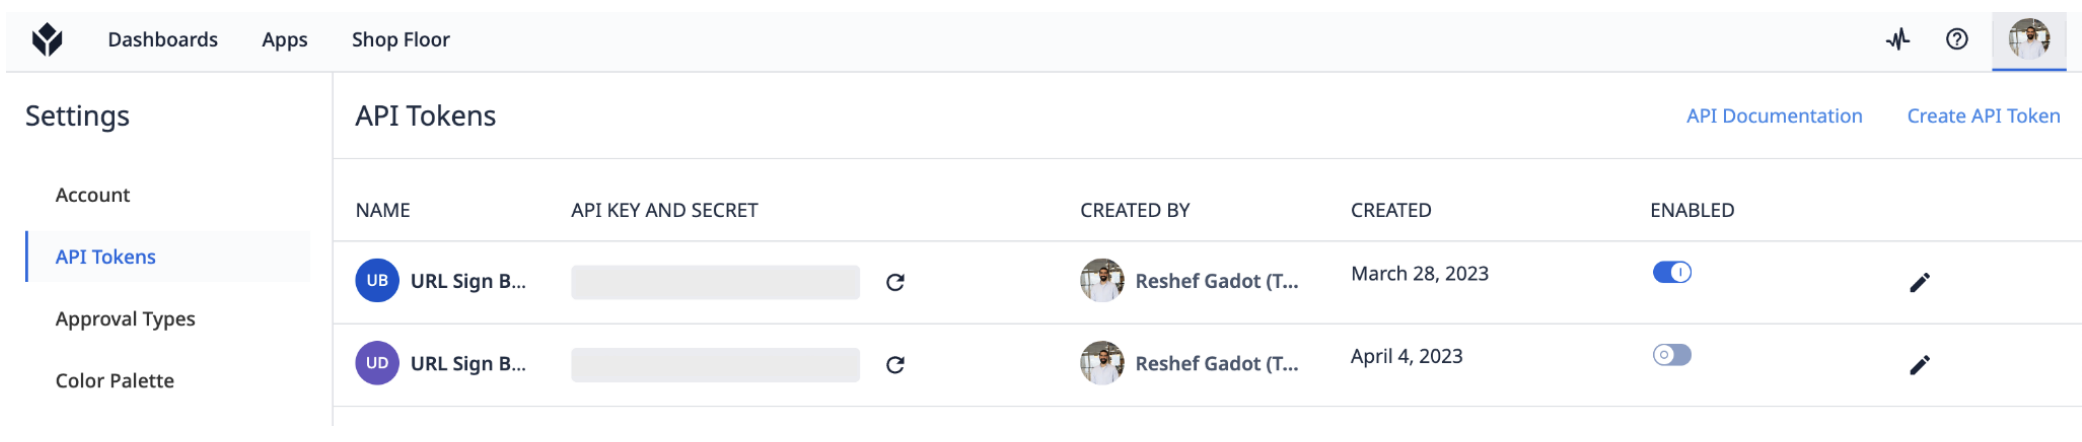
In your Tulip Instance, open the Settings page and select API Tokens from the menu on the left. Click Create API Token.
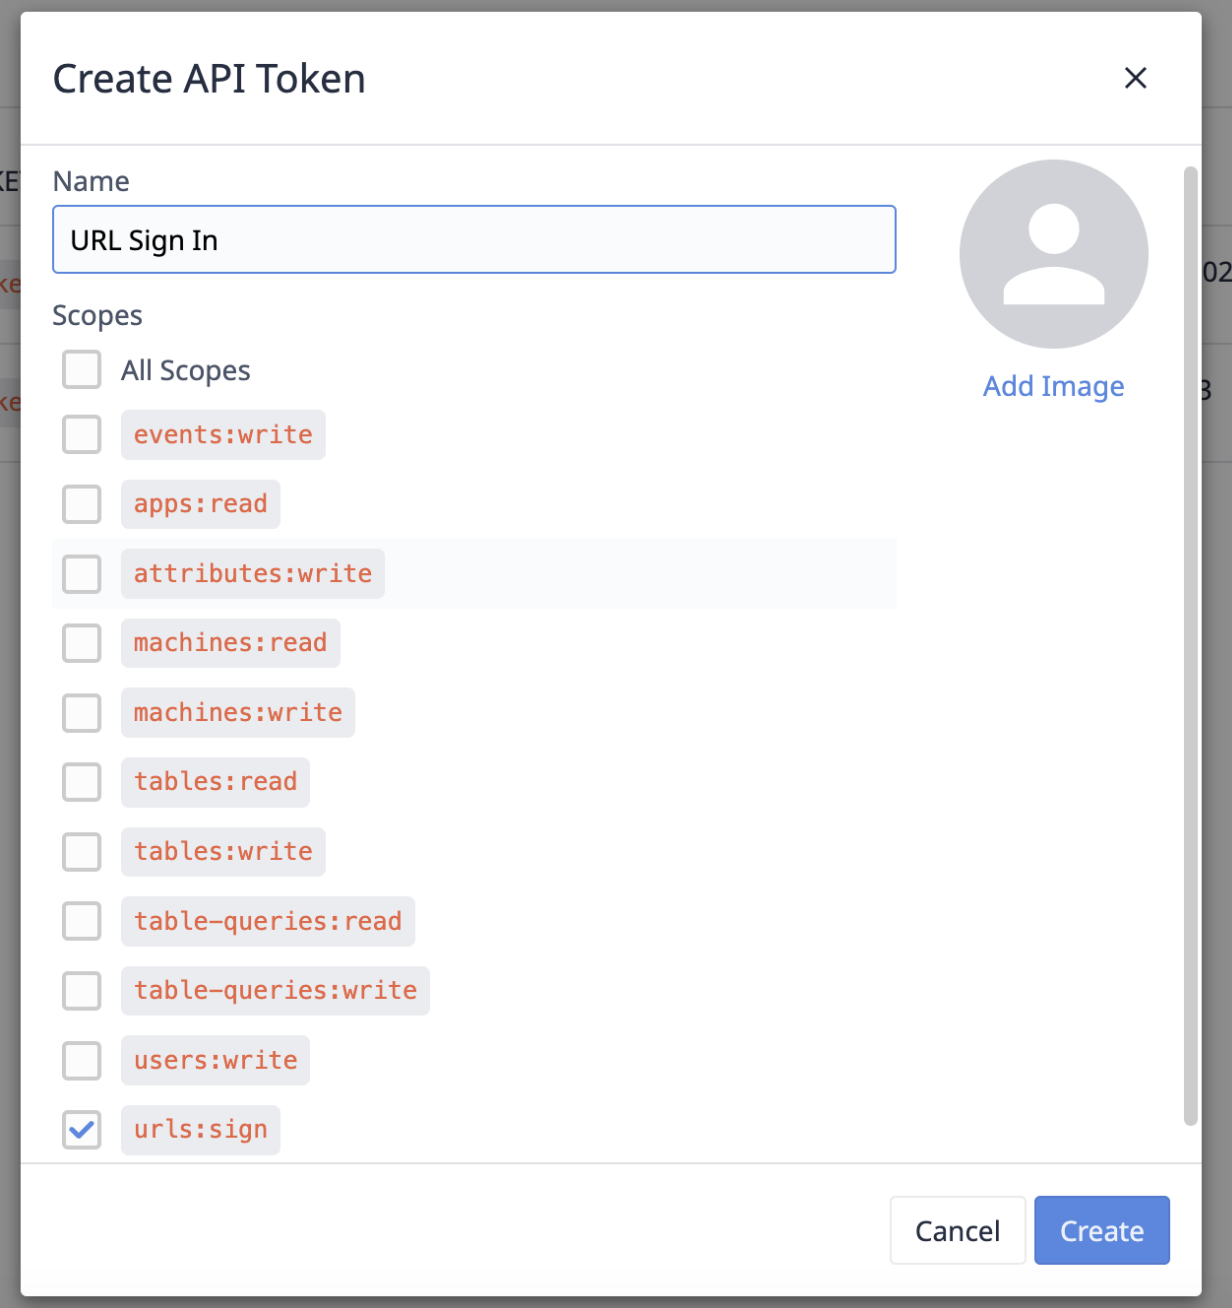
Name the API Token, mark the urls:sign box, and press Create.
An API Key, Secret, and Authentication Header is generated to set up your API Connector. Save these credentials in a safe place, as the Secret can not be displayed again.
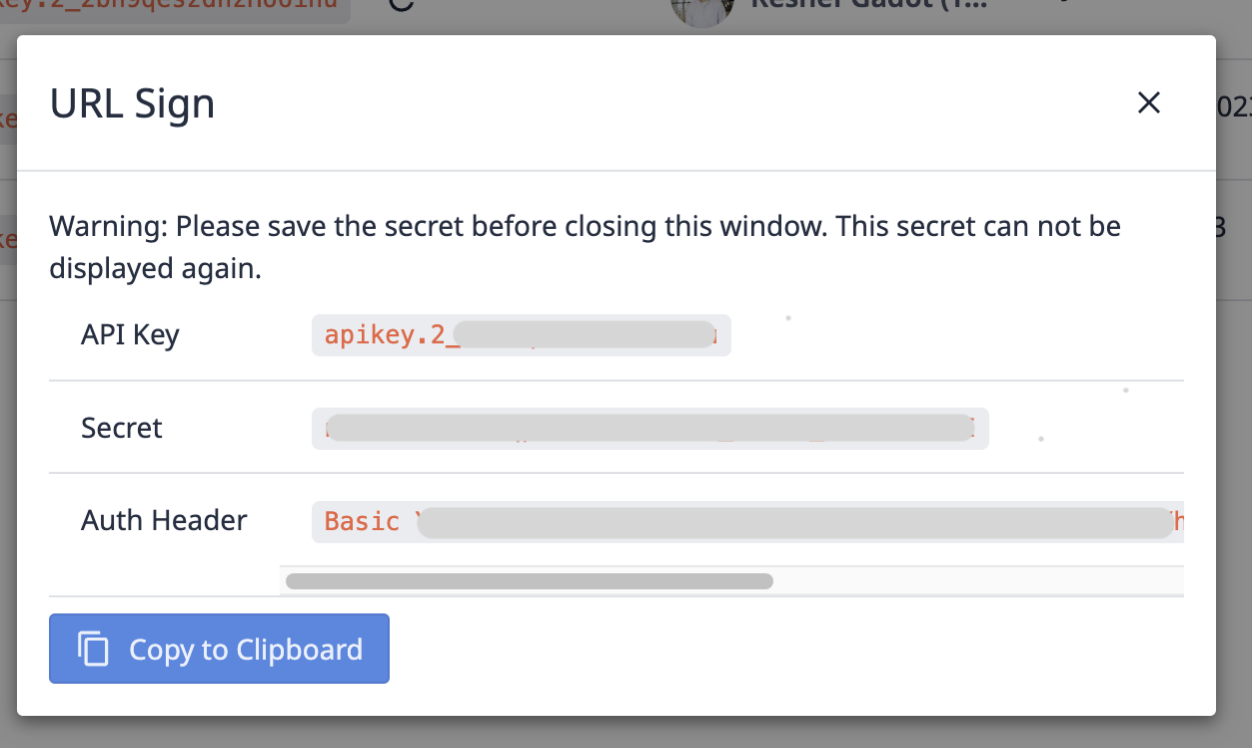
Leave this window open while you open up a new window to set up the connector.
Sign In Connector Setup
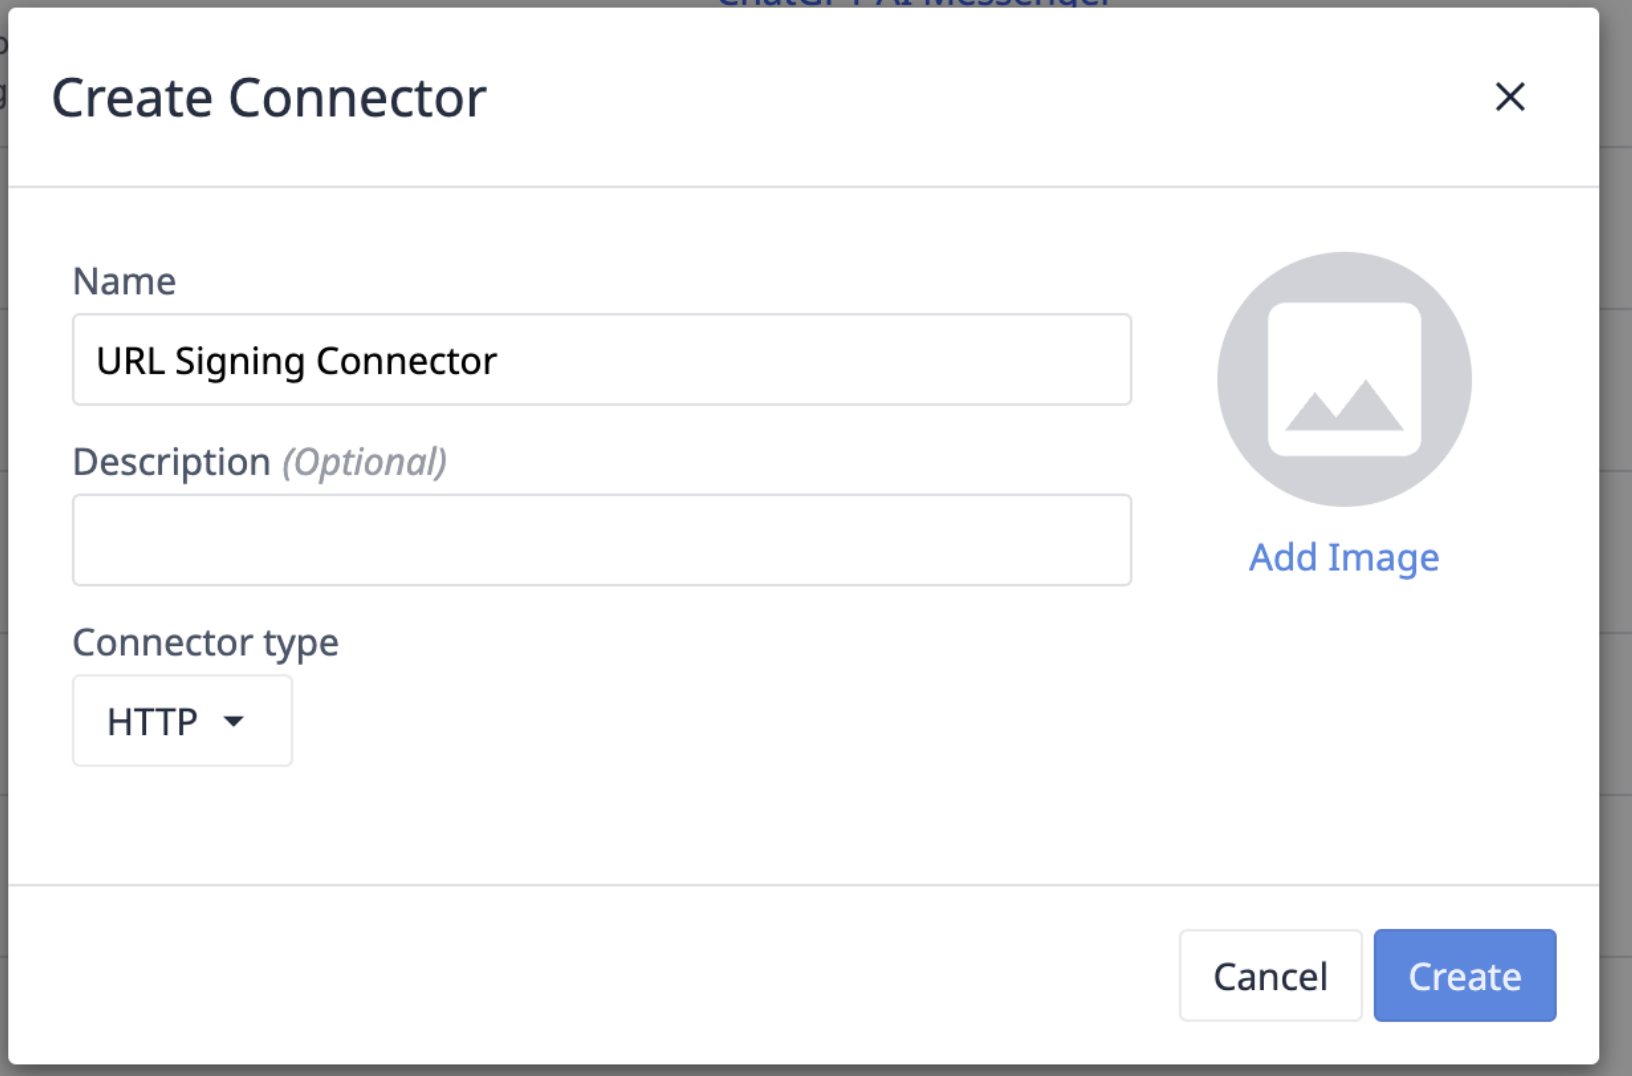
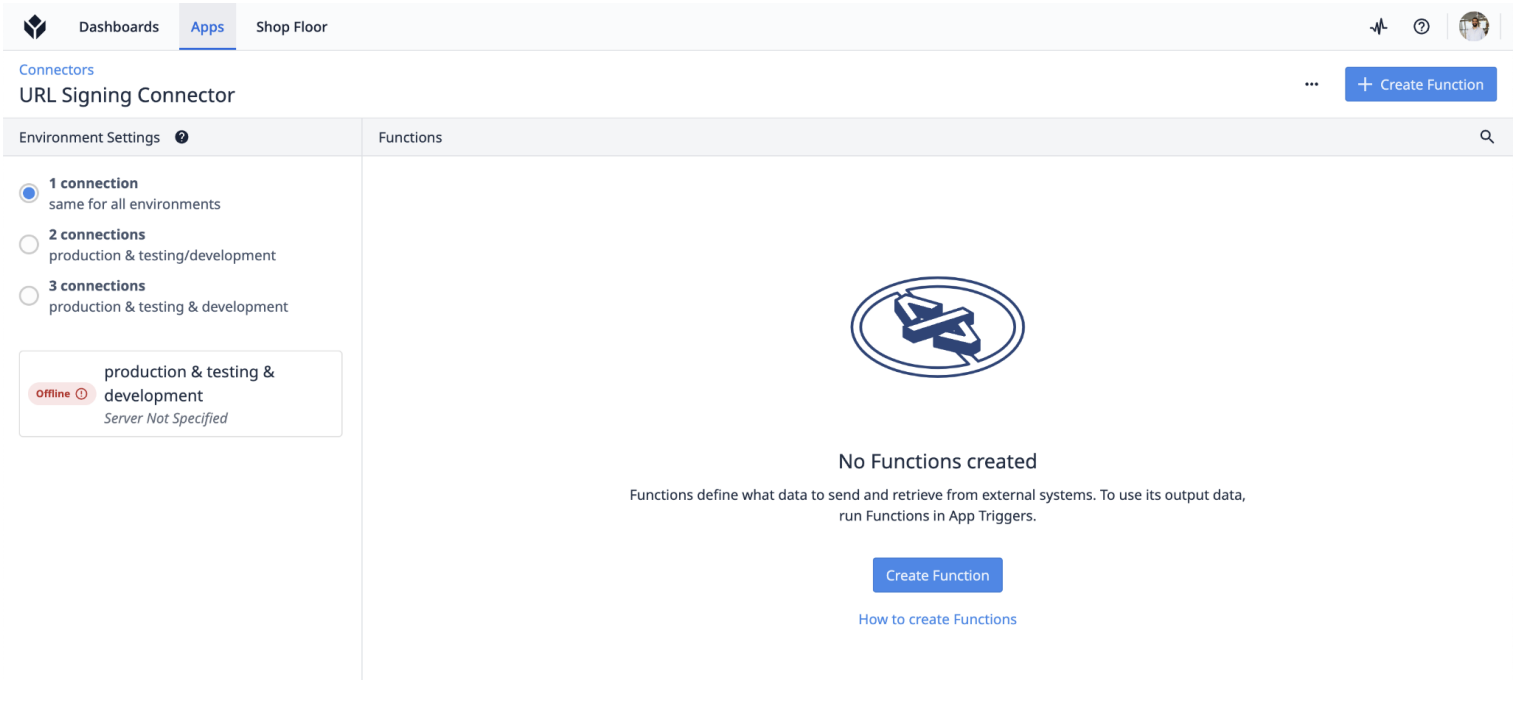
Open the Connectors page under Apps and press Create Connector button. Name the Connector URL Signing Connector, select HTTP as the connector type, and click Create.
In the Environment Setting select 1 connection and click the production & testing & development button.
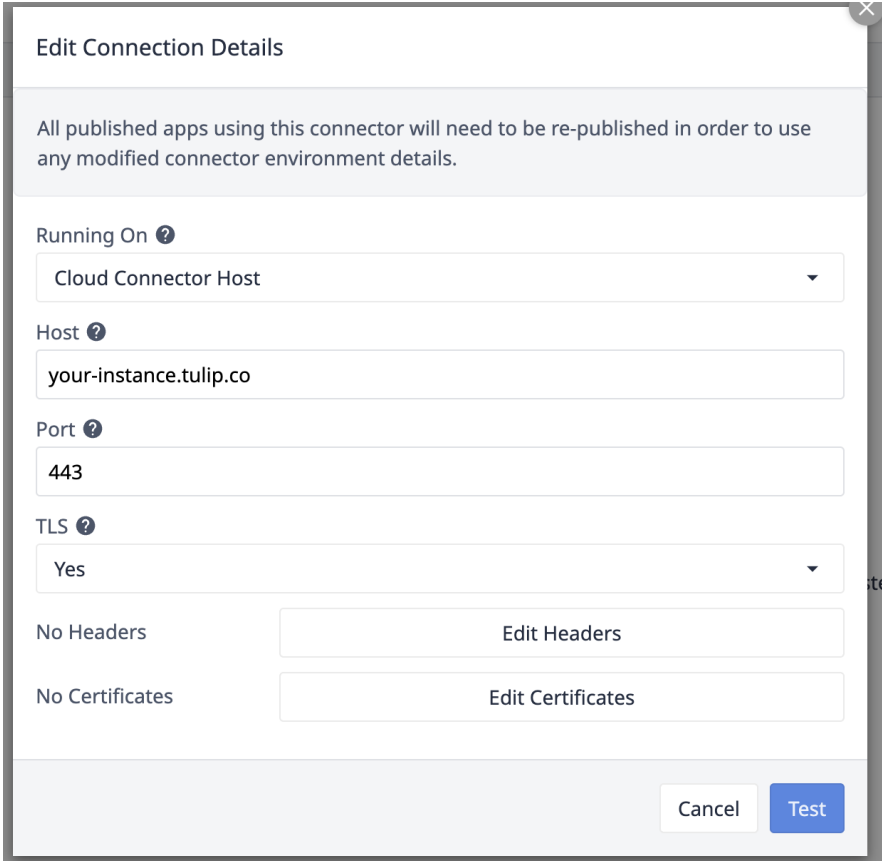
In the Edit Connection Details fill in the following:
- Running On - Cloud Connector Host.
- Host - enter the URL of your Tulip instance
- Port - 443
- TLS - Yes
Select Edit Headers and choose Basic Auth. Enter the API Key, from the previous step, as the Username and enter the Secret as the Password.
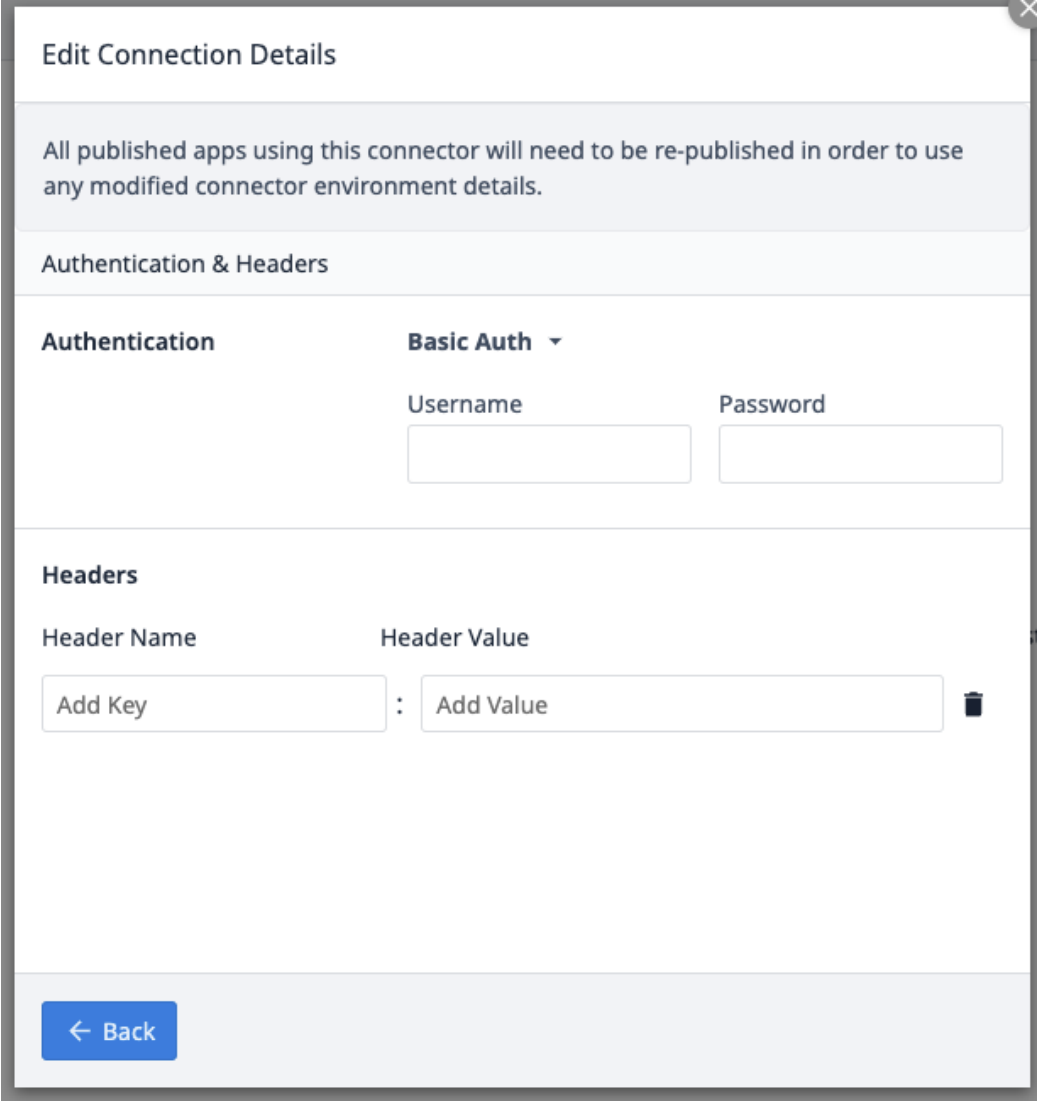
Click Back then select Test and close the window. The Environment Setting button should change to Online.

Create the Connector Function
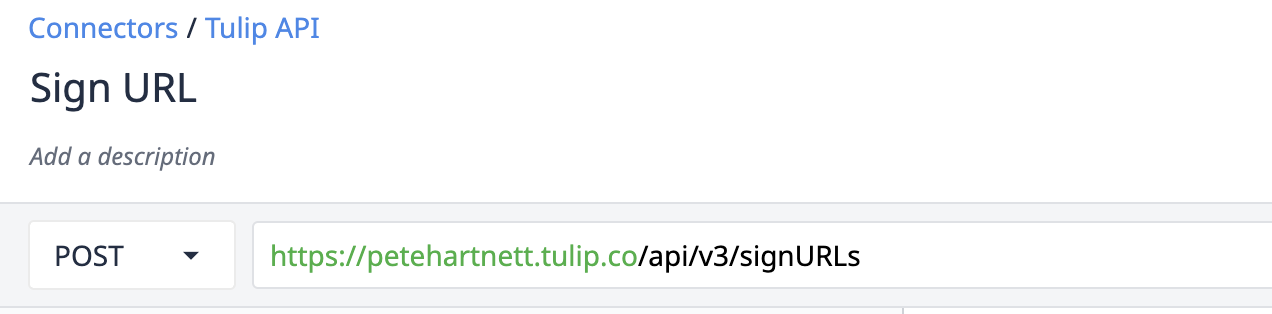
Click Create Function. Name the function Sign URL and choose POST from the API Call method dropdown menu.

The URL is your instance address. Edit the end of it so it reads:
https://your-instance.tulip.co/api/v3/signURLs
Add a function Input and select text. Name it "file".

Add a function Outputs, select text. Name it "signedURL", and fill in "signedURLs.0" in the body type.

In Request Body change the Content Type to JSON. In the root row select the type as Object { }, expand the window and click the + sign.
In the Key, add URLs and select Array [ ]. On the Index 0 line, press the Use Literal button to copy the input name. Select the type as a String A.
The request should look like the following:

Now that the Sign In URL is ready to use, we can set up a Trigger to run the connector function in an application.
Application Trigger
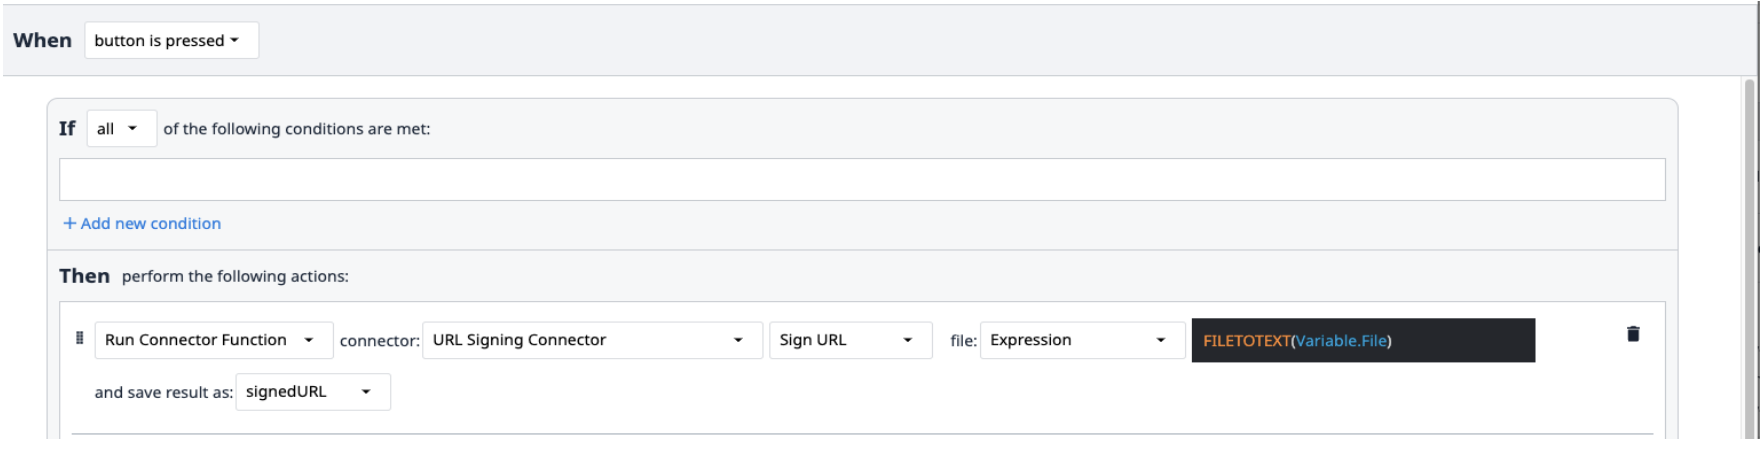
We want our connector function to run every time a button is pressed.
Create a new trigger that Runs the Connector Function. Select the URL Signing Connector with the Sign URL function.
Since the file input is a text Variable, use FILETOTEXT (variable.File) expression, where "File" is the name of the variable. This expression converts the file name into a text string.
Save the output to a variable and name it ("SignedURL").
Further Reading
Did you find what you were looking for?
You can also head to community.tulip.co to post your question or see if others have faced a similar question!

.gif)
Was this article helpful?