Learn the basics of Tulip’s tables feature.
Overview
Tables allow you to build and edit your own database in Tulip without writing any code.
Rather than writing SQL or HTTP queries to communicate with external data sources, you can create tables and then immediately push and pull data in your apps.
Unlike Variables, which can only track data within an app, tables let you use data across multiple apps.
A table resembles a spreadsheet or a table in SQL.
Fields
Each column in a table is called a Field.
Each table can have a maximum of 200 fields, which includes fields that have been archived in the past. So, if 20 fields have been archived previously, the table can have 180 fields.
Fields have specified types that determine the datatype.
Field types
- Text: a text field
- Number: A number with decimals
- Boolean: Either “true” or “false”
- Integer: A whole number
- Interval: An amount of time in seconds, i.e. seconds spent on a step
- Image: Either a URL of an image, or an image uploaded from your computer
- Video: Either a URL of a video, or a video uploaded from your computer
- File: A file uploaded from your computer with one of the supported file formats (pdf, stl, txt, xls, xlsx, doc, docx, step, stp, qif, nc, form, mp4, gif, png, svg, jpeg, jpg)
- User: A Tulip administrator or operator
- Datetime: A date + time. Can manually specify a value or save the current date/time from an app
- Color: A single color defined via colorpicker or hex code.
- Linked Record: Link records between tables. Click here to read more.
- Machine: Machine variables
- Station: An existing station on the Tulip instance
Learn more about each data type and their technical details here.
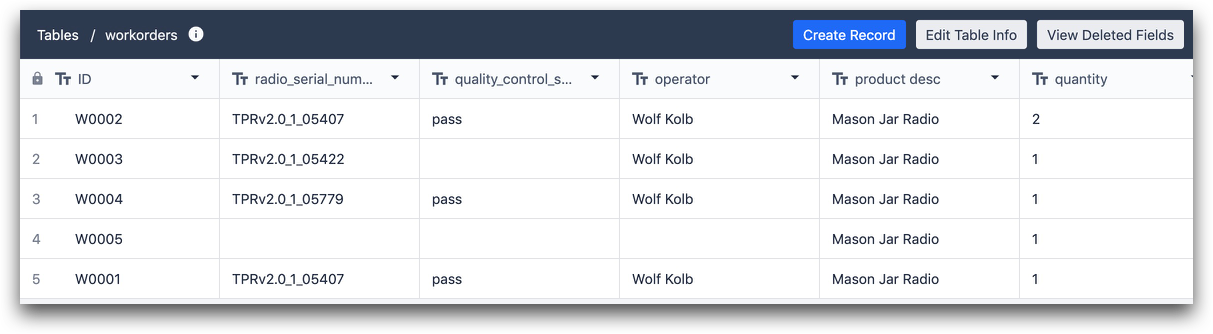
Records
Each row in the Table is called a Record. A Record will automatically include all the fields that you create.
An individual record might be:
- A work order
- A SKU
- A lot of ingredients
- A set of permissions for an operator
- A list of materials for a product
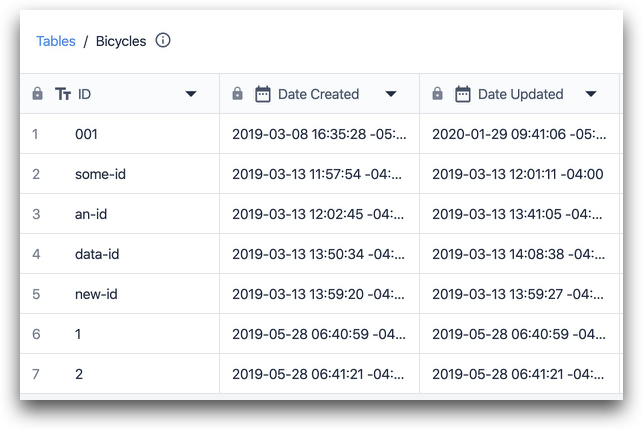
Each record must have a unique ID value. This allows you to load all the data around an individual record into an app. The ID is a text value, which accommodates work orders and SKUs that can be composed of both letters and numbers
Common IDs include:
- Operator Badge ID
- Work Order/SKU number
- Lot number
- Product name
Tulip recommends making your ID field a unique identifier of real world artifacts, such as the Batch or Equipment ID.
You can either add records to the table directly in the table editor or in an app that is connected to the table.
Learn how tables can be edited via an app here.
Set up a table
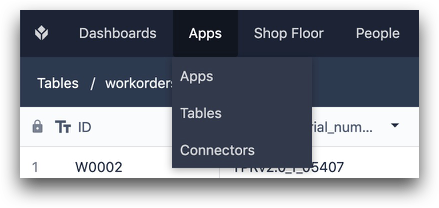
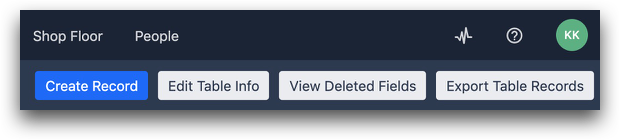
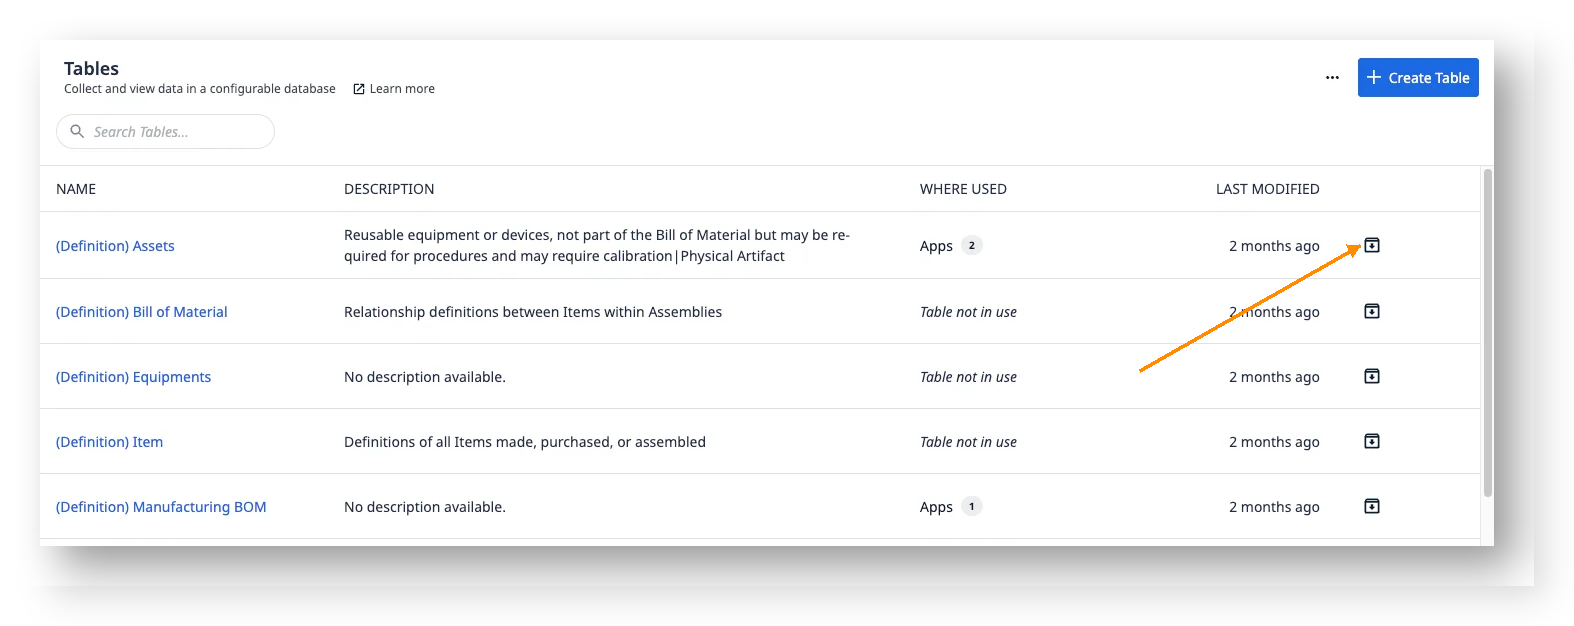
To access Tables, click the Apps tab and select Tables.
You can either create a table in the top right of the screen or archive one using the trashcan icon next to the corresponding table. You can also view the list of apps referencing each table and navigate to them directly from this page.

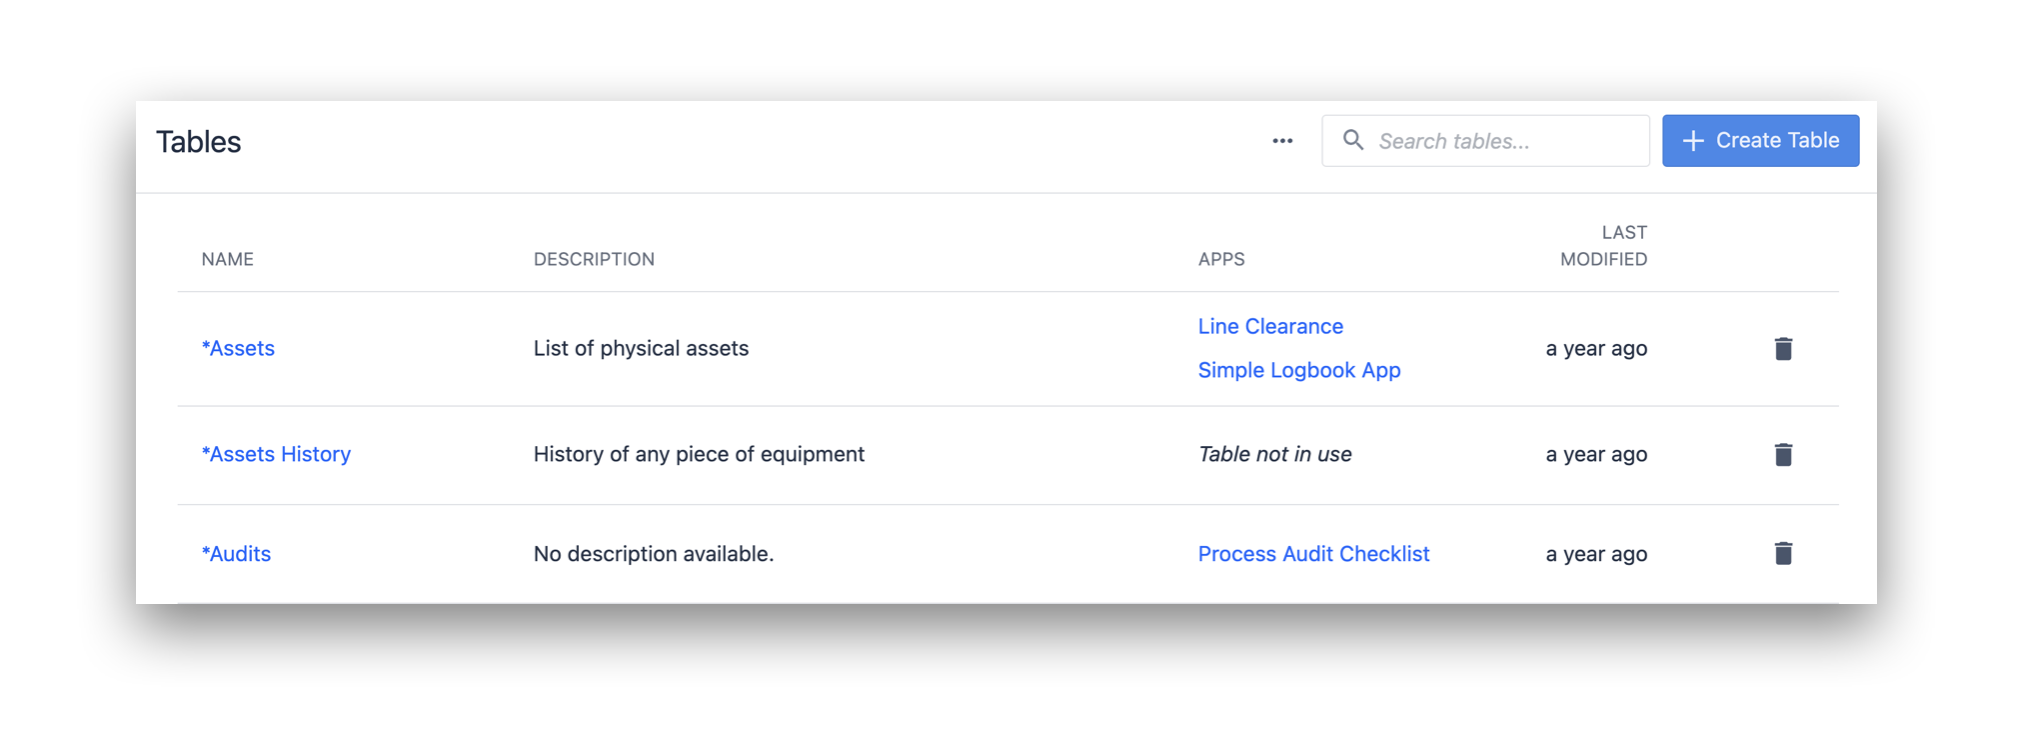
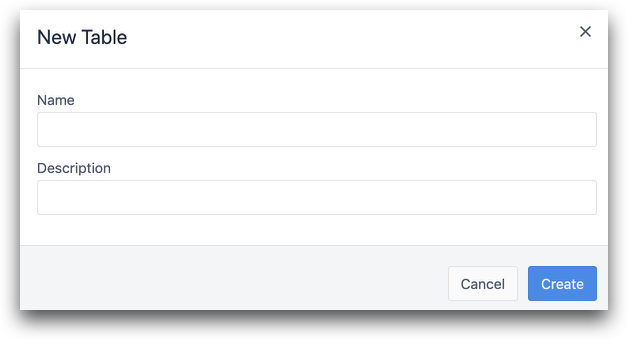
- Click + Create table
- Add a name and a description then click Create.
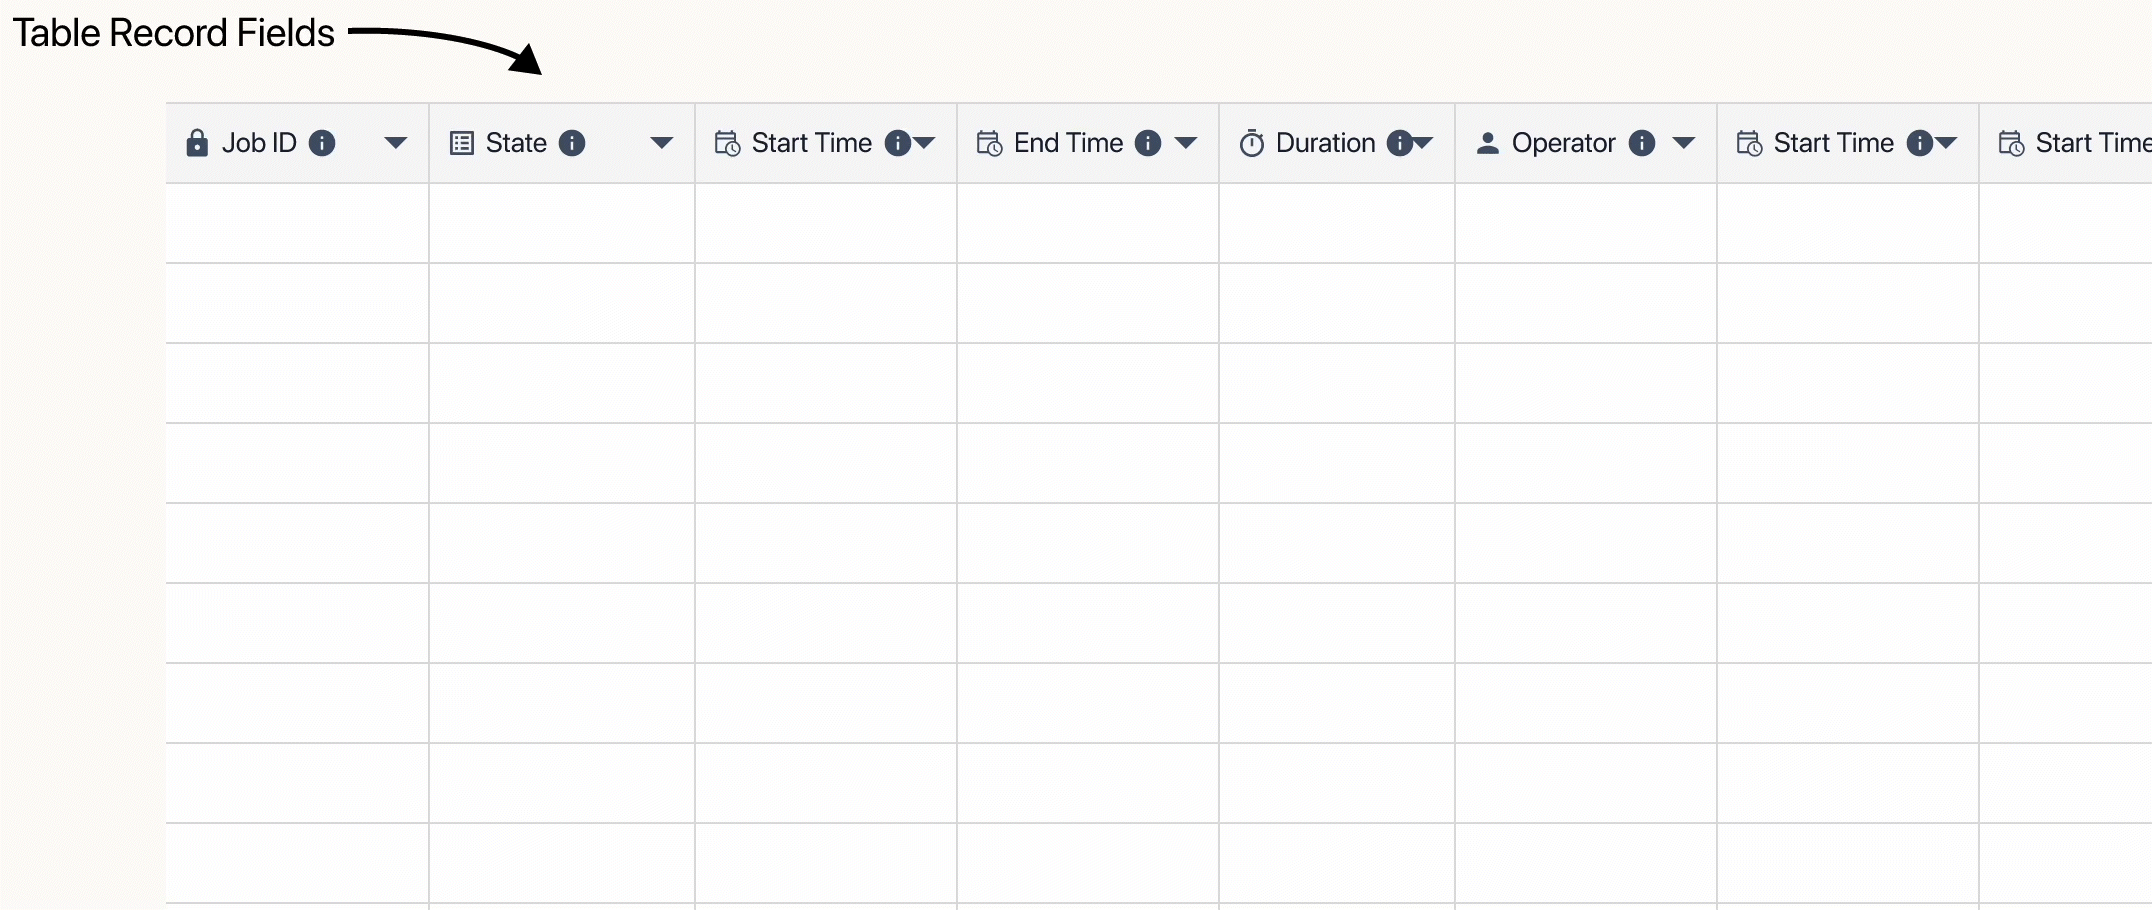
Add Table Record Fields for all the data that you want to track. A Field is like an individual column in a spreadsheet.
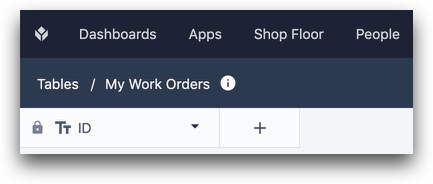
- To create a new field, click the + button next to ID.
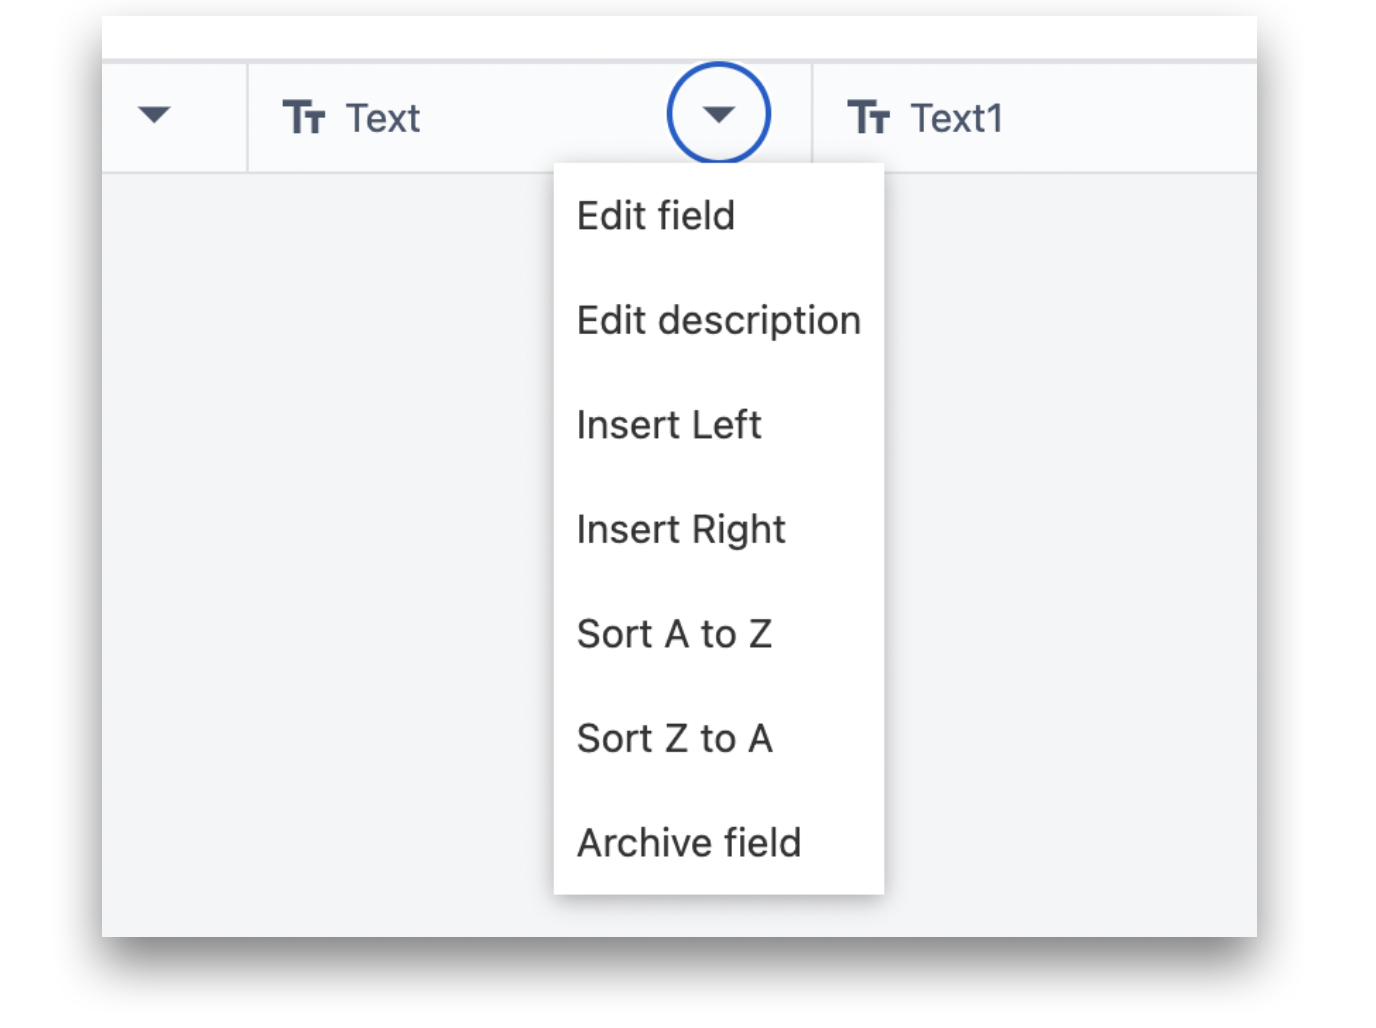
You can also add a field by clicking the arrow on one of the fields and then either Insert Left or Insert Right.
-
Select a field type.
-
Add a label, then click Save.
Edit a table
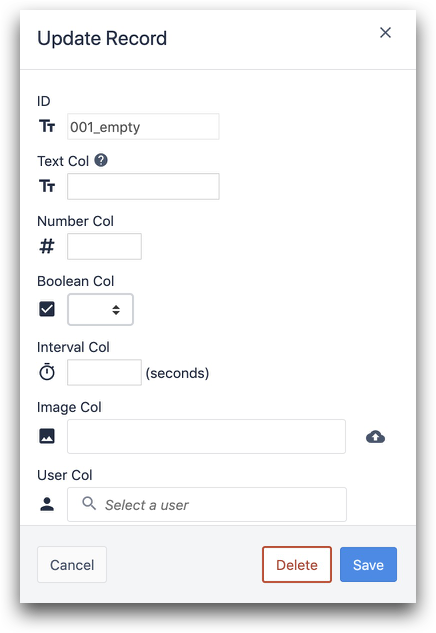
You can always edit fields later, including the ID field, by clicking the down carrot next to the field name. If you would like to remove a field from the table, click on Archive field.

Clicking on the information icon next to the table name gives information on the number of fields in this table.

The ID field is the only required field when creating a new record from the Table page. You can clear or edit a record by clicking on it.
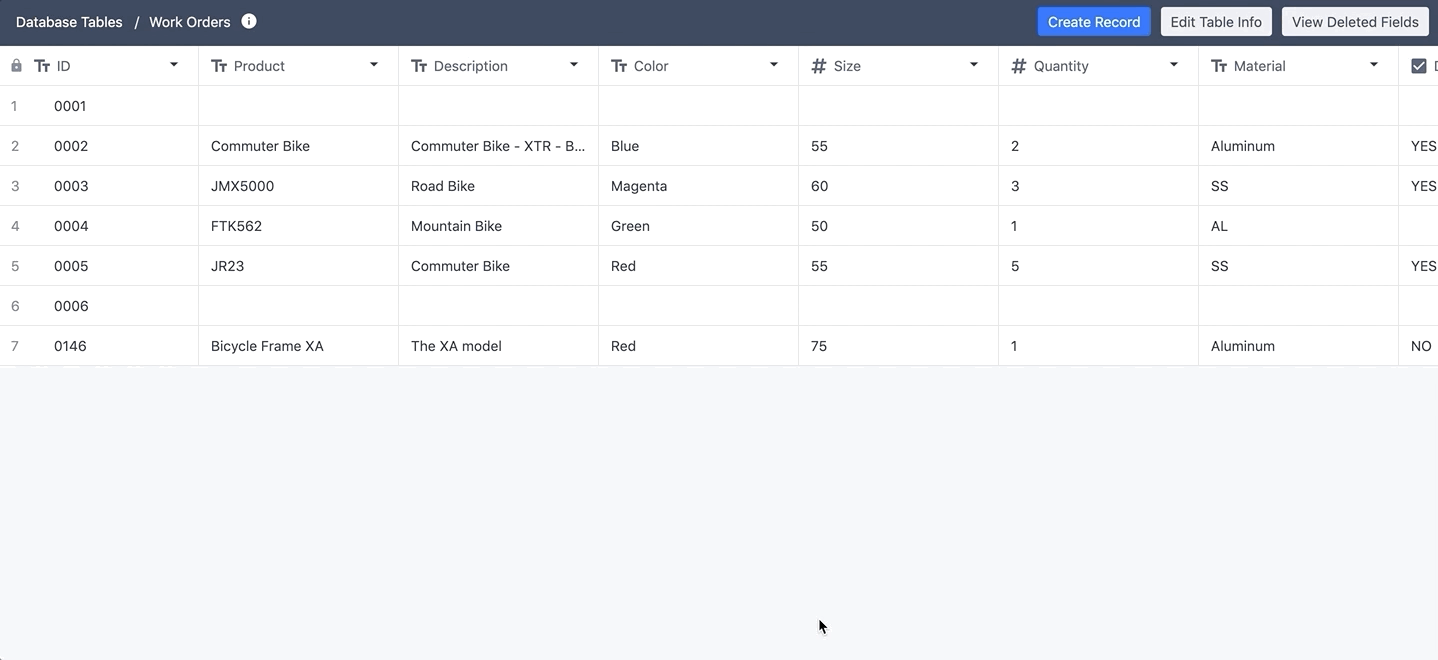
The ID column position will lock in place, to allow for easy viewing and editing records. The header row also locks as you scroll down the table.

Delete a record
There are 3 ways to delete records in a table.
- Right-click the record and select Delete Record.
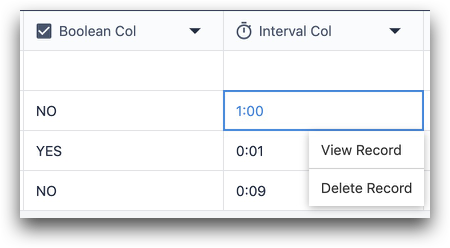
- Left-click the record and click Delete at the bottom.
- Use the Delete Record trigger Action in the to delete records dynamically in an app.
ID fields cannot be deleted.
Export data from a table
After you have begun storing and updating records in a table, there are two ways to export the data at any time.
- Use the Export Table Records button to export all Records and their fields to a CSV.
- When a table record is loaded into an app, the fields of that table record are stored with the app completion. So, if you would like to see the values in a table record when a specific app was completed, see this separate guide on exporting app data to a CSV.
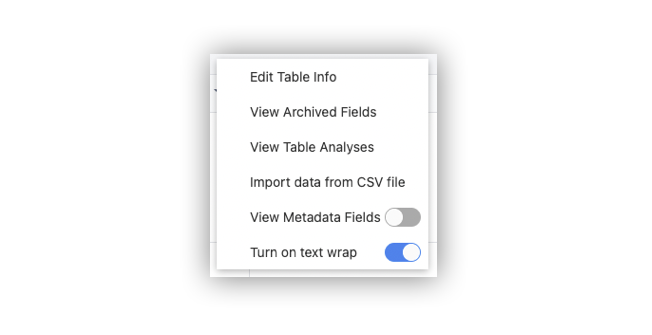
View record metadata
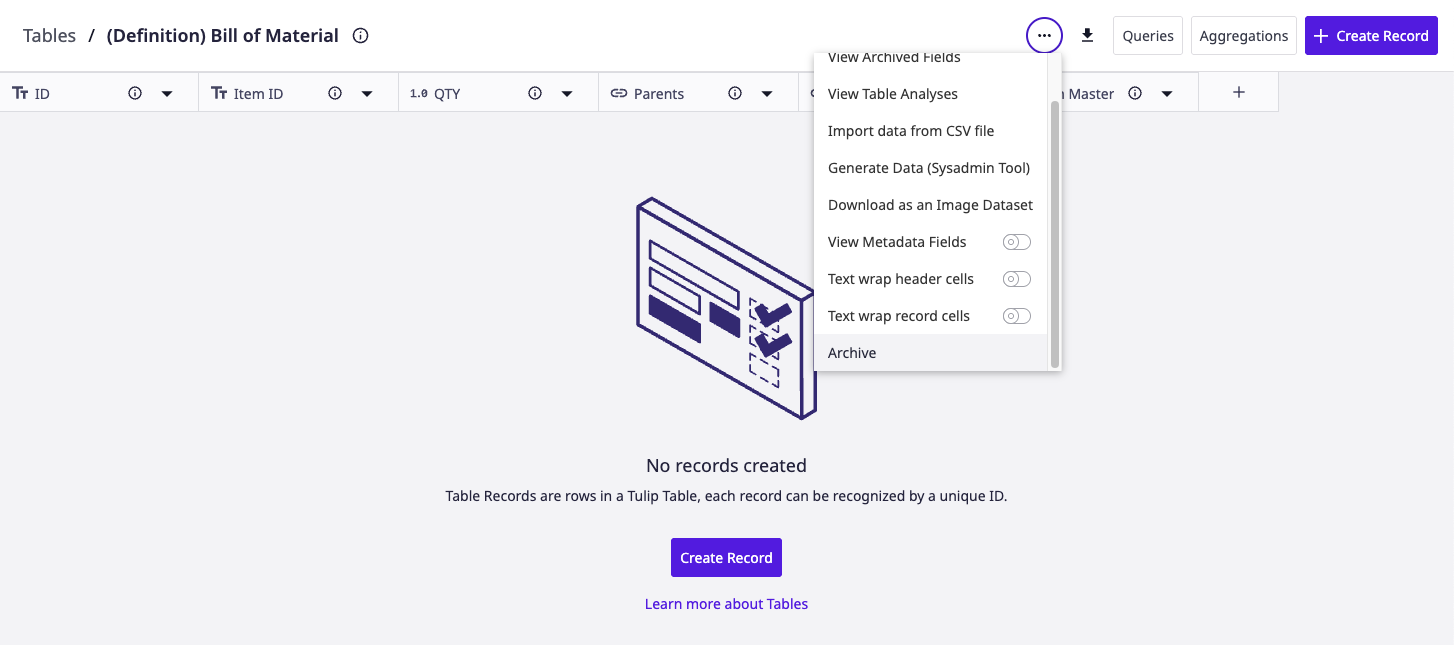
You can see the time that each Record was created and updated using View Metadata Fields in the top right of the screen.

Toggle that option under the ... button, and then you will see two new columns in your table:
GXP customers are also able to see the unique ID of each field in the table via the Information symbol on each field. Here's an example:
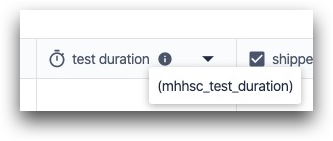
Please contact your Tulip account representative if you are interested in enabling this feature on your account.
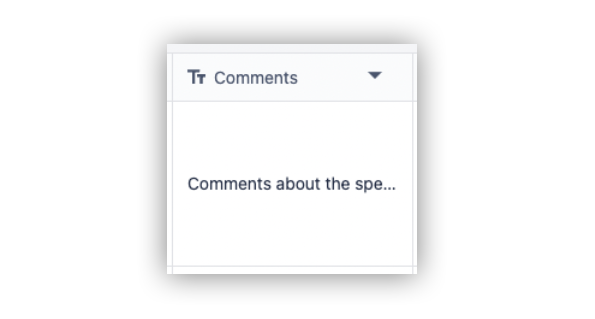
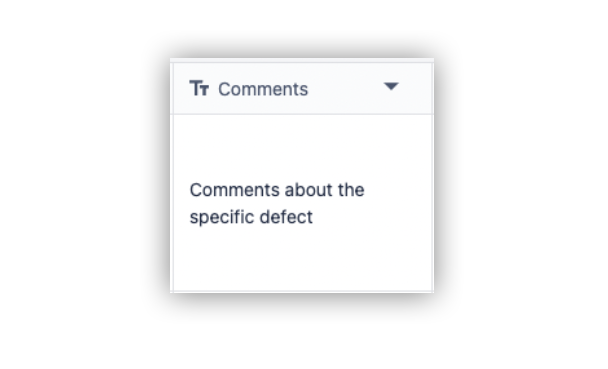
Text wrap records
You can also toggle the Text Wrap button to wrap text to a new line.
Example before text wrap:
Example after text wrap:
Archive a table
Tables can be archived by clicking on the Archive icon on the tables page.
Tables can also be archived by clicking on the ... button on a specific table and clicking on the Archive option.
Use cases
Here are common examples of how to use tables:
- Work Orders: If you want to see the real-time status of a work order, you can update a table every time the work order passes through a workstation on your floor.
- Operator Permissions/Skills Matrix If you want to define which operators are allowed to access certain apps, you can create a table with each operator on your team, and define their permissions across all your apps.
- Bill of Materials: Tracking different lists of materials by product or by SKU.
- Inventory: Tracking current inventory levels and deducting every time a product is completed or scrapped.
- Product Genealogy: Track the SKUs or lot numbers of all components in a product.
Further Reading
- Build Your First Table (Walkthrough)
- How To Use Tables in the App Editor
- Displaying Lists of Records in Apps
Did you find what you were looking for?
You can also head to community.tulip.co to post your question or see if others have faced a similar question!
.gif)
.gif)